
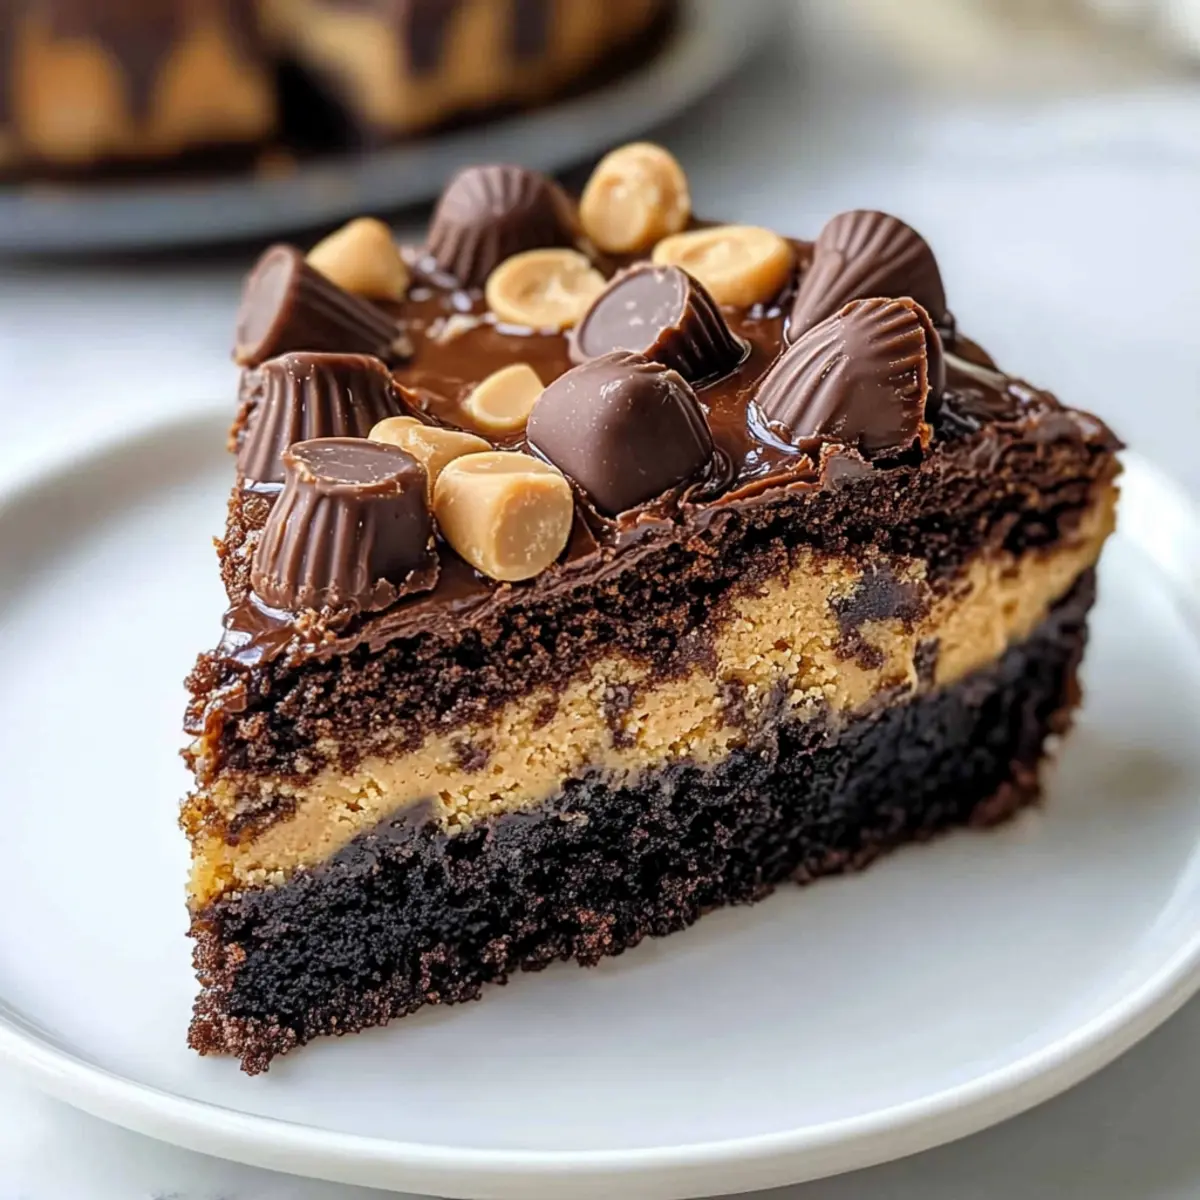
Imagine stepping into a world where rich chocolate meets the creamy embrace of peanut butter. That’s exactly what you’ll find in my easy Peanut Butter Cup Dump Cake, a delightful treat that comes together with just five simple ingredients. This dessert isn’t just a breeze to prepare—it’s a guaranteed crowd-pleaser, perfect for any gathering or casual weeknight indulgence. Each slice reveals a fudgy layer crowned with bursts of melty chocolate and peanut butter cups, making it a go-to favorite for sweet lovers everywhere. If you’re tired of the fast-food routine and crave that comforting, homemade taste, this recipe will quickly become one of your cherished go-tos. Are you ready to embark on this mouthwatering adventure? Let’s dive in!
Why is this cake so irresistible?
Ease of Preparation: With only five ingredients, this Peanut Butter Cup Dump Cake comes together in a flash, making it perfect for busy weeknights or last-minute gatherings.
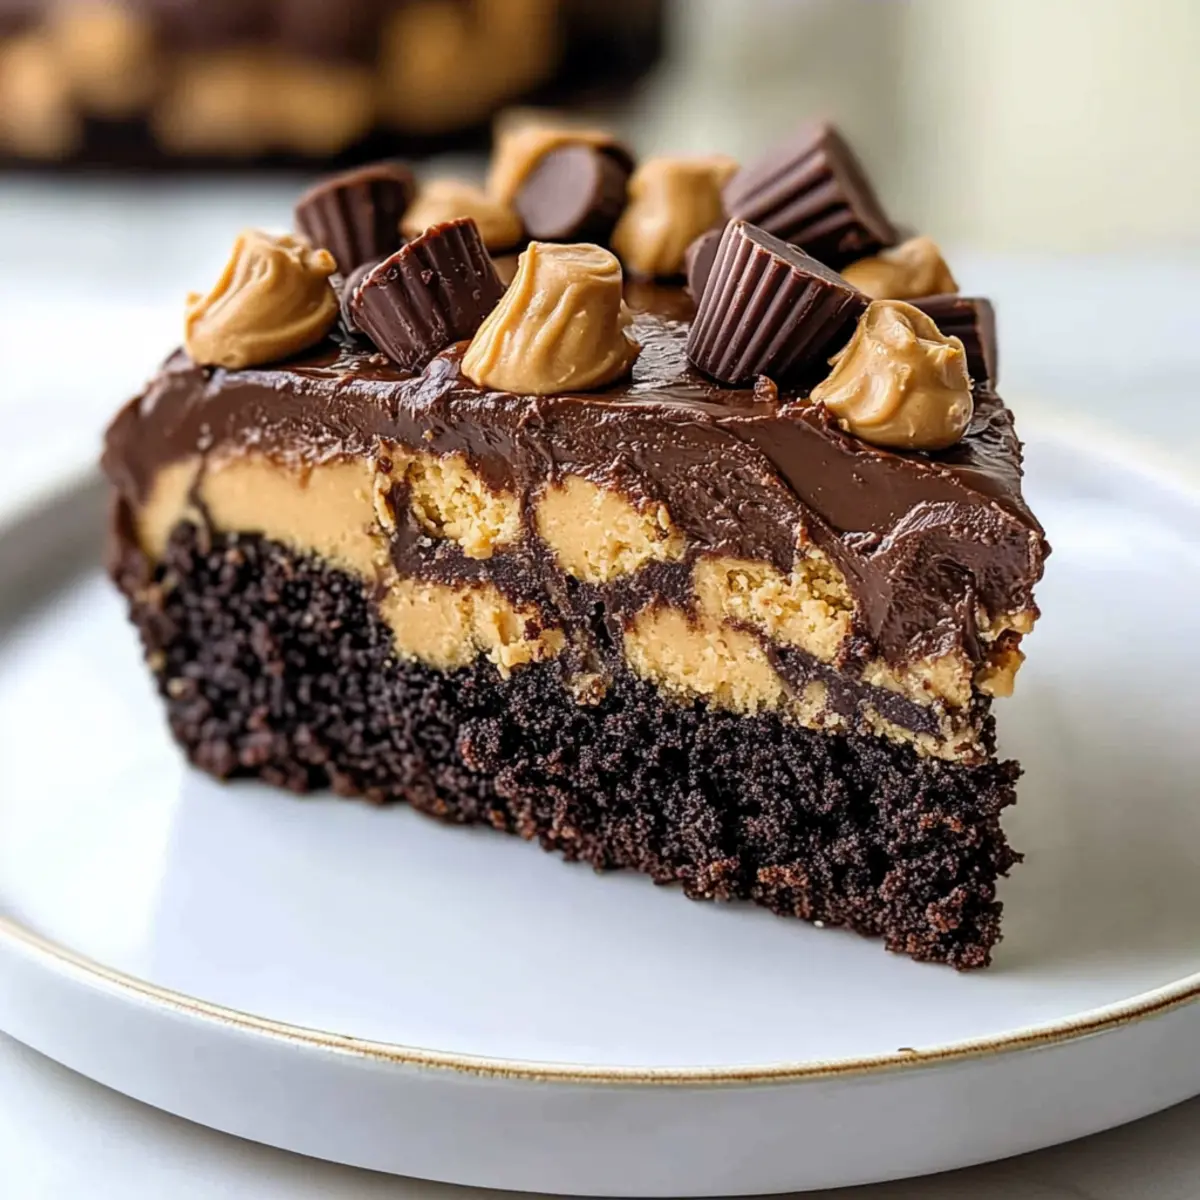
Fudgy Delight: Each bite reveals a rich, fudgy cake that contrasts beautifully with creamy peanut butter, creating a flavor explosion that’s simply unforgettable.
Crowd-Pleasing Treat: Serve it at your next party, and watch guests rave—it’s a dessert that disappears fast, much like my Crab Cake Egg Rolls at family get-togethers!
Versatile Variations: Feel free to customize with different cake mixes like vanilla or funfetti; there’s no limit to how you can make it your own!
Perfect for Any Occasion: Whether it’s a birthday, potluck, or cozy night in, this cake fits right in and works every time. So, grab your ingredients and prepare for a sweet feast worth sharing!
Peanut Butter Cup Dump Cake Ingredients
• Get ready for a simple, indulgent treat!
For the Cake
- Peanut Butter – Adds a rich, creamy layer; smooth peanut butter spreads easily.
- Chocolate Cake Mix – The base for this dessert, contributing deep chocolate flavor; try yellow or vanilla for a twist.
- Melted Butter – Ensures moisture and richness in every bite; don’t skip this essential ingredient.
- Milk – Adjusts the batter to be thick yet pourable; splash in more if the batter feels too stiff.
For the Toppings
- Mini Peanut Butter Cups/Chocolate Chips – Create delightful pockets of melty goodness; highly recommended for an irresistible finish!
Embrace the joy of this peanut butter cup dump cake and watch it become a favorite in your home!
Step‑by‑Step Instructions for peanut butter cup dump cake
Step 1: Preheat and Prepare
Begin by preheating your oven to 350°F (175°C). While the oven warms, grab a 9×13-inch baking dish and grease it generously with butter or non-stick spray. This will ensure your peanut butter cup dump cake releases beautifully once baked. Set the prepared dish aside while you gather the remaining ingredients.
Step 2: Spread the Peanut Butter
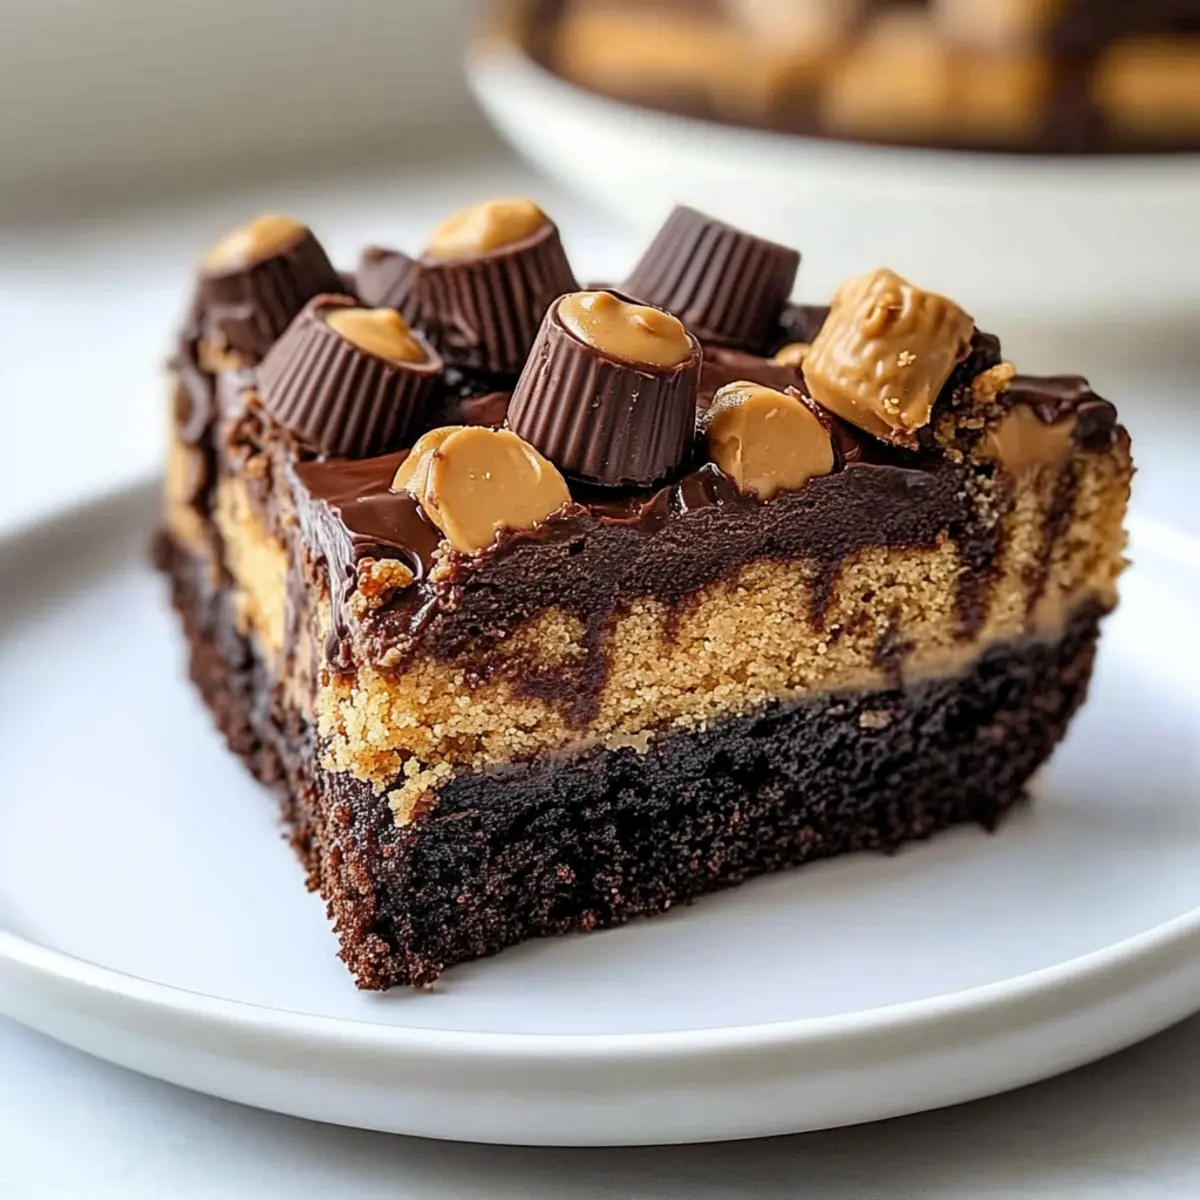
Once your baking dish is ready, take room-temperature smooth peanut butter and spread it evenly across the bottom of the dish. Aim for a consistent layer that covers the entire base, as this will create a delightful fudgy layer once the cake is baked. Set aside the dish again while you prepare the batter.
Step 3: Make the Batter
In a large mixing bowl, combine your chocolate cake mix, melted butter, and milk. Whisk these ingredients together until the mixture is mostly smooth; it’s okay if a few lumps remain. The goal is to create a thick yet pourable batter that will blend beautifully with the peanut butter layer below.
Step 4: Pour the Batter
Carefully pour the cake batter over the peanut butter layer in the prepared baking dish. Allow the batter to spread out naturally, ensuring it covers the peanut butter evenly. Use a spatula if needed to help guide the batter, but be gentle to maintain the layers as much as possible.
Step 5: Add the Toppings
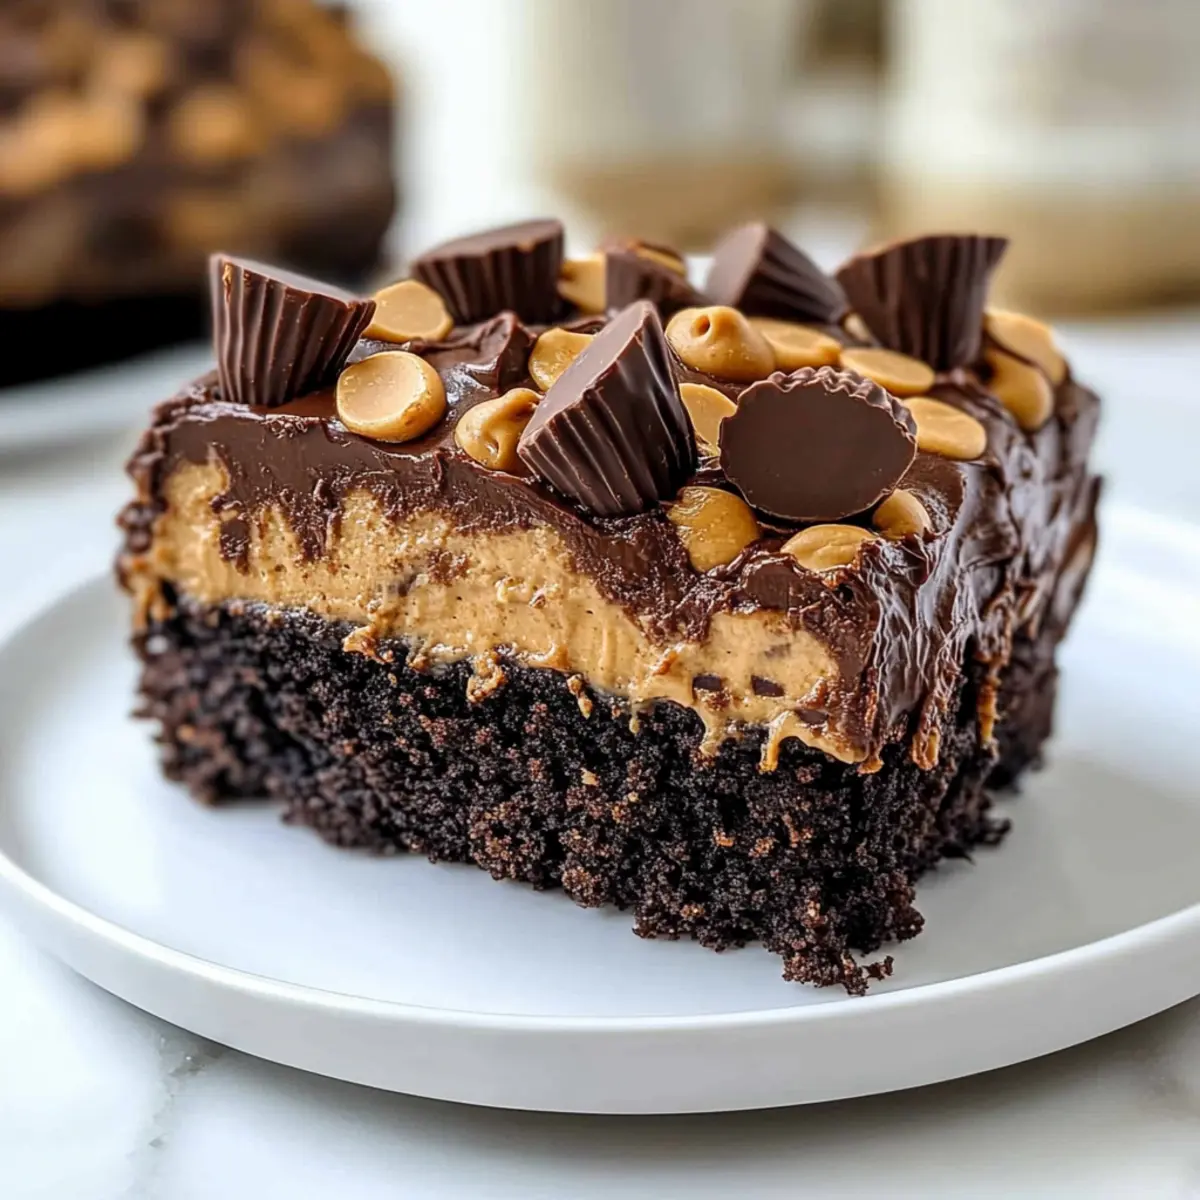
Next, take your mini peanut butter cups and chocolate chips, and evenly sprinkle them over the batter. This topping will melt into decadent pockets of chocolate and peanut butter as the cake bakes, adding an irresistible sweetness to your peanut butter cup dump cake.
Step 6: Bake the Cake
Place your dish in the preheated oven and bake for 35-40 minutes. Keep an eye on it; the edges should start pulling away from the pan, and a toothpick inserted in the center should come out with moist crumbs, signaling that the cake is ready to be pulled from the oven.
Step 7: Cool and Serve
Once baked, remove the peanut butter cup dump cake from the oven and let it cool in the dish for at least 15 minutes. This cooling period allows the flavors to meld, making each slice even more delicious. After cooling, cut into squares and serve warm to enjoy the gooey goodness!
Make Ahead Options
These Peanut Butter Cup Dump Cakes are a game-changer for busy home cooks looking to save time! You can prepare the cake batter up to 24 hours in advance by mixing the chocolate cake mix, melted butter, and milk. Store the batter covered in the refrigerator, keeping it fresh and ready to go. When you’re ready to bake, simply spread the room-temperature peanut butter in the prepared dish, pour the chilled batter over it, and sprinkle with mini peanut butter cups or chocolate chips. This method ensures that every bite of your peanut butter cup dump cake is just as delicious as if made fresh, providing a comforting dessert with minimal effort on any busy weeknight.
How to Store and Freeze Peanut Butter Cup Dump Cake
Room Temperature: Keep the cake in an airtight container for up to 3 days. This helps maintain its moist texture and delicious flavor.
Fridge: If you prefer, store the cake in the refrigerator for up to 5 days. Be sure to cover it well to prevent it from drying out.
Freezer: For longer storage, freeze individual slices in airtight containers or wrap them tightly in plastic wrap. They’ll be good for up to 1 month.
Reheating: To enjoy that freshly baked taste, reheat in the microwave for about 15-20 seconds. Serve warm for a delightful experience!
Expert Tips for Peanut Butter Cup Dump Cake
-
Room Temperature Peanut Butter: Let your peanut butter sit out until it’s at room temperature for easier spreading, ensuring an even fudgy layer.
-
Don’t Overmix: Mix the batter just until combined; small lumps are okay. Overmixing can lead to a dense, tough cake rather than a light, fluffy texture.
-
Baking Time Alert: Start checking for doneness at 35 minutes. The edges should pull away, and a toothpick should come out with moist crumbs—not wet batter.
-
Serving Suggestions: For an indulgent treat, serve with a scoop of vanilla ice cream or whipped cream to complement the rich flavors of the peanut butter cup dump cake.
-
Storage Tips: Store leftovers in an airtight container at room temperature for up to 3 days. They can also be frozen for up to a month, ensuring that sweet taste is just a reheat away!
What to Serve with Peanut Butter Cup Dump Cake
Indulging in a slice of this dreamy dessert makes it easy to imagine the perfect meal to complement your sweet treat.
- Vanilla Ice Cream: A classic pairing, the creamy chill of vanilla ice cream beautifully balances the fudgy warmth of the cake. Try a scoop on top for a heavenly combination!
- Whipped Cream: Light and fluffy, a dollop of homemade whipped cream adds a luscious touch, enhancing the dessert without overpowering its rich flavors.
- Fresh Berries: Bright, tart berries like raspberries or strawberries offer a refreshing contrast to the sweetness, bringing a burst of color and flavor to your plate.
- Chocolate Sauce: Drizzling melted chocolate sauce over the cake accentuates its decadent aspects, adding an extra layer of delight and indulgence.
- Hot Chocolate: For a cozy dessert experience, team the cake with a warm cup of rich hot chocolate, amplifying the chocolatey goodness and inviting pleasant warmth.
- Coffee: The richness of coffee provides a wonderful balance to sweet desserts. Enjoy a cup alongside your cake for a comforting afternoon treat.
- Nuts: Crushed peanuts or walnuts sprinkled on top add a satisfying crunch, introducing a lovely texture that complements the softness of the cake.
- Milk: A tall glass of cold milk is the ultimate pairing, washing down the rich layers of goodness and enhancing your overall tasting experience.
- Caramel Sauce: For an extra sweet treat, drizzle caramel sauce over your slice, transforming each bite into an indulgent experience that’s hard to resist.
Peanut Butter Cup Dump Cake Variations
Feel free to get creative and customize your dessert with these fun twists!
-
Different Cake Mix: Swap out the chocolate cake mix for yellow, vanilla, or even funfetti for a brand new flavor profile. Each mix brings its own unique touch!
-
Sugar-Free Option: For a lighter take, opt for a sugar-free cake mix while keeping the peanut butter layer untouched. Enjoy the same deliciousness without the guilt!
-
Nutty Crunch: Add in chopped walnuts or pecans for a delightful crunch that complements the fudgy texture perfectly. The crunchy bite elevates the overall experience.
-
Chocolate Swap: Instead of chocolate chips, use dark chocolate or white chocolate chips to change the flavor dynamics! It’s an easy way to add a touch of sophistication.
-
Spicy Kick: Want to heat things up? Mix in a pinch of cayenne pepper or sprinkle some crushed red pepper on top. It’s a surprising yet enjoyable contrast to the sweet flavors!
-
Fruity Surprise: Toss in some mini marshmallows or fresh berries before baking for a fruity burst that pairs beautifully with the chocolate and peanut butter goodness.
-
Top It Off: Drizzle some caramel or chocolate sauce on top before serving for an indulgent finishing touch. A little extra sweetness will make it a total showstopper for guests.
-
Add More Layers: Create fun layers by adding a vanilla pudding layer on top of the baked cake for a creamier delight. Pair it with a scoop of vanilla ice cream for a winning dessert combo, just like in my Peach Cake Brown recipe!
The world of flavors awaits—choose what suits your mood and enjoy!
Peanut Butter Cup Dump Cake Recipe FAQs
What type of peanut butter should I use?
Absolutely! For this recipe, I recommend using smooth peanut butter, as it spreads easily and creates a luscious fudgy layer at the bottom of your cake. If you have crunchy peanut butter on hand, feel free to use it, but keep in mind it will add a delightful texture.
How should I store leftovers, and how long will they last?
You can store the peanut butter cup dump cake in an airtight container at room temperature for up to 3 days. If you want to enjoy it longer, consider refrigerating it, where it will keep fresh for up to 5 days. Just ensure it’s well-covered to prevent drying out!
Can I freeze this cake, and if so, how?
Yes! This cake freezes beautifully. To freeze, first allow it to cool completely. Then, cut it into individual squares, wrap each piece tightly in plastic wrap, and place them in an airtight container. You can freeze these for up to 1 month. To reheat, simply pop a slice in the microwave for about 15-20 seconds for that fresh-out-of-the-oven taste.
What should I do if my cake is too dense or dry?
If you encounter a dense or dry cake, it may be due to overmixing the batter or an incorrect measurement of the ingredients. Make sure to mix just until combined, leaving some lumps for a light texture. If your cake does turn out dry, serving it warm with a scoop of vanilla ice cream or whipped cream can help elevate the enjoyment!
Is there an allergy-friendly alternative for this cake?
Definitely! If you’re making this for someone with allergies, you can use a gluten-free cake mix and check that the peanut butter is certified gluten-free. For dairy-free options, substitute the butter with a dairy-free alternative and use non-dairy milk. Enjoy the sweetness without worry!
Peanut Butter Cup Dump Cake You'll Crave Every Weekend
Ingredients
Equipment
Method
- Preheat your oven to 350°F (175°C) and grease a 9x13-inch baking dish.
- Spread room temperature peanut butter evenly across the bottom of the dish.
- In a mixing bowl, combine chocolate cake mix, melted butter, and milk. Whisk until mostly smooth.
- Pour the batter over the peanut butter layer in the prepared dish.
- Sprinkle mini peanut butter cups and chocolate chips evenly over the batter.
- Bake in the preheated oven for 35-40 minutes until edges pull away and a toothpick comes out with moist crumbs.
- Allow to cool in the dish for at least 15 minutes before cutting into squares.
Leave a Reply