
As I stood in my kitchen, the brilliant aroma of sizzling beef filled the air, instantly transporting me to a backyard cookout. That’s when I had my lightbulb moment—why not blend the classic cheeseburger with the delightful convenience of a wrap? These Quick and Easy Cheeseburger-Wraps are not only a fantastic weekday dinner solution but also an adaptable canvas for your culinary creativity. In just 20 minutes, you can create a satisfying meal that’s perfect for casual dining or a movie night. Plus, you can easily customize the ingredients to cater to your taste and dietary needs. Who wouldn’t love a dinner that combines the comfort of a cheeseburger with the fun of a wrap? Ready to roll up your sleeves and dive into this delicious adventure?
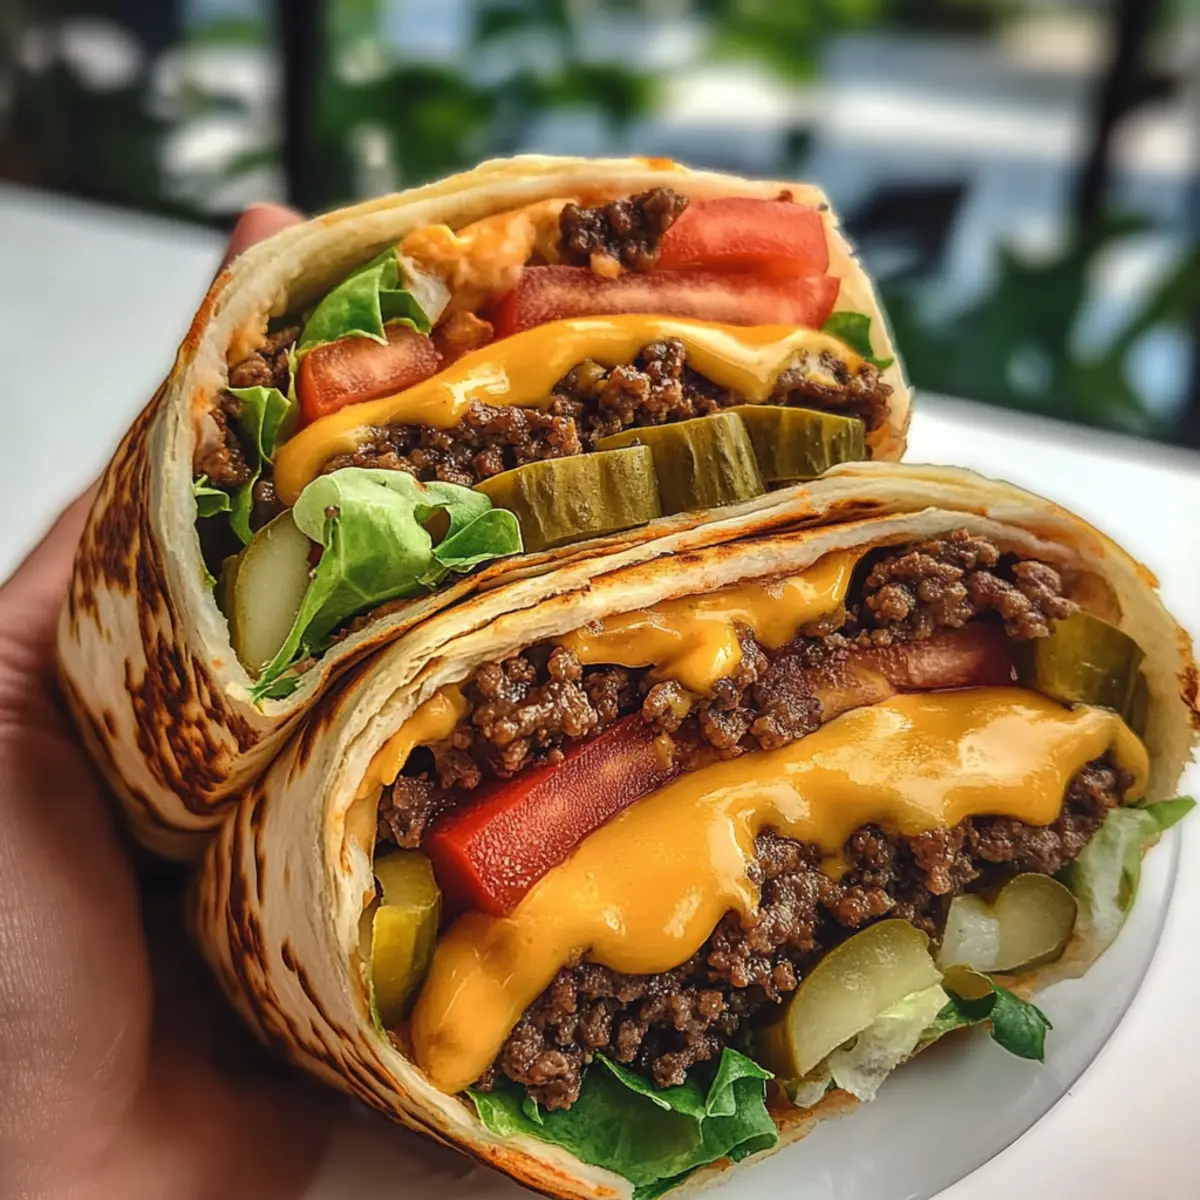
How can you customize your wraps?
Customization, the beauty of these Cheeseburger-Wraps lies in their versatility—swap out the cheese or add more veggies to suit your fancy! Quick preparation means you can whip these up in just 20 minutes, making meal prep a breeze. Crowd favorite? Absolutely! They’re sure to impress guests, whether it’s a casual dinner or a party snack. Fun to make together with family or friends, wrapping becomes a delightful bonding activity! Plus, for those busy weekdays, these wraps provide a flavor-packed meal that will leave you energized and satisfied. Why not get creative with sauces like sriracha or barbecue to elevate your wraps even more?
Cheeseburger-Wraps Ingredients
Here’s everything you need to create your delicious Cheeseburger-Wraps!
For the Wraps
• Tortillas – Flour or corn tortillas serve as a soft, foldable layer to encase all your tasty fillings.
For the Filling
• Ground Beef – The hearty protein that delivers that classic cheeseburger flavor; swap it for ground turkey or a vegetarian option for a lighter meal.
• Cheddar Cheese – Melts beautifully to add creaminess; feel free to experiment with Monterey Jack or Pepper Jack for a spicy twist.
• Tomato – Freshness in every bite; using cherry tomatoes can lend a sweeter flavor for a delightful contrast.
• Pickles – Crunchy and tangy, they punch up the flavor; try spicy jalapeños for an extra kick or skip them for a milder taste.
• Lettuce – Adds crispness and fresh texture; romaine or iceberg work perfectly for this wrap.
For the Sauce
• Burger Sauce – Ties all the flavors together; consider substituting with barbecue sauce or spicy mayo for a different kick.
Now that you have your ingredients ready, get excited to assemble and savor these Cheeseburger-Wraps that kids and adults alike will love!
Step‑by‑Step Instructions for Cheeseburger-Wraps
Step 1: Prepare Sauce
In a medium bowl, combine your preferred ingredients for the burger sauce, mixing until completely smooth. This flavorful sauce will tie all the elements of your Cheeseburger-Wraps together. Set it aside as you move on to prepping the fresh vegetables, ensuring everything is ready for assembly.
Step 2: Prep Vegetables
Slice the tomato and pickles into thin rounds to ensure they blend seamlessly with the other fillings in your Cheeseburger-Wraps. Rinse and chop the lettuce into bite-sized pieces, creating a refreshing crunch that complements the savory flavors. Keep everything organized and at arm’s reach for the next steps.
Step 3: Cook Meat
Heat a non-stick skillet over medium heat, allowing it to get warm for about 2 minutes. Add the seasoned ground beef, breaking it apart with a spatula. Cook for 5–7 minutes, stirring frequently, until the meat is browned and fully cooked. This will form the heart of your Cheeseburger-Wraps, releasing wonderful aromas as it cooks.
Step 4: Assemble Wraps
Once your meat is browned, lay out a tortilla and begin layering the cooked ground beef in the center. Top it with a generous amount of cheddar cheese, followed by the sliced tomatoes, lettuce, and pickles. Drizzle your prepared burger sauce over the top, assuring each bite will be packed with flavor in your Cheeseburger-Wraps.
Step 5: Cook Wraps
Fold the sides of the wrap over the filling, then roll it tightly from the bottom up to secure everything inside. Place the wrapped tortillas seam-side down on the same skillet over medium heat. Cook for about 2-3 minutes on each side until the wraps are golden brown and the cheese is melted, providing a lovely crispy texture.
Step 6: Serve
Remove the wraps from the skillet and let them cool slightly before cutting them in half. Serve warm, and enjoy every bite of your Cheeseburger-Wraps with your favorite sides like fries or a fresh salad. These wraps are a fun and delicious way to indulge in classic flavors!
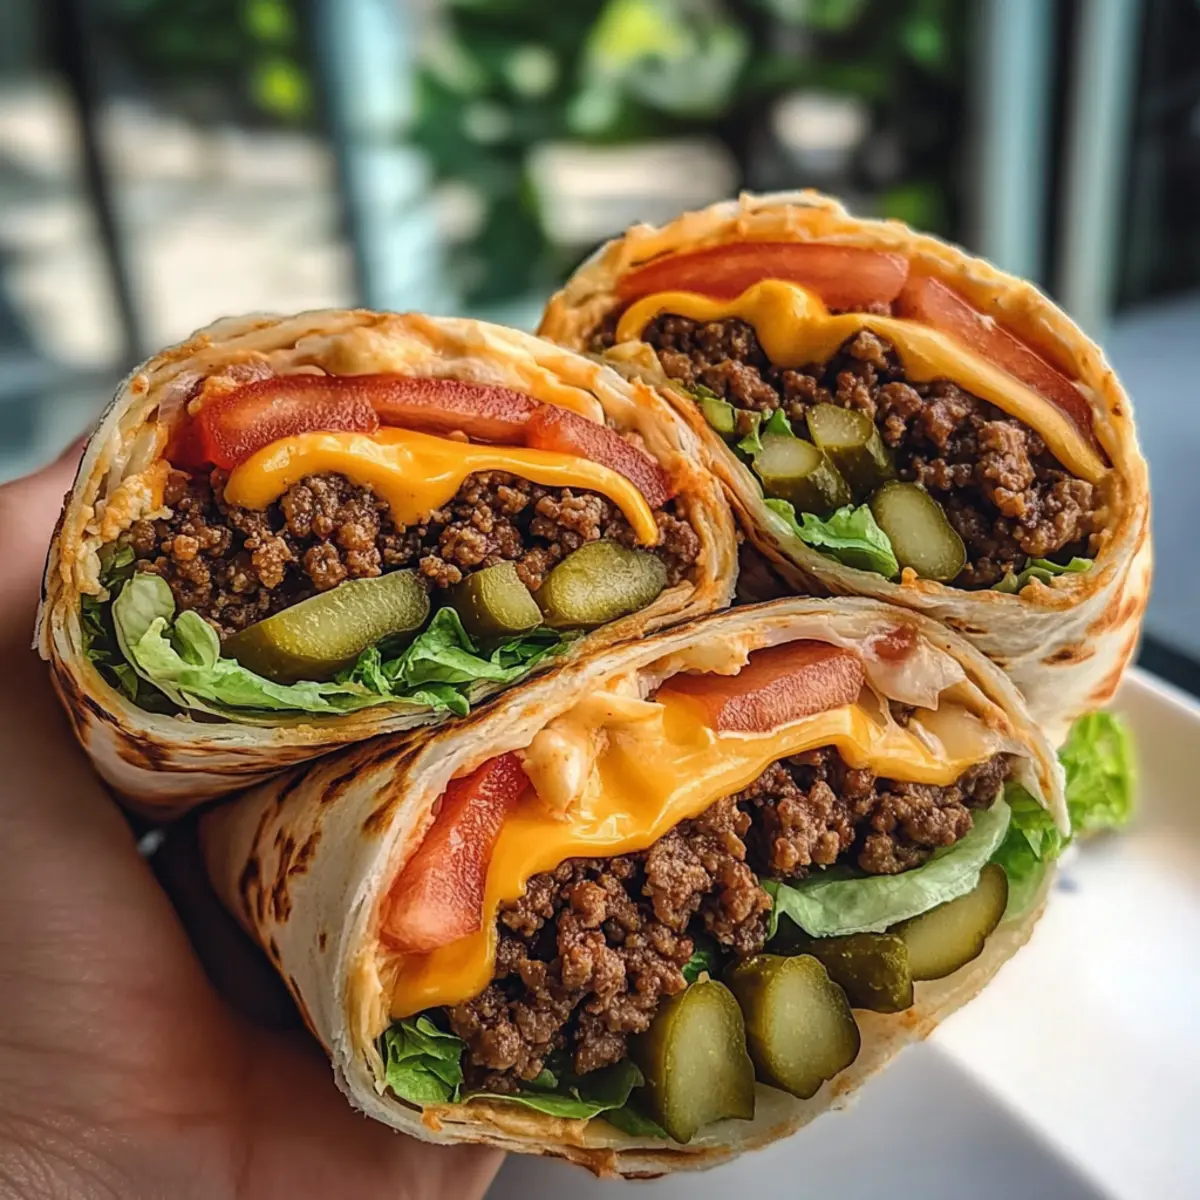
Cheeseburger-Wraps: Exciting Variations Await!
Feel free to get creative with your Cheeseburger-Wraps—there are so many ways to personalize this recipe to delight your palate!
-
Vegetarian Option: Substitute ground beef with black beans or lentils for a hearty meatless twist. You can season them with taco spices for a flavorful kick.
-
Cheese Swap: Experiment with different cheeses like pepper jack for added spice or mozzarella for a creamy texture. Each cheese brings a unique flavor profile to your wraps.
-
Extra Veggies: Add sautéed mushrooms or bell peppers to the filling for more depth. These veggies will enhance both flavor and texture, making your wraps even more satisfying.
-
Wild Heat: Spice things up by including jalapeño slices or a drizzle of hot sauce in your wrap. This will give that zesty punch that heat lovers crave!
-
Sauce Twist: Try a chipotle mayonnaise or a zesty avocado sauce instead of traditional burger sauce for a fresh, fun twist. These alternative sauces can elevate your wrap to new flavor heights.
-
Herby Freshness: Toss in some fresh cilantro or parsley for a vibrant burst of flavor. These herbs can brighten your Cheeseburger-Wraps and make them feel a bit more gourmet.
-
Crunchy Additions: If you love texture, add crispy bacon bits or potato chips inside for a delightful crunch. The combination of flavors will impress your family and friends!
-
Global Flavor: For an international twist, consider adding teriyaki sauce and pineapple slices for a Hawaiian staple, or swap out the wraps for naan to give it an Indian flair. The world of wraps is your oyster!
There you have it! Explore these variations to create your perfect Cheeseburger-Wraps, and don’t hesitate to share your unique creations with family and friends. Enjoy the fun of cooking and make it your own!
Storage Tips for Cheeseburger-Wraps
-
Fridge: Store wrapped Cheeseburger-Wraps in an airtight container for up to 3 days to maintain freshness and prevent sogginess.
-
Freezer: For longer storage, individually wrap the Cheeseburger-Wraps in plastic wrap or foil and freeze for up to 3 months. This is perfect for meal prep!
-
Reheating: To reheat, place the frozen wraps directly in a skillet over medium heat for about 5-7 minutes, flipping occasionally until heated through. Alternatively, use a microwave for a quick option, but the skillet typically yields a crisper texture.
-
Serving: Always serve wraps hot to enjoy the melty cheese and savory flavor; they are a delightful treat for any casual meal or snack.
Make Ahead Options
These Cheeseburger-Wraps are perfect for meal prep, saving you time on busy weeknights! You can prepare the burger filling (cooked ground beef, cheese, and seasonings) up to 3 days in advance; just store it in an airtight container in the refrigerator. To maintain the wraps’ freshness, chop the veggies (tomatoes, pickles, and lettuce) and keep them separate until you’re ready to assemble (this prevents sogginess). When it’s time to enjoy your Cheeseburger-Wraps, simply layer the filling onto the tortillas, fold, and drop them in the skillet for a quick heating—just 2-3 minutes per side should do it to achieve that delicious, golden finish!
Expert Tips for Cheeseburger-Wraps
-
Season Well: Ensure the meat is well-seasoned with salt and pepper to enhance the flavor of your Cheeseburger-Wraps. A good seasoning makes all the difference!
-
Avoid Overcrowding: Don’t overcrowd the skillet when cooking the wraps. This allows for even cooking and helps achieve that perfect golden crispiness.
-
Melt with a Lid: Cover the skillet with a lid while the cheese melts; this traps steam and helps the cheese become beautifully gooey and melty.
-
Experiment with Fillings: Feel free to add extra veggies like spinach or onions, or substitute proteins if you wish. Customization makes your Cheeseburger-Wraps even more delightful!
-
Keep Them Warm: If making several wraps, keep the finished ones warm in a low oven (about 200°F) while you finish cooking the rest.
What to Serve with Cheeseburger-Wraps?
Elevate your meal experience with delightful side dishes and drinks that beautifully complement the satisfying flavors of your Cheeseburger-Wraps.
-
Crispy Skin-On Fries: The golden, crunchy texture pairs perfectly with the softness of the wraps, creating a satisfying contrast in every bite. Perfect for dipping!
-
Fresh Garden Salad: A light, colorful salad adds a refreshing crunch and balances the richness of your wraps, enhancing the overall meal experience.
-
Coleslaw: Creamy coleslaw offers a tangy, crunchy side that complements the savory flavors, making every bite of the wrap even more delicious.
-
Sweet Potato Wedges: Baked or fried, these add a sweet touch to your meal, beautifully balancing the savory cheeseburger fillings with their natural sweetness.
-
Pickled Jalapeños: For those who enjoy a kick, these tangy bites can amplify the flavor profile of your wraps, making them even more exciting.
-
Iced Tea or Lemonade: Refreshing drinks like iced tea or zesty lemonade offer a cool contrast to the warm wraps and help cleanse the palate.
-
Homemade Potato Chips: Crunchy and satisfying, these are perfect for those who love a little extra texture alongside their wraps—great for dipping in sauces!
-
Chocolate Chip Cookies: End your meal on a sweet note; these classic treats offer nostalgic flavors that everyone will love, making them a perfect dessert pairing.
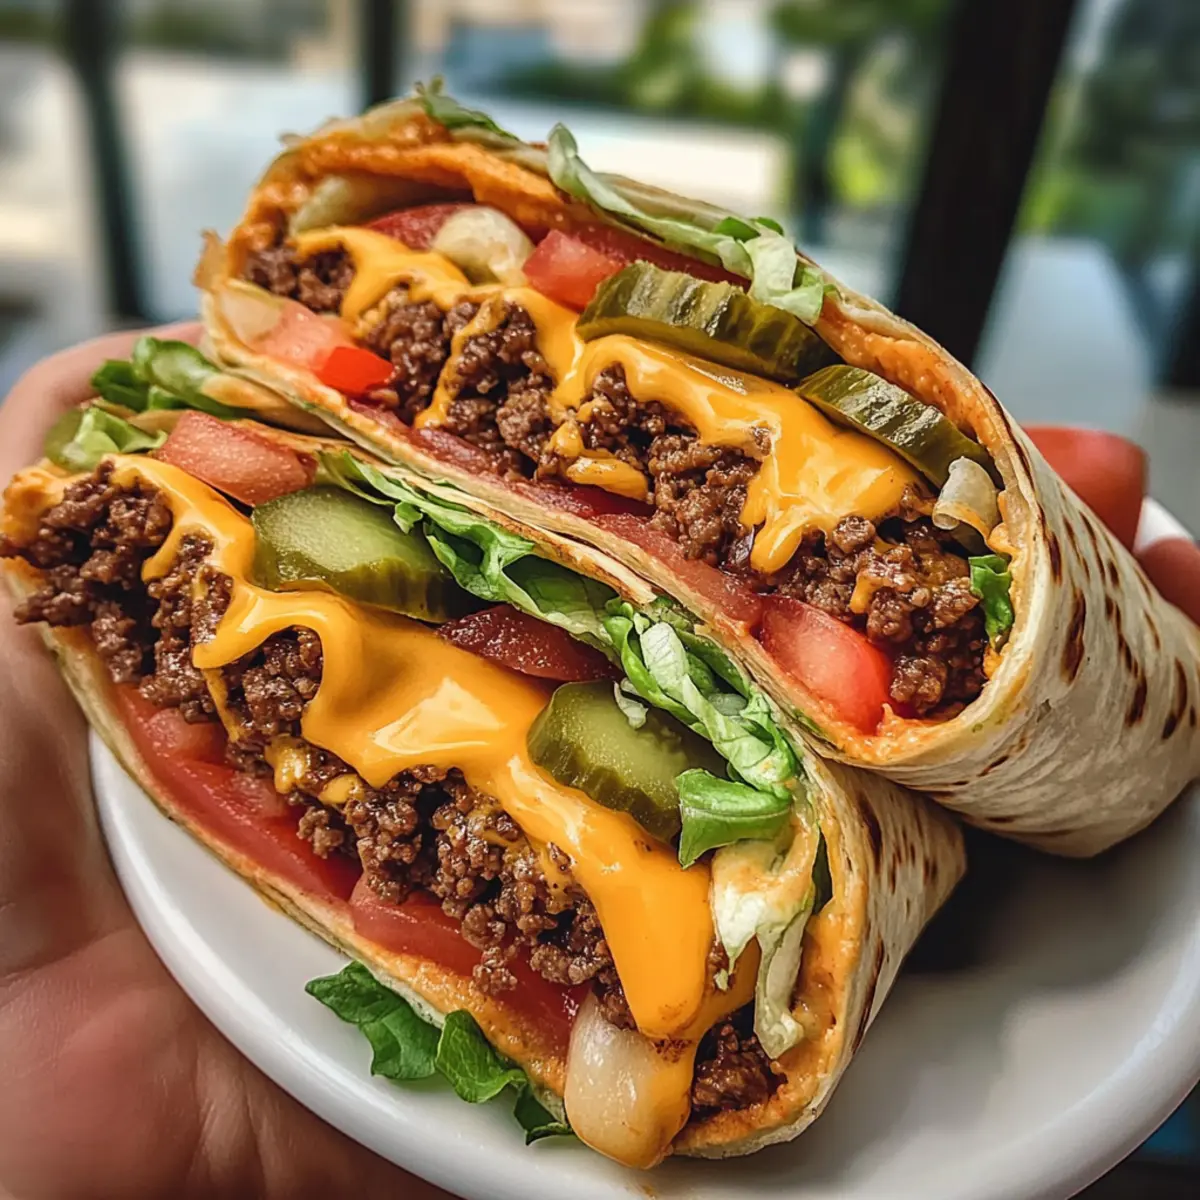
Cheeseburger-Wraps Recipe FAQs
How should I choose my ground beef for the wraps?
Absolutely! When selecting ground beef, look for an 80/20 blend which ensures a good amount of fat for flavor and juiciness. You can also opt for leaner blends, like 90/10, if you’re looking for a healthier option. If you’re avoiding red meat, ground turkey or plant-based crumbles are fantastic substitutions that maintain the deliciousness of the wraps.
How should I store leftover Cheeseburger-Wraps?
For optimal freshness, store your Cheeseburger-Wraps in an airtight container in the fridge for up to 3 days. It’s essential to seal them well to prevent moisture loss and sogginess. If you think you won’t eat them within that time frame, consider freezing instead.
Can I freeze Cheeseburger-Wraps, and how?
Yes, you can! To freeze your Cheeseburger-Wraps, individually wrap each one tightly in plastic wrap or aluminum foil, ensuring no air is trapped inside. Place them in a freezer-safe bag, and they’ll be good for up to 3 months. When ready to enjoy, you can reheat them straight from the freezer in a skillet or microwave.
What should I do if my wraps come out soggy?
If your Cheeseburger-Wraps are soggy, ensure you drained any excess moisture from any vegetables you might have added, especially tomatoes. Also, avoid overfilling the wraps, as that can lead to moisture buildup. Cooking them longer in a hot skillet can also help develop that crispy exterior you’re aiming for!
Are Cheeseburger-Wraps suitable for people with dietary restrictions?
Very! These wraps can cater to various dietary needs by choosing appropriate ingredients. For a gluten-free option, use corn tortillas. To make them vegetarian, substitute the ground beef with black beans, lentils, or a meat alternative. Be sure to check labels for allergens in sauces if guests have food sensitivities.
How do I choose the right cheese for my wraps?
The type of cheese can greatly affect the flavor! Cheddar is classic and provides a nice melt, but feel free to explore different cheeses. For something a bit spicier, Monterey or Pepper Jack can add a kick. You can even mix cheeses for a unique flavor profile!
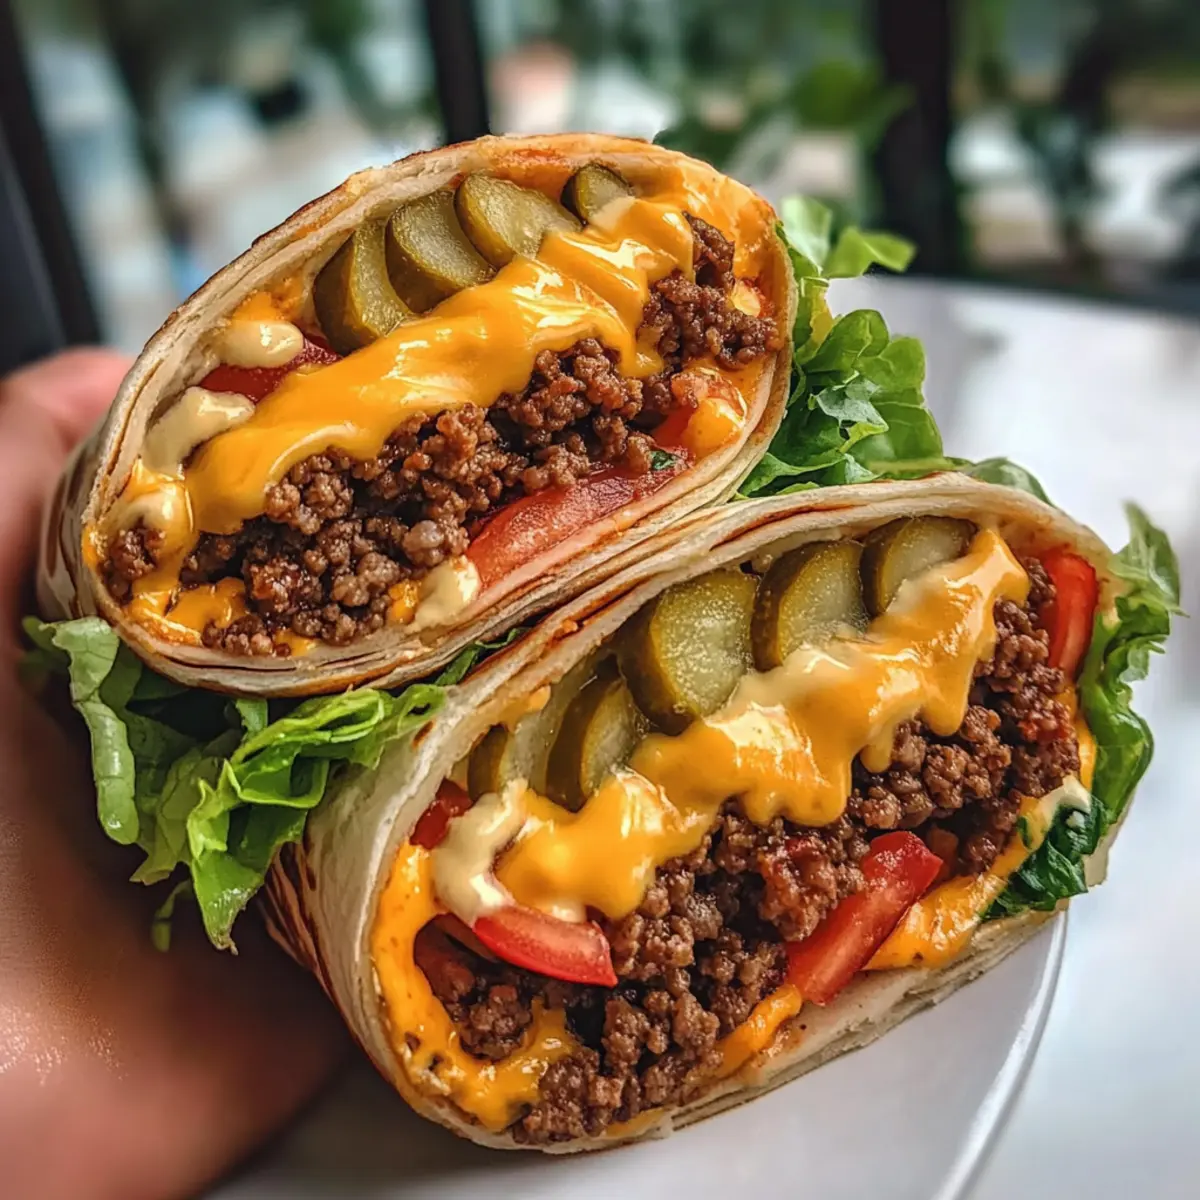
Cheeseburger-Wraps: Quick, Customizable & Deliciously Fun
Ingredients
Equipment
Method
- In a medium bowl, combine your preferred ingredients for the burger sauce, mixing until completely smooth.
- Slice the tomato and pickles into thin rounds and chop the lettuce into bite-sized pieces.
- Heat a non-stick skillet over medium heat for about 2 minutes. Add the seasoned ground beef and cook for 5–7 minutes until browned.
- Lay out a tortilla and layer the cooked ground beef in the center, top with cheddar cheese, tomatoes, lettuce, and pickles. Drizzle with burger sauce.
- Fold the sides of the wrap over the filling, then roll tightly from the bottom up. Cook in the skillet for 2-3 minutes on each side until golden brown.
- Remove from skillet, let cool slightly, and cut in half before serving.
Leave a Reply