Ingredients
Equipment
Method
Step-by-Step Instructions
- Prepare Dough: Heat 1 cup of whole milk and 4 tablespoons of cubed unsalted butter over low heat until warm but not boiling. Stir in 2 1/4 teaspoons of instant yeast and 2 tablespoons of granulated sugar, letting it bubble and foam for about 5 minutes. In a mixing bowl, combine the yeast mixture with 1 large beaten egg, 3 1/4 cups of all-purpose flour, and 3/4 teaspoon of salt. Mix until a dough forms.
- Knead Dough: Transfer the dough to a floured surface and knead for about 8-10 minutes until smooth and elastic. Shape the dough into a ball and place it in a lightly greased bowl. Cover the bowl with a clean kitchen towel.
- First Rise: Let the dough rise in a warm place until it has doubled in size, approximately 1 to 1.5 hours.
- Make Filling: In a medium saucepan, combine 3 cups of sliced rhubarb with 1/2 cup of granulated sugar, 2 tablespoons of lemon juice, and 2 teaspoons of cornstarch. Cook for about 10 minutes until thickened.
- Roll Out Dough: Once risen, punch down the dough and roll it into an 18x12-inch rectangle. Spread the cooled rhubarb filling evenly over the dough, leaving a 1-inch border.
- Shape Rolls: Starting from the long edge, roll the dough tightly into a cylinder. Cut the roll into 12 equal pieces and place them cut-side up in a greased 9x13-inch pan. Cover and let rise until puffy.
- Preheat Oven: Preheat the oven to 350°F (175°C). Ensure the oven is fully preheated when the rolls finish their second rise.
- Egg Wash: Whisk together 1 beaten egg and 1 tablespoon of water or milk to create an egg wash. Brush the tops of the rolls before baking.
- Bake: Bake the rolls for 25-30 minutes until golden brown and the dough sounds hollow when tapped.
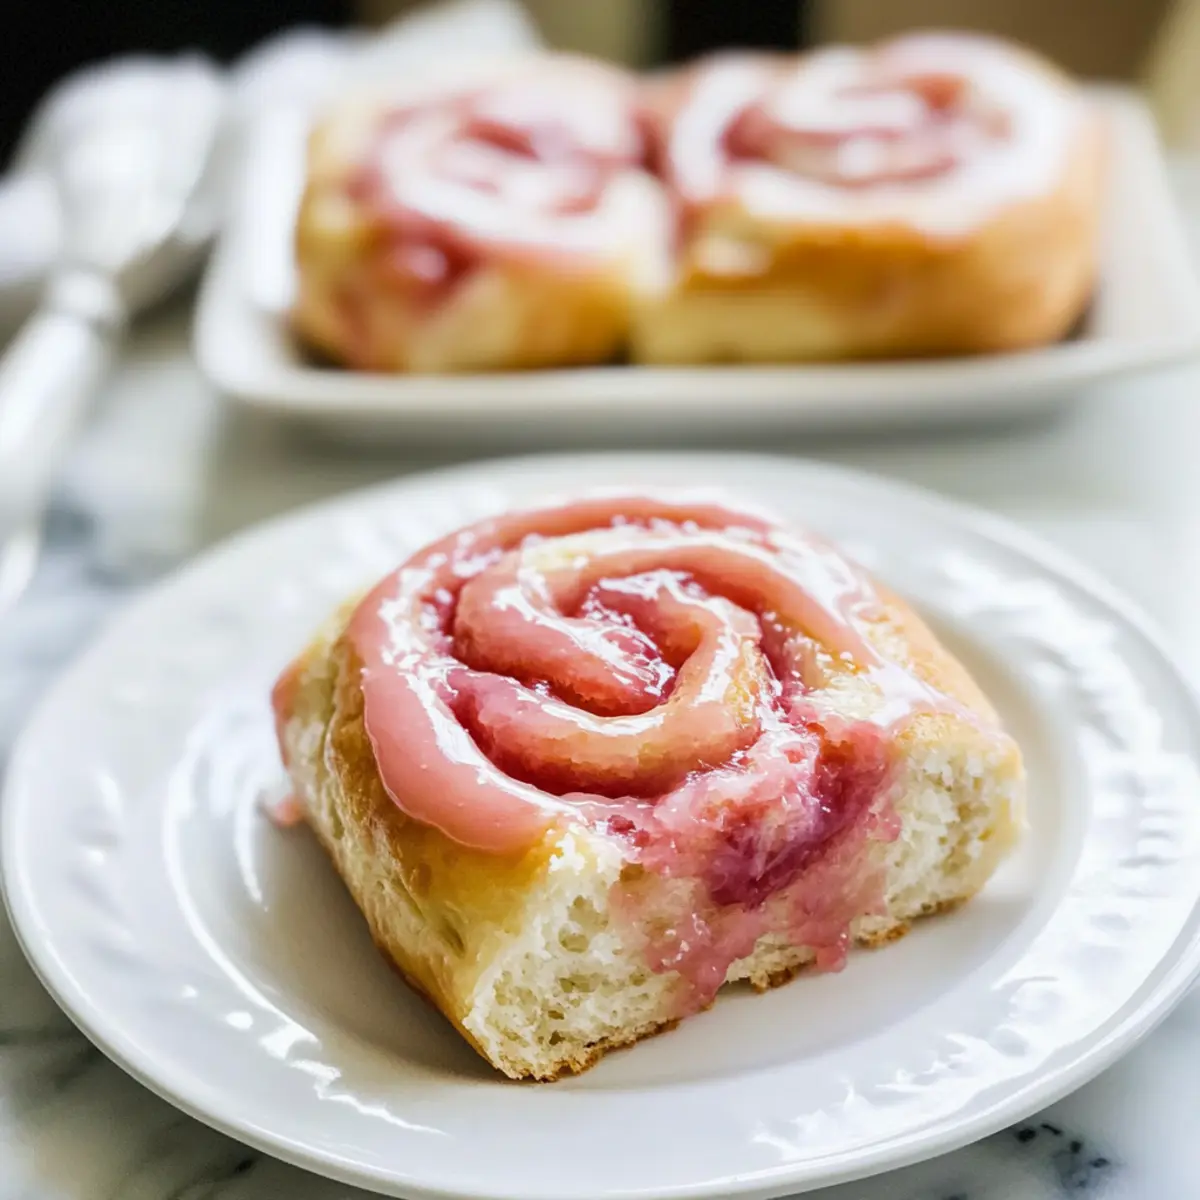
- Prepare Glaze: Mix 2 tablespoons of the rhubarb filling with 1 cup of powdered sugar and 1-2 tablespoons of lemon juice until smooth.
- Glaze Rolls: Let the rolls cool for about 10 minutes, then pour the pink glaze over the warm rolls.
Nutrition
Notes
Ensure the milk is warm for yeast activation and allow proper cooling before glazing to achieve a beautiful finish.