
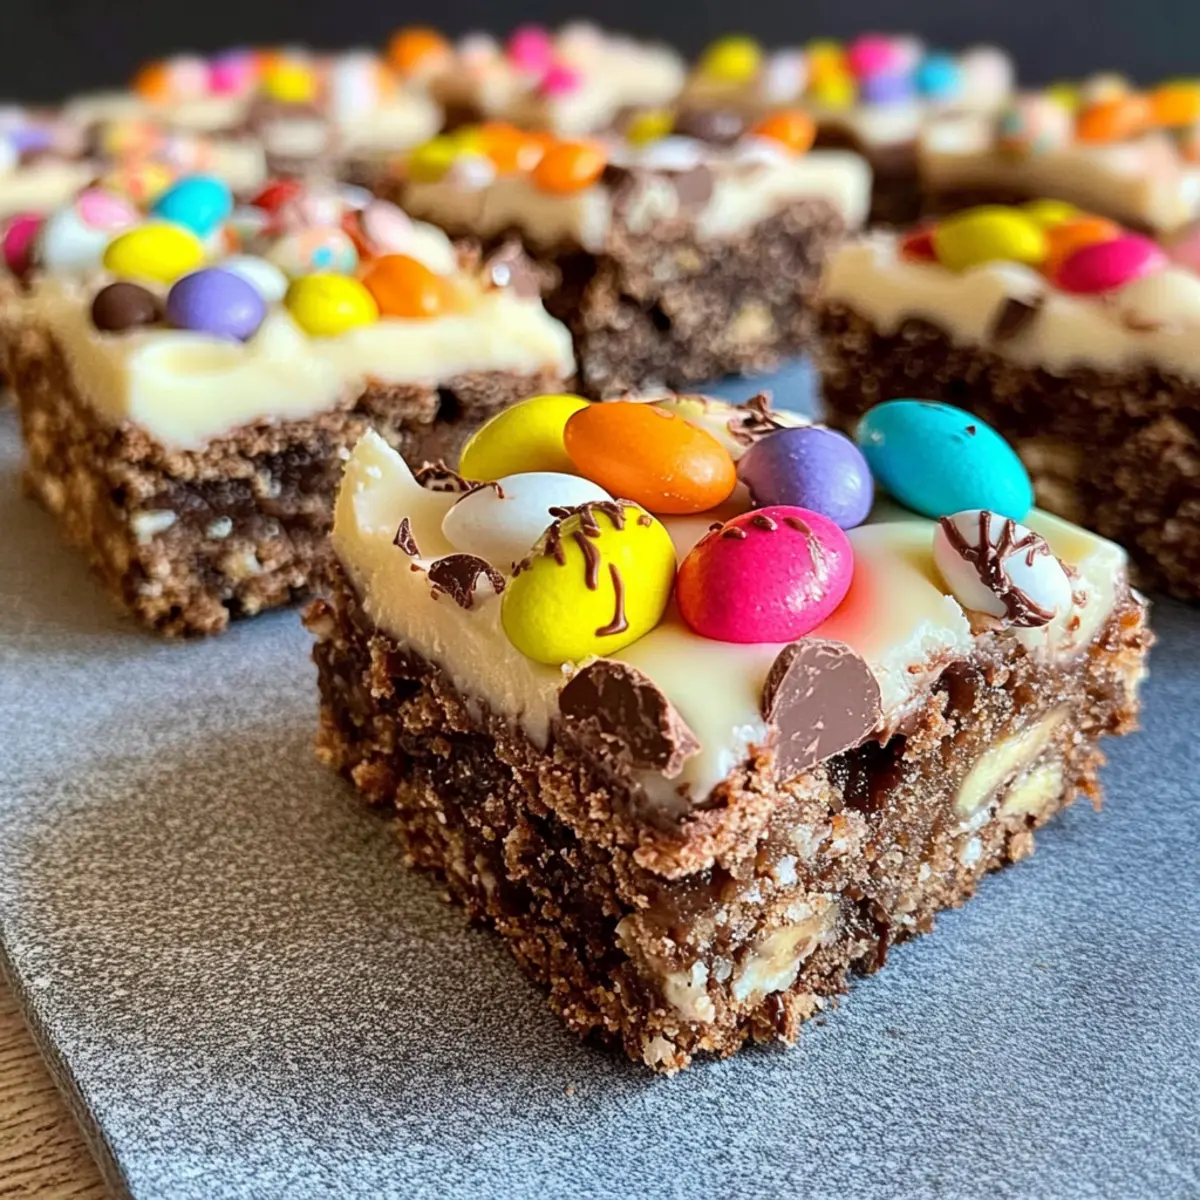
As I prepped for our annual Easter gathering last year, a lightbulb moment struck: why not create a dessert that’s delightfully simple yet impressively festive? Enter the No-Bake Chocolate Easter Egg Slice—a treat that marries the irresistible allure of chocolate with the crunch of biscuits and festive candies. This no-bake dessert not only saves precious oven time but also offers the flexibility to customize with your favorite toppings. Whether you opt for creamy Caramello eggs or vibrant Smarties, it’s a guaranteed crowd-pleaser that you can whip up in no time. Perfect for busy home cooks like us who crave something sweet without the fuss, this recipe will swiftly become a cherished part of your holiday traditions. Curious about how to make it? Let’s dive into the delicious details!

Why is this dessert a must-try?
Effortless Preparation: This No-Bake Chocolate Easter Egg Slice requires minimal kitchen skills, making it achievable for everyone.
Decadent Flavor: Rich dark chocolate blended with creamy condensed milk creates an indulgent base that will satisfy any sweet tooth.
Customizable Toppings: Get creative! Use your favorite Easter candies or even try swapping in seasonal treats for year-round enjoyment.
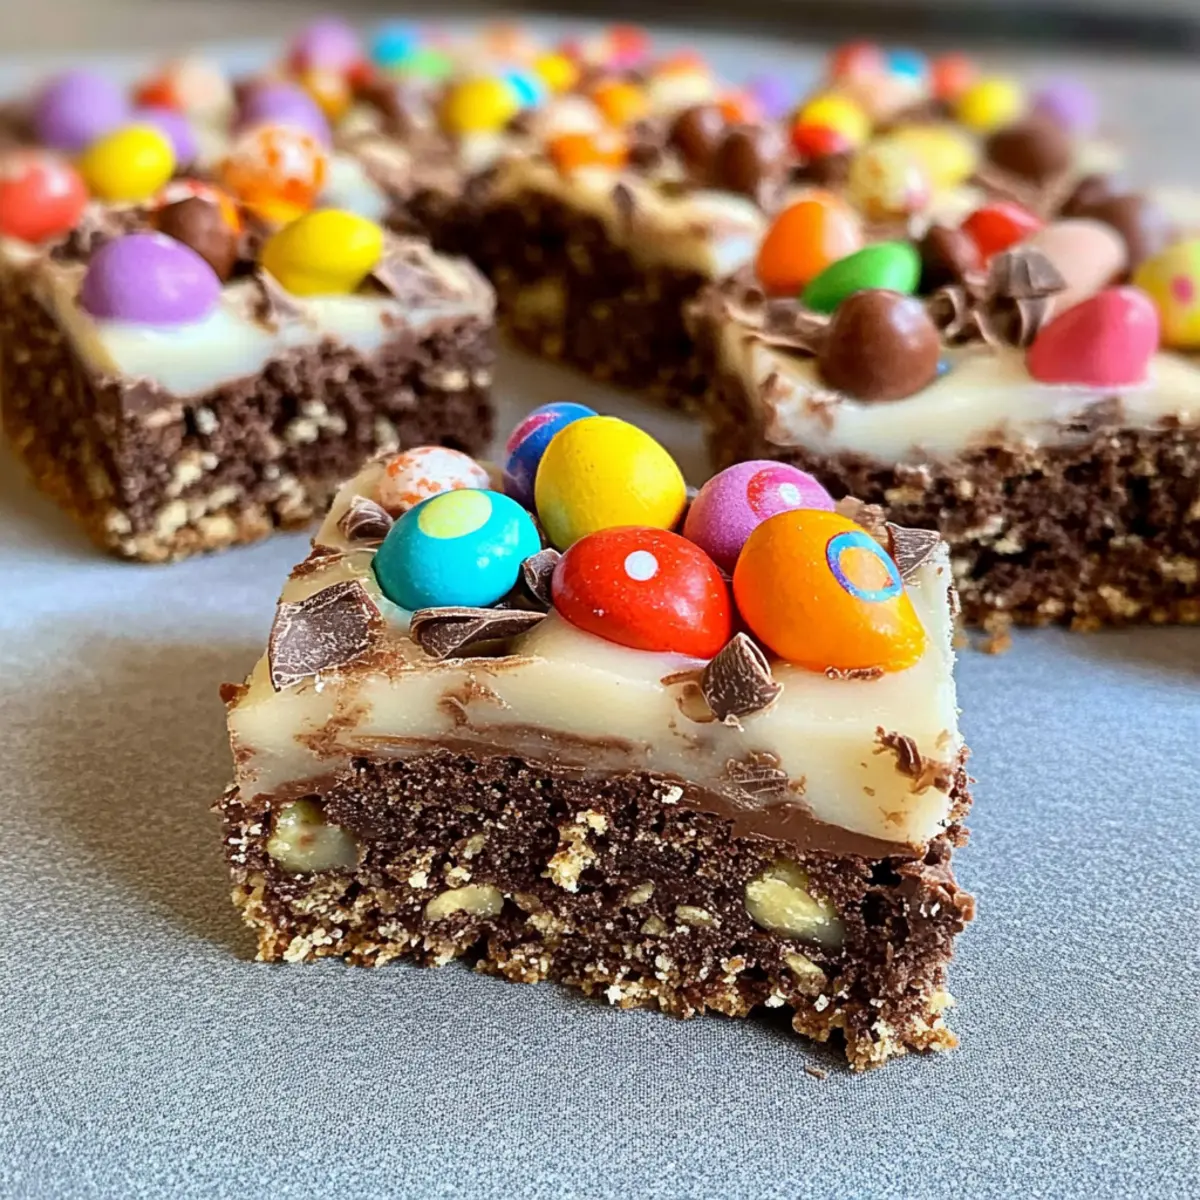
Perfect for Sharing: Easily cut into squares, making it ideal for gatherings or potlucks—your friends will be asking for the recipe!
Time-Saving Delight: With no baking involved, you can prep this delightful dessert in less than an hour—perfect for busy schedules.
Complementary Pair: Serve alongside a hot cup of coffee or tea for a delightful experience that everyone will love. Once you’ve tried it, consider also making Crab Cake Egg or Hawaiian Roll Grilled for even more delightful bites!
No-Bake Chocolate Easter Egg Slice Ingredients
For the Base
- Dark Chocolate – A rich key element; can substitute with milk chocolate for a sweeter touch.
- Condensed Milk – Adds moisture and sweetness; stick to this for the best binding.
- Butter – Brings creaminess; opt for dairy-free butter for a vegan version.
- Milk Arrowroot Biscuits – Provides the crunchy base; swap with any plain or gluten-free biscuits if necessary.
- Cornflakes/Rice Bubbles – Offers added texture; select cornflakes for crunch or rice bubbles for a lighter bite.
For the Topping
- White Chocolate – Imparts sweetness and a pretty finish; dark chocolate can be used for a richer taste.
- Vegetable Oil – Makes melted chocolate smooth for easy spreading; coconut oil works as a great alternative.
- Mini Caramello Eggs/Creme Eggs – Fun and tasty decorations; feel free to use any small chocolate eggs you love.
- Mini Eggs – A colorful and delicious addition; optional but recommended for a festive flair.
- Smarties – Add sweetness and color; can substitute with M&Ms or similar candies.
- Sprinkles – Fun decoration; choose seasonal colors to match your celebrations.
This No-Bake Chocolate Easter Egg Slice will undoubtedly become a favorite at your holiday gatherings, and with these simple ingredients, you’ll be on your way to whipping up a delightful treat in no time!
Step‑by‑Step Instructions for No-Bake Chocolate Easter Egg Slice
Step 1: Prepare the Tin
Start by lining a 19 x 29 cm slice tin with baking paper, leaving some overhang for easy removal later. This will create a non-stick surface for your No-Bake Chocolate Easter Egg Slice, ensuring it comes out perfectly after chilling. Make sure the paper fits snugly against the sides of the tin.
Step 2: Melt the Chocolate Mixture
In a microwave-safe bowl, combine the dark chocolate, condensed milk, and butter. Heat it in the microwave for 30 seconds, stirring in between, until completely melted and smooth. This should take about 1-2 minutes in total. The rich mixture will serve as the flavorful base for your slice.
Step 3: Combine Ingredients
Once the chocolate mixture is smooth and glossy, add the crushed milk arrowroot biscuits and your choice of cornflakes or rice bubbles. Stir well until every bit of the dry ingredients is evenly coated. The mixture should be thick but manageable—this is the heart of your No-Bake Chocolate Easter Egg Slice.
Step 4: Press into the Tin
Transfer the mixture into the prepared slice tin, pressing it down firmly with the back of a spatula or your hands. Aim for a compact, even layer to prevent crumbling later. Smooth the top to ensure a nice flat surface. This step is key to achieving the perfect texture for the base.
Step 5: Melt the White Chocolate
In a separate bowl, melt the white chocolate with a bit of vegetable oil in the microwave, using 30-second intervals and stirring well after each until it’s smooth and pourable. This should take about 1 minute. This creamy layer will create a delectable topping for your No-Bake Chocolate Easter Egg Slice.
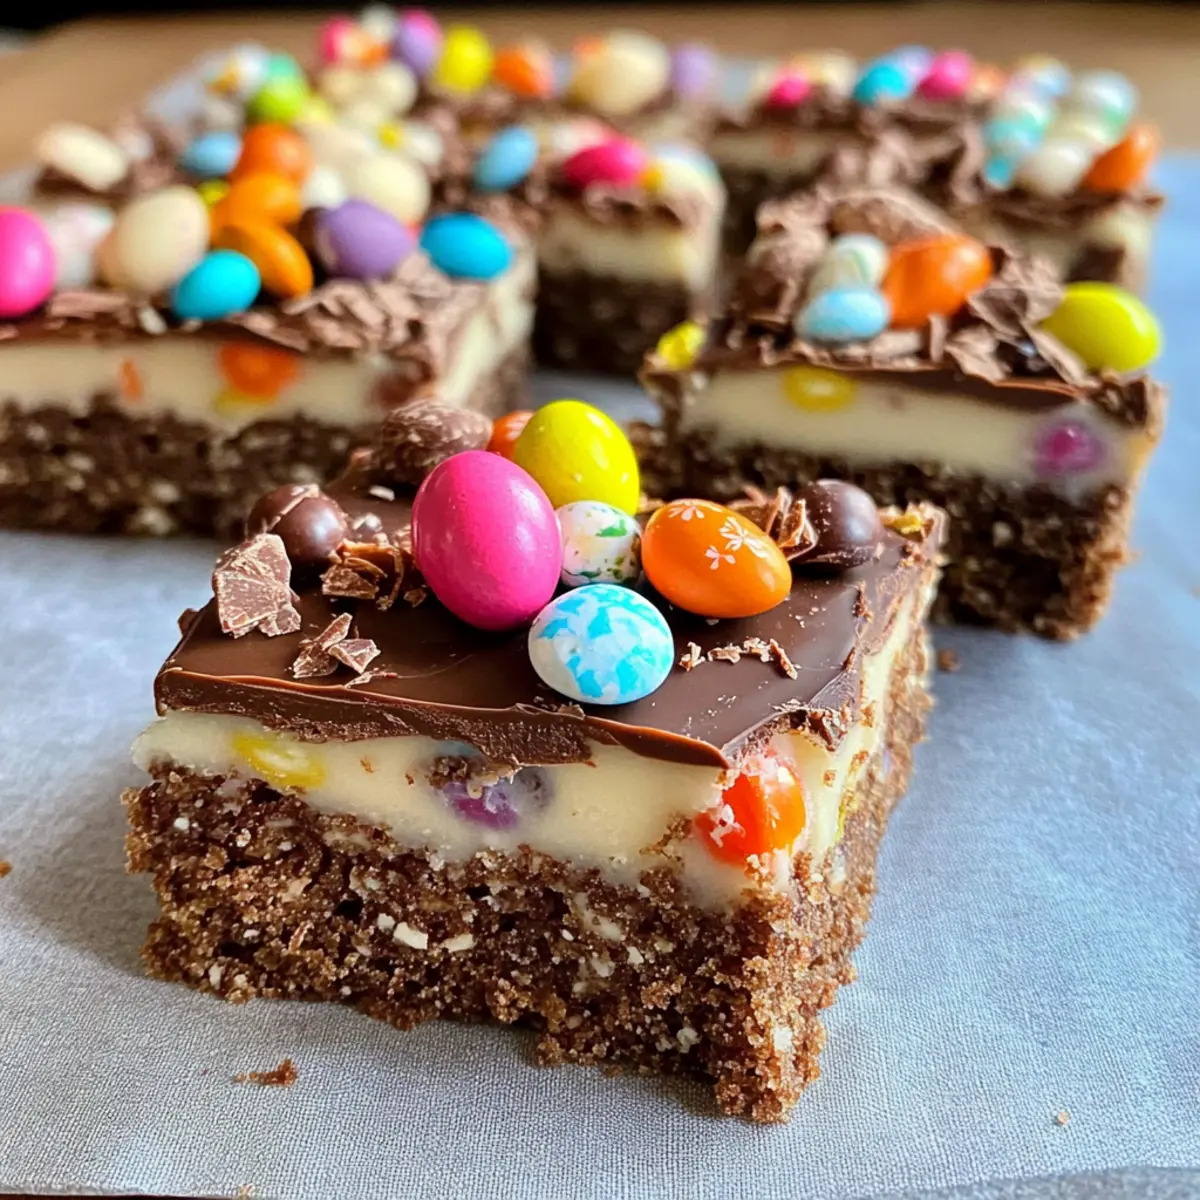
Step 6: Pour and Spread the Topping
Pour the melted white chocolate over the pressed base in the slice tin. Use a spatula to spread it evenly across the top, reaching the edges. Make sure to cover the entire base thoroughly. The glossy finish of the white chocolate adds both sweetness and a festive look to your dessert.
Step 7: Add the Decorations
While the white chocolate is still soft, decorate your slice by placing halved Caramello eggs, mini eggs, Smarties, and sprinkles on top. Arrange them whimsically to create a fun and festive appearance that highlights the seasonal theme of your No-Bake Chocolate Easter Egg Slice.
Step 8: Chill to Set
Place the slice in the refrigerator and chill for at least 4 hours, or until completely set. Once firm, remove it from the fridge, but let it sit for about 20 minutes at room temperature before cutting. This ensures cleaner slices, making it easier to share this delightful dessert with family and friends.
No-Bake Chocolate Easter Egg Slice Variations
Feel free to unleash your creativity with this delightful treat and make it truly your own!
-
Candy Swaps: Replace the decorations with your favorite Easter candies, like caramel chews or chocolate-covered pretzels for an exciting flavor twist.
-
Biscuit Base: Experiment with different crushed biscuits, such as digestive or graham crackers, for a unique sweetness and texture. These options bring their own character to the slice!
-
Chocolate Alternatives: Swap in white chocolate or even milk chocolate as the base for a sweeter taste. Each option changes the flavor profile beautifully.
-
Nutty Crunch: Add chopped nuts, like almonds or hazelnuts, to the base for an extra crunch. This twist not only enhances texture but also adds a delightful nuttiness.
-
Fruity Add-ins: Fold in some dried fruits, like cranberries or apricots, to the mixture for a chewy surprise. This adds a lovely contrast to the rich chocolate.
-
Seasonal Sprinkles: Change the colors of your sprinkles based on the occasion, from pastel shades for Easter to vibrant hues for summer celebrations. Sprinkles can turn your dessert into a festive centerpiece.
-
Chili Heat: Give it a spicy kick by adding a pinch of cayenne pepper to the chocolate mix. It’s a surprising twist that tantalizes the taste buds.
-
Decadent Layering: Create an additional layer with a layer of caramel or peanut butter between the base and the topping. This indulgent layer elevates the dessert to a new level of deliciousness.
With so many ways to customize your No-Bake Chocolate Easter Egg Slice, you can effortlessly cater to everyone’s taste preferences. If you’re keen to explore even more fantastic recipes, consider making these Crab Cake Egg or a colorful Hawaiian Roll Grilled!
How to Store and Freeze No-Bake Chocolate Easter Egg Slice
Fridge: Keep your No-Bake Chocolate Easter Egg Slice stored in an airtight container in the refrigerator for up to one week, maintaining its freshness and texture.
Freezer: If you want to save some for later, slice and wrap individual pieces tightly in plastic wrap, then place them in a freezer-safe container. These can be frozen for up to 2 months.
Thawing: To enjoy, simply remove from the freezer and let sit at room temperature for about 30 minutes before serving. This will help retain its delightful texture.
Reheating: There’s no need to reheat this treat; enjoy it chilled for the best experience and to savor that delicious chocolate crunch!
What to Serve with No-Bake Chocolate Easter Egg Slice
Whether you’re hosting an Easter brunch or simply craving a delightful dessert, complementing this treat creates a wonderful feast that everyone will love.
- Fresh Berries: Juicy strawberries and raspberries brighten the plate and add a refreshing contrast to the rich chocolate.
- Whipped Cream: A dollop of lightly sweetened whipped cream elevates the flavors, creating a creamy balance to the slice. It’s an elegant touch that everyone enjoys!
- Vanilla Ice Cream: The cold, creamy scoop of vanilla ice cream perfectly pairs with the chocolate slice, enhancing its decadence while providing a delightful temperature contrast.
- Mint Tea: The refreshing notes of mint tea cleanse the palate after each sweet bite, making it a soothing beverage choice for dessert.
- Coffee: An espresso or simply brewed coffee pairs beautifully with the sweet slice, enhancing the chocolate flavors while providing an invigorating lift.
- Chocolate-Covered Strawberries: For an extra chocolatey treat, serve alongside chocolate-covered strawberries to double down on the sweet indulgence.
- Caramel Sauce: Drizzled over the slice or served on the side, warm caramel adds another layer of flavor that will have chocolate lovers sighing in bliss.
Each of these pairings enhances the overall experience, turning a simple dessert into a memorable gathering for family and friends. Enjoy!
Expert Tips for No-Bake Chocolate Easter Egg Slice
- Firm Packing: Ensure the mixture is tightly packed in the tin to maintain a solid slice once chilled. A loose mix will crumble.
- Cornflake Caution: If you opt for cornflakes, crush them lightly to avoid sogginess; overmixing can lead to a mushy texture.
- Moisture-Free Melting: When melting chocolate, keep it moisture-free for the smoothest finish. Any water will cause it to seize.
- Sharp Cutting: Use a sharp knife for cutting slices after the chilling period. Dipping the knife in hot water makes for cleaner cuts.
- Customize with Ease: Feel free to swap out toppings with your favorite Easter candies—this No-Bake Chocolate Easter Egg Slice is versatile and fun!
Make Ahead Options
These No-Bake Chocolate Easter Egg Slices are perfect for meal prep! You can prepare the base and the chocolate topping up to 24 hours in advance; just store the assembled slice in the refrigerator, ensuring it’s covered to maintain freshness. If you’ve got special toppings like Mini Caramello Eggs or sprinkles, add those just before serving to keep them looking vibrant and crunchy. When you’re ready to enjoy your treat, simply take it out from the fridge and let it sit for about 20 minutes at room temperature before cutting. This will not only make slicing easier but also let the flavors shine through just as deliciously!
No-Bake Chocolate Easter Egg Slice Recipe FAQs
How do I choose ripe ingredients for this recipe?
Absolutely! When selecting dark chocolate, look for bars with a cocoa content of 60% or higher for a richer flavor. Check the expiry date on the condensed milk for freshness, and make sure your butter is at room temperature for easier mixing. If you choose biscuits, ensure they are free from dark spots or signs of staleness.
How should I store the No-Bake Chocolate Easter Egg Slice?
I recommend keeping your slice in an airtight container in the refrigerator. It will stay fresh for about 5 to 7 days. Make sure to keep it well-sealed to prevent it from absorbing other odors in the fridge.
Can I freeze the No-Bake Chocolate Easter Egg Slice?
Very! To freeze, slice the No-Bake Chocolate Easter Egg Slice into individual portions. Wrap each piece tightly in plastic wrap and place them in a freezer-safe container. They can be frozen for up to 3 months. When you’re ready to enjoy, just let them sit at room temperature for about 30 minutes to thaw.
What should I do if my mixture is too crumbly?
If you find your mixture is too crumbly and not holding together well, try adding a bit more melted butter or condensed milk to help bind it. Mix thoroughly to ensure all ingredients are well incorporated. Remember, packing the mixture tightly in the tin is crucial for solid slices!
Is this recipe safe for those with allergies?
While this No-Bake Chocolate Easter Egg Slice utilizes common ingredients, always check for allergens. The recipe contains dairy and gluten (from the biscuits), so those with allergies should substitute accordingly. Use dairy-free chocolate and butter for vegan adaptations and gluten-free biscuits if necessary.
How do I make this slice more festive?
Get creative with toppings! You can swap in seasonal candies that match the holiday, like pastel-covered chocolates for Easter or color-themed candies for birthdays. Just make sure they complement the rich chocolate base for a delightful treat!
Decadent No-Bake Chocolate Easter Egg Slice You'll Love
Ingredients
Equipment
Method
- Prepare the Tin: Line a 19 x 29 cm slice tin with baking paper, leaving some overhang for easy removal.
- Melt the Chocolate Mixture: Combine dark chocolate, condensed milk, and butter in a microwave-safe bowl. Heat for 1-2 minutes until melted and smooth.
- Combine Ingredients: Add crushed milk arrowroot biscuits and cornflakes or rice bubbles to the chocolate mixture. Stir until evenly coated.
- Press into the Tin: Transfer the mixture to the slice tin, pressing down firmly for a compact layer. Smooth the top.
- Melt the White Chocolate: Melt white chocolate with vegetable oil in a microwave until smooth.
- Pour and Spread the Topping: Pour melted white chocolate over the base and spread evenly.
- Add the Decorations: While the topping is soft, add halved Caramello eggs, mini eggs, Smarties, and sprinkles on top.
- Chill to Set: Refrigerate for at least 4 hours, then let sit at room temperature for 20 minutes before cutting.
Leave a Reply