
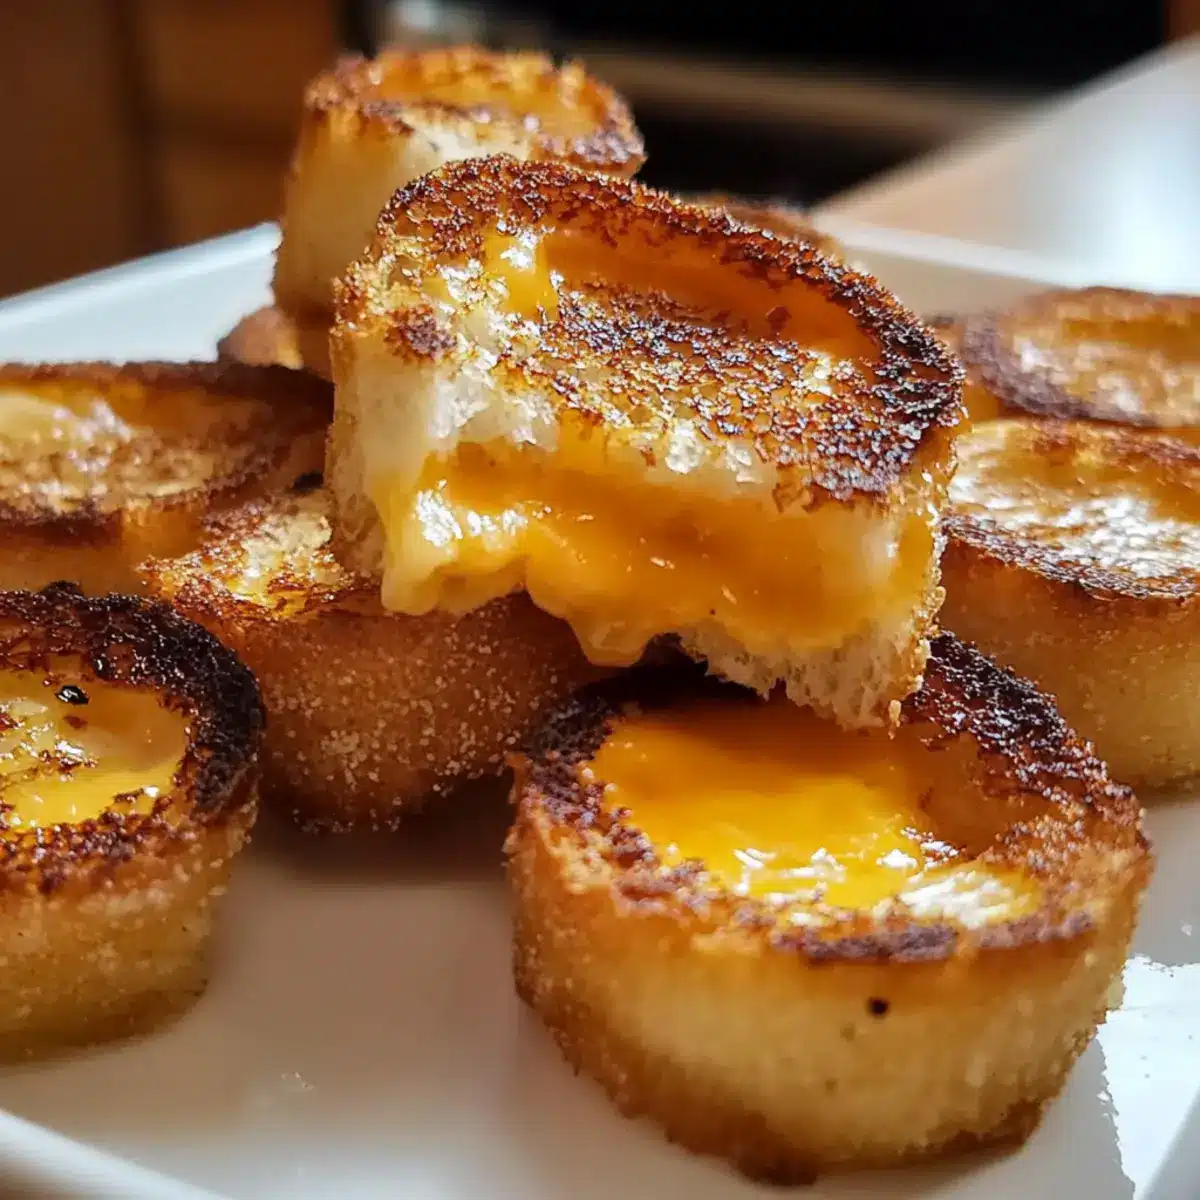
Crisp edges, melted cheese, and the joy of hand-held snacks take me back to childhood memories of crafting the perfect grilled cheese. These Mini Grilled Cheese Dippers are a delightful twist on a classic, transforming the beloved sandwich into shareable bits that everyone can enjoy. Perfect for a quick and easy appetizer, they fit seamlessly into any gathering, making them a crowd-pleaser for both young and old. Plus, they come with a gluten-free option, ensuring that no one is left out of the fun. Are you ready to elevate your snack game and make a crispy, gooey batch that’s perfect for dipping? Let’s dive into the simple steps to create these irresistible bites!
Why will you love these Mini Dippers?
Simplicity at Its Best: Easily whip up these Mini Grilled Cheese Dippers with just a few simple ingredients for a no-fuss cooking experience.
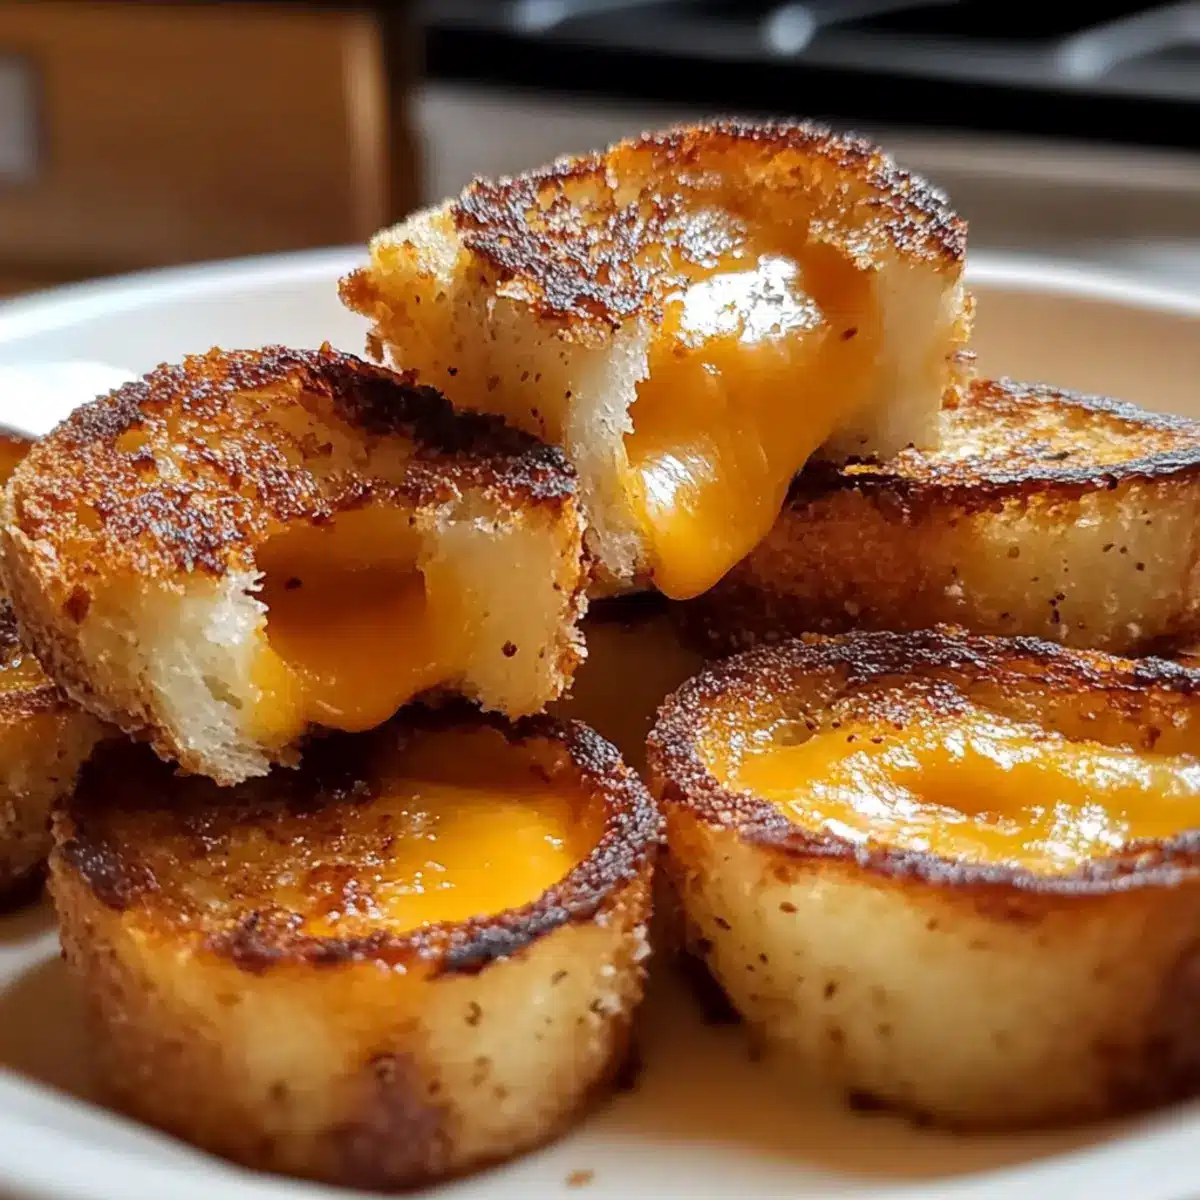
Cheesy Goodness: The combination of sharp cheddar and provolone yields a melted cheese delight that will have everyone coming back for more.
Perfect for Sharing: These bite-sized pieces are ideal for gatherings and make snack time fun, whether it’s game day or a cozy family lunch.
Gluten-Free Option: With a gluten-free alternative available, everyone can indulge without worry, opening up the joy of these dippers to all.
Crowd-Pleasing Appeal: Kids and adults alike will adore this playful twist on a classic, making it the ultimate appetizer for any occasion.
Pair them with a warm bowl of homemade tomato soup for the perfect comfort food experience that echoes the nostalgia of childhood!
Mini Grilled Cheese Dipper Ingredients
For the Bread
• Sturdy Sandwich Bread – Use high-quality bread that holds up well when grilled; gluten-free options are available for dietary needs.
For the Cheese
• Sharp Cheddar – Provides a bold flavor that pairs wonderfully with the crispy bread.
• Provolone – Adds a delightful melting quality, ensuring gooey dips with every bite.
• Gruyère (Optional) – For those seeking a sophisticated, rich cheese experience, Gruyère adds depth.
For Frying
• Butter or Oil – Essential for achieving that golden-brown crust; use sparingly to avoid sogginess.
With these ingredients ready to go, you’re just a few steps away from enjoying your very own Mini Grilled Cheese Dippers, perfect for dipping and sharing!
Step‑by‑Step Instructions for Mini Grilled Cheese Dippers
Step 1: Prepare the Bread
Start by selecting your sturdy sandwich bread, cutting it into 2-inch squares suitable for dippers. Aim for even thickness to ensure consistent grilling. If using gluten-free bread, make sure it is firm enough to support the cheese filling. Set the bread aside, ready for assembly so you can keep the flow going.
Step 2: Assemble the Sandwiches
Layer sharp cheddar and provolone, or your preferred cheese, between two pieces of prepared bread. Ensure even coverage and a generous filling to achieve that deliciously gooey center. Gently press the sandwich together to help hold the ingredients during grilling. This step is crucial for making your Mini Grilled Cheese Dippers truly irresistible.
Step 3: Grill the Sandwiches
Heat a non-stick skillet over medium-low heat, adding a small amount of butter or oil for frying. While waiting for the pan to heat, lightly coat the outsides of each assembled sandwich with butter or oil to promote that perfect golden crust. Once hot, place the sandwiches in the skillet, making sure not to overcrowd them.
Step 4: Cook to Golden Perfection
Allow the sandwiches to grill for about 2-3 minutes, checking frequently for that lovely golden-brown color. The key is to maintain that medium-low heat—this helps the cheese melt beautifully without burning the bread. Keep an eye on them, as this step is where the crispy texture begins to develop.
Step 5: Flip and Finish
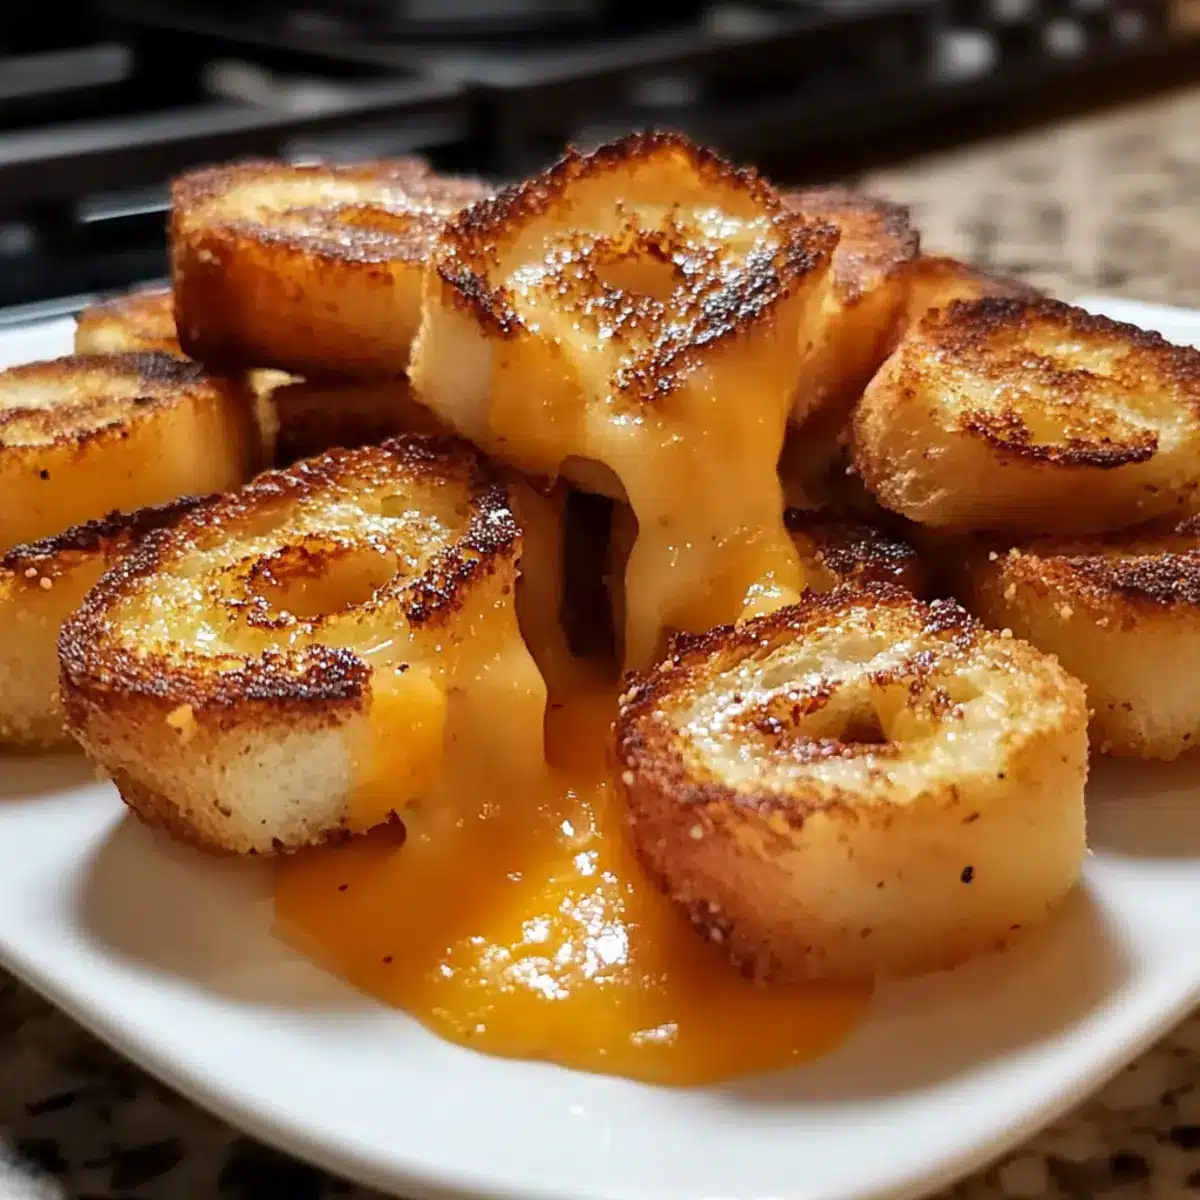
Gently flip the sandwiches using a spatula after the first side reaches that delightful golden hue. Grill the other side for an additional 2-3 minutes. As they cook, you should start to see the cheese melting enticingly at the edges. Once both sides are evenly browned and the cheese is gooey, they’re ready for the next step.
Step 6: Rest and Slice
Once grilled to perfection, remove your Mini Grilled Cheese Dippers from the skillet and let them rest for a minute. This resting period allows the cheese to firm up slightly, making slicing easier and preventing filling from spilling out.
Step 7: Create the Dippers
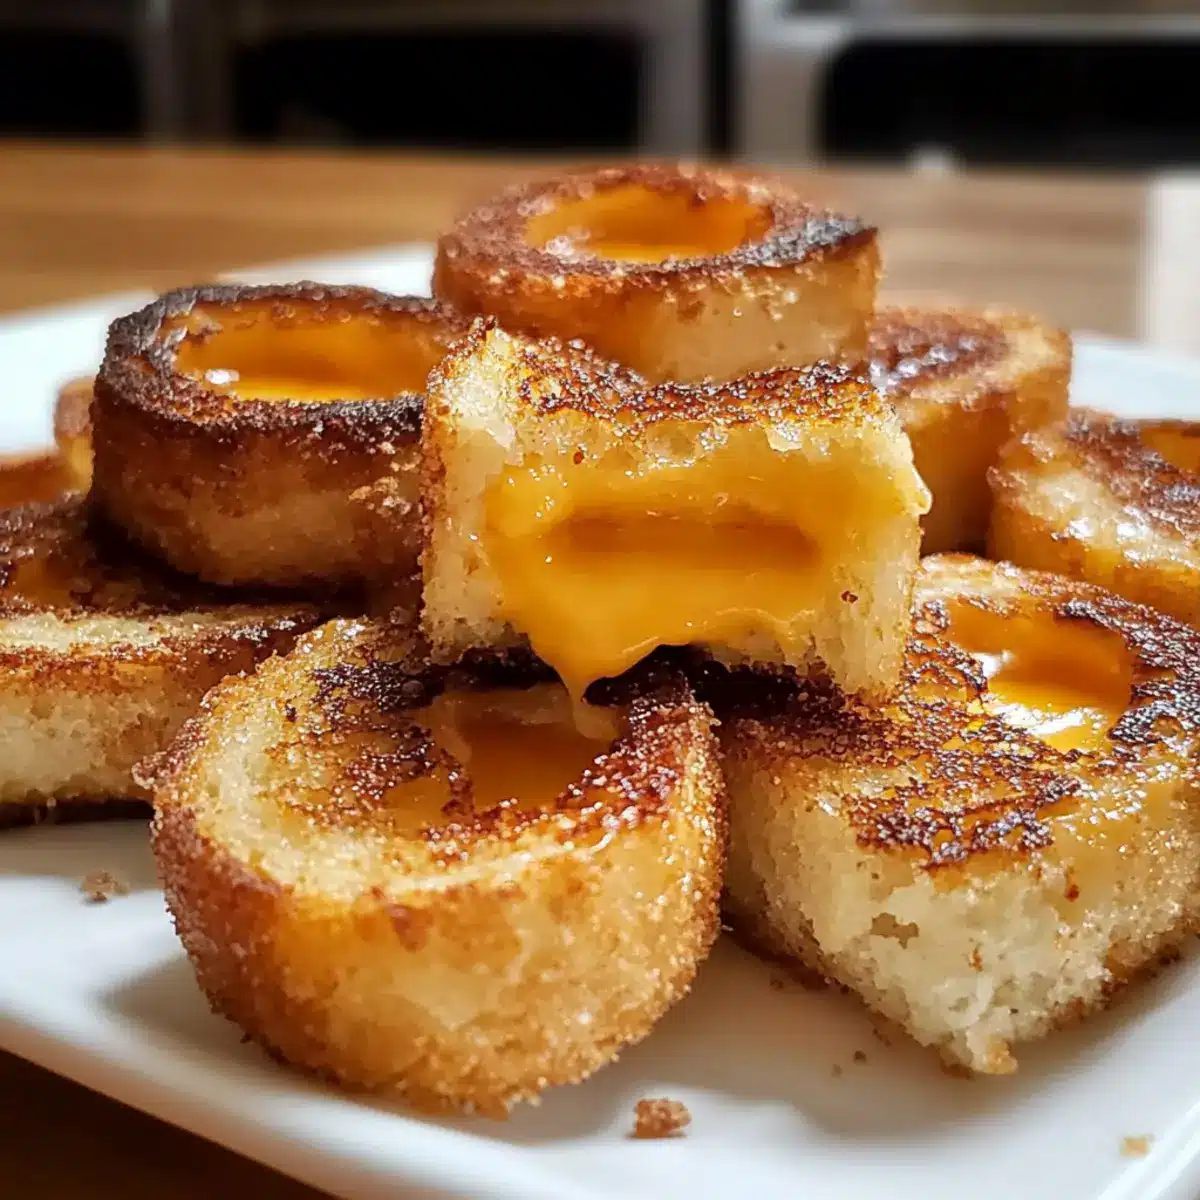
Using a sharp knife, carefully cut each sandwich into quarters or smaller pieces for easy dipping. This creates the fun, shareable format that will delight both kids and adults alike. Arrange them on a serving platter, showcasing their gooey goodness.
Step 8: Serve Immediately
Present your warm Mini Grilled Cheese Dippers alongside a bowl of tomato soup, marinara sauce, or a spicy aioli for dipping. It’s the perfect way to elevate this classic comfort food into a fun and interactive appetizer that everyone can enjoy!
Expert Tips for Mini Grilled Cheese Dippers
Avoid Sogginess: Use high-quality, firm bread to prevent your Mini Grilled Cheese Dippers from becoming soggy during grilling.
Grill in Batches: Cook in smaller batches to maintain even heating, ensuring all your dippers achieve that perfect golden crust without overcrowding the pan.
Air Fryer Option: For a healthier twist, try using an air fryer. Lightly spray with cooking oil and place at 370°F (185°C) for 4-5 minutes on each side.
Watch the Heat: Keep your skillet on medium-low heat. This allows the cheese to melt thoroughly while preventing the bread from burning.
Let Them Rest: After grilling, let the Mini Grilled Cheese Dippers rest for a minute before slicing. This helps the cheese firm up, making it easier to cut.
Creative Fillings: Experiment with different cheese combinations or add extras like tomatoes or avocados for a fresh twist on flavor.
Mini Grilled Cheese Dippers Variations
Feel free to get creative and customize your Mini Grilled Cheese Dippers for an even more delicious experience!
-
Gluten-Free: Swap regular bread for your favorite gluten-free option, ensuring everyone can partake in the cheesy goodness.
-
Cheese Blend: Mix sharp cheddar with mozzarella for a delightful pull. It adds a melt-in-your-mouth texture that kids will adore.
-
Herbed Delight: Sprinkle fresh herbs like basil or chives inside the sandwiches for a burst of flavor that transforms the classic into a gourmet treat. Fresh herbs elevate the experience and bring a fragrant touch.
-
Spicy Kick: Add a slice of jalapeño or a dash of hot sauce for those who enjoy a little heat. This twist can take your dippers to fiery new heights!
-
Tomato Slice: Incorporate thin slices of ripe tomatoes for a fresh, juicy contrast to the rich cheese. It’s a simple addition that packs a flavor punch.
-
Sourdough Upgrade: Choose sourdough bread for an added tanginess, bringing depth to each bite. The unique flavor complements the melty cheese beautifully.
-
Pesto Spread: Spread a thin layer of pesto on the bread before adding cheese for a savory twist that bursts with Italian flavor. It’s an unexpected yet delightful surprise!
-
Air Fryer Option: For a healthier alternative, try using an air fryer. It gives you a perfectly crispy finish without all the added butter. This way, you can enjoy your dippers guilt-free!
For more delicious options, consider pairing these with a comforting bowl of homemade tomato soup, or even explore variations like the Grilled Cheese Burrito for a fun twist on cheesy goodness!
What to Serve with Mini Grilled Cheese Dippers?
Pair these delightful bites with sides that amplify their cheesy goodness and bring smiles to every gathering.
-
Homemade Tomato Soup: The classic pairing for grilled cheese, its warm, tangy flavor complements the crispy dippers perfectly. Enjoy the nostalgia with every bite dipped in rich tomato goodness.
-
Marinara Sauce: For a zesty twist, serve with marinara. Its herbaceous notes contrast wonderfully with the richness of the cheese, making each dip an explosion of flavor.
-
Spicy Aioli: Elevate your dippers with a creamy, spicy aioli. The heat adds an exciting kick that balances the cheesy indulgence.
-
Crisp Salad: A fresh side salad with mixed greens and a light vinaigrette provides a refreshing contrast to the rich and gooey texture of the dippers. Think of it as the responsible sidekick to your cheesy treat!
-
Veggie Sticks: Pair with assorted crunchy vegetable sticks like carrots and celery for a wholesome crunch. They add a satisfying contrast and a touch of health to your snack spread.
-
Sweet Potato Fries: The sweet and savory crunch of baked sweet potato fries makes for a hearty side that satisfies any craving. They’re crisp on the outside and tender inside!
-
Apple Slices: For a sweet and refreshing element, serve thinly sliced apples. Their natural sweetness balances the savory dippers and adds a burst of freshness.
-
Wine Pairing: Consider a chilled white wine, like Sauvignon Blanc. Its acidity cuts through the richness of the cheese, creating a delightful dining experience.
How to Store and Freeze Mini Grilled Cheese Dippers
Fridge: Store leftovers in an airtight container in the refrigerator for up to 2 days. This keeps your Mini Grilled Cheese Dippers fresh while preserving their delightful flavors.
Freezer: If you want to enjoy these dippers later, freeze them in a single layer on a baking sheet, then transfer to a zip-top bag for up to 2 months.
Reheating: For best results, reheat in a skillet over medium heat or in an air fryer at 370°F (185°C) for 4-5 minutes, ensuring they come out crispy and warm.
Cooling: Allow the dippers to cool completely before storing to prevent moisture buildup, which can lead to sogginess.
Make Ahead Options
These Mini Grilled Cheese Dippers are fantastic for meal prep, making your busy weeknights a breeze! You can prepare the sandwiches by assembling them, then wrapping them tightly and refrigerating for up to 24 hours. This way, the flavors meld perfectly, ensuring just as delicious results when cooked. To maintain quality, make sure the bread is sturdy to avoid sogginess. When you’re ready to serve, simply heat your skillet, grill the dippers until golden brown, and enjoy with your favorite dipping sauce. With this prep-ahead approach, you can serve up delightful bites in no time, keeping prep stress at bay!
Mini Grilled Cheese Dippers Recipe FAQs
What type of bread is best for Mini Grilled Cheese Dippers?
For the best results, choose a sturdy sandwich bread that can hold up well to grilling without becoming too soggy. If you need a gluten-free option, there are suitable gluten-free breads available that are firm and well-structured. Look for options like gluten-free sourdough or whole grain that will still give you that delightful crunch.
How do I store leftover Mini Grilled Cheese Dippers?
Absolutely! Store your leftover Mini Grilled Cheese Dippers in an airtight container in the refrigerator for up to 2 days. This way, they retain their flavor and texture. Just let them cool completely before putting them away to prevent excess moisture that can lead to sogginess.
Can I freeze Mini Grilled Cheese Dippers?
Yes, you can freeze these little delights! For proper freezing, place them in a single layer on a baking sheet to prevent sticking. Once frozen, transfer them into a zip-top bag, ensuring you remove as much air as possible. They will keep well for up to 2 months. When ready to enjoy, simply reheat them in a skillet or air fryer as mentioned earlier.
What should I do if my Mini Grilled Cheese Dippers are soggy?
To prevent sogginess in your Mini Grilled Cheese Dippers, use high-quality, firm bread and avoid applying too much butter or oil when grilling. If you notice they have turned out soggy, try reheating them in an air fryer set at 370°F (185°C) for 4-5 minutes. This will help restore the crispiness, and you can enjoy them as though they were just made!
Can I make Mini Grilled Cheese Dippers for my gluten-sensitive friends?
Very! These dippers can easily be adapted for gluten-sensitive diets by using gluten-free bread. Just ensure that your choice of bread is certified gluten-free, and be mindful of cross-contamination if cooking for individuals with severe allergies. This way, everyone can partake in the cheesy joy!
Mini Grilled Cheese Dippers: Fun Bites for Cheesy Joy
Ingredients
Equipment
Method
- Prepare the Bread by cutting into 2-inch squares.
- Assemble the Sandwiches with cheddar and provolone between bread.
- Grill the Sandwiches in a non-stick skillet with butter or oil.
- Cook to Golden Perfection for about 2-3 minutes per side.
- Flip and Finish the grilling until both sides are browned.
- Rest and Slice before serving for easier dipping.
- Create the Dippers by cutting into quarters or smaller pieces.
- Serve Immediately with a dipping sauce of your choice.
Leave a Reply