
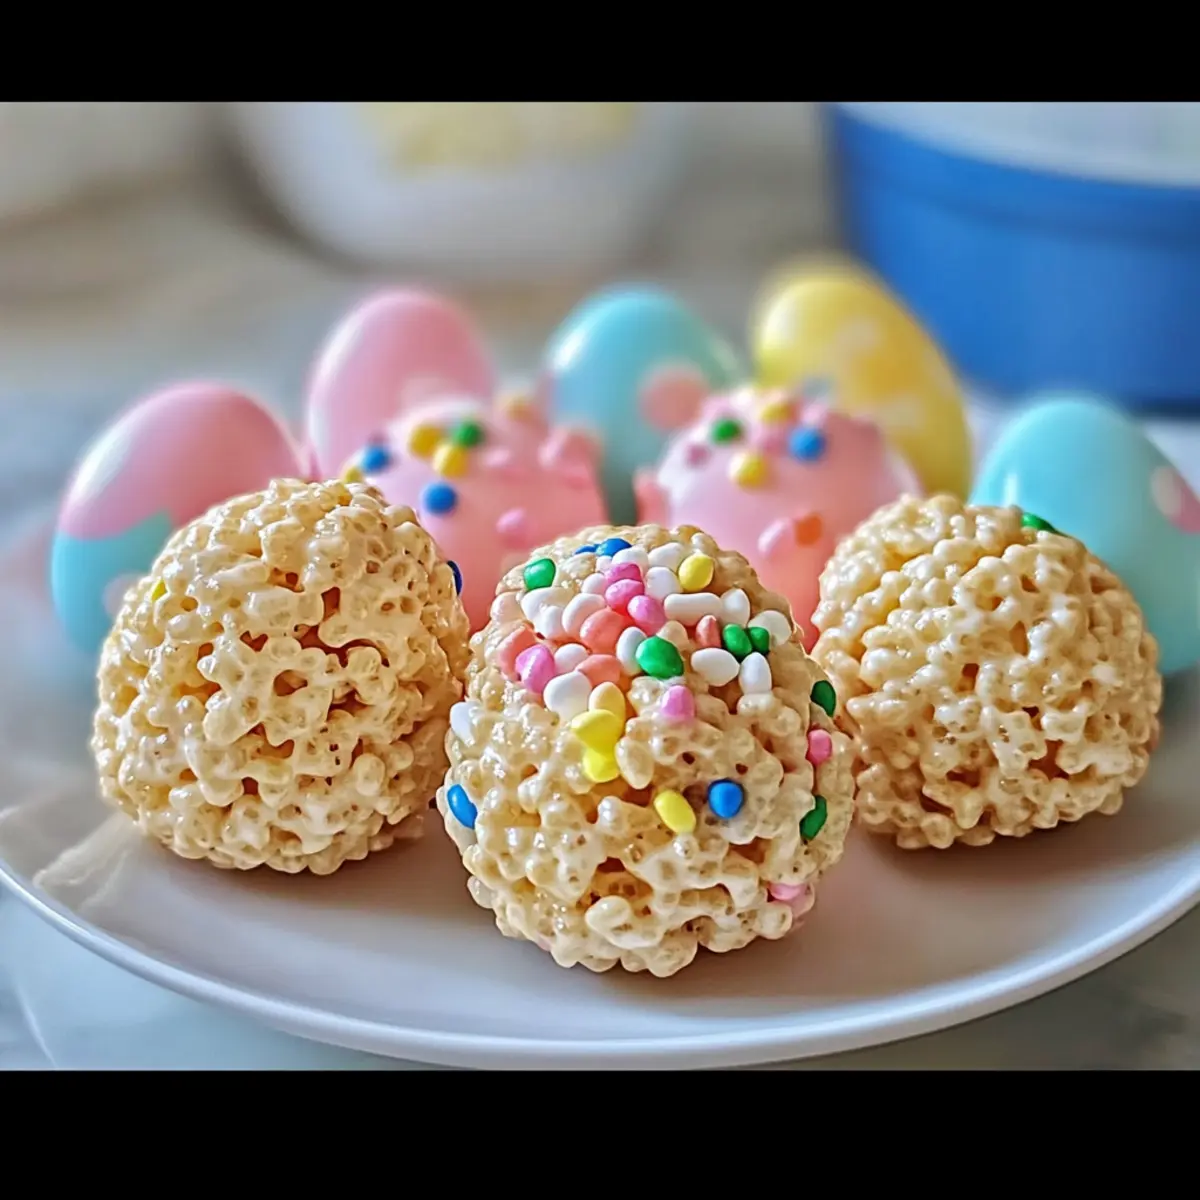
While rummaging through my cabinet for some festive inspiration, I discovered a forgotten box of Rice Krispies—perfectly poised for a sweet transformation. Today, I’m excited to share my Easy No-Bake Easter Egg Rice Krispie Treats, a delightful combination that’s not only colorful and fun but also incredibly easy to whip up in under 20 minutes. With this no-bake recipe, you can create a festive dessert that’s sure to impress both kids and adults alike. These treats are customizable too—think chocolate drizzle or a touch of peanut butter for an extra twist! Imagine the smiles when you present a tray of these whimsical, egg-shaped delights at your next Easter celebration. Are you ready to bring some joy and creativity into your kitchen? Let’s dive in!
Why Are Easter Egg Rice Krispie Treats Special?
Festive Appeal: These treats are a vibrant addition to your Easter celebrations, bursting with color and creativity.
No-Bake Convenience: Easily made in just 20 minutes, they save you precious time during the holidays!
Customizable Options: You can personalize them with various color combinations or add chocolate drizzle for an extra touch.
Family Fun: Involve kids in creating their own unique designs—it’s a sweet bonding experience.
Crowd-Pleasing Treat: Perfect for gatherings, these delightful treats will impress both young and old, ensuring smiles all around. Why not try pairing them with other festive goodies like Crab Cake Egg or indulge in a savory Steak Queso Rice dish for a balanced feast?
Easter Egg Rice Krispie Treats Ingredients
For the Base
- Butter – Provides richness and helps to bind the mixture; consider using vegan butter for a dairy-free option.
- Mini Marshmallows – Ensure the treats are soft and gooey; can substitute with 7 oz (200g) of marshmallow fluff if needed.
- Rice Krispies cereal – Adds structure and crunch; adjust quantity based on your desired texture.
- Vanilla Extract – Enhances flavor; this is optional but recommended for an extra touch of sweetness.
For the Decoration
- Food Coloring – Use for personalization and creating festive colors; natural colorings like beet powder or turmeric work great as substitutes.
- Easter Sprinkles/Chocolate Eggs – Decorative toppings that make the treats festive; feel free to mix in or sprinkle on top as desired for that extra flair.
Step‑by‑Step Instructions for Easter Egg Rice Krispie Treats
Step 1: Melt the Butter
In a large pot over low heat, add butter and allow it to melt slowly, stirring occasionally with a spatula. This should take about 2-3 minutes. The butter should be completely liquefied, creating a rich base for your Easter Egg Rice Krispie Treats. Be careful not to let it brown; you want it just melted.
Step 2: Add the Marshmallows
Next, add the mini marshmallows to the melted butter, stirring continuously until they are fully melted and smooth, which should take about 4-5 minutes. The mixture will become gooey and glossy, indicating it’s ready. Once melted, remove the pot from heat and stir in vanilla extract if desired for an extra layer of flavor.
Step 3: Color the Mixture
Divide the fluffy marshmallow mixture into 2-3 separate bowls. Add a few drops of food coloring to each bowl and mix well until the colors are vibrant and evenly distributed. This colorful addition will make your Easter Egg Rice Krispie Treats look festive and fun! The marshmallow should remain soft and easy to work with.
Step 4: Combine with Rice Krispies
In each colored bowl, fold in the Rice Krispies cereal gently, using a spatula to ensure every piece is evenly coated. This process should take about 2-3 minutes. The mixture will become quite firm, and you’ll want to see a beautiful array of color throughout the cereal, indicating that it’s ready for shaping.
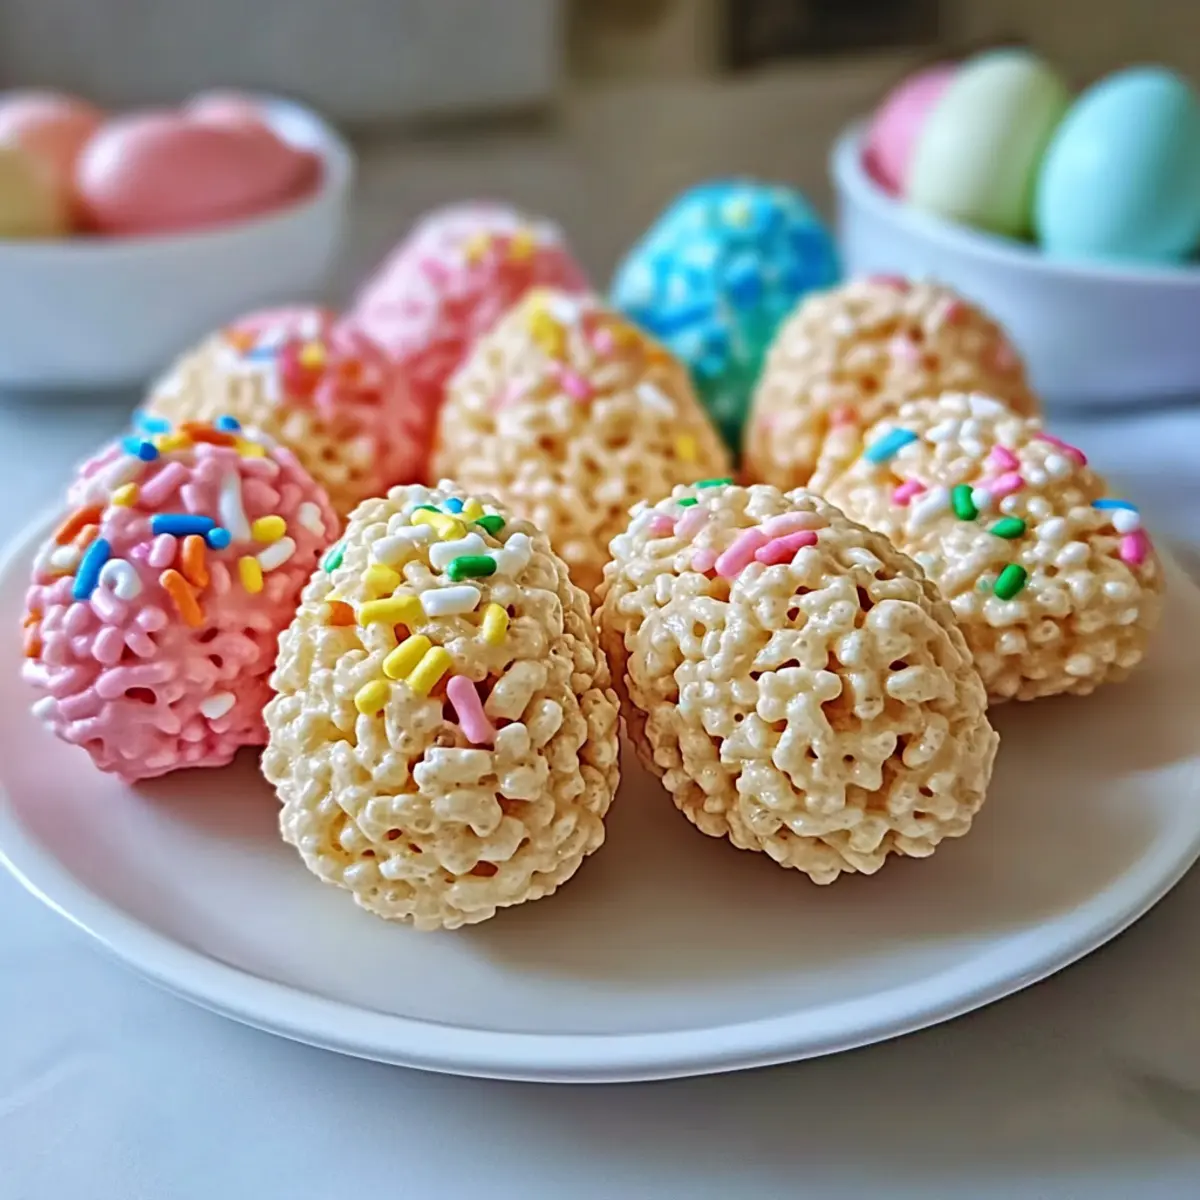
Step 5: Shape the Treats
While the mixture is still warm, lightly grease your hands with cooking spray to prevent sticking. Take small portions of the colored Rice Krispie mixture and shape them into egg shapes. This should take about 5 minutes. As you form the eggs, feel free to press mini chocolate eggs into each for adorable decoration.
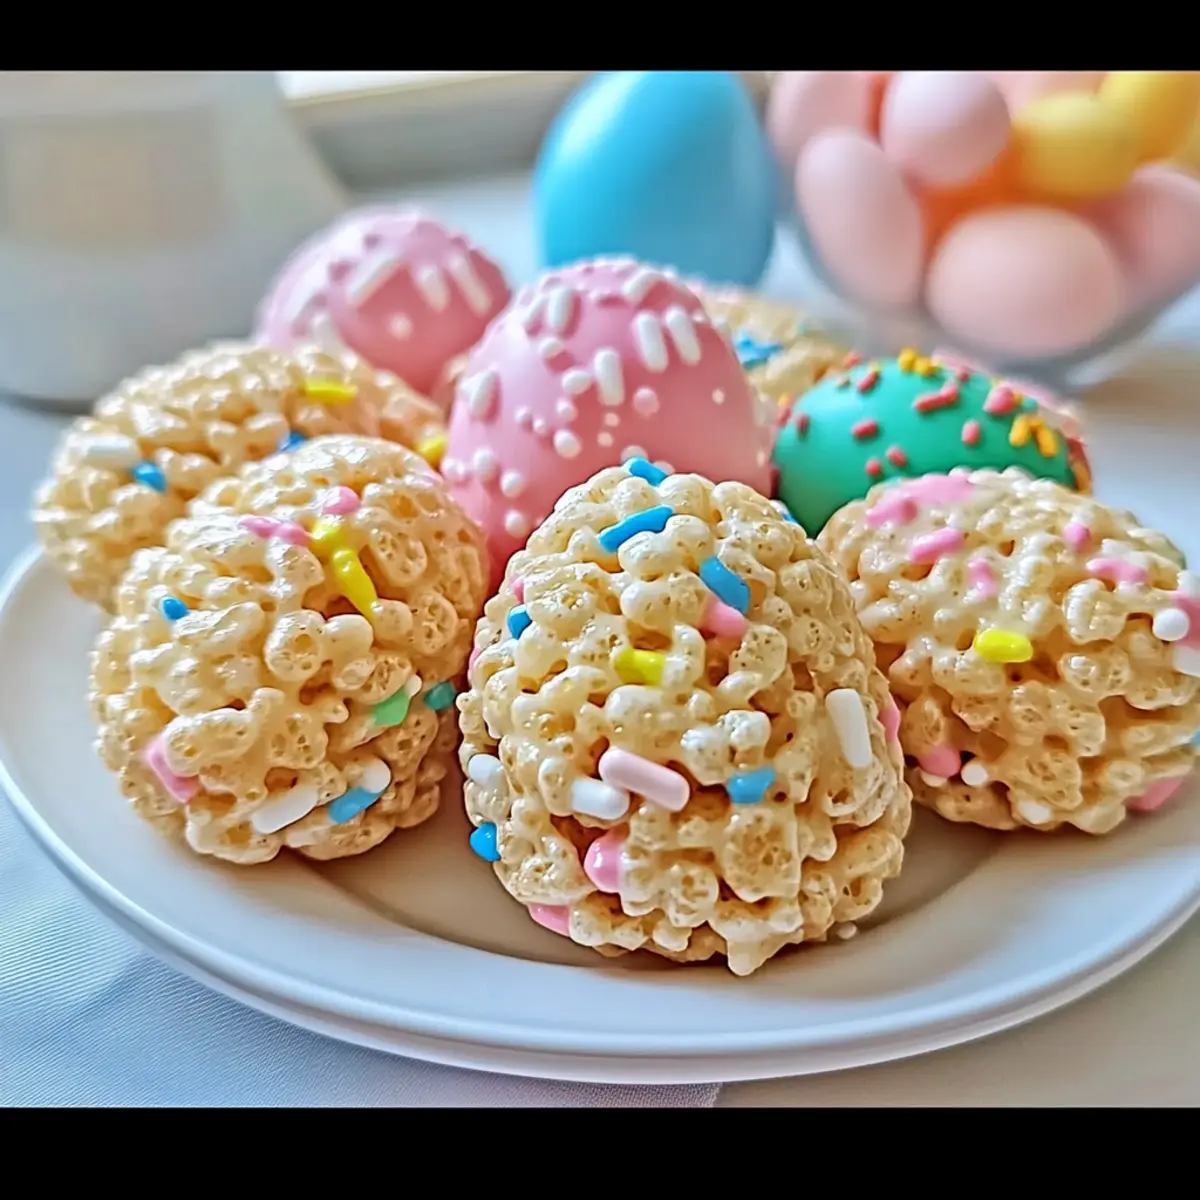
Step 6: Let Them Set
Place the shaped Easter Egg Rice Krispie Treats onto a parchment-lined baking sheet. Allow them to set for about 10-15 minutes at room temperature. The treats should firm up as they cool, becoming easier to handle. You’ll know they’re set when they hold their shape but remain deliciously soft to the bite.
How to Store and Freeze Easter Egg Rice Krispie Treats
Room Temperature: Store the treats in an airtight container at room temperature for up to 5 days to maintain their freshness and softness.
Fridge: For a firmer texture, refrigerate the Easter Egg Rice Krispie Treats for up to 1 week. Ensure they are in a tightly sealed container.
Freezer: Individually wrap the treats in plastic wrap and place them in a freezer-safe bag. They can be frozen for up to 2 months; simply thaw at room temperature before serving.
Reheating: If you desire a gooey texture after refrigerating, briefly microwave them (about 5-10 seconds) before enjoying.
Expert Tips for Easter Egg Rice Krispie Treats
- Fresh Ingredients: Use fresh mini marshmallows for optimal softness and gooeyness. Stale marshmallows can result in dry treats.
- Work Quickly: The marshmallow mixture sets rapidly, so shape your eggs while still warm for best results.
- Cooking Spray: Lightly spray your hands with cooking spray to prevent the mixture from sticking when shaping the Easter Egg Rice Krispie Treats.
- Texture Check: Adjust Rice Krispies quantity for your desired texture. More crisps create a crunchier treat, while fewer provide a softer bite.
- Color Mixing: For a marbled effect, try folding in different colors of the mixture gently rather than mixing thoroughly, adding a beautiful twist to each treat.
Make Ahead Options
These Easy No-Bake Easter Egg Rice Krispie Treats are perfect for meal prep, allowing you to enjoy stress-free holiday celebrations! You can prepare the marshmallow mixture up to 24 hours in advance; simply melt the butter and mix in mini marshmallows, then divide and color as instructed. Store the colored marshmallow mixture in an airtight container at room temperature to maintain its freshness. When you’re ready, fold in the Rice Krispies and shape the treats, pressing mini chocolate eggs in as you go. In doing so, you’ll have delightful, colorful treats ready to impress your guests with minimal last-minute effort!
What to Serve with Easy No-Bake Easter Egg Rice Krispie Treats?
Elevate your festive gathering by pairing these colorful treats with delightful accompaniments that everyone will love.
- Mini Fruit Skewers: Fresh, juicy fruits complement the sweetness by adding a refreshing burst of flavor and vibrant colors.
- Chocolate-Covered Pretzels: The salty crunch of pretzels balances the sweetness of the Rice Krispie Treats, creating a delightful contrast in every bite.
- Vanilla Ice Cream: Serve a scoop alongside for a creamy, cool contrast. The flavors meld beautifully, making it an indulgent treat!
- Lemonade: The tartness of freshly squeezed lemonade provides a refreshing note that cuts through the sweetness—perfect for spring.
- Carrot Cake Cupcakes: Keep the Easter spirit alive with these moist, spiced delights that tie in with the seasonal theme beautifully.
- Bunny-Shaped Sandwiches: Cute and clever! Make simple peanut butter and jelly sandwiches cut into bunny shapes for a fun, child-friendly option.
- Easter Cookie Platter: Mix in some iced sugar cookies or chocolate chip cookies to create a dessert table that appeals to all tastes.
- Sparkling Water: Offer carbonated water with lemon or lime slices for a fun, fizzy drink that’s refreshing without added sugar.
Easter Egg Rice Krispie Treats Variations
Get ready to unleash your creativity and tailor this recipe to suit your taste buds and festive spirit!
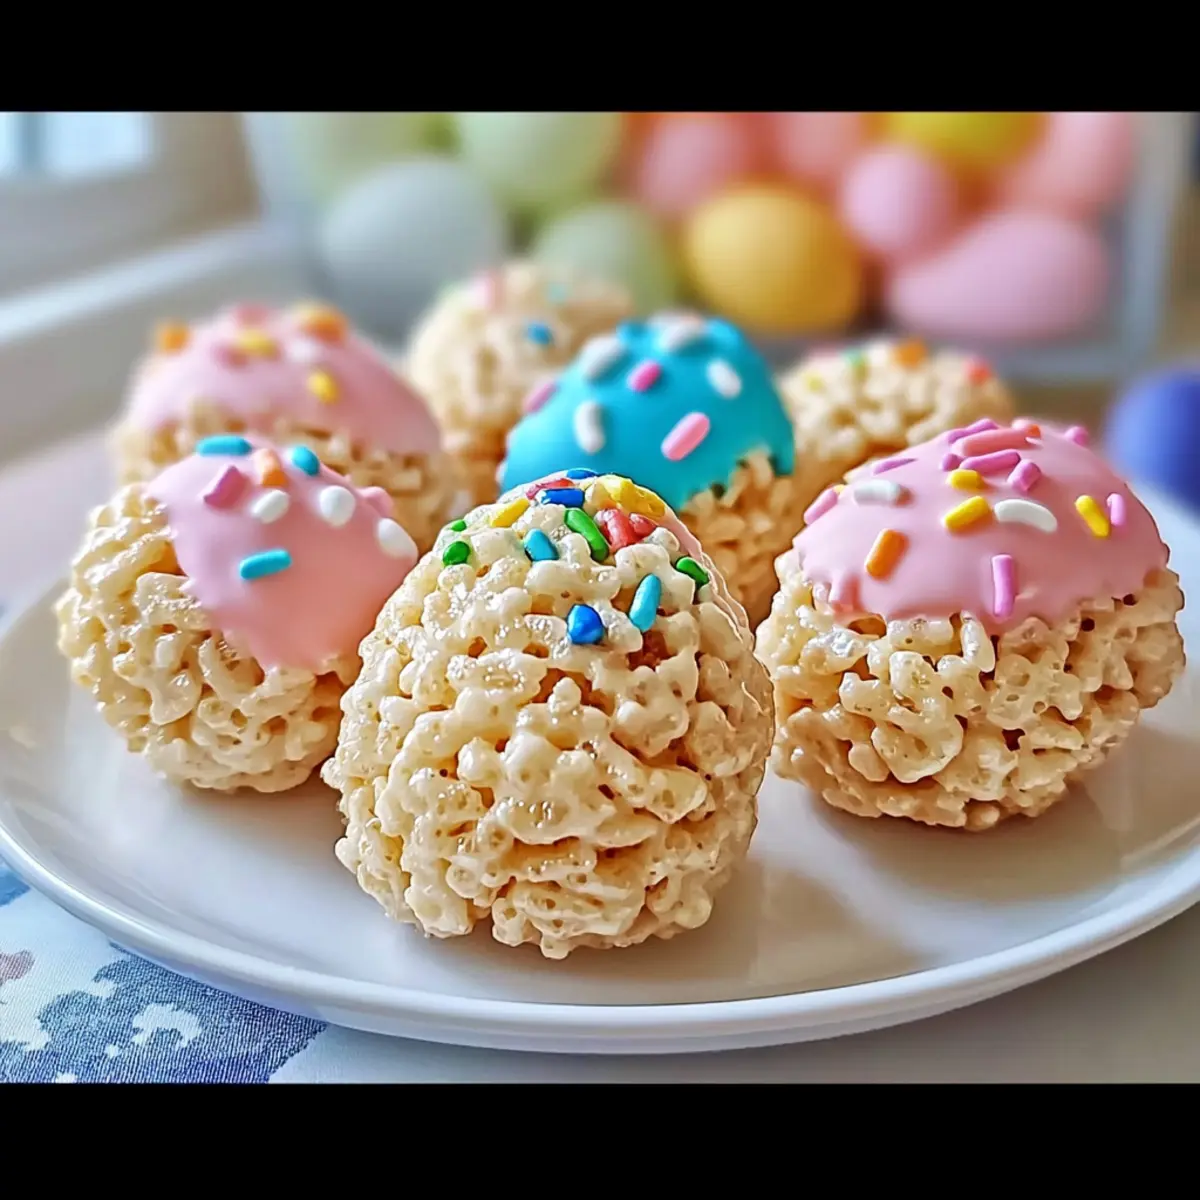
- Chocolate Drizzle: Drizzle melted chocolate over the set treats for a decadent touch that adds richness. It’s an irresistible combination!
- Peanut Butter Twist: Mix in ¼ cup of creamy peanut butter for a nutty flavor that complements the sweetness beautifully. Enjoy the delightful contrast with every bite!
- Marbled Colors: Create a stunning marbled effect by gently folding in two colors of the marshmallow mixture without fully blending them together.
- Nutty Addition: Toss in some chopped nuts like walnuts or pecans for added crunch and flavor. This provides a delightful texture contrast that everyone will love!
- Coconut Delight: Incorporate some sweetened shredded coconut into the Rice Krispies mixture for an exotic twist that gives a tropical flair to each bite.
- Spiced Up: Add a pinch of cinnamon or nutmeg to the melted marshmallow mixture for a hint of warmth. It’s a subtle touch that enhances the overall flavor!
- Fruit-Flavored Version: Substitute some of the vanilla extract with flavored extracts like almond or hazelnut for a deliciously nutty flavor profile that will surprise your guests.
- Color Variations: Use a mix of pastel colors for a traditional Easter look or go bold with vibrant colors for a modern twist! These playful choices will surely make everyone smile.
Looking to expand your dessert spread? Consider pairing these Easter treats with savory options like Bbq Chicken Rice or some festive options like Steak Queso Rice. Celebrate Easter with an irresistible spread that balances both sweet and savory!
Easter Egg Rice Krispie Treats Recipe FAQs
How do I choose ripe ingredients for my Easter Egg Rice Krispie Treats?
Absolutely! The main ingredients here, like mini marshmallows and butter, don’t really have ripeness like fresh fruits or veggies. Just ensure your butter isn’t expired and your marshmallows are fresh, as stale ones can lead to drier treats.
How should I store my Easter Egg Rice Krispie Treats?
Store your treats in an airtight container at room temperature for up to 5 days. If you prefer a firmer texture, refrigerate them for up to 1 week, making sure they’re tightly sealed to keep out moisture.
Can I freeze my Easter Egg Rice Krispie Treats?
Yes, of course! To freeze, individually wrap your treats in plastic wrap and place them in a freezer-safe bag. They’ll stay fresh for up to 2 months. When you’re ready to enjoy them, simply thaw them at room temperature for a few hours.
What should I do if my mixture is too sticky or dry when forming the eggs?
Very importantly, if your mixture is too sticky, try using cooking spray on your hands to make shaping easier. If it feels too dry, it might need a touch more melted marshmallow. Start with a tablespoon, mix gently, and check until you reach the desired consistency—just be cautious not to over-mix!
Are there any dietary considerations for my Easter Egg Rice Krispie Treats?
Of course! For allergies, make sure to check if anyone has a sensitivity to gluten in the Rice Krispies or dairy in the butter. You can use vegan butter and marshmallow fluff for a dairy-free version. Always double-check ingredient labels to accommodate and keep everyone safe and happy!
Delightful Easter Egg Rice Krispie Treats in 20 Minutes
Ingredients
Equipment
Method
- Melt the butter in a large pot over low heat, stirring occasionally until completely liquefied, about 2-3 minutes.
- Add the mini marshmallows to the melted butter and stir until fully melted and smooth, about 4-5 minutes.
- Divide the melted mixture into 2-3 bowls, adding food coloring to each and mixing well until vibrant.
- Gently fold in Rice Krispies into each colored bowl until coated, about 2-3 minutes.
- Shape the mixture into egg shapes using lightly greased hands, about 5 minutes.
- Place the shaped treats on a parchment-lined baking sheet and let them set for 10-15 minutes at room temperature.
Leave a Reply