
Craving a snack that offers a delightful crunch without the guilt? You’re in the right place! With these Crispy Cottage Cheese Chips, you can satisfy your savory cravings while sticking to your health goals. This easy-to-make recipe not only packs a protein punch—each chip delivers 3-4 grams of protein with just 2g of net carbs—but it’s also incredibly versatile. Whether you want to spice things up with cayenne or keep it classic with garlic powder, the flavor possibilities are endless. Plus, they’re perfect for anyone following a low-carb, keto, or gluten-free lifestyle. So why not swap out those traditional potato chips and give these a try? I promise you won’t be disappointed! What flavor twist will you try first?
Why are Cottage Cheese Chips so addictive?
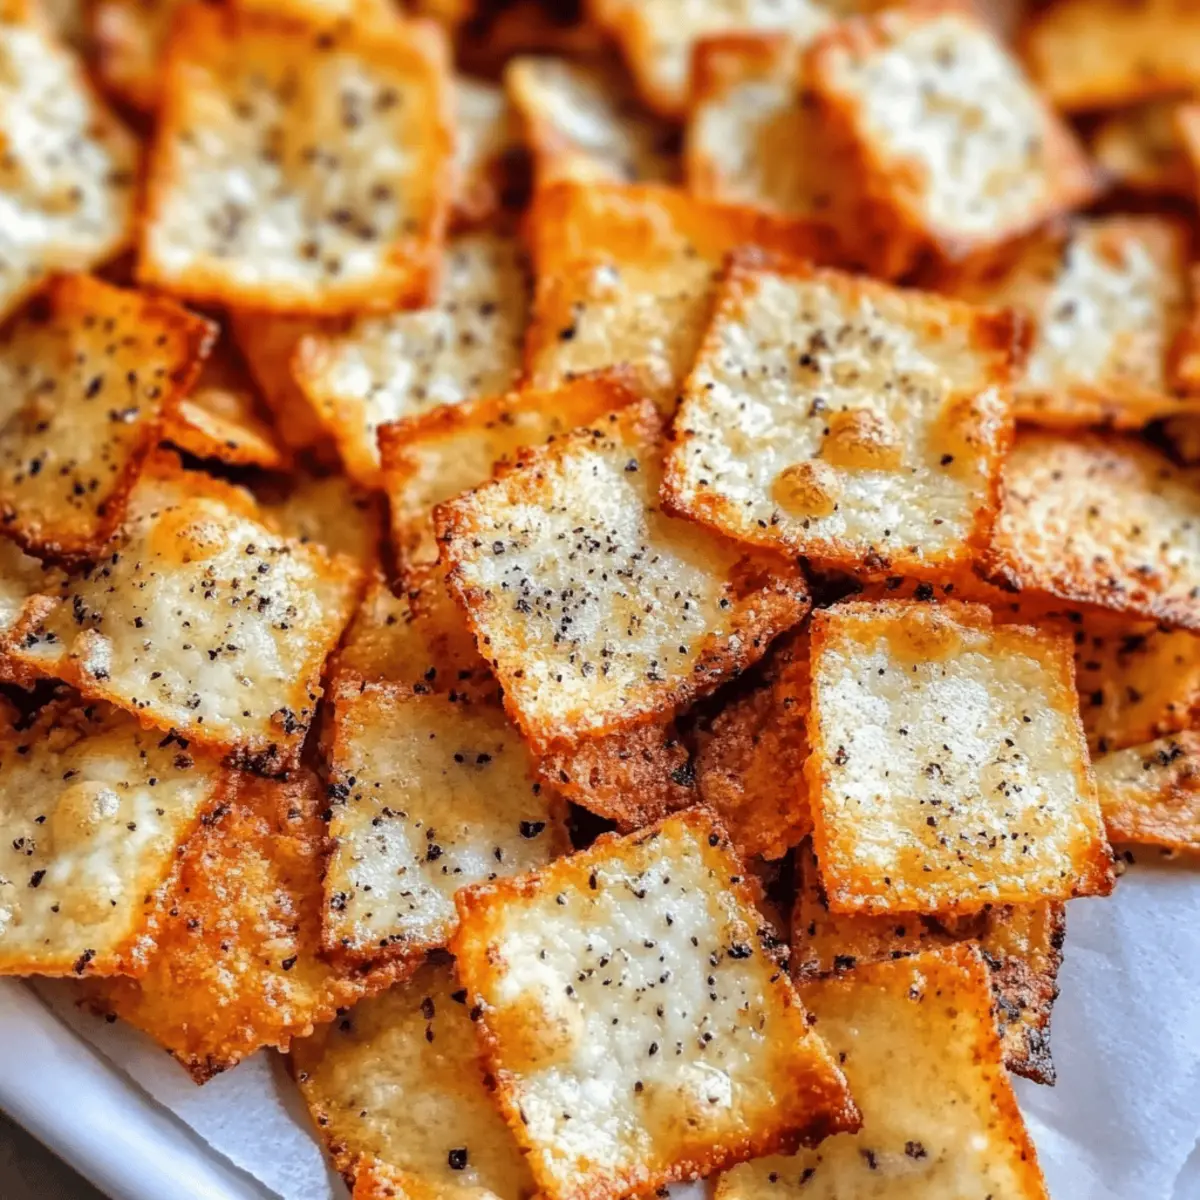
Crispy, These Cottage Cheese Chips provide a satisfying crunch that rivals any traditional snack, but with a wholesome twist. Protein-packed, Each chip delivers 3-4 grams of protein, making them a guilt-free indulgence. Endless flavor options, From zesty garlic powder to spicy cayenne pepper, you can tailor them to your taste! Quick to make, Ready in about 30 minutes, they’re perfect for last-minute snacking. Perfect for sharing, Whether at a party or cozy night in, these chips are bound to impress everyone! If you’re looking for more tasty options, try these Honey Pepper Cheese or the crispy Korean Potato Cheese for a delightful variety!
Cottage Cheese Chips Ingredients
For the Chips
- Cottage Cheese – The star of the show, providing protein and a crispy base; drain well for best results.
- Egg (optional) – Helps bind the mixture; can be omitted for a lighter, egg-free version.
- Seasonings (e.g., garlic powder, smoked paprika) – Add flavor excitement; feel free to get creative to find your favorite cottage cheese chips combo.
- Parmesan Cheese (optional) – Brings a rich, nutty flavor to each chip; excellent for added depth and binding.
- Parchment Paper/Silicone Mat – Essential for preventing sticking and easy cleanup, ensuring a hassle-free snack-making experience.
With these ingredients at hand, you’re set to create your own delicious batch of cottage cheese chips that are not only satisfying but guilt-free!
Step‑by‑Step Instructions for Cottage Cheese Chips
Step 1: Preheat the Oven
Begin by preheating your oven to 350°F (175°C). This temperature will ensure that your Cottage Cheese Chips bake evenly, maintaining their delightful crunch. While the oven heats up, line a baking sheet with parchment paper or a silicone mat to prevent sticking, making cleanup a breeze.
Step 2: Drain the Cottage Cheese
Take your cottage cheese and drain it well in a fine mesh strainer for about 15 minutes. This crucial step helps remove excess moisture, ensuring your chips turn out crisp and delightful. Gently press down to speed up draining, and watch as the liquid collects below, leaving you with a thick and creamy base for your chips.
Step 3: Mix the Ingredients
In a mixing bowl, combine the drained cottage cheese with an optional egg, if you’re using it. Add your choice of seasonings—like garlic powder or smoked paprika—and mix everything well until thoroughly combined. The texture should be cohesive but not too runny, ready for the next exciting step in crafting your Cottage Cheese Chips.
Step 4: Portion and Shape the Chips
Scoop tablespoon-sized portions of the cottage cheese mixture onto the prepared baking sheet. Space them out to allow for even baking, and gently flatten each scoop to about 0.2 inches thick. Aim for uniformity in thickness—this will help all your Cottage Cheese Chips bake evenly and ensure that they achieve that perfect crunch.
Step 5: Bake for Perfect Crispness
Slide the baking sheet into the oven and bake your chips for 20-30 minutes. Keep an eye on them, checking at the 20-minute mark. Look for golden edges and a set center; this is a sign that your Cottage Cheese Chips are nearly done. If you prefer extra crispiness, you can flip them halfway through baking.
Step 6: Cool the Chips
Once your chips are golden and delightful, remove them from the oven and let them cool on the baking sheet for 10-15 minutes. This cooling period is essential as it allows the Cottage Cheese Chips to firm up and achieve their distinctive crunch. Resist the temptation to grab them right away; the wait will be worth it!
Step 7: Serve or Store
Your crispy Cottage Cheese Chips are now ready to enjoy! Serve them with your favorite dip, such as guacamole or salsa, for an extra flavor kick. If you have leftovers, store them in an airtight container. They’ll stay fresh in the refrigerator for up to 3 days, though they are best enjoyed immediately for maximum crispness.

How to Store and Freeze Cottage Cheese Chips
- Room Temperature: Enjoy your freshly baked Cottage Cheese Chips immediately for the best crunch; they are not recommended for room temperature storage.
- Fridge: Store cooled chips in an airtight container in the refrigerator for up to 3 days to maintain their texture and flavor.
- Freezer: For longer storage, freeze the chips in a single layer in an airtight container or freezer bag for up to 1 month; reheat in the oven for best results.
- Reheating: To revive frozen chips, bake at 350°F (175°C) for about 10-15 minutes until they are crispy again; avoid microwaving to maintain crunch.
Make Ahead Options
These Cottage Cheese Chips are a fantastic option for meal prep! You can mix the cottage cheese with your chosen seasonings and refrigerate the mixture for up to 24 hours before baking. This not only saves time on busy weeknights but also allows the flavors to meld beautifully. When you’re ready to enjoy the chips, simply scoop the mixture onto a baking sheet and follow the baking instructions. For best results, be sure to drain the cottage cheese thoroughly and maintain uniform thickness to keep them crispy. Enjoy your homemade Cottage Cheese Chips with your favorite dips, knowing you’ve made a healthy snack ready to go!
Expert Tips for Cottage Cheese Chips
- Drain Well: Thoroughly drain your cottage cheese to avoid soggy chips; using a cheesecloth can expedite the process for extra crispiness.
- Uniform Thickness: Keep your chips at a consistent thickness of about 0.2 inches to ensure even baking; uneven chips can lead to some being overcooked while others remain soft.
- Baking Watch: Monitor your chips closely after 20 minutes; they can quickly transition from perfectly golden to burnt, so check often!
- Blend for Smoothness: For a smoother texture, consider blending the cottage cheese. Just be cautious not to over-process, as you want some texture.
- Storage Essentials: Store leftover cottage cheese chips in an airtight container; they are best enjoyed within 3 days to maintain their crispiness.
Cottage Cheese Chips: Flavorful Twists
Feel free to get creative and personalize your cottage cheese chips experience with these fun variations!
- Spicy Kick: Add cayenne pepper to the mix for a fiery, zesty flavor that will awaken your taste buds. Just a pinch can elevate the whole snack!
- Italian Herbs: Blend in some dry Italian herbs like oregano and basil for a savory, pizza-inspired twist. Perfectly pairs with marinara sauce for dipping.
- Cheesy Boost: Incorporate extra shredded cheese, like cheddar or mozzarella, into the mixture for a gooey, cheesy twist that will make every bite irresistible.
- Flavored Cottage Cheese: Use flavored cottage cheese, such as chive or jalapeño, to give your chips an interesting twist right from the start. This simplifies flavoring while adding an exciting dimension.
- Sweet Treat: For a dessert version, sprinkle a little cinnamon and sugar on top before baking. Dip into yogurt for a delightful sweet treat break!
- Shape Fun: Use cookie cutters to make fun shapes for special occasions or themed parties. Kids will love the creativity, making snacking more fun!
- Nutty Crunch: Add chopped nuts, such as almonds or walnuts, for an extra crunch and healthy fat. It’s like a wholesome chip with a delightful suprise!
- Layered Dips: Serve with your favorite dips like guacamole or this Pimento Cheese Hash to heighten the flavor experience and make snacking even better.
Experimenting with these variations will allow you to discover new flavors that you love!
What to Serve with Crispy Cottage Cheese Chips?
Elevate your snacking experience with delightful pairings that complement the crunch and flavor of these healthy chips.
- Guacamole: This creamy dip adds a rich texture and fresh flavor that enhances the savory notes of the chips.
- Salsa: Bright and zesty, salsa offers a tangy kick that contrasts beautifully with the mildness of cottage cheese.
- Hummus: A smooth, protein-rich dip, hummus pairs perfectly, adding an earthy flavor that complements the chips’ crunch.
- Fresh Veggies: Crunchy carrot sticks and cucumber slices bring freshness and make for a vibrant, nutritious platter.
- Cheese Platter: Add a selection of cheeses like cheddar or gouda for an indulgent twist that balances the chips’ crispiness.
- Light Beer: For a refreshing beverage choice, opt for a light beer that enhances the snacking experience without overpowering it.
- Iced Tea: A subtly sweetened iced tea can offer a cooling contrast that pairs refreshingly with the saltiness of the chips.
- Fruit Salad: Sweet and juicy fruits create a lovely contrast to the savory chips, bringing out their flavors.
- Dark Chocolate: For a sweet indulgence, a square of dark chocolate offers a rich finish that surprises and delights!
With these tasty accompaniments, your Cottage Cheese Chips become the star of a wholesome snack spread that everyone will enjoy!
Cottage Cheese Chips Recipe FAQs
How do I select the right cottage cheese for this recipe?
When choosing cottage cheese, opt for a brand with a thicker consistency and minimal added ingredients. Look for one that’s labeled “small curd” or “large curd” based on your texture preference. The lower the moisture content, the crispier your chips will be, so avoid overly wet varieties.
What’s the best way to store leftover Cottage Cheese Chips?
To keep your leftover Cottage Cheese Chips crispy, store them in an airtight container placed in the refrigerator for up to 3 days. I often recommend placing a paper towel in the container to absorb any excess moisture that might affect the crunch.
Can I freeze Cottage Cheese Chips for later?
Absolutely! To freeze your Cottage Cheese Chips, lay them out in a single layer on a baking sheet and freeze until solid. Then, transfer the chips to an airtight freezer bag or container. They can last up to 1 month frozen. When ready to enjoy, reheat them in the oven at 350°F (175°C) for about 10-15 minutes until they regain their crunch.
What if my Cottage Cheese Chips turn out soggy?
If you find that your chips are soggy, it’s likely due to excess moisture in the cottage cheese or uneven thickness. Always drain your cottage cheese thoroughly and use a fine mesh strainer for this purpose. Additionally, maintaining a consistent thickness of about 0.2 inches will help ensure even baking and crunchiness.
Are there any dietary considerations for Cottage Cheese Chips?
Certainly! Cottage Cheese Chips are naturally gluten-free and can be made keto-friendly. If you’re concerned about egg allergies, you can omit the egg entirely; the chips will still hold together well. Also, if you’re making these for pets, note that cottage cheese should be given in moderation, as many pets are lactose intolerant.
Can I customize the seasonings for my Cottage Cheese Chips?
Very much! The great thing about Cottage Cheese Chips is their versatility. Feel free to experiment with different seasonings according to your taste preferences. Try adding garlic powder, cayenne pepper for heat, or even Italian herbs for a savory flavor twist. The more the merrier!
Cottage Cheese Chips: Crispy, Guilt-Free Snack Delight
Ingredients
Equipment
Method
- Preheat your oven to 350°F (175°C) and line a baking sheet with parchment paper or a silicone mat.
- Drain the cottage cheese well in a fine mesh strainer for about 15 minutes.
- In a mixing bowl, combine the drained cottage cheese with an optional egg and your choice of seasonings. Mix well.
- Scoop tablespoon-sized portions onto the prepared baking sheet and gently flatten each scoop to about 0.2 inches thick.
- Bake for 20-30 minutes, checking at the 20-minute mark for golden edges.
- Once baked, cool on the baking sheet for 10-15 minutes before serving.
- Serve with your favorite dip or store leftovers in an airtight container.
Leave a Reply