
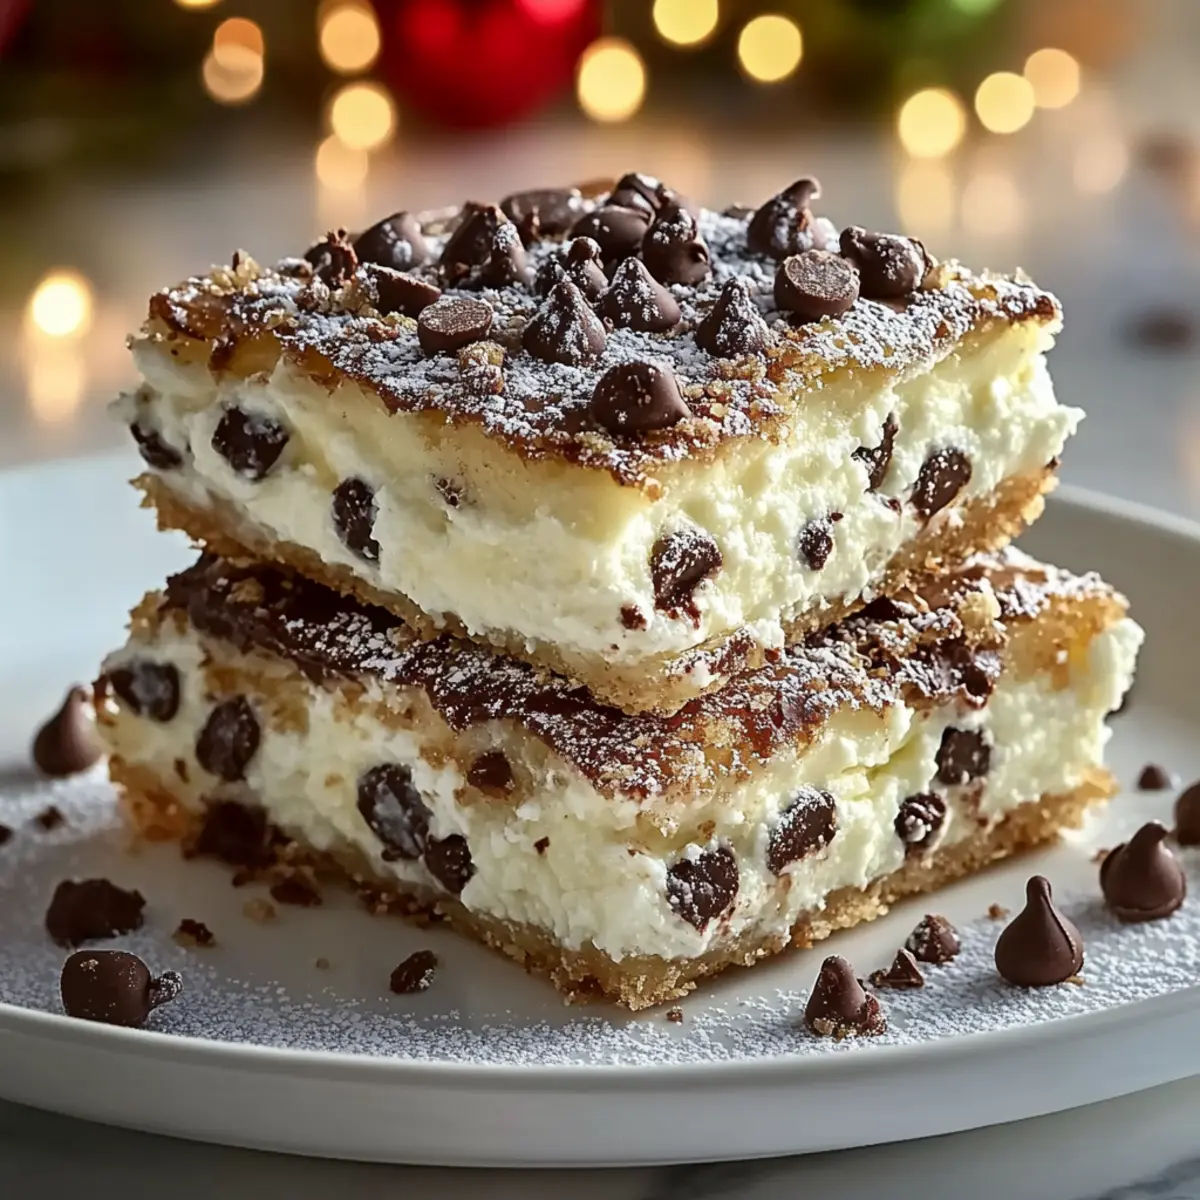
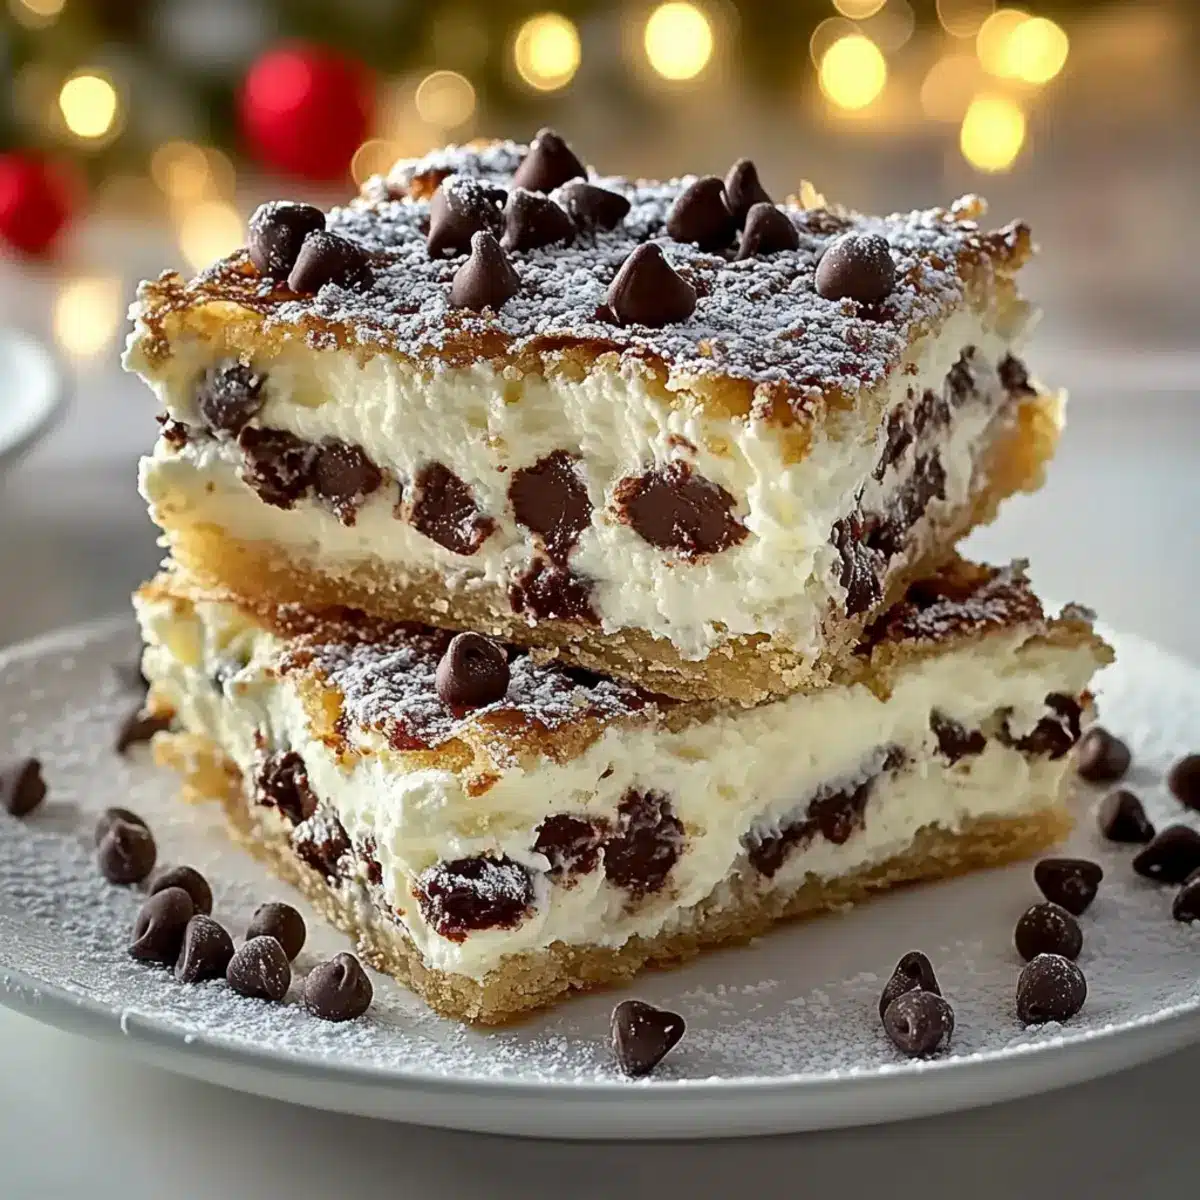
As I stood in my kitchen, the sweet aroma of vanilla and cinnamon wafted through the air, transporting me straight to the heart of Italy. That’s the magic behind my Classic Cannoli Squares—a delightful twist on the traditional cannoli that captures all the creamy goodness of its round counterpart in a simple, square format. This dessert is not only easy to whip up, but it’s also completely festive, making it a perfect treat for gatherings or cozy nights in. With a flaky crust enveloping a rich ricotta filling, they’re a crowd-pleaser that just beckons to be shared. Whether served warm or chilled, these squares promise to elevate your dessert game while keeping things light and fun. Ready to add a touch of Italian charm to your next dining experience?
Why are Cannoli Squares so Appealing?
Simplicity makes this dessert a breeze to create, ensuring you can impress guests without hours of labor. Creamy filling combines ricotta, sweet spices, and chocolate for a taste sensation that melts in your mouth. Versatile options let you switch up flavors with lemon zest or almond extract, keeping every batch exciting. Perfect for sharing, these squares are ideal for celebrations or cozy family dinners, much like my beloved Dolly’s Chicken Stuffing. Lastly, make-ahead friendly, they can be prepared a day in advance to let the flavors meld beautifully.
Classic Cannoli Squares Ingredients
Discover the essentials to whip up these delightful treats!
For the Filling
- Ricotta Cheese – A creamy base that gives richness; opt for full-fat for the best texture.
- Powdered Sugar – Sweetens the filling to perfection; consider substituting with coconut sugar for a healthier twist.
- Vanilla Extract – Enhances the overall flavor and adds depth to the filling.
- Cinnamon – Lends a warm, aromatic spice note that elevates the taste.
- Mini Chocolate Chips – Adds delightful sweetness and a pleasing texture; dark chocolate chips work wonderfully too.
For the Crust
- Pre-made Pie Crusts – Simplifies the process and provides a flaky base; feel free to use homemade for a personal touch.
- Egg (for egg wash) – Gives the top crust a lovely golden finish when baked.
- Sugar (for sprinkling) – Enhances sweetness and creates a beautiful, sparkling crust.
Optional Garnishes
- Chopped Pistachios – For a colorful and nutty addition that’s simply exquisite.
- Maraschino Cherries – Adds a pop of color and a sweet touch.
- Extra Chocolate Chips – For those who just can’t get enough chocolate!
These Classic Cannoli Squares ingredients come together to create a truly remarkable dessert that’s rich, creamy, and utterly delicious.
Step‑by‑Step Instructions for Classic Cannoli Squares
Step 1: Prepare the Filling
In a medium-sized mixing bowl, combine 2 cups of ricotta cheese, 1 cup of powdered sugar, 1 teaspoon of vanilla extract, 1/2 teaspoon of cinnamon, and 1/2 cup of mini chocolate chips. Mix until the filling is smooth and creamy, ensuring there are no lumps. This luscious filling is key to your Classic Cannoli Squares, setting the stage for a delightful dessert experience.
Step 2: Preheat Oven
Set your oven to 375°F (190°C) to preheat. This ensures that by the time you prepare your squares, the oven is hot and ready for baking. A preheated oven guarantees that the crust will turn out perfectly golden and flaky, enhancing the overall texture of your Classic Cannoli Squares.
Step 3: Roll Out Pie Crust
Take your pre-made pie crust and roll it out on a lightly floured surface. Carefully press the rolled dough into a 9×9-inch baking dish, making sure to smooth out any air bubbles and seal off any cracks. The crust should cover the bottom and edges, providing a sturdy base for your delicious filling.
Step 4: Add Filling
Using a spatula, evenly spread the ricotta filling over the prepared pie crust, ensuring it reaches all corners. Make sure the filling layer is smooth and level, as this will help create beautiful slices of your Classic Cannoli Squares once baked. Avoid overfilling to prevent spillage as it bakes.
Step 5: Prepare Top Crust
Roll out the second pie crust and gently lay it over the filling. Press down the edges to seal the filling inside, then use a sharp knife to make a few small slits in the top crust for steam to escape. Brush the crust with a beaten egg to achieve a golden finish, and sprinkle a bit of sugar on top for an added crispness and sweetness.
Step 6: Bake
Place the dish in the preheated oven and bake for 30-35 minutes, or until the top is golden brown and the filling is set. Keep an eye on your Classic Cannoli Squares as they bake, ensuring they don’t over-brown. The inviting aroma will fill your kitchen as they near completion!
Step 7: Cool and Serve
After baking, remove the dish from the oven and let your Classic Cannoli Squares cool for at least 30 minutes at room temperature. This cooling time allows the filling to firm up for easier slicing. Once cooled, cut into squares and serve warm or chilled, garnished with optional ingredients like chopped pistachios or maraschino cherries for an extra touch of delight.
How to Store and Freeze Classic Cannoli Squares
Fridge: Store your Classic Cannoli Squares in an airtight container for up to 3 days. This keeps the crust crispy while preventing the filling from drying out.
Freezer: If you want to enjoy them later, freeze individual squares in a single layer for up to 2 months. Wrap each square tightly in plastic wrap before placing them in a zip-top bag.
Reheating: To reheat from frozen, let them thaw in the fridge overnight and then warm in the oven at 350°F (175°C) for about 10 minutes, ensuring they’re heated through without losing their delightful texture.
Make-Ahead Tip: Prepare the squares a day in advance! This allows the flavors to meld beautifully and makes for an impressive dessert when you’re ready to serve.
Expert Tips for Classic Cannoli Squares
- Drain Ricotta: Ensure a thicker filling by draining excess moisture from the ricotta using a fine-mesh sieve before mixing.
- Monitor Baking: Keep an eye on the baking time to prevent over-browning; every oven is different, and you want a golden finish.
- Level Filling: Use a spatula to spread the filling evenly to avoid overflow during baking and to ensure even cooking throughout the squares.
- Chill Before Cutting: Let the squares cool completely before slicing; this prevents the filling from spilling and gives cleaner cuts.
- Customize Crust: Feel free to experiment with homemade pie crust for exciting flavor variations and to make your Classic Cannoli Squares even more personal.
What to Serve with Classic Cannoli Squares
Indulge in the delightful experience of pairing these creamy squares with complementary dishes that elevate your dessert spread.
- Rich Espresso: The boldness of freshly brewed espresso brings out the sweet flavors in the cannoli squares, making each bite even more satisfying.
- Fresh Berries: Juicy strawberries or raspberries provide a refreshing contrast and a tangy burst that balances the sweetness of the squares.
- Vanilla Ice Cream: A scoop of velvety vanilla ice cream offers a creamy counterpart that enhances the dessert’s richness while adding a chilled element.
- Pistachio Crumble: Sprinkle crushed pistachios on top for added crunch and a nutty flavor that beautifully complements the creamy filling.
- Chocolate Drizzle: A warm drizzle of chocolate sauce elevates the sweet experience, adding a luxurious touch that chocolate lovers will adore.
- Mint Tea: A soothing cup of mint tea refreshes the palate between bites and adds a delightful, aromatic twist after dessert.
- Berry Compote: A homemade compote with a hint of citrus adds a tangy sweetness and vibrant color, creating a stunning contrast on the plate.
- Amaretto Liqueur: Serve with a shot of amaretto for a sweet almond flavor that harmonizes perfectly with the cannoli’s creamy richness.
- Caramel Sauce: Drizzling warm caramel sauce creates a delicious interplay of sweet and creamy that makes every bite feel like a special treat.
Classic Cannoli Squares Variations
Feel free to play with these delightful cannoli squares and make them your own!
-
Richer Filling: Substitute Ricotta Cheese with mascarpone for an indulgently creamy texture.
Mascarpone brings an unforgettable richness to each bite, making your cannoli squares even more decadent. -
Healthier Twist: Use Cottage Cheese blended until smooth for a lighter filling.
It adds protein while maintaining a deliciously creamy consistency, perfect if you’re watching your calories. -
Citrusy Twist: Add Lemon Zest or almond extract for a refreshing flavor kick.
These subtle notes can brighten the dish, awakening the senses with every square. -
Spicy Kick: Incorporate Pinches of Nutmeg along with cinnamon for added warmth and flavor complexity.
Just a hint of nutmeg can elevate your cannoli squares, making them feel just a bit more festive. -
Alternative Sweeteners: Swap Powdered Sugar with coconut sugar for a healthier option.
This switch can lend a deep caramel-like flavor while keeping those sweet notes intact. -
Chocolate Lovers Delight: Use Dark Chocolate Chips instead of mini chocolate chips.
Dark chocolate brings a luxurious depth to your filling, appealing to those who crave intense flavors. -
Fun Toppings: Try topping your squares with Chopped Pistachios or walnuts for an added crunch.
These additions not only make your cannoli visually stunning but also enhance texture in every delightful bite. -
Ice Cream Pairing: Serve your squares with a scoop of vanilla or chocolate gelato.
The velvety ice cream complements the creamy filling while making your dessert experience even more indulgent.
These variations allow you to get creative, much like in my beloved Dolly’s Chicken Stuffing, ensuring every baking adventure is as unique as you are! Enjoy experimenting!
Make Ahead Options
These Classic Cannoli Squares are perfect for meal prep, saving you time during busy weeknight dinners or festive gatherings! You can prepare the filling (ricotta, powdered sugar, vanilla, cinnamon, and chocolate chips) up to 24 hours in advance; just store it in an airtight container in the refrigerator to keep it fresh and creamy. Additionally, you can assemble the squares completely, cover them tightly, and refrigerate for up to 3 days before baking. When you’re ready to enjoy, simply remove the dish from the fridge, let it sit at room temperature for about 15-30 minutes, brush with egg wash, and bake as directed. Rest assured, these make-ahead tips ensure your Classic Cannoli Squares will be just as delicious as freshly made!
Classic Cannoli Squares Recipe FAQs
What type of ricotta cheese should I use?
Absolutely! For the best texture and flavor, I recommend using whole milk ricotta cheese. This ensures a rich and creamy filling. You can also use low-fat ricotta if you’re looking for a lighter option, but keep in mind that it may alter the texture slightly.
How long can I store Classic Cannoli Squares?
You can store your Classic Cannoli Squares in an airtight container in the refrigerator for up to 3 days. If you plan to enjoy them later, I often prepare these squares a day in advance to let the flavors meld beautifully.
Can I freeze classic cannoli squares?
Yes, you absolutely can freeze them! To freeze, place individual squares in a single layer on a baking sheet and freeze until solid. Then, wrap each square tightly in plastic wrap and store them in a zip-top bag for up to 2 months. This way, you can enjoy a sweet treat anytime!
What should I do if my filling is too runny?
If your filling turns out runny, don’t worry! Simply drain the ricotta cheese using a fine-mesh sieve for about 30 minutes before mixing it with other ingredients. This helps remove excess moisture, ensuring a thicker and creamier filling that’s ideal for your Classic Cannoli Squares.
Are Classic Cannoli Squares safe for those with allergies?
When it comes to allergies, always check the labels of your ingredients. The filling contains dairy from ricotta and can be made with gluten-containing pie crusts. For gluten-free options, you can use a gluten-free pie crust. Also, consider avoiding chocolate chips if there are nut allergies, as some brands may be processed in facilities that handle nuts.
Can I make variations of the classic cannoli squares?
Very! Feel free to get creative! You can enhance the filling by adding lemon zest or almond extract for a refreshing twist. For a richer taste, substitute ricotta with mascarpone cheese. These small adjustments can create a unique take on the classic cannoli squares that everybody will love.
Classic Cannoli Squares: Delight in Every Creamy Bite
Ingredients
Equipment
Method
- In a medium-sized mixing bowl, combine ricotta cheese, powdered sugar, vanilla extract, cinnamon, and mini chocolate chips. Mix until smooth and creamy.
- Preheat your oven to 375°F (190°C).
- Roll out the pre-made pie crust on a lightly floured surface and press into the baking dish.
- Spread the ricotta filling evenly over the crust.
- Roll out the second pie crust and lay it over the filling. Seal the edges and cut slits for steam to escape. Brush with egg and sprinkle with sugar.
- Bake for 30-35 minutes until golden brown.
- Let cool for 30 minutes before slicing and serving, optionally garnished.
Leave a Reply