
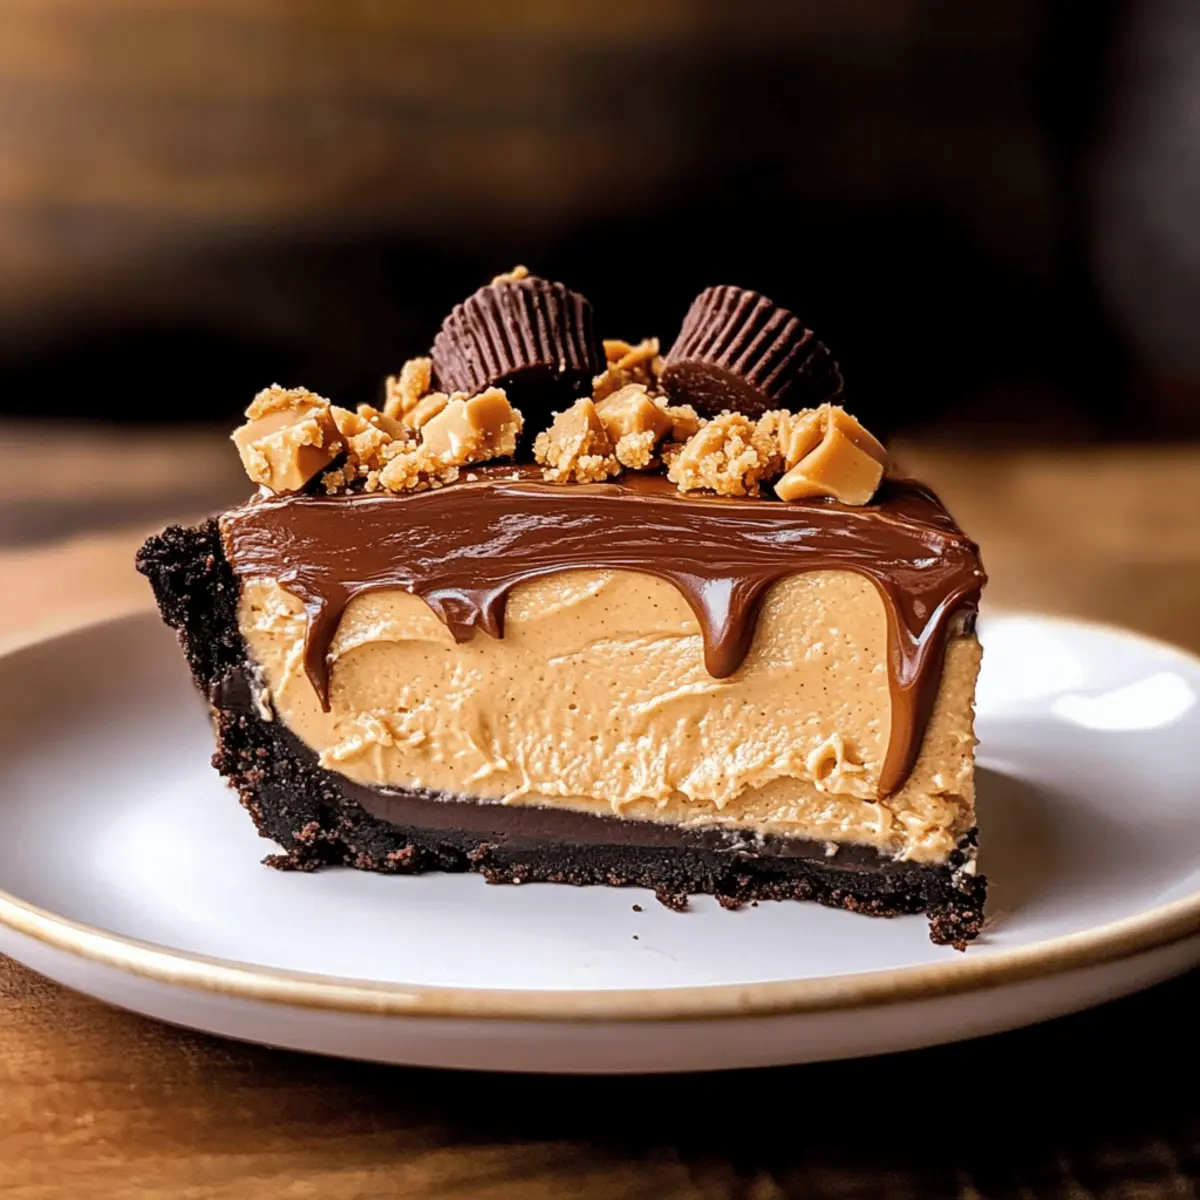
As I stood in my kitchen, a rich aroma wafted through the air, instantly transporting me to my favorite dessert memory. This No Bake Chocolate Peanut Butter Pie is the perfect solution for anyone craving a deliciously creamy treat without the fuss of baking. With its luscious layers of chocolate and smooth peanut butter, complemented by a crunchy Oreo crust, this dessert delivers indulgence with every bite. One of the best parts? It requires minimal prep time and comes together effortlessly, making it an ideal choice for both cozy family gatherings and festive celebrations. Trust me, this pie will be a showstopper on your dessert table! Curious about how to whip this delightful creation up? Let’s dive in!
Why is this pie so irresistible?
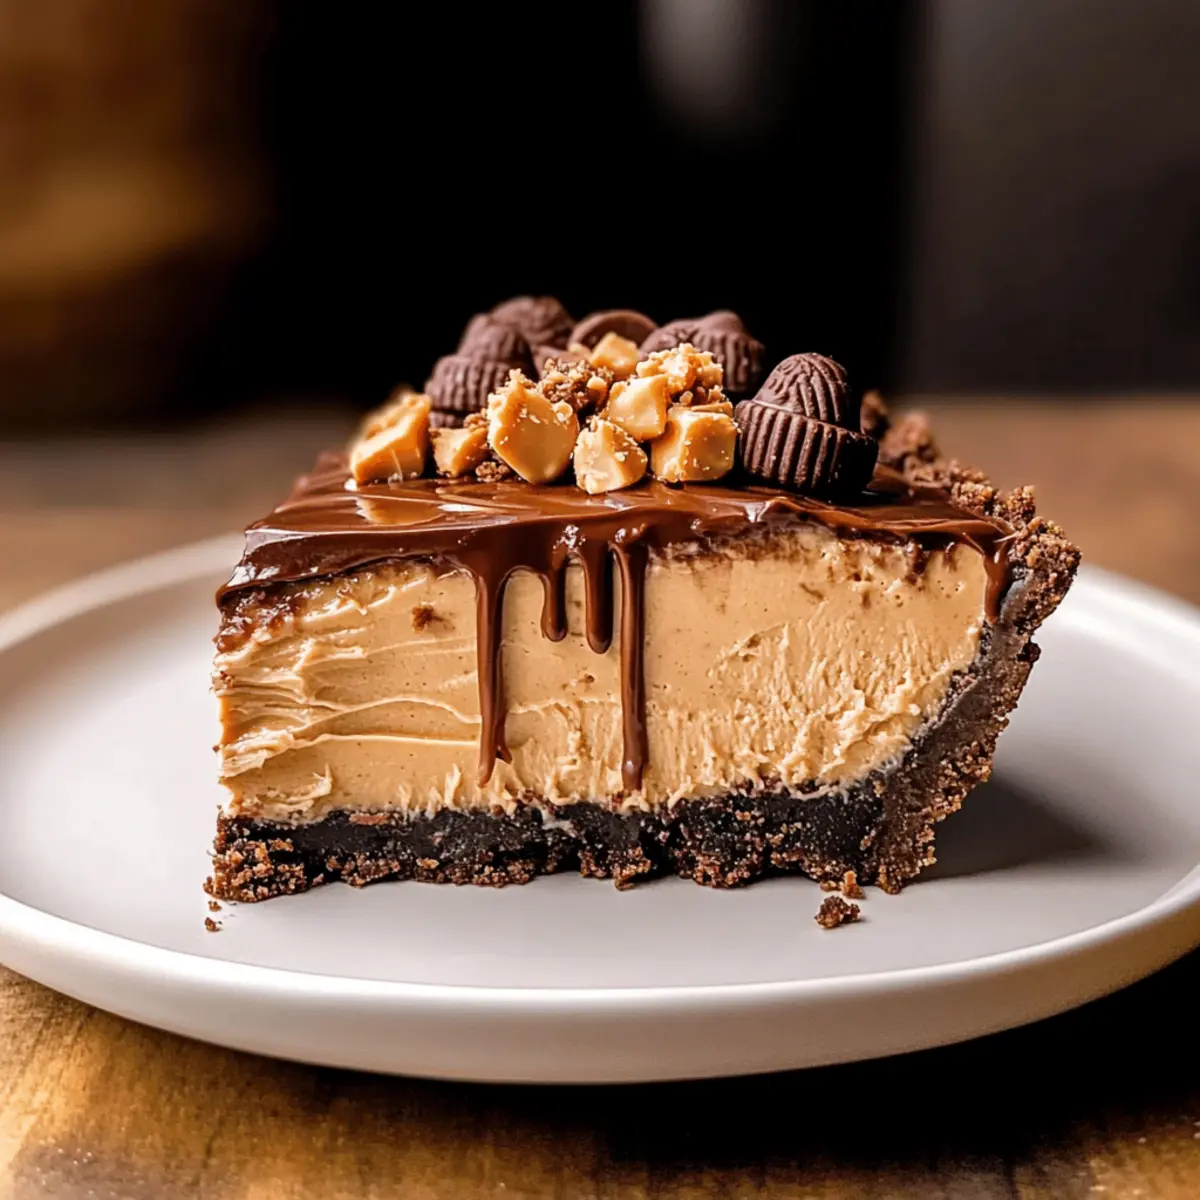
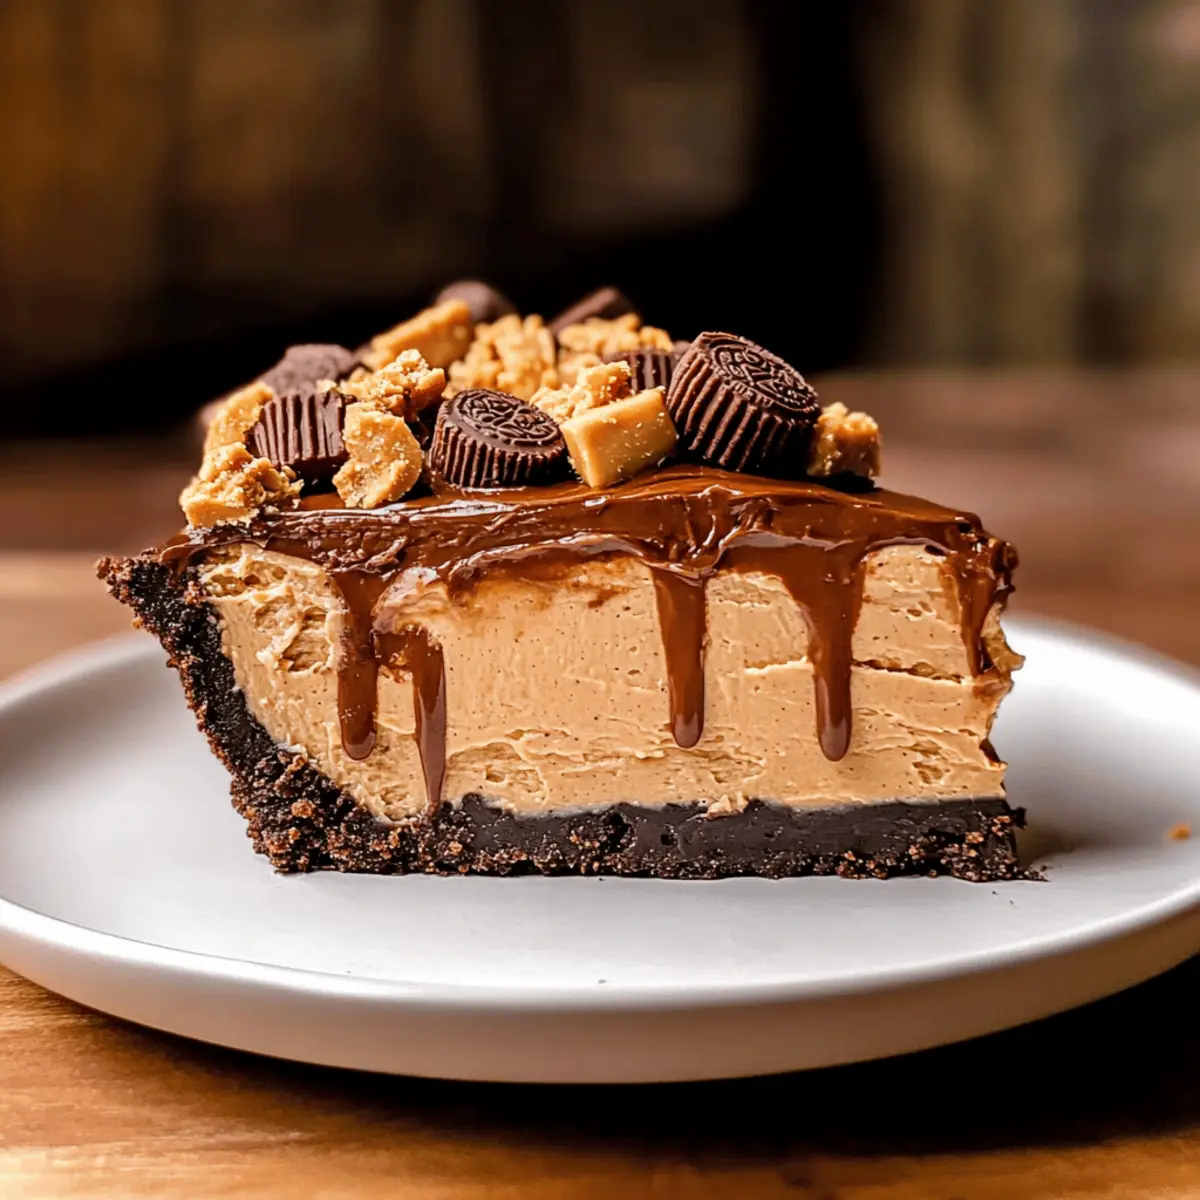
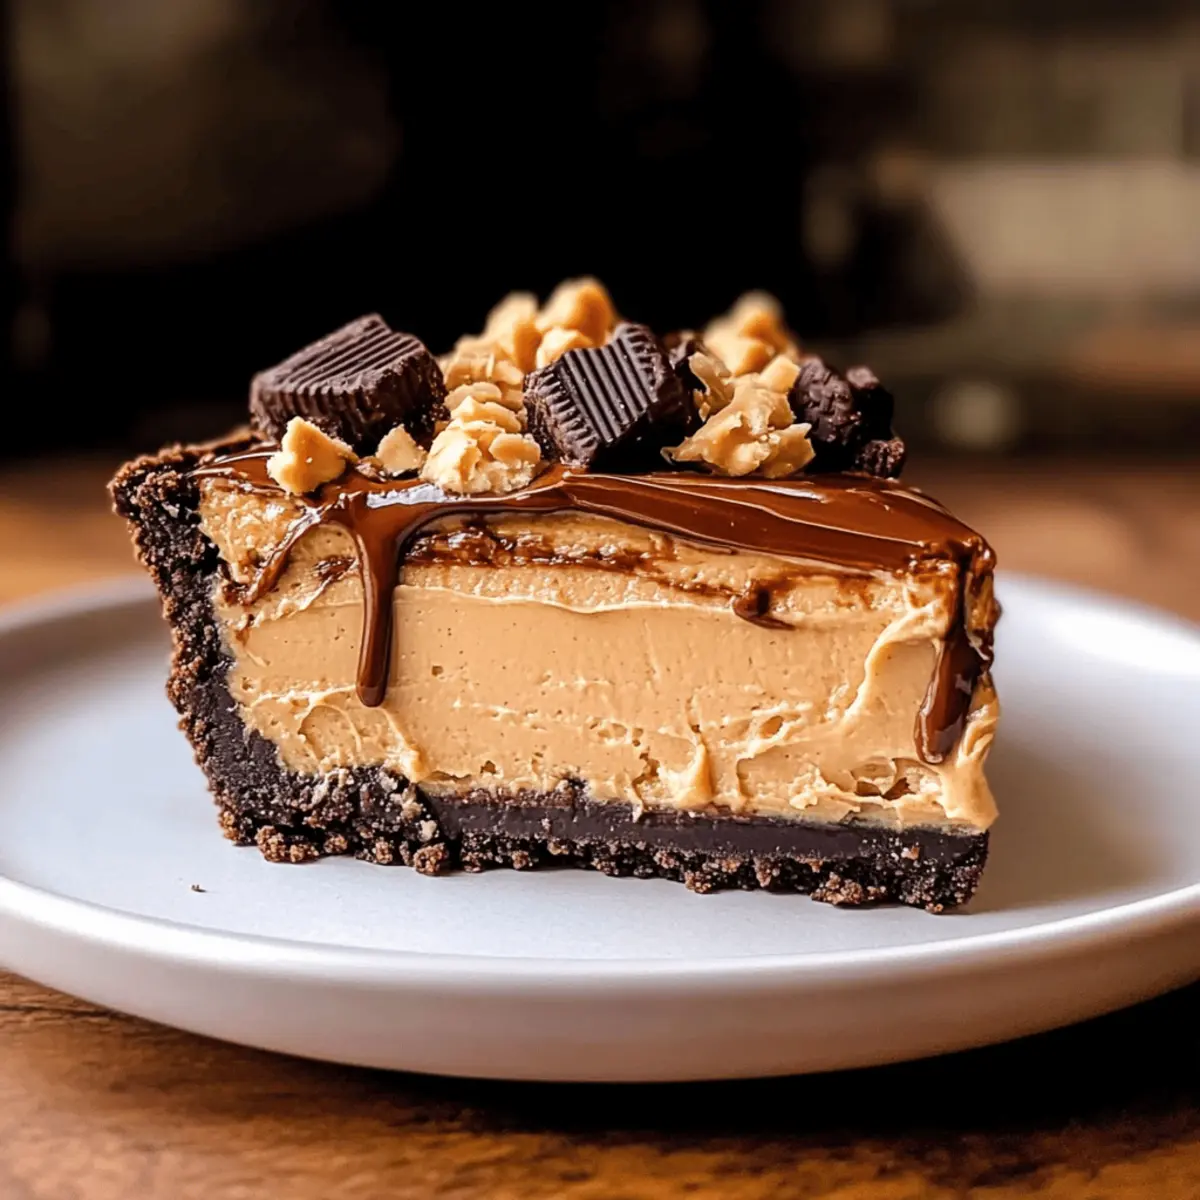
Decadent Layers: Each slice boasts two sumptuous layers—rich chocolate and creamy peanut butter that dance on your palate.
Quick & Easy: No baking required means you can have this delightful dessert ready in no time, making it a perfect last-minute treat!
Crowd-Pleaser: The combination of flavors appeals to both chocolate and peanut butter lovers, guaranteed to impress your guests.
Customize Easily: Feel free to swap ingredients—such as using graham cracker crust for a twist or changing out peanut butter for almond or cashew nut butter.
Perfect Presentation: Dress it up with a swirl of whipped cream and chopped peanut butter cups for a visually stunning dessert that looks as good as it tastes. Enjoy it on cozy movie nights or festive gatherings, and experience pure bliss with every bite!
Chocolate Peanut Butter Pie Ingredients
• Here’s everything you need to create this heavenly delight!
For the Crust
- Oreo Crumbs – Crush Oreos into fine crumbs to achieve that perfect cookie crust texture.
- Melted Butter – Helps bind the crumbs together; make sure it’s cooled slightly before mixing.
For the Chocolate Layer
- Cream Cheese – Provides richness; let it reach room temperature for easier blending.
- Unsweetened Cocoa Powder – Deepens the chocolate flavor; choose a high-quality cocoa for the best taste.
- White Granulated Sugar – Sweetens the chocolate layer; feel free to swap with a sugar alternative.
- Sour Cream – Enhances creaminess; you can use Greek yogurt as a tasty substitute.
- Pure Vanilla Extract – Adds depth of flavor; ensure it’s pure for optimum results.
- Chocolate Bar (melted) – Gives an intense chocolate flavor; dark chocolate around 72% is recommended.
For the Peanut Butter Layer
- Cream Cheese – Mirrors the chocolate layer for creamy consistency; also at room temperature is best.
- Creamy Peanut Butter – The star of the layer; opt for chunky for a delightful crunch.
- Heavy Cream – Whipped for lightness; choose cold cream for better whipping results.
- Powdered Sugar – Sweetens the whipped cream; granulated sugar can be finely blended as an alternative.
- Vanilla Extract – Enhances the peanut butter flavor; use the same pure extract as in the chocolate layer.
For the Topping
- Melted Peanut Butter – Drizzle over the chilled pie for an added depth of flavor.
- Peanut Butter Cups – Use for decoration to provide an extra burst of flavor; optional but recommended for visual appeal.
Step‑by‑Step Instructions for No Bake Chocolate Peanut Butter Pie
Step 1: Prepare the Crust
Start by spraying a 9-inch pie pan with nonstick spray. In a food processor, pulse Oreo cookies into fine crumbs, then mix them with melted butter until well combined. Press the mixture firmly into the bottom and up the sides of the pan to form a crust. Chill in the freezer for about 10-15 minutes to set while you prepare the filling.
Step 2: Make the Chocolate Pie Layer
In a mixing bowl, beat room temperature cream cheese, granulated sugar, and unsweetened cocoa powder together until smooth, around 2-3 minutes. Gradually add the pure vanilla extract, sour cream, and the melted chocolate, mixing well until fully incorporated. This chocolate pie layer should be rich and creamy, ready to fill your crust.
Step 3: Prepare the Peanut Butter Pie Layer
In another bowl, combine cream cheese with sugar and beat until creamy, about 2 minutes. Add the creamy peanut butter, vanilla extract, and sour cream, mixing until the mixture is smooth and well-blended. This layer will bring a delightful peanut butter flavor to your No Bake Chocolate Peanut Butter Pie.
Step 4: Whip the Cream
In a separate chilled bowl, whip the heavy cream and powdered sugar together until stiff peaks form, taking about 3-5 minutes. Gently fold half of this whipped cream into the chocolate mixture until fully combined, then repeat the process with the remaining whipped cream and the peanut butter mixture, ensuring a light and fluffy texture in both layers.
Step 5: Layer the Pie
Once your crust is ready, start by evenly spreading the chocolate pie mixture over the chilled Oreo crust, smoothing the top with a spatula. Next, gently layer the peanut butter mixture on top, creating a lovely two-layered effect. Drizzle melted peanut butter over the surface and swirl it lightly with a knife or toothpick for a beautiful finish.
Step 6: Chill the Pie
Cover the pie with foil and refrigerate for at least 6 hours or preferably overnight, allowing it to set firmly. This chilling time is essential for the layers to hold together perfectly when sliced. The pie should be set and firm to the touch once it’s ready to serve.
Step 7: Decorate before Serving
Just before serving, add an extra touch by garnishing the pie with chopped peanut butter cups scattered on top. You can also drizzle additional melted peanut butter for a delicious look. Slice and serve chilled to indulge in this heavenly No Bake Chocolate Peanut Butter Pie!
Make Ahead Options
These No Bake Chocolate Peanut Butter Pies are fantastic for meal prep enthusiasts looking to save time! You can prepare both the Oreo crust and the pie filling components up to 24 hours in advance. Simply make the crust, press it into the pie pan, and chill it in the freezer while you prepare the chocolate and peanut butter layers. Store the layers covered in the refrigerator until you’re ready to assemble. When it’s time to serve, simply spread the chocolate layer into the crust, followed by the peanut butter layer, and chill for a minimum of 6 hours or overnight. Rest assured, the pie will be just as delicious when served, creating a delightful dessert without the last-minute rush!
What to Serve with No Bake Chocolate Peanut Butter Pie
Indulge in a full-flavored meal with tempting sides that will elevate your dessert experience!
- Fresh Fruit Salad: A mix of seasonal fruits adds brightness and a refreshing contrast to the rich pie, balancing flavors beautifully.
- Chocolate Ice Cream: A scoop of velvety chocolate ice cream underscores the dessert’s chocolate notes, offering a cool and creamy companion.
- Whipped Cream: A dollop of freshly whipped cream provides an airy, light touch that perfectly complements the pie’s layers.
- Espresso or Coffee: A warm cup of espresso or coffee can cut through the sweetness, enhancing the richness of the chocolate and peanut butter.
- Peanut Butter Cookies: For the ultimate peanut butter lover, serve crunchy cookies to mirror the pie’s delightful flavor while adding a satisfying texture.
- Caramel Sauce: Drizzle caramel sauce over the pie slices for added sweetness and an elegant finish that enhances the overall dessert experience.
With these delicious pairings, your No Bake Chocolate Peanut Butter Pie will shine even brighter at your next gathering!
Storage Tips for Chocolate Peanut Butter Pie
Fridge: Store the pie covered in the refrigerator for up to 5 days to keep it fresh and delicious.
Freezer: If you have leftover slices, wrap them tightly in plastic wrap and foil, and freeze for up to 30 days.
Thawing: To enjoy frozen slices, transfer them to the fridge and let them thaw overnight before serving.
Serving Suggestion: For the best experience, garnish with extra whipped cream and peanut butter cups just before serving.
Expert Tips for the Best Chocolate Peanut Butter Pie
- Perfectly Whipped Cream: Use a chilled metal bowl for whipping the cream; it helps achieve better volume and stability for lighter layers.
- Room Temperature Ingredients: Ensure cream cheese is at room temperature to mix smoothly with the other ingredients, preventing lumps in your chocolate or peanut butter layers.
- Gentle Folding: Avoid overmixing! Gently fold the whipped cream into each batter to maintain the light, airy texture that makes this Chocolate Peanut Butter Pie so delightful.
- Chill More if Needed: If the pie layers don’t set after 6 hours, give it extra chilling time. You want it firmly set for the perfect slice!
- Custom Toppings: Get creative with toppings! Use a mix of crushed peanut butter cups or even chocolate shavings for an extra touch of indulgence.
Chocolate Peanut Butter Pie Variations
Feel free to personalize your pie for your perfect treat experience, each tempting variation will add a delightful twist to your original recipe!
-
Gluten-Free Crust: Use gluten-free cookies instead of Oreos to create a crust accessible to all. This swap allows everyone to enjoy the pie without any worries.
-
Nut Butter Twist: Try almond or cashew butter in place of peanut butter for a unique nutty flavor. The change will surprise your palate and create an alternate flavor profile that’s equally satisfying.
-
Mini Pies: Use a muffin tin to create individual mini versions of this pie. They make for a fun presentation and are perfect for parties or gatherings.
-
Dairy-Free Delight: Substitute cream cheese and heavy cream with dairy-free versions for a vegan treat. Coconut cream can be a luscious alternative that brings a tropical flair to the dessert.
-
Chocolate Swirl: For added chocolate delight, swirl in chocolate syrup between your layers. A little more chocolate never hurt, right?
-
Crunchy Toppings: Top with crushed pretzels or graham crackers alongside the peanut butter cups for added texture. The crunch against the creamy layers will keep you reaching for more.
-
Spicy Kick: Add a dash of cayenne pepper or chili powder in the chocolate layer for an unexpected kick. It’s a delicious way to elevate the flavors and awaken your taste buds.
-
Fruity Layer: Incorporate a layer of fruit puree—like raspberry or strawberry—under the chocolate layer for a fresh, tangy contrast. It lightens each bite and adds a burst of color to your pie.
If you’re looking for additional inspiration, why not pair this pie with Bites Garlic Butter for savory moments or serve it with homemade Biscuits Honey Butter for a delightful brunch?
Chocolate Peanut Butter Pie Recipe FAQs
What type of Oreos should I use for the crust?
Absolutely, you can use regular Oreos for a classic flavor or switch it up and go for the double-stuffed variety if you want an extra creamy base. If you’re looking for a gluten-free option, try gluten-free chocolate sandwich cookies, which provide a similar taste and texture!
How should I store the Chocolate Peanut Butter Pie?
To keep this delightful pie fresh, store it covered in the refrigerator for up to 5 days. This maintains its creamy texture and flavor profile. Make sure it’s well covered to prevent any odors from other foods in your fridge affecting its taste.
Can I freeze the pie?
Yes! You can freeze slices of your Chocolate Peanut Butter Pie for up to 30 days. Wrap each slice tightly in plastic wrap and aluminum foil to avoid freezer burn. When you’re ready to enjoy, simply transfer a slice to the refrigerator and let it thaw overnight for the best results.
What should I do if my cream doesn’t whip properly?
If your cream isn’t reaching stiff peaks, there are a few troubleshooting steps to try. First, ensure that your heavy cream is cold; this helps it whip up better. Using a chilled metal bowl can also improve the whipping process. If it still doesn’t whip well, check to see if it’s past its expiration date or try a fresh carton.
Can I make this pie dairy-free?
Very! You can substitute dairy ingredients with alternatives. For instance, use coconut cream or almond milk-based cream cheese in place of regular cream cheese and heavy cream. Make sure to use high-quality dairy-free chocolate to maintain that rich flavor.
Are there any allergy considerations I should be aware of?
Definitely! This Chocolate Peanut Butter Pie contains dairy and peanuts, which are common allergens. If you’re serving guests with these allergies, consider using alternative ingredients—like a nut butter that isn’t made from peanuts—and dairy-free options mentioned earlier. Always check labels to ensure all substitutions are free from allergens.
Decadent Chocolate Peanut Butter Pie That's Pure Bliss
Ingredients
Equipment
Method
- Spray a 9-inch pie pan with nonstick spray. Pulse Oreo cookies into fine crumbs in a food processor. Mix with melted butter and press into the pan to form a crust. Chill for 10-15 minutes.
- In a mixing bowl, beat cream cheese, granulated sugar, and cocoa powder until smooth, about 2-3 minutes. Gradually mix in vanilla extract, sour cream, and melted chocolate.
- In another bowl, mix cream cheese with sugar until creamy, about 2 minutes. Add peanut butter, vanilla extract, and sour cream, and mix until smooth.
- In a chilled bowl, whip heavy cream and powdered sugar together until stiff peaks form, taking about 3-5 minutes. Gently fold half into the chocolate mixture and the rest into the peanut butter mixture.
- Spread the chocolate mixture over the chilled crust, then layer the peanut butter mixture on top. Drizzle melted peanut butter on the surface.
- Cover the pie with foil and refrigerate for at least 6 hours or overnight to set.
- Garnish with chopped peanut butter cups and additional melted peanut butter. Slice and serve chilled.
Leave a Reply