
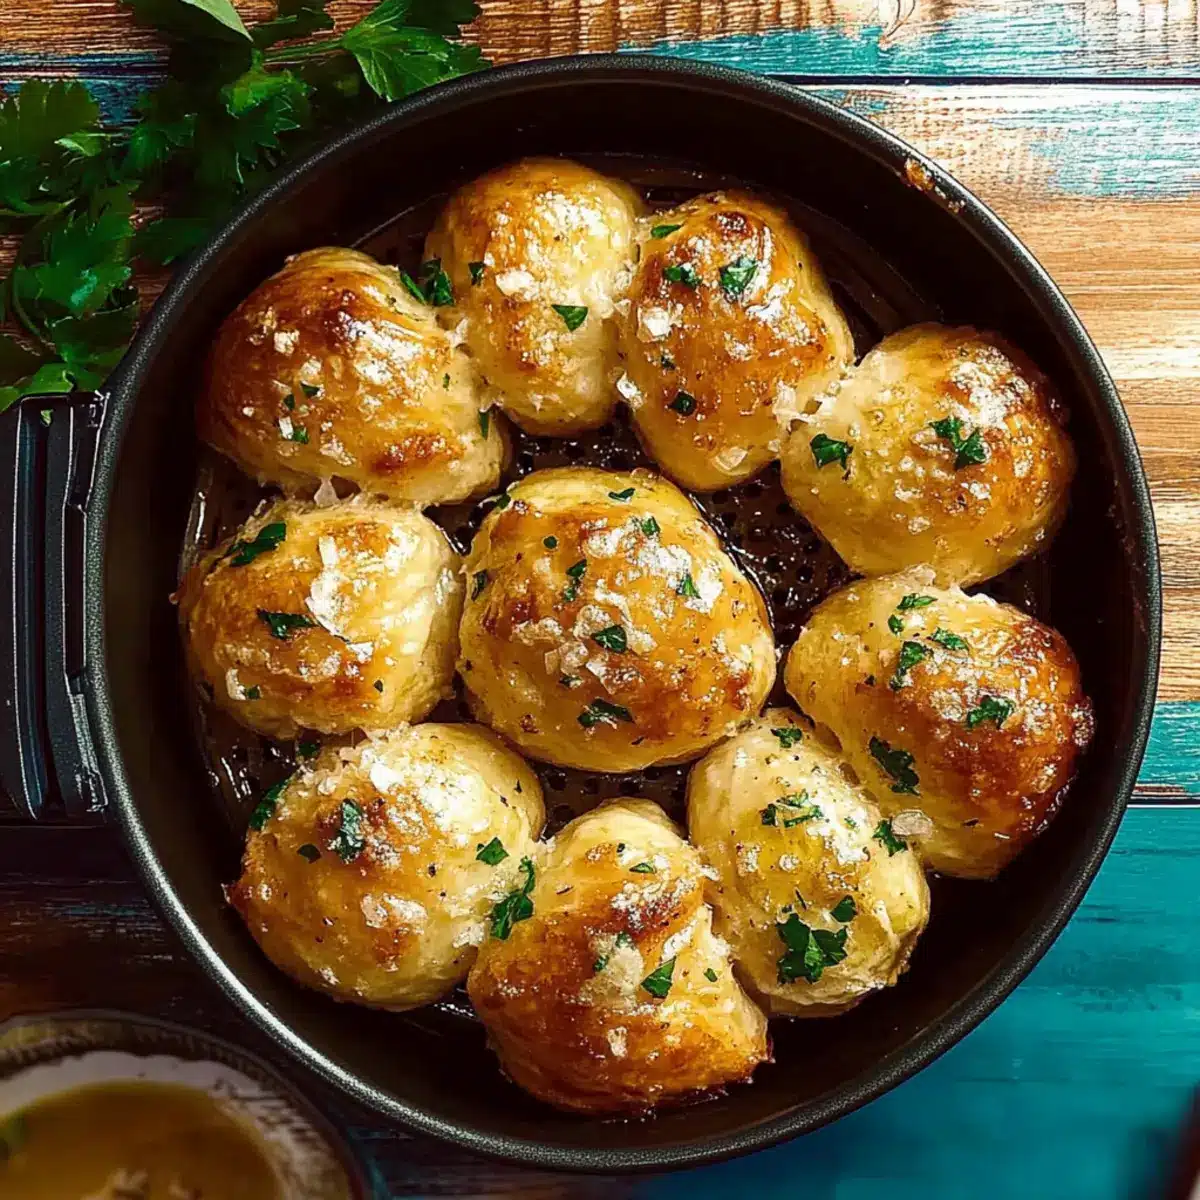
As I pulled open the door to my kitchen, a fragrant wave of garlic and parsley instantly took hold of my senses. It’s amazing how a few simple ingredients can transform a basic pizza dough into something truly delightful, like Air Fryer Garlic Bread. This recipe not only delivers the perfect blend of crisp and tender textures, but it also comes together in under 40 minutes—making it a quick and easy option for busy weeknights or casual get-togethers. With just six ingredients, it’s a crowd-pleaser that pairs beautifully with pastas, soups, or even as a snack on its own. Who could resist the aroma of warm garlic bread wafting through their home? Get ready to delight your taste buds! What will you pair your warm slices with for the ultimate comfort experience?

Why is Air Fryer Garlic Bread a Must-Try?
Quick preparation: In under 40 minutes, you can have a delicious side dish without spending hours in the kitchen.
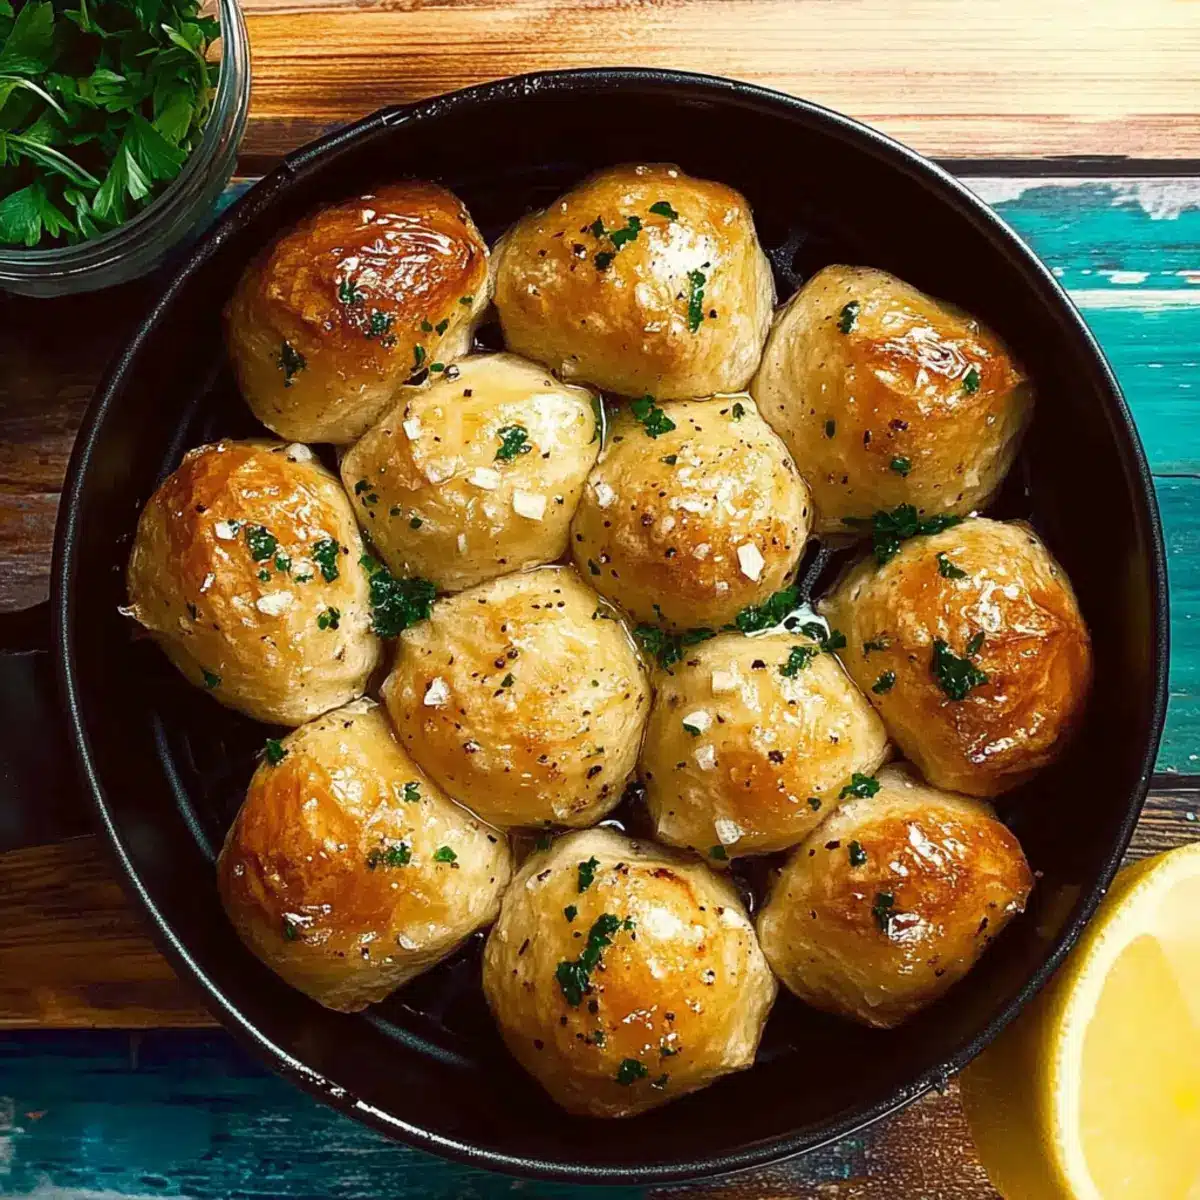
Flavor explosion: The aromatic garlic, fresh parsley, and zesty lemon create an irresistible taste that will tantalize your palate.
Versatile pairing: This garlic bread goes well with a variety of dishes—consider serving it alongside marinara sauce, air fryer chicken, or even a hearty pasta dish.
Crowd-pleaser: Perfect for gatherings, it’s a recipe that everyone will rave about. Imagine the compliments as you serve up fresh, homemade bread!
Easy customizations: Make it your own by experimenting with toppings, like mozzarella or different herbs, to suit your taste. Enjoy the fresh, warm bread as a delightful snack or appetizer!
Air Fryer Garlic Bread Ingredients
• The essentials for a flavorful treat!
For the Dough
• Pizza Dough – Acts as the perfect base; feel free to use store-bought for convenience!
For the Garlic Butter Mixture
• Unsalted Butter (½ cup) – Adds richness and helps all the toppings stick together; olive oil can be a lighter alternative.
• Garlic Cloves (4 large, minced) – Gives bold flavor; adjust based on how garlicky you like it!
• Parsley (¼ cup, finely chopped) – Adds a fresh touch and vibrant color; swap for cilantro if desired.
• Lemon Zest (1 teaspoon) – Brightens each bite; definitely a recommended addition for zestier garlic bread.
• Grated Parmesan (2 tablespoons) – Brings a cheesy flavor to the mix; feel free to use any cheese of your choice to switch things up!
This Air Fryer Garlic Bread is not only quick and easy to make but packed with delightful flavors that will surprise your taste buds.
Step‑by‑Step Instructions for Air Fryer Garlic Bread
Step 1: Preheat the Air Fryer
Begin by preheating your air fryer to 400°F (204°C) for about 5–10 minutes. This ensures that your Air Fryer Garlic Bread gets that perfectly crispy exterior as it cooks. While the air fryer heats, gather your ingredients and prepare your workspace, readying for the mouth-watering goodness ahead.
Step 2: Prepare the Garlic Butter Mixture
In a heat-proof bowl, melt half of the unsalted butter until it’s halfway melted, then stir until fully melted. Add in the minced garlic cloves, finely chopped parsley, grated Parmesan, and lemon zest. Mix well until everything is combined, creating a fragrant garlic butter that will elevate your garlic bread to new heights.
Step 3: Shape the Dough
Take your pizza dough and cut it into 12 equal pieces. Roll each piece into a small ball, ensuring they’re uniform in size for even baking. The dough balls will puff up while cooking in the air fryer, contributing to the delightful texture of your final Air Fryer Garlic Bread.
Step 4: Brush the Pan and Dough Balls
Using the remaining butter mixture, brush the bottom and sides of a 7 or 8-inch pan generously. Place the dough balls into the pan, then brush the remaining butter mixture over all sides of the dough. Avoid brushing the tops for now, as this will help prevent burning during cooking and will ensure a beautiful, golden finish.
Step 5: Bake the Dough Balls
Carefully place the pan in the air fryer and cook at 400°F for 5 minutes. This initial high heat will help create that desired crispy crust. After the time is up, lower the temperature to 325°F (163°C) without opening the fryer and bake for an additional 5 minutes to allow the dough to cook through.
Step 6: Add the Final Touch
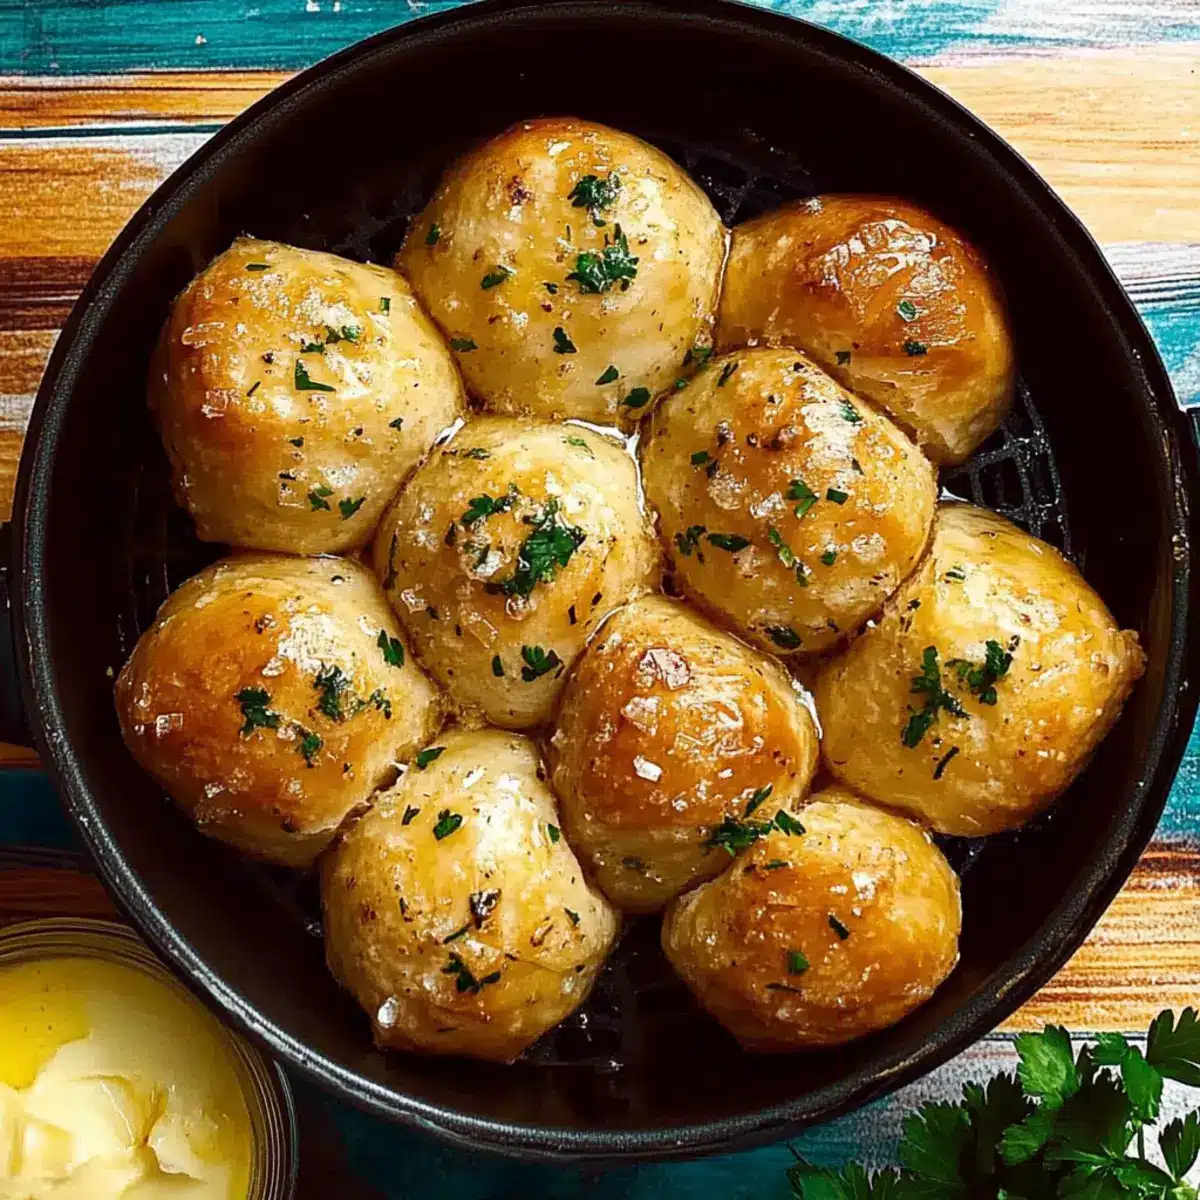
In the last 5 minutes of cooking, take your reserved garlic butter mixture and spread it generously over the tops of the dough balls. This step infuses more flavor and golden color into your Air Fryer Garlic Bread. Return the pan to the air fryer and cook for another 5 minutes until the tops are beautifully golden-brown.
Step 7: Cool and Serve
Once finished, remove the pan from the air fryer and let the garlic bread cool for about 5–10 minutes. This cool-down period enhances texture and makes it safer to handle. Serve warm, optionally garnishing with additional fresh herbs or coarse sea salt for an extra touch of flavor!
Expert Tips for Air Fryer Garlic Bread
-
Butter Timing: Avoid brushing the tops with butter before baking to prevent burning the herbs, ensuring a perfect golden crust.
-
Uniform Sizes: For even browning, make sure to roll your dough balls into uniform sizes, which helps them cook more evenly in the air fryer.
-
Cooling Matters: Let your Air Fryer Garlic Bread cool slightly before serving. This will help achieve the ideal texture, making it softer on the inside and crispier outside.
-
Dough Preparation: If using store-bought pizza dough, allow it to come to room temperature before shaping, making it easier to roll and mold.
-
Flavor Variations: Feel free to get creative with toppings like mozzarella or other herbs, transforming your Air Fryer Garlic Bread into your own signature recipe!
What to Serve with Air Fryer Garlic Bread
Savoring a warm slice of garlic bread begs for delightful companions that enhance your dining experience.
- Creamy Pasta Alfredo: The rich, buttery sauce complements the garlic flavors beautifully, making for an indulgent meal.
- Homemade Marinara Sauce: A classic pairing, this tangy dip enhances each bite of garlic bread, bringing the Italian vibe to life.
- Fresh Garden Salad: Crisp greens with a light vinaigrette add freshness and crunch, balancing the rich garlic flavors wonderfully.
- Hearty Vegetable Soup: The comforting warmth of soup paired with buttery garlic bread creates a cozy, fulfilling meal perfect for chilly evenings.
- Grilled Chicken: Seasoned grilled chicken brings a savory punch that beautifully contrasts the soft texture of the garlic bread.
- Savory Cheese Platter: A selection of cheeses and olives alongside garlic bread creates an enticing appetizer perfect for gatherings.
- Zesty Lemonade: This refreshing drink cuts through the richness of the garlic, leaving your palate invigorated and refreshed.
- Chocolate Lava Cake: For the sweet finish, this decadent dessert offers a satisfying contrast to the savory tastes of the garlic bread.
Make Ahead Options
These Air Fryer Garlic Bread dough balls are perfect for meal prep, allowing you to enjoy homemade bread with minimum last-minute effort! You can prepare the dough balls and brush them with the garlic butter mixture up to 24 hours in advance. Simply store them in an airtight container in the refrigerator to maintain their freshness. When you’re ready to serve, just place the prepared dough in the air fryer and follow the cooking instructions as usual, starting with the initial high heat of 400°F (204°C). This makes dinner time a breeze—just pop them in your air fryer for a delicious side dish ready in no time!
How to Store and Freeze Air Fryer Garlic Bread
Fridge: Store leftover air fryer garlic bread in an airtight container for up to 3 days. Reheat in the air fryer at 300°F for a few minutes to restore its original texture.
Freezer: For longer storage, freeze the garlic bread tightly wrapped in plastic wrap and then in a freezer-safe bag for up to 2 months. Thaw in the fridge overnight before reheating.
Room Temperature: If you plan to eat the garlic bread within a few hours, it can be kept at room temperature in a covered container.
Reheating: When you’re ready to enjoy, reheat pieces in the air fryer at 300°F for 2-3 minutes, ensuring they remain crispy and delicious!
Air Fryer Garlic Bread Variations
Embrace your culinary creativity and let this Air Fryer Garlic Bread become a delicious canvas for your taste preferences!
- Roasted Garlic: Swap fresh garlic for roasted garlic to create a milder, sweeter flavor perfect for garlic lovers.
- Cheesy Delight: Sprinkle extra mozzarella on top before the final air fry. This gooey addition takes your garlic bread to the next level!
- Herb Medley: Mix in fresh herbs like oregano or thyme for a fragrant twist that enhances the already aromatic profile.
- Whole Wheat Option: Use whole wheat pizza dough for a healthier alternative without sacrificing taste, providing a hearty texture.
- Spicy Kick: Add a pinch of red pepper flakes for an exciting, spicy surprise that complements the garlic beautifully.
- Cilantro Swap: Replace parsley with cilantro for a unique twist—perfect for those who enjoy its bold flavor.
- Wrap It Up: Make garlic bread rolls! Roll the dough around the garlic butter mixture and air fry for bite-sized pieces.
- Melted Butter Alternative: Substitute unsalted butter with olive oil or garlic-infused oil for a delightful twist on richness.
By incorporating these variations, you’re sure to impress guests at your next gathering or simply enjoy a new take on a classic dish. And if you’re in the mood for something else, don’t hesitate to check out Sticky Garlic Chicken or indulge in Honey Garlic Glazed Salmon for more mouth-watering dishes!
Air Fryer Garlic Bread Recipe FAQs
How do I choose the best pizza dough for garlic bread?
Absolutely! Look for fresh pizza dough that’s pliable and smooth. If you’re buying pre-packaged, check the expiration date and avoid anything that has dark spots or odd odors. If you prefer homemade, ensure the dough has adequately risen and is fluffy for the best texture.
What’s the best way to store leftover air fryer garlic bread?
Very! You can store leftover air fryer garlic bread in an airtight container in the refrigerator for up to 3 days. Just make sure it’s cooled completely before sealing to avoid moisture buildup. You can also reheat it in the air fryer at 300°F for a few minutes to bring back its crispness.
Can I freeze air fryer garlic bread, and if so, how?
Absolutely! For freezing, tightly wrap the cooled garlic bread in plastic wrap, then place it in a freezer-safe bag. It will keep for up to 2 months. When you’re ready to enjoy, simply thaw it in the refrigerator overnight and reheat in the air fryer at 300°F for 2-3 minutes for crispy results!
I have a gluten allergy. Can I make a gluten-free version?
Very much so! You can easily adapt this recipe by using gluten-free pizza dough available at most grocery stores. Just follow the same preparation steps to create a delicious gluten-free Air Fryer Garlic Bread that everyone can enjoy!
What do I do if my bread is not browning properly?
If your garlic bread isn’t browning, double-check that your air fryer is preheated correctly. Ensure dough balls are of uniform size to ensure even cooking. If needed, you can finish with a quick broil in an oven if you’re not getting that lovely golden color from the air fryer alone!
Irresistible Air Fryer Garlic Bread Ready in 30 Minutes
Ingredients
Equipment
Method
- Preheat the Air Fryer to 400°F (204°C) for 5-10 minutes.
- Melt half of the unsalted butter in a bowl, then mix in garlic, parsley, Parmesan, and lemon zest.
- Cut pizza dough into 12 pieces and shape into balls.
- Brush the pan and dough balls with the remaining garlic butter mixture.
- Cook the dough balls at 400°F for 5 minutes, then lower to 325°F (163°C) for another 5 minutes.
- Spread the reserved butter mixture on top of dough balls in the last 5 minutes of cooking.
- Let cool for 5-10 minutes before serving.
Leave a Reply