
In just ten minutes, you can create a snack that feels indulgent yet nourishes your body—how’s that for a win? These No Bake Chocolate Protein Balls are my go-to for a quick energy boost or a satisfying treat that doesn’t compromise on health. They’re not only incredibly easy to whip up but also cater to a variety of dietary preferences, being gluten-free, dairy-free, and vegan. Imagine biting into a chewy chocolate ball that tastes as wonderful as dessert while providing a protein-packed punch. Perfect for meal prep or a post-workout delight, these little bites are sure to keep you fueled throughout the day. Curious to discover just how easy it is to make these delicious treats? Let’s dive in!
Why are these protein balls a must-try?
Quick and Easy: In just 10 minutes, you can whip up a batch, making them ideal for busy schedules.
Nutritious and Delicious: With a rich chocolate flavor, these protein balls satisfy your sweet tooth without the guilt.
Versatile: Perfect for meal prep, you can enjoy them as a post-workout snack or a quick energy fix.
Diet-Friendly: These bites cater to gluten-free, dairy-free, and vegan diets, ensuring everyone can indulge.
Customizable: Feel free to experiment with different nut butters, protein powders, or even add-ins like dried fruit for extra fun! Who can resist a snack that offers both flavor and nutrition? For more meal prep ideas, check out my Cheesecake Stuffed Baked Apples or Baked Feta Pasta with Vegetables.
No Bake Chocolate Protein Balls Ingredients
For the Base
- Cashew Butter – Adds richness and creaminess; substitute with almond or peanut butter for variation.
- Almond Milk – Provides moisture and binds the mixture; any plant-based milk like soy or oat works too.
- Maple Syrup – Acts as a natural sweetener; honey can be a great substitute if not vegan.
- Vanilla Extract – Enhances flavor depth; it’s optional but recommended for a sweeter note.
- Chocolate Protein Powder – Ensures a protein boost; feel free to use your favorite protein powder, just adjust the liquid.
- Cocoa Powder – Contributes a rich chocolate flavor and antioxidants; unsweetened cocoa is best for this recipe.
- Salt – Balances sweetness and enhances flavor; just a pinch will do.
For the Texture
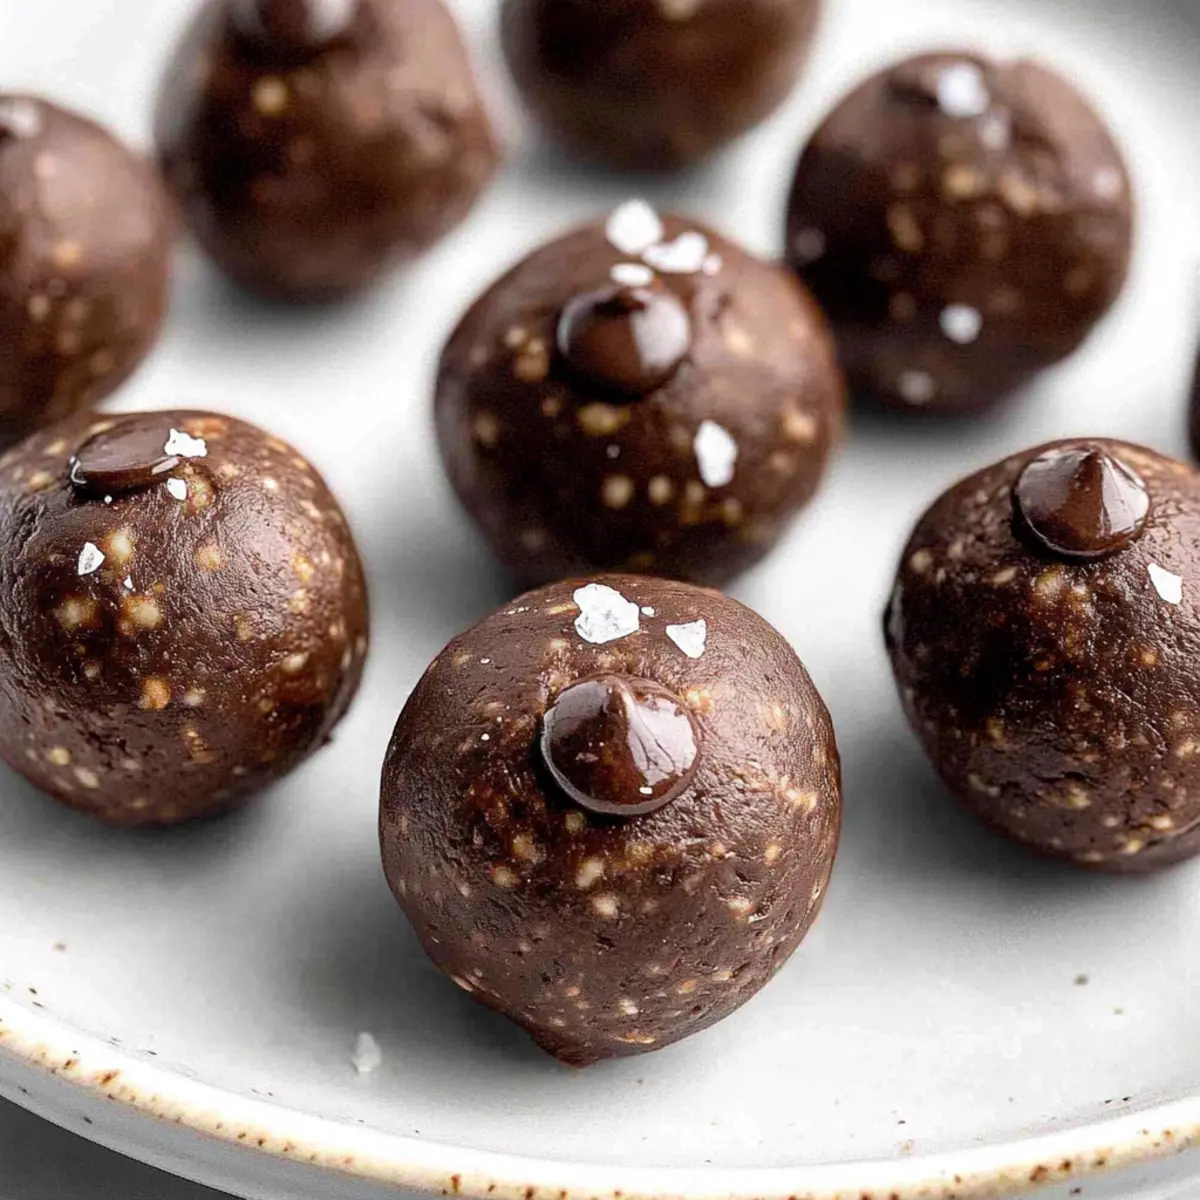
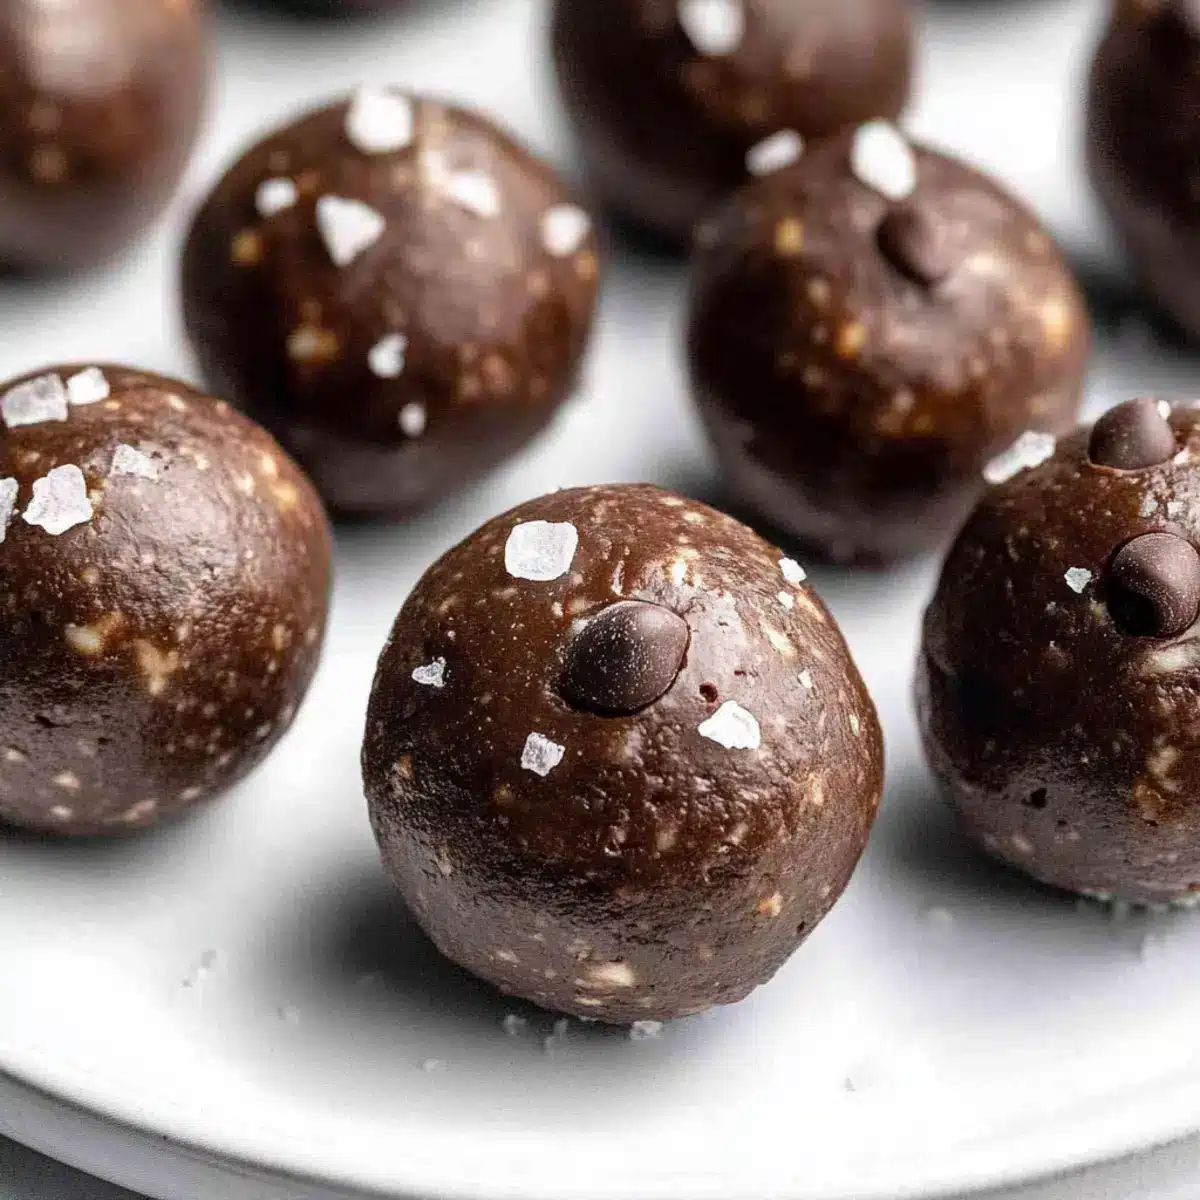
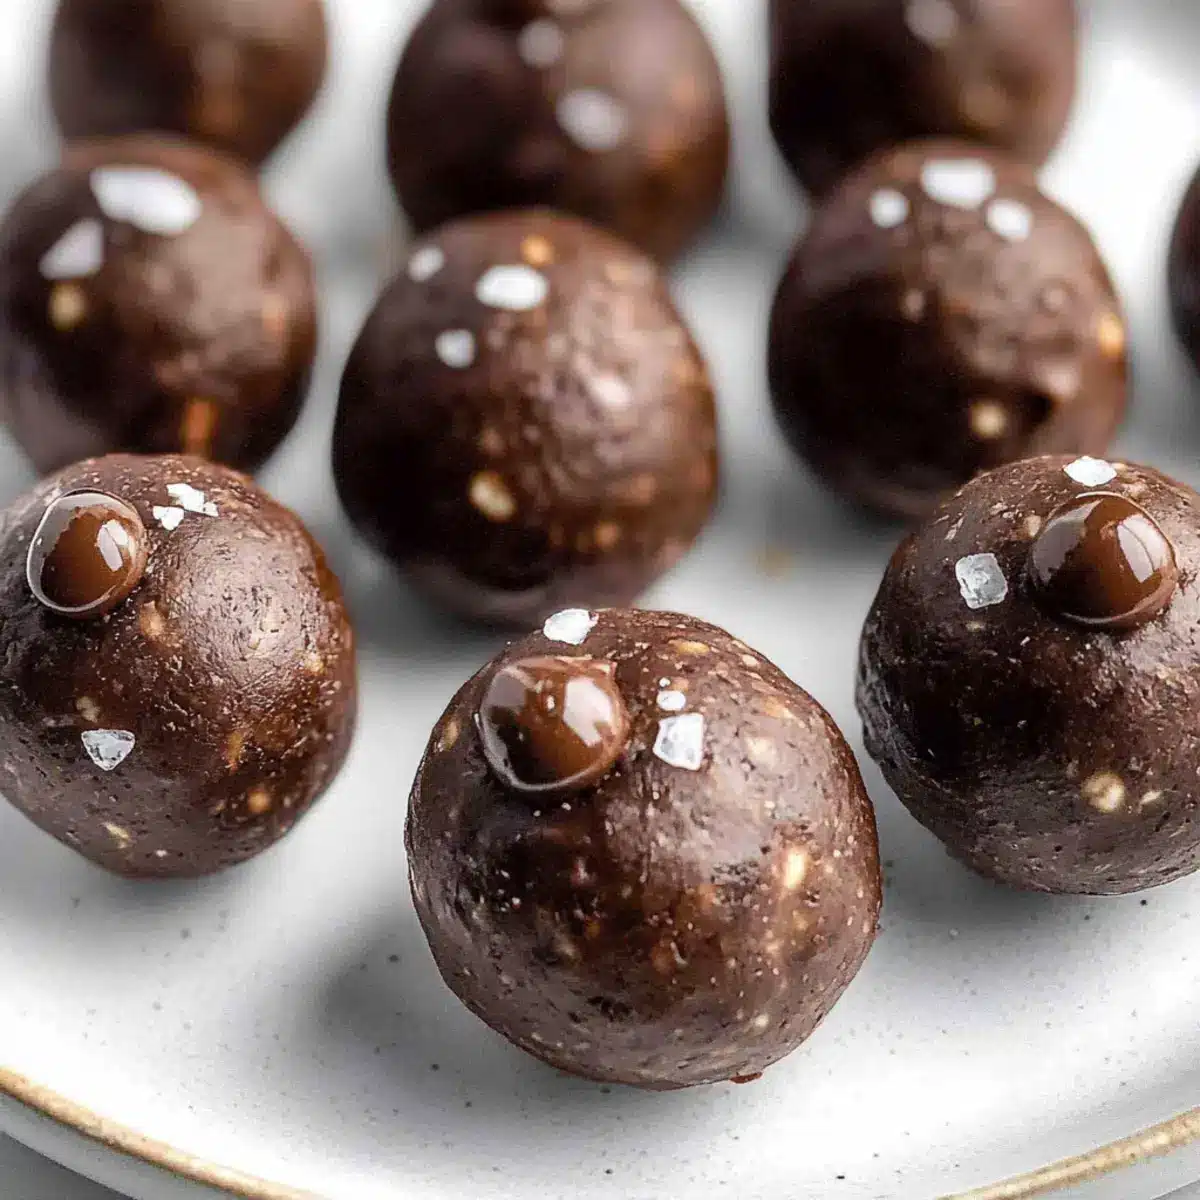
- Mini Chocolate Chips – Adds delightful sweetness and texture; can be omitted or swapped for dark chocolate chunks as desired.
Get ready to enjoy these no bake chocolate protein balls that are not only quick to prepare but also fit perfectly into your nutritious lifestyle!
Step‑by‑Step Instructions for No Bake Chocolate Protein Balls
Step 1: Mix Ingredients
In a medium-large mixing bowl, combine the cashew butter, almond milk, maple syrup, and vanilla extract. Use a sturdy spatula to stir these wet ingredients until they are thoroughly blended and smooth. Then, gradually incorporate the chocolate protein powder, cocoa powder, and a pinch of salt. After about 2 minutes of mixing, you should see a cohesive dough forming that is slightly sticky but manageable.
Step 2: Incorporate Chocolate Chips
Once the dough is uniform, gently fold in the mini chocolate chips using your spatula. Mix for another minute to ensure the chocolate chips are evenly distributed throughout the mixture. This step adds delightful bursts of chocolate flavor to your no bake chocolate protein balls, enhancing both taste and texture.
Step 3: Form into Balls
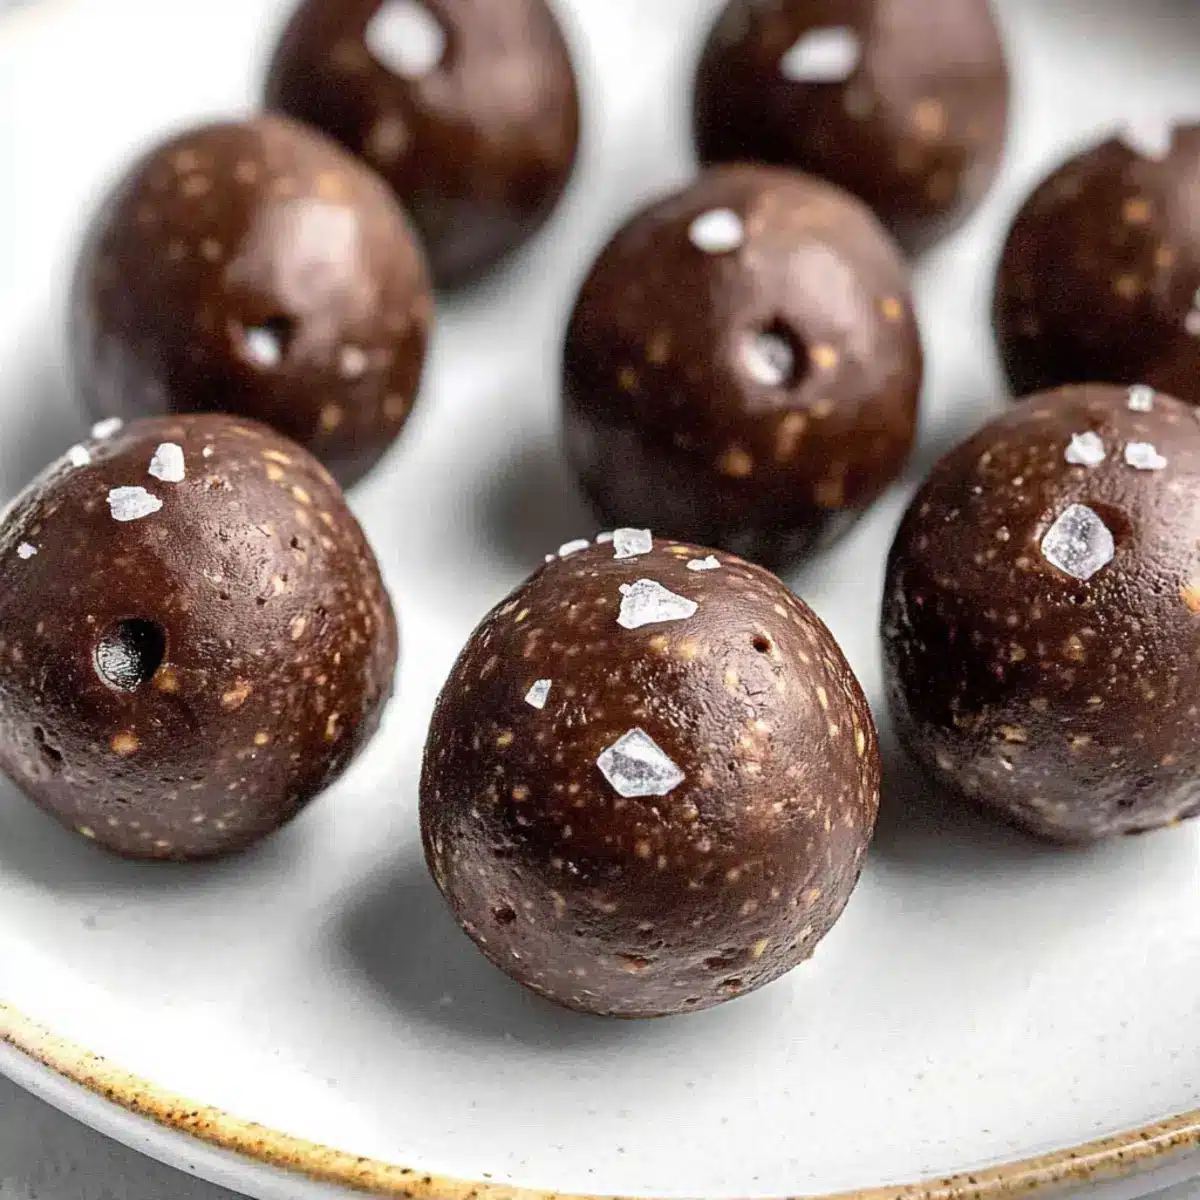
Now it’s time to shape your protein balls! Using a tablespoon, scoop out equal portions of the mixture and roll them between your palms to form approximately 11 smooth balls. Each should be about the size of a golf ball. If desired, sprinkle a little flaky sea salt on top of each ball for an added touch of flavor.
Step 4: Chill and Serve
For the best results, place your chocolate protein balls on a parchment-lined tray and refrigerate them for at least 15 minutes. This chilling time will firm up the texture, making them even more enjoyable to eat. After chilling, they’re ready to be enjoyed immediately or stored in an airtight container for meal prep.
Tips for the Best No Bake Chocolate Protein Balls
-
Consistency Check: If your mixture is too wet, add a little additional protein powder. If it’s dry, a splash of almond milk will do the trick!
-
Sweetness Level: Adjust the maple syrup to your taste. Start with less and increase gradually to avoid overly sweet protein balls.
-
Chill Time: Don’t skip refrigerating! Chilling enhances the texture and makes them easier to roll into perfect balls.
-
Mix-ins Galore: Feel free to play with add-ins like dried fruit, seeds, or nuts for extra nutrition and flavor.
-
Portion Control: Using a tablespoon makes uniform balls, ensuring each snack is packed with the same amount of goodness.
Make Ahead Options
These No Bake Chocolate Protein Balls are a fantastic choice for meal prep, saving you time during your busy week! You can prepare the mixture up to 3 days in advance—just mix everything until smooth, form the balls, and refrigerate them in an airtight container. This method ensures they maintain their delightful texture. If you’d like to enjoy them later, feel free to freeze the unformed mixture for up to 3 months, allowing you to scoop and roll them into balls as needed. When you’re ready to indulge, simply take them out of the fridge or freezer for a quick treat that’s still just as delicious!
What to Serve with No Bake Chocolate Protein Balls?
The perfect meal isn’t just about the main dish; it’s about creating a delightful symphony of flavors and textures around it.
- Fresh Fruit Salad: A vibrant blend of seasonal fruits adds a refreshing contrast to the rich chocolate flavor, making every bite feel light and zesty.
- Crunchy Granola: A sprinkle of your favorite granola provides a satisfying crunch and a boost of nutrients to complement the chewy protein balls.
- Nutty Oatmeal: Warm oatmeal topped with nuts and a drizzle of maple syrup pairs well, creating a comforting and nutritious breakfast or snack.
- Smoothie Bowl: A creamy smoothie bowl topped with seeds and berries enhances the sweetness while adding a burst of freshness that perfectly balances the chocolate.
- Herbal Tea: A cup of soothing herbal tea complements the rich flavors of the protein balls, providing a cozy atmosphere for relaxation.
- Chocolate Almond Milk: For a delightful drink pairing, indulge in creamy chocolate almond milk that mirrors the sweetness of the balls, enriching the experience.
- Peanut Butter Banana Toast: Toasted bread smeared with peanut butter and banana slices offers a satisfying combo that echoes the nutty notes in the protein balls.
- Dark Chocolate Dipped Strawberries: Juicy strawberries dipped in dark chocolate bring a touch of elegance, enhancing the dessert-like feel of these protein balls.
- Greek Yogurt Parfait: Layering Greek yogurt with granola and fruits creates a delightful parfait that adds creaminess and freshness to your snack time.
- Coconut Chia Pudding: A bowl of coconut chia pudding topped with fresh fruit gives a delightful creamy texture that pairs wonderfully with the chewy protein balls.
How to Store and Freeze No Bake Chocolate Protein Balls
Room Temperature: These protein balls can be kept at room temperature for up to 2 days; however, they may lose some texture and freshness after a day.
Fridge: Store in an airtight container in the fridge for up to one week, ensuring they stay fresh and ready for a quick snack anytime.
Freezer: Freeze these no bake chocolate protein balls for up to three months. Just make sure they’re in a freezer-safe container or resealable bag to keep them from drying out.
Reheating: There’s no need to reheat; simply take them straight from the fridge or freezer, and enjoy!
No Bake Chocolate Protein Balls Variations
Feel free to customize these protein balls for a delightful twist that suits your tastes and dietary needs!
-
Nut Butter Swap: Substitute cashew butter with almond, peanut, or even sunflower seed butter for a unique flavor.
-
Plant-Based Milk: Use any alternative milk like soy, oat, or coconut instead of almond milk, for a creamy blend that suits your preference.
-
Natural Sweetener Boost: Explore using agave nectar or coconut sugar instead of maple syrup, adding your unique flavor profile.
-
Flavorful Extracts: Enhance the taste by adding a splash of almond or coconut extract alongside your vanilla for a delightful twist.
-
Texture Enhancer: Mix in your favorite seeds or chopped nuts for a delightful crunch that pairs wonderfully with the chewy chocolate base.
-
Caffeine-Free Option: Swap cocoa powder with carob powder for a lovely, caffeine-free alternative that still provides a chocolate vibe.
-
Spicy Kick: For a bit of heat, consider adding a pinch of cayenne or chili powder to the mix. It’ll surprise you with each flavorful bite!
-
Fruitful Addition: Dried fruits like cranberries, apricots, or cherries can add a burst of natural sweetness and chewiness to your protein balls.
Whichever variation you choose, these no bake chocolate protein balls are sure to satisfy. For more delicious ideas, check out my Baked Feta Pasta with Vegetables or try out Meatballs Lemon Sauce.
No Bake Chocolate Protein Balls Recipe FAQs
What are the best nut butters to use for these protein balls?
Absolutely! Cashew butter is my favorite for its creamy texture, but almond or peanut butter also work beautifully. Feel free to choose your favorite, just keep in mind that each nut butter brings its unique flavor and consistency to the mix.
How should I store my No Bake Chocolate Protein Balls?
To keep these delicious bites fresh, store them in an airtight container. They last up to one week in the fridge and can be kept at room temperature for up to 2 days. If you want to extend their shelf life, freeze them for up to three months! Just ensure they’re in a freezer-safe container or resealable bag to avoid freezer burn.
Can I freeze No Bake Chocolate Protein Balls?
Yes, you can absolutely freeze them! Here’s how:
- Allow the balls to fully chill in the fridge for about 15 minutes.
- Place them in a single layer in a freezer-safe container, making sure they don’t touch each other to avoid sticking.
- Seal tightly, and they can be stored in the freezer for up to three months.
Whenever you need a quick snack, just grab one from the freezer, and it’s ready to enjoy straight away—no thawing necessary!
What if my mixture is too dry or too wet?
Very commonly, this can happen! If the mixture is too dry, simply add a splash of almond milk while mixing until you reach the desired consistency. If it’s too wet, gradually sprinkle in more chocolate protein powder or some almond flour until it’s manageable. Always choose a little at a time, and mix thoroughly to get that perfect dough.
Are these protein balls suitable for people with dietary restrictions?
Absolutely! These No Bake Chocolate Protein Balls are gluten-free, dairy-free, and vegan, making them a fantastic option for those with various dietary needs. Just be sure to double-check the labels of your ingredients, especially the protein powder and any add-ins. For those with nut allergies, consider using sun butter or soy nut butter as a substitute for nut butters. Enjoy guilt-free!
No Bake Chocolate Protein Balls for Guilt-Free Indulgence
Ingredients
Equipment
Method
- In a medium-large mixing bowl, combine the cashew butter, almond milk, maple syrup, and vanilla extract. Stir until thoroughly blended and smooth.
- Gradually incorporate the chocolate protein powder, cocoa powder, and a pinch of salt. Mix until a cohesive dough forms.
- Gently fold in the mini chocolate chips until evenly distributed throughout the mixture.
- Using a tablespoon, scoop out equal portions of the mixture and roll them into about 11 smooth balls.
- Place the balls on a parchment-lined tray and refrigerate for at least 15 minutes before serving.
Leave a Reply