
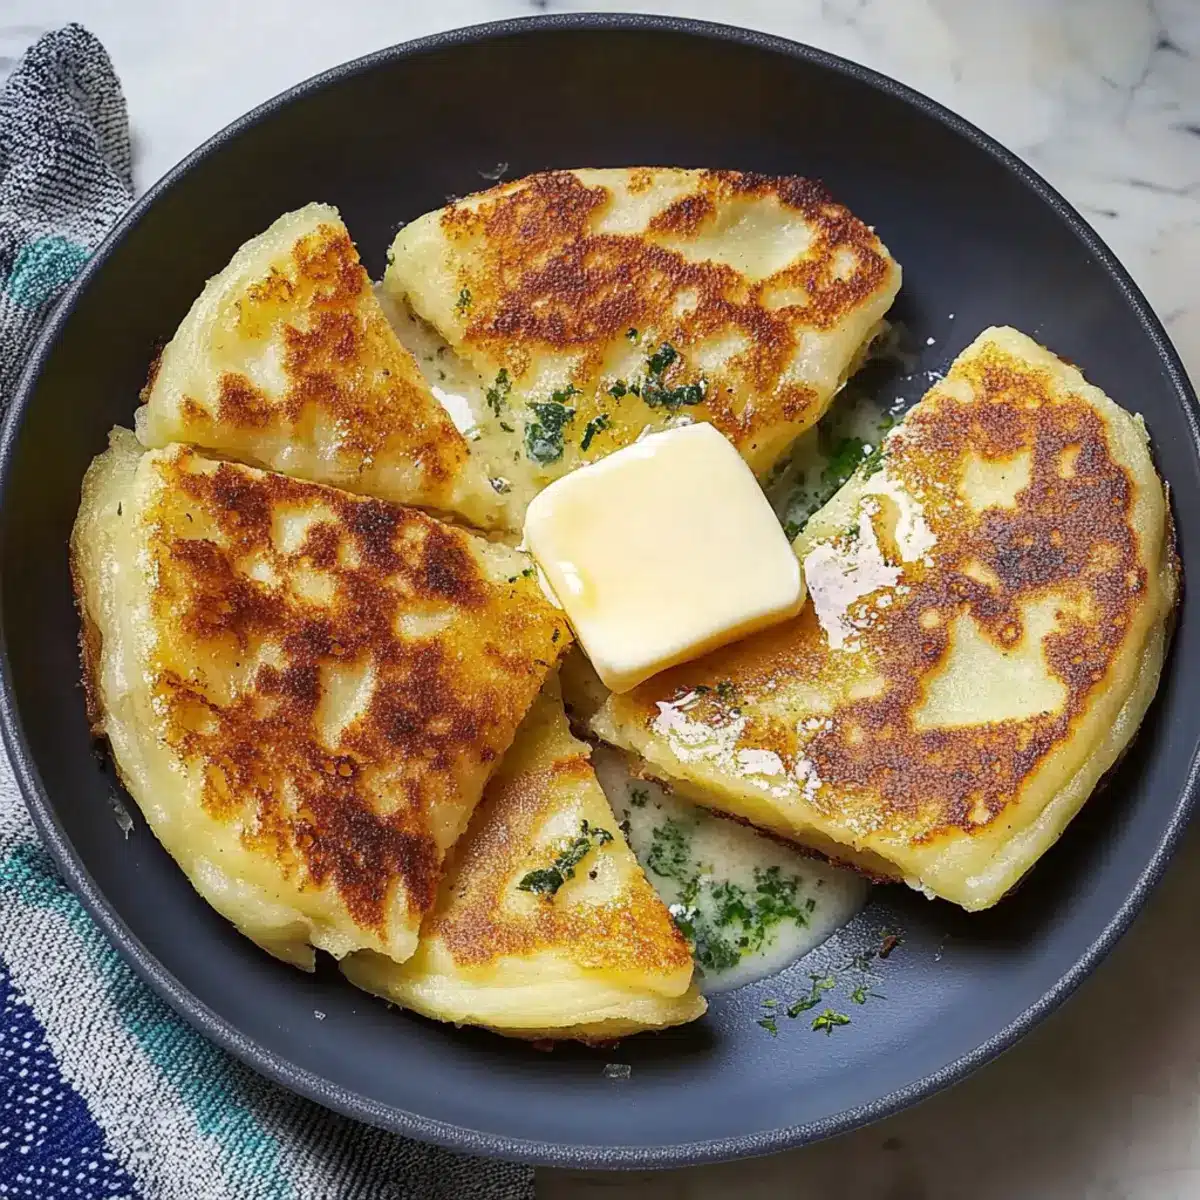
As I stood in my kitchen one rainy afternoon, the scent of buttery, crisp griddle cakes wafted through the air, instantly transporting me to the heart of Ireland. This is the magic of Irish Potato Farls, a simple yet delightful dish that transforms leftover mashed potatoes into a warm, comforting breakfast treat. Not only are they quick to prepare, but they also embody the essence of traditional Irish cuisine, making them a crowd-pleaser for any meal. Whether enjoyed solo or alongside your favorite eggs and bacon, these farls strike the perfect balance between indulgence and practicality. Curious about how to bring this slice of Irish comfort to your own table? Let’s dive into the recipe!
Why Are Irish Potato Farls So Special?
Comforting Simplicity: With minimal ingredients and a straightforward process, these farls are easy to whip up any day of the week.
Leftover Magic: Transform your leftover mashed potatoes into a delightful treat, minimizing waste while maximizing flavor.
Gluten-Free Adaptation: You can easily substitute all-purpose flour for gluten-free options, making this a versatile dish for everyone.
Crowd-Pleaser: Whether served for brunch or as part of a hearty breakfast, Irish Potato Farls are guaranteed to please both family and friends.
Deliciously Versatile: Enjoy them plain, topped with butter or paired with toppings like smoked salmon or sweet jam for a unique twist.
Quick & Easy: With just a few minutes on the griddle, you’ll have warm, crispy farls ready to enjoy in no time. If you love creative uses for leftovers, you’ll also want to check out Korean Potato Cheese for another delightful twist!
Irish Potato Farls Ingredients
For the Dough
- Mashed Potatoes – Use cooled leftovers for the best texture and flavor in your farls.
- All-Purpose Flour – Provides structure; substitute with gluten-free flour if needed to cater to dietary requirements.
- Salt – Enhances the flavor; never skip this essential ingredient.
- Butter (Melted) – Adds richness; you can swap it out for oil for a dairy-free alternative.
Optional Toppings
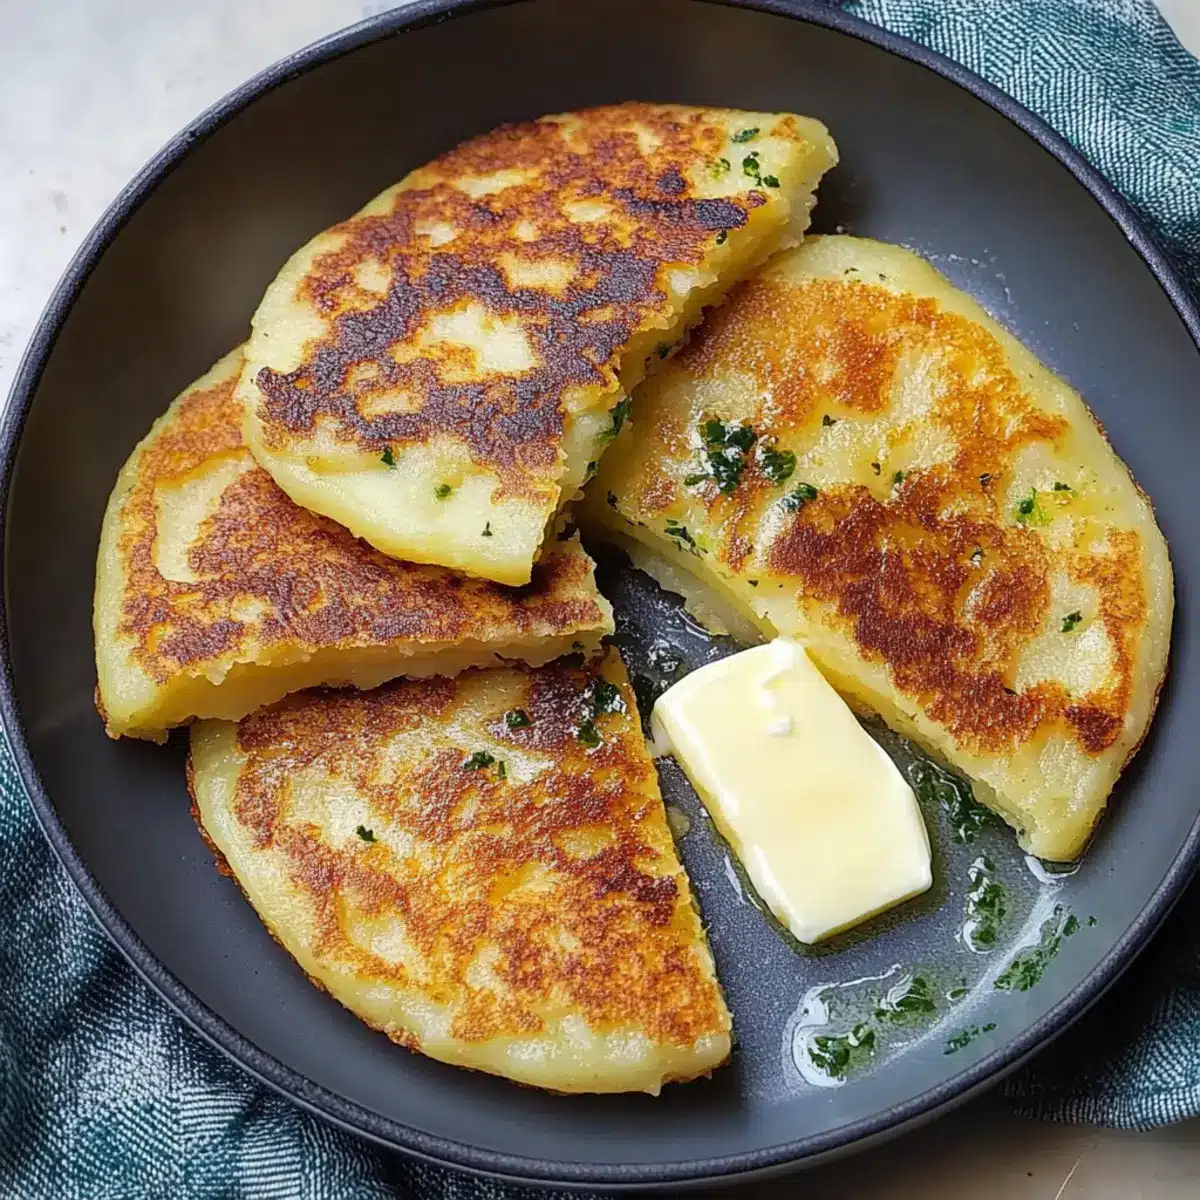
- Butter – A classic addition that melts beautifully into warm farls for that cozy taste.
- Herbs (Chives or Parsley) – Chop fresh herbs for an added pop of flavor and nutrition.
- Smoked Salmon – For an indulgent touch, this pairs perfectly with the farls’ textures.
- Jam or Cream Cheese – Sweet toppings offer a delightful contrast to the savory notes of the potatoes.
Step‑by‑Step Instructions for Irish Potato Farls
Step 1: Prepare the Dough
In a large mixing bowl, combine 2 cups of cooled mashed potatoes, 1 cup of all-purpose flour, and ½ teaspoon of salt. Add 2 tablespoons of melted butter to the mixture. Stir until a soft dough forms, ensuring all ingredients are well incorporated, which should take about 3–5 minutes. The dough should be slightly sticky but manageable.
Step 2: Knead Gently
Lightly flour your work surface and turn out the dough. With clean hands, gently knead the dough for about 1–2 minutes until it is smooth and elastic. Be careful not to over-knead, as this can make the Irish Potato Farls tough. The dough should be soft yet hold its shape, ready for rolling.
Step 3: Roll and Shape the Dough
Use a rolling pin to flatten the dough into a circle approximately ¼ inch thick. If the dough is sticking, dust with a little flour. Aim for an even thickness to ensure uniform cooking. Once rolled out, the dough should resemble a circular pancake and be ready for cutting.
Step 4: Cut the Farls
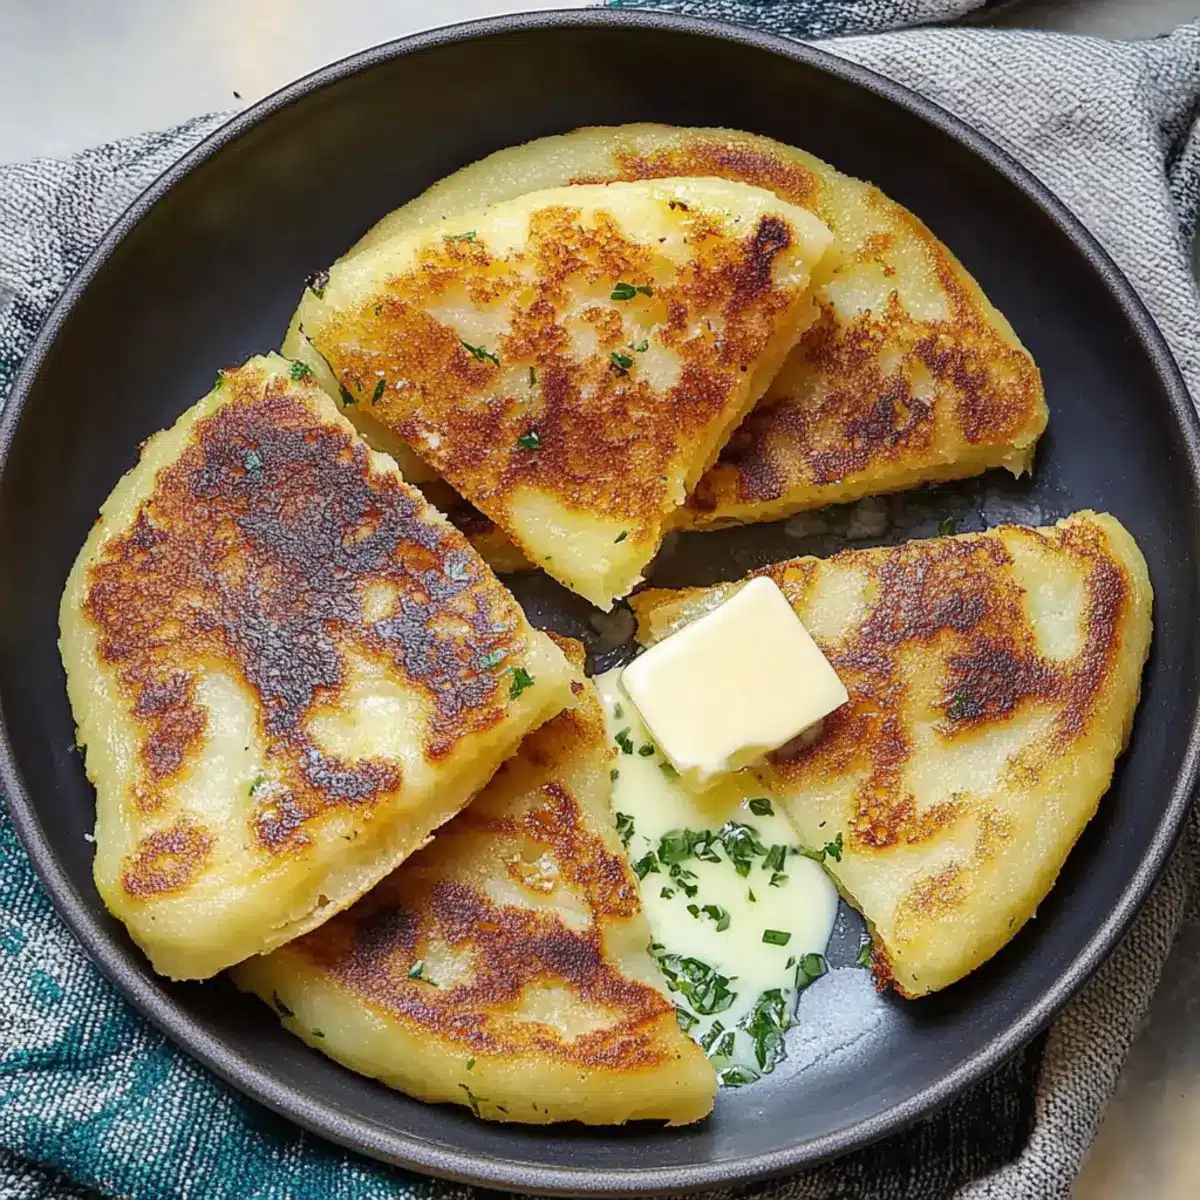
Using a sharp knife or a pizza cutter, slice the rolled dough into quarters, forming triangle-shaped farls. Each piece should be about 3–4 inches on each side. These triangular shapes are traditional for Irish Potato Farls, ensuring that they cook evenly on the griddle.
Step 5: Heat the Griddle
Place a non-stick skillet or griddle over medium heat. You don’t need to add oil, as the melted butter used in the dough will provide sufficient moisture. Allow the skillet to heat for a few minutes until it’s hot but not smoking.
Step 6: Cook the Farls
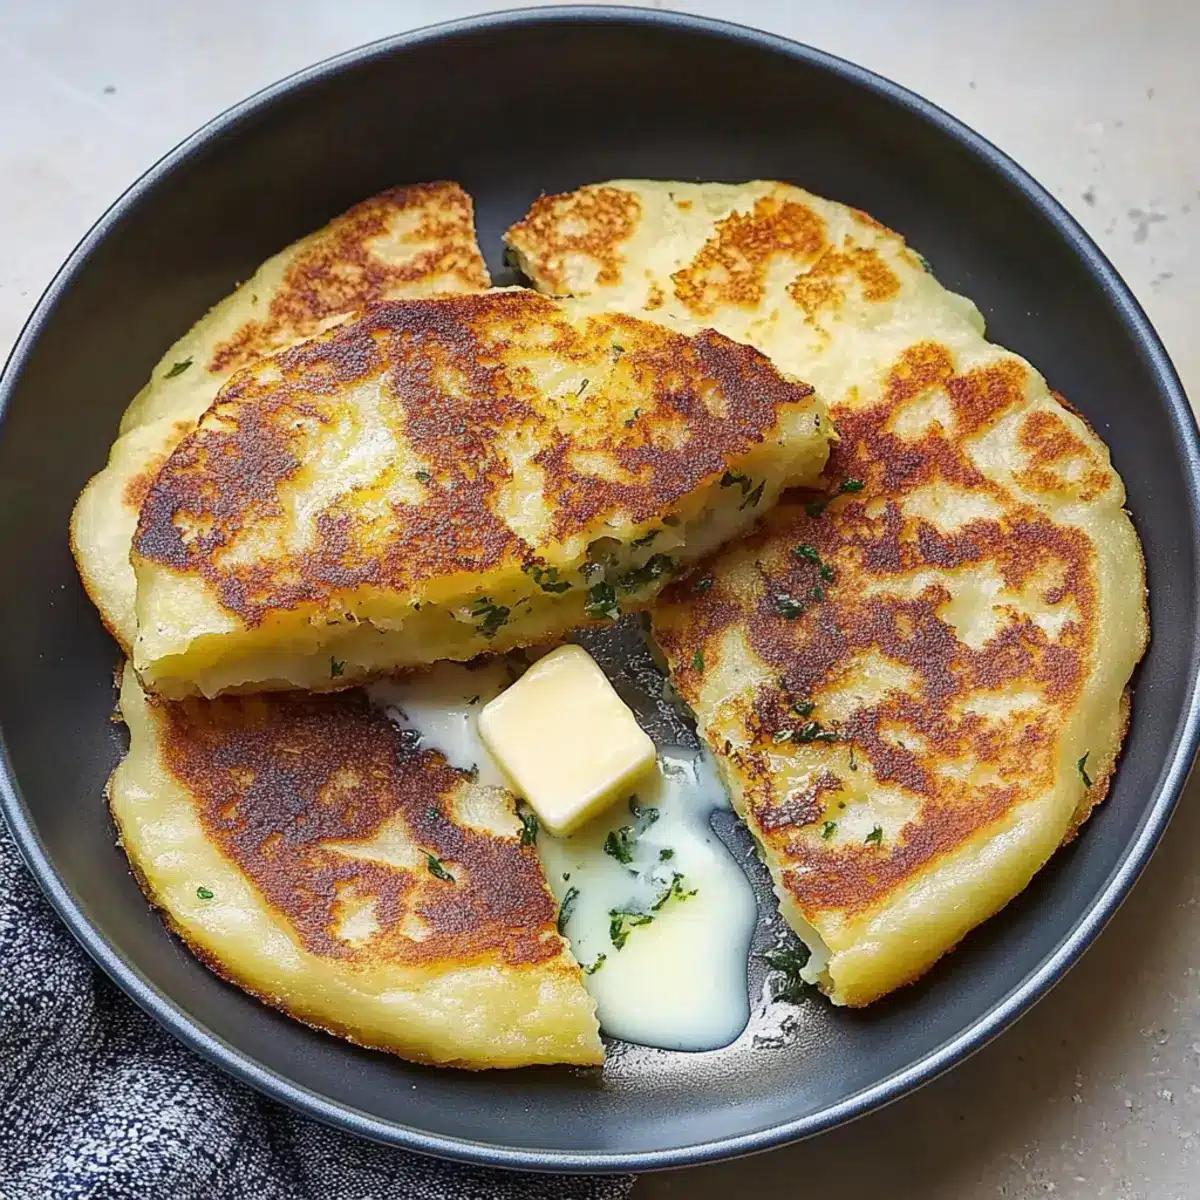
Carefully transfer the farls onto the heated skillet, cooking each for 3–4 minutes on one side until they are golden brown. Look for a crisp exterior and a slight puffing; this indicates they are cooking well. After 3–4 minutes, flip them to the other side.
Step 7: Final Cook and Serve
Continue cooking the other side for an additional 3–4 minutes until it matches the golden, crispy exterior of the first side. Once done, remove the Irish Potato Farls from the skillet and place them on a cooling rack or a plate. Serve warm, ideally with butter or your choice of delicious toppings, for a comforting treat.
How to Store and Freeze Irish Potato Farls
Fridge: Store cooled Irish Potato Farls in an airtight container for up to 3 days. Reheat gently in a skillet or microwave for a quick meal.
Freezer: Freeze the farls individually on a baking sheet, then transfer to a freezer bag for up to 2 months. Reheat from frozen in a hot skillet or toaster oven until warmed through.
Reheating: For the best texture, reheat farls in a skillet over low heat until warm and crispy, rather than in the microwave, which can make them soggy.
Make-Ahead: Feel free to prepare the farls in advance; simply store them in the fridge or freezer until you’re ready to enjoy their comforting goodness!
Tips for the Best Irish Potato Farls
Use Cooled Potatoes: Ensure your mashed potatoes are fully cooled before mixing; this prevents a gummy texture in your farls.
Knead Gently: Avoid overworking the dough for the best texture; it should be soft yet smooth, not tough.
Watch Cooking Time: Keep a close eye on the cooking process to achieve that perfect golden brown exterior without burning.
Customize Easily: Feel free to experiment by adding herbs or cheese to the dough for a flavorful twist on traditional Irish potato farls.
Serve Warm: These farls taste best when served warm, making them an ideal last-minute breakfast or brunch item.
What to Serve with Irish Potato Farls
Imagine a delightful meal that elevates the simple yet heartwarming flavors of your freshly cooked Irish Potato Farls, turning them into a feast everyone will cherish!
-
Fried Eggs: They create a wonderful contrast with the crispy farls. The runny yolk paired with the softness will delight your taste buds.
-
Grilled Tomatoes: Juicy and slightly charred, they add a touch of freshness. Their acidity cuts through the richness of the farls, balancing the meal beautifully.
-
Smoked Salmon: This elegant topping enhances the farls wonderfully. A touch of cream cheese can serve as the perfect spread, elevating the dish further.
-
Herbed Scrambled Eggs: Fluffy eggs with fresh herbs are a delightful complement. The creamy texture and bright flavor bring a burst of freshness to the table.
-
Sautéed Spinach: Lightly cooked with garlic, this adds earthiness and nutrients. It’s a good way to incorporate greens into your meal while maintaining vibrancy.
-
Homemade Applesauce: For those who appreciate sweet and savory, a dollop of applesauce creates perfect harmony. Its sweetness pairs well with the mild flavors of the farls.
-
Irish Tea: A strong cup of tea envelops the meal in warmth, making every bite feel more special. The rich flavors of Irish tea enhance the comfort of your breakfast spread.
-
Fresh Berries: A light, sweet finish to your meal, berries can brighten up the plate. Their natural sweetness contrasts beautifully with the hearty farls.
-
Chocolate Chip Scones: For a treat, serve scones on the side. They add texture and a hint of sweetness that complements the flavors nicely.
-
Guinness: Enjoying a pint with your meal not only pays homage to Irish tradition but also balances the richness of the farls.
Irish Potato Farls: Delicious Variations
Feel free to let your creativity flow and personalize your Irish Potato Farls for a delightful twist on tradition!
-
Herb-Infused: Add chopped chives or parsley to the dough for a fresh flavor burst. This simple addition not only enhances taste but also adds a pop of color.
-
Cheesy Delight: Stir in shredded cheese like cheddar or goat cheese for a rich, cheesy flavor. The melty cheese brings an incredible creaminess to each bite.
-
Veggie Loaded: Incorporate finely grated carrots or zucchini into the dough for a nutritious boost. This twist adds both moisture and a subtle sweetness that complements the potato.
-
Sweet Touch: Try topping your farls with jam or cream cheese, bringing a lovely sweetness to contrast the savory flavors. You won’t believe how delicious they are when paired with fruit spread!
-
Savory Toppings: Opt for toppings like smoked salmon or crème fraîche for an indulgent weekend brunch. The combination elevates the dish into a gourmet experience.
-
Gluten-Free Option: Substitute all-purpose flour with a gluten-free blend, ensuring that everyone can enjoy these delightful farls. The texture remains beautifully soft and inviting!
-
Spiced Up: If you enjoy a bit of heat, sprinkle in some red pepper flakes or finely minced jalapeños for a spicy kick that transforms the flavor profile.
Enjoy these personalized variations alongside your classic Irish Potato Farls, just like pairing them with delightful options from Feta Sweet Potato or Cheesy Ranch Potatoes for exciting combinations at brunch!
Make Ahead Options
These Irish Potato Farls are ideal for meal prep, allowing you to enjoy a comforting breakfast with ease. You can prepare the dough up to 24 hours in advance; simply combine the cooled mashed potatoes, flour, salt, and melted butter, then cover and refrigerate. When you’re ready to cook, take the dough out and let it sit at room temperature for about 15-30 minutes to soften, then roll and cut it as instructed. Alternatively, cooked farls can be stored in an airtight container in the fridge for up to 3 days or frozen for longer storage. To reheat, simply warm them on a skillet or in a toaster for that fresh, crispy texture—just as delicious as when they first came off the griddle!
Irish Potato Farls Recipe FAQs
How do I choose the best mashed potatoes for my farls?
Absolutely! For the best texture in your Irish Potato Farls, choose leftover mashed potatoes that are fully cooled. Freshly made mashed potatoes are too warm and can make the dough gummy. Look for creamy, well-seasoned mashed potatoes that you already have on hand, or you can make a small batch specifically for this recipe.
What is the best way to store leftover Irish Potato Farls?
Very simple! Store your cooled Irish Potato Farls in an airtight container in the fridge for up to 3 days. If you’d like to keep them longer, simply wrap them individually in plastic wrap and freeze them. They can last up to 2 months in the freezer, making them perfect for quick meals later on.
Can I freeze Irish Potato Farls? How?
Absolutely! To freeze your Irish Potato Farls, first, lay them out on a baking sheet lined with parchment paper, making sure they’re not touching one another. Freeze them for about 1-2 hours until solid, then transfer them to a freezer-safe bag. This way, you can grab just the right number you need for a quick meal. When ready to eat, reheat from frozen in a hot skillet until crispy and warm.
What should I do if my farls turn out tough?
Oh no! If your farls are turning out tough, it’s likely because the dough was over-kneaded. When mixing and kneading, aim for a soft and slightly sticky dough. If you find yourself struggling with the texture, remember to keep your kneading gentle and to just combine until everything is smooth.
Are Irish Potato Farls suitable for my gluten-free diet?
Yes, they definitely can be! To make your Irish Potato Farls gluten-free, simply substitute the all-purpose flour with your favorite gluten-free flour blend. Many brands work well, but I recommend ones that include xanthan gum for the best texture. It’s a fantastic way to enjoy this comforting dish while catering to dietary needs.
Can I add other ingredients to my farls?
Very much so! Adding chopped herbs like chives or parsley can elevate the flavor of your Irish Potato Farls. If you’re feeling adventurous, you can mix in some grated cheese or even sautéed vegetables into the dough before rolling it out. This versatility makes them even more delicious while ensuring they fit your taste buds perfectly!
Irish Potato Farls: Crispy Comfort with Leftover Love
Ingredients
Equipment
Method
- In a large mixing bowl, combine mashed potatoes, flour, and salt. Add melted butter. Stir until a soft dough forms, about 3–5 minutes.
- Lightly flour your work surface and turn out the dough. Knead gently for 1–2 minutes until smooth and elastic.
- Roll the dough into a circle about ¼ inch thick. Dust with flour if sticking.
- Cut the rolled dough into quarters to form triangle-shaped farls.
- Heat a non-stick skillet over medium heat. No oil needed because of the butter in the dough.
- Cook each farl for 3–4 minutes on one side until golden brown, then flip.
- Cook the other side for another 3–4 minutes until crispy. Serve warm with toppings.
Leave a Reply