
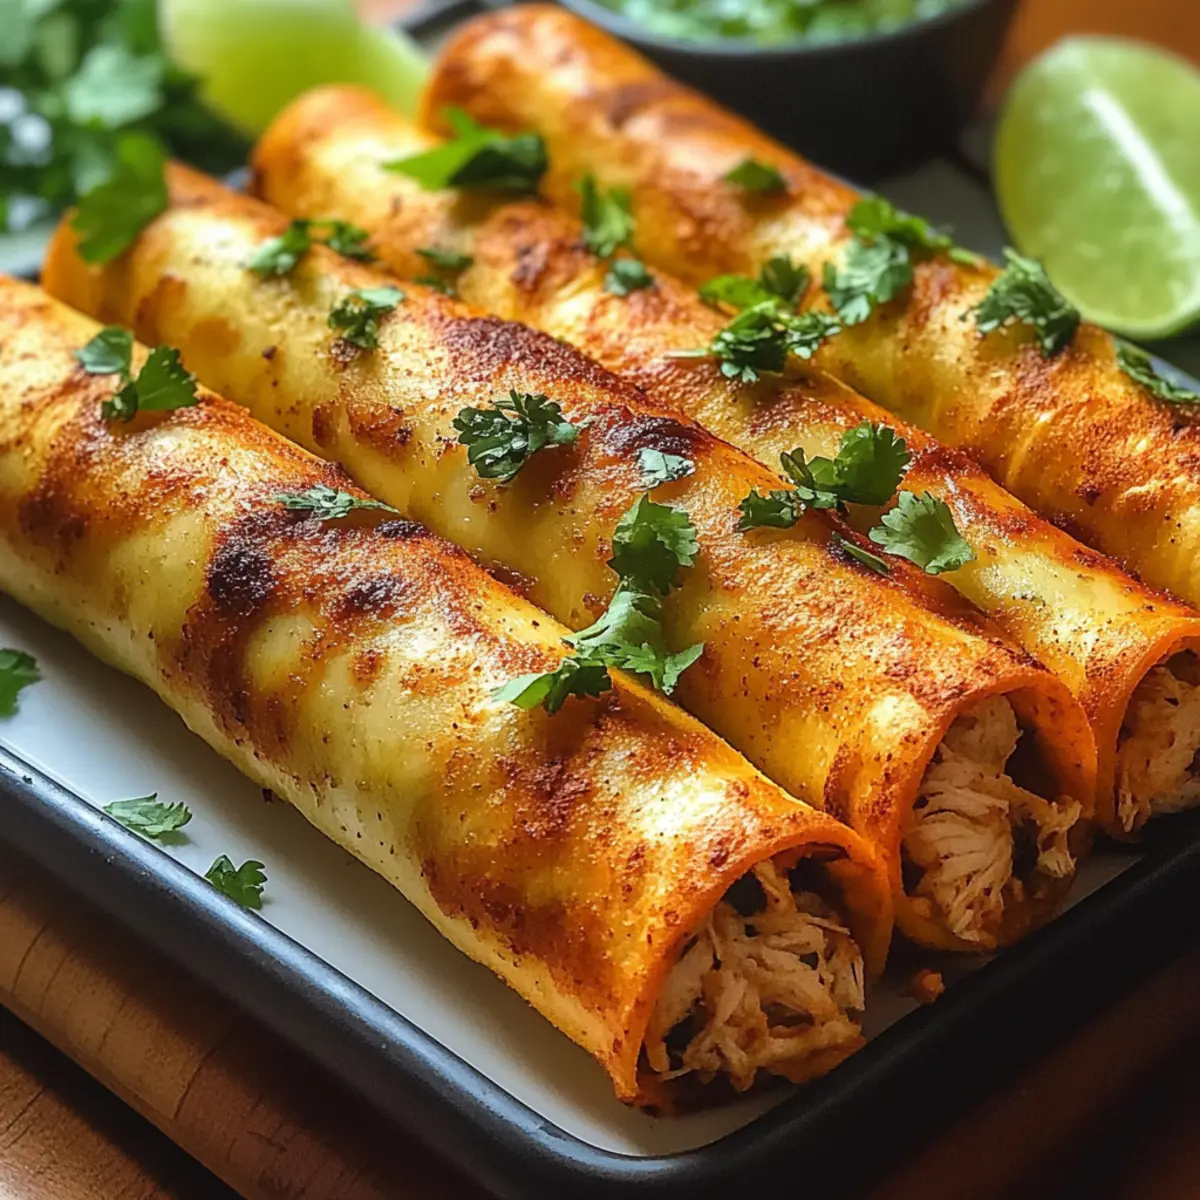
The smell of toasty corn tortillas wafting through the air always brings sunshine to my kitchen. Today, I’m excited to share my recipe for Crunchy Oven-Baked Chicken Taquitos—a healthier twist on a beloved classic that you’ll adore. With the perfect balance of crunch and flavor, these taquitos are not just satisfying, but they’re also super quick to prepare, making them an ideal solution for busy weeknights or spontaneous brunch gatherings. Plus, the customization options are endless; feel free to swap in your favorite proteins or cheeses to make this dish uniquely yours. So, ready to awaken your taste buds with a delectable, guilt-free treat? Let’s roll into some crispy goodness together!
Why are these taquitos a game-changer?
Healthier Twist: These Crunchy Oven-Baked Chicken Taquitos offer all the flavor without the guilt, making them a satisfying alternative to greasy fried snacks.
Customization Galore: Choose your favorite proteins or cheeses to make this dish uniquely yours! It’s perfect for any dietary needs, whether you’re going gluten-free or vegetarian.
Quick and Easy: With just a few steps and under an hour, you’ll impress your guests or family with a restaurant-quality meal.
Crowd-Pleasing Fun: They’re ideal for brunch parties or casual evenings, making them a hit for kids and adults alike. Side them with guacamole or a zesty dip, and watch them disappear!
Crunchy Oven-Baked Chicken Taquitos Ingredients
For the Filling
• Cooked, Shredded Chicken – Provides lean protein and absorbs salsa flavors; substitute with shredded pork shoulder or black bean mash for a vegetarian option.
• Salsa Verde – Adds moisture and flavor to the filling; feel free to use store-bought or homemade for convenience.
• Monterey Jack Cheese – Enhances richness; swap for pepper jack if you prefer a spicy kick, or use shredded cheddar for a bolder taste.
• Fresh Cilantro – Boosts freshness and aroma; adjust quantity based on personal taste preference.
• Lime Zest – Brightens the dish with a refreshing citrus note.
For the Wrapping
• Corn Tortillas – The key to a perfect taquito; use small 6-inch tortillas to maintain structure and ensure even crispiness.
For the Coating
• Panko Bread Crumbs – Creates a crunchy exterior when baked; toasting them beforehand adds a delightful nuttiness.
• Smoked Paprika & Garlic Powder – Season the breadcrumbs for an irresistible crust; these add depth and flavor to your crunchy oven-baked chicken taquitos.
• Olive Oil or Cooking Spray – A light coating ensures the breadcrumbs crisp up beautifully; use sparingly to avoid sogginess.
These Crunchy Oven-Baked Chicken Taquitos not only bring comfort but also open a world of customization to cater to every taste and dietary need. Enjoy rolling up some crispy goodness!
Step‑by‑Step Instructions for Crunchy Oven-Baked Chicken Taquitos
Step 1: Preheat the Oven
Begin by preheating your oven to 425°F (220°C). This step is crucial for achieving that signature crispiness in your Crunchy Oven-Baked Chicken Taquitos. While the oven heats up, line a baking sheet with parchment paper to ensure easy cleanup and to help the taquitos crisp evenly.
Step 2: Prepare the Filling
In a large mixing bowl, combine the cooked, shredded chicken with salsa verde, Monterey Jack cheese, fresh cilantro, and lime zest. Mix thoroughly until every ingredient is well-coated in the zesty salsa. This flavorful filling is the heart of your taquitos and will provide a delicious burst of taste with every bite.
Step 3: Roll the Taquitos
Take a corn tortilla and spoon a generous portions of the chicken filling onto the center. Carefully roll the tortilla tightly around the filling, ensuring that the seam is on the bottom. Place each taquito seam-side down on your prepared baking sheet, leaving space between each to allow for even cooking and the perfect crunch.
Step 4: Coat with Oil and Seasonings
Lightly spray or brush the taquitos with olive oil to encourage browning and crispness. Then, sprinkle the tops with a mixture of panko breadcrumbs, smoked paprika, and garlic powder. This will give your Crunchy Oven-Baked Chicken Taquitos their deliciously crispy exterior, elevating their texture and flavor.
Step 5: Bake the Taquitos
Carefully transfer the baking sheet to the preheated oven and bake for 12-15 minutes. Keep an eye on the taquitos as they begin to turn golden brown; this is a sign they’re developing that desirable crunch. The aroma of baked tortillas and melted cheese will begin to fill your kitchen!
Step 6: Flip and Continue Baking
After the initial baking time, use tongs to gently flip each taquito over. Return them to the oven for an additional 5-7 minutes or until they are golden, crispy, and deliciously inviting. This step ensures that both sides achieve that perfect crunch for your Crunchy Oven-Baked Chicken Taquitos.
Step 7: Prepare the Crema
While the taquitos bake, whisk together sour cream, lime juice, chopped cilantro, and a pinch of salt in a small bowl. This creamy lime-cilantro sauce serves as a delightful dip for your taquitos, adding a luscious touch to the crispy bites. Make sure to adjust the flavor to your liking for an extra burst of freshness!
Step 8: Let Them Rest
Once the taquitos are golden brown and crispy, remove them from the oven and let them rest for about 3 minutes. This resting period allows the filling to settle, preventing leaks and helping maintain that wonderful crunch. The anticipation will make the first bite even more enjoyable!
Step 9: Serve and Garnish
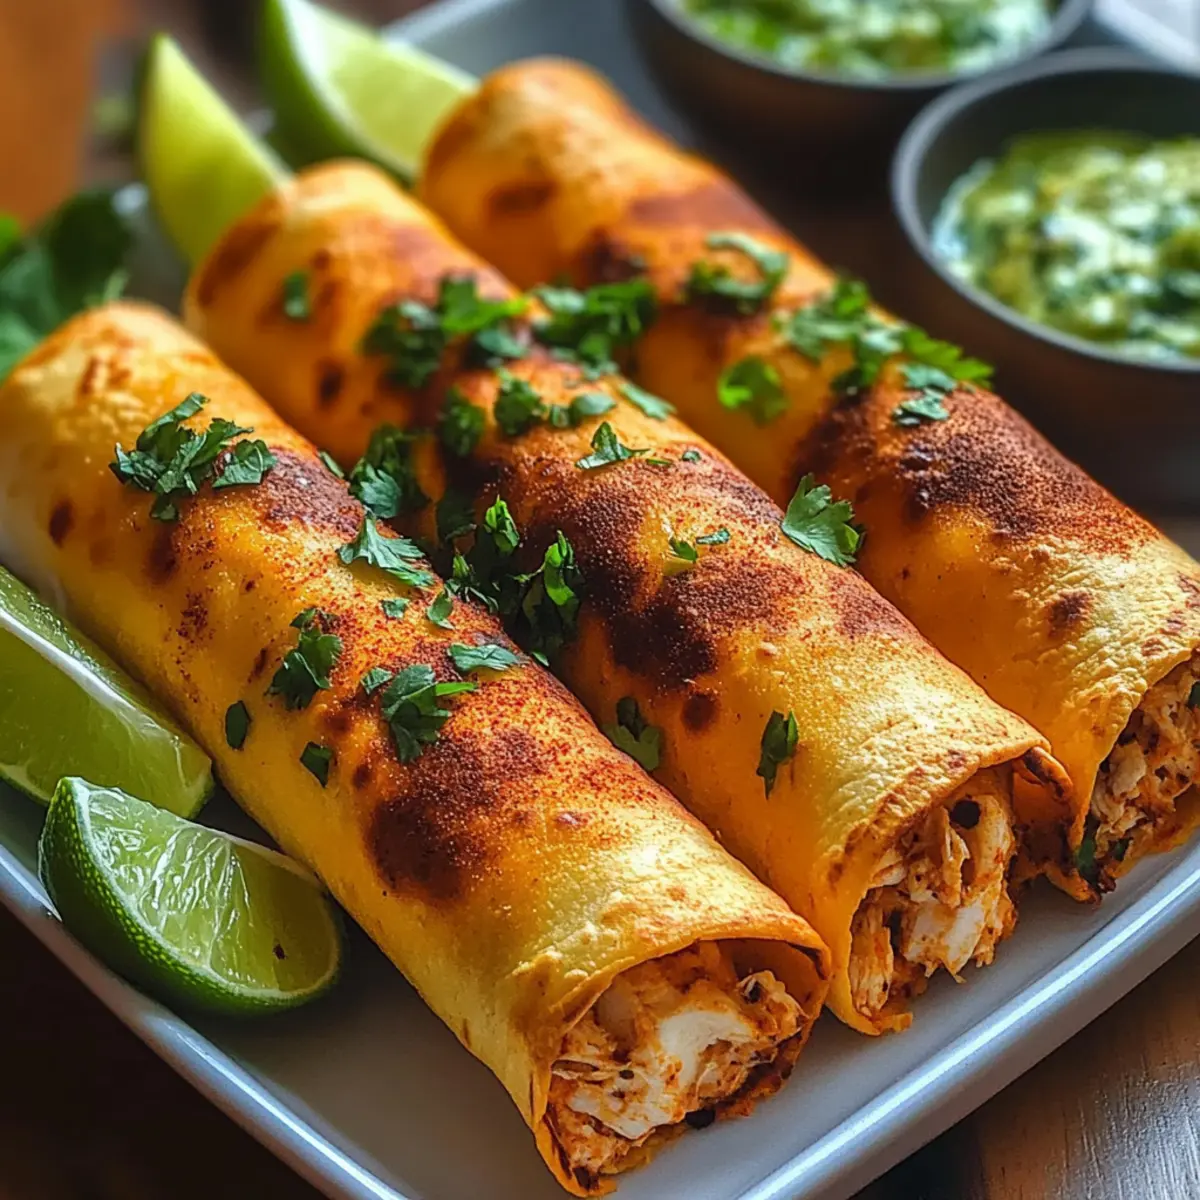
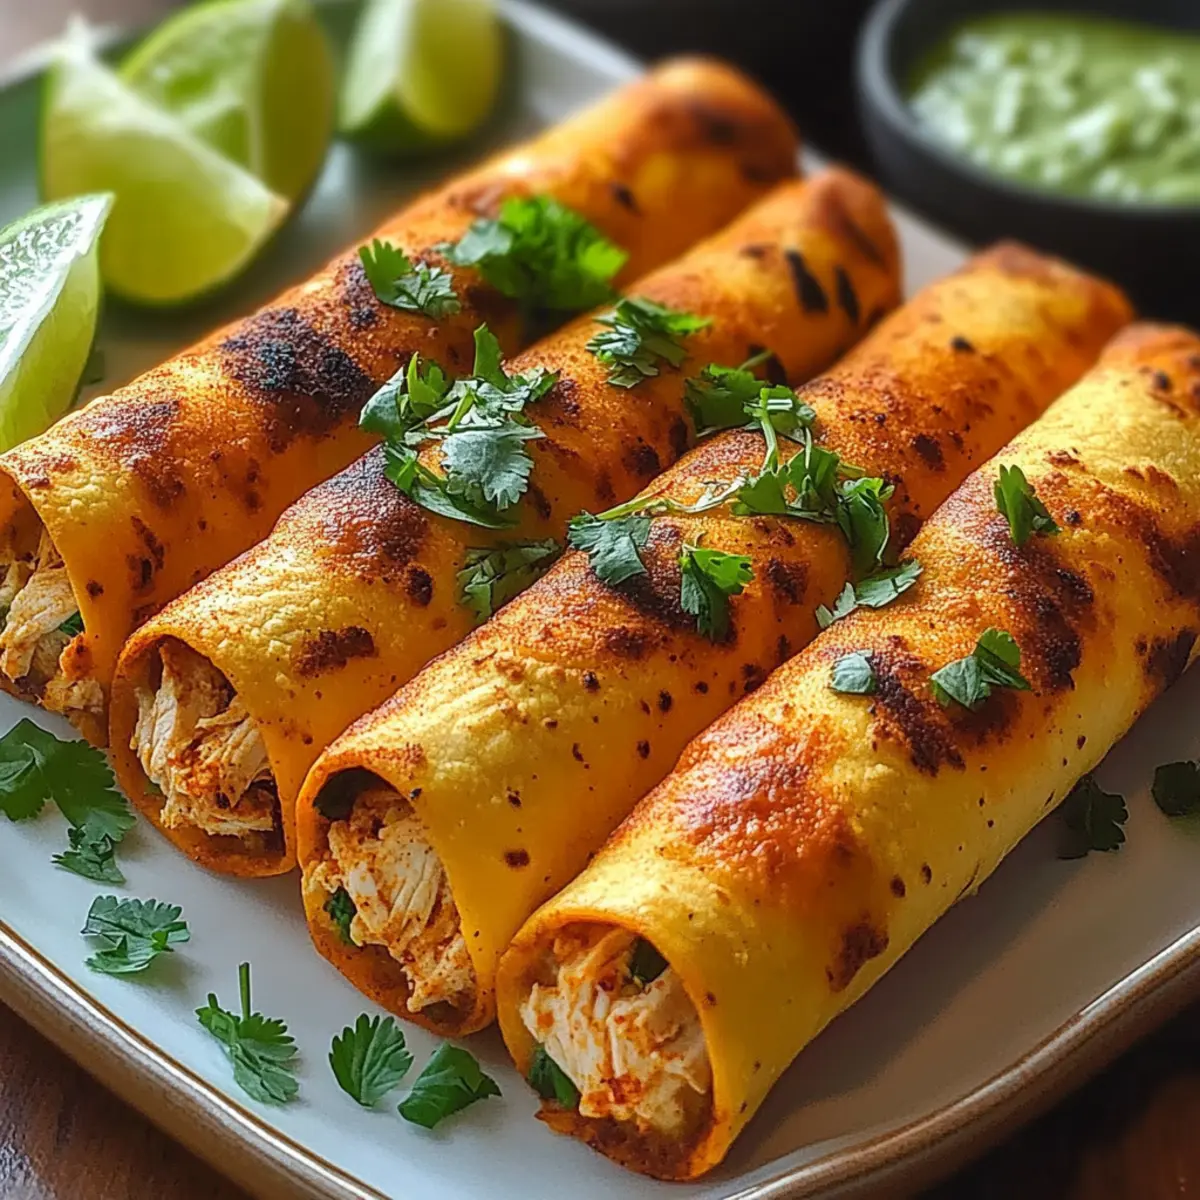
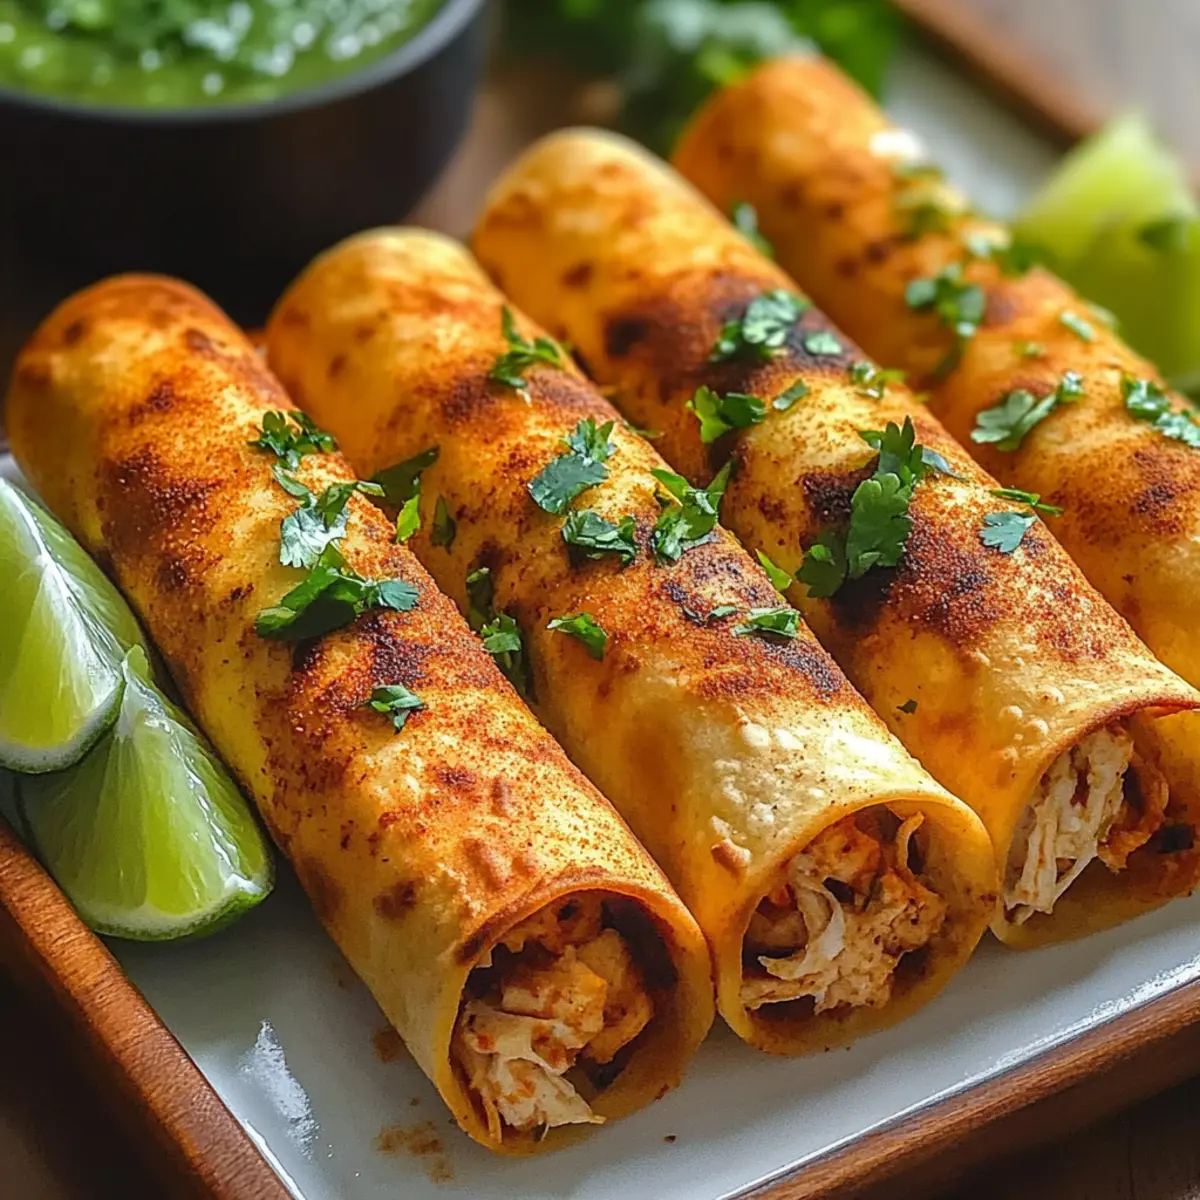
Finally, serve your Crunchy Oven-Baked Chicken Taquitos warm, garnished with extra cilantro and lime wedges for a colorful touch. Pair them with your homemade crema and perhaps some fresh guacamole or a zesty salsa on the side. The delightful combination of flavors and textures will make this dish a hit at your table!
Make Ahead Options
These Crunchy Oven-Baked Chicken Taquitos are perfect for meal prep enthusiasts! You can prepare the filling (cooked, shredded chicken, salsa verde, cheese, cilantro, and lime zest) up to 24 hours in advance. Simply store it in an airtight container in the refrigerator. Additionally, you can roll the taquitos, place them on a parchment-lined baking sheet, and refrigerate them for up to 3 days. When you’re ready to bake, preheat the oven, spray with oil, and bake as directed, adding a couple of extra minutes if baking straight from the fridge. This way, you’ll enjoy restaurant-quality results with minimal effort, making busy weeknights a breeze!
Expert Tips for Crunchy Oven-Baked Chicken Taquitos
Mind the Oil: A light hand with the olive oil is key; too much can lead to soggy breadcrumbs and disappointment.
Tortilla Size Matters: Stick to small 6-inch corn tortillas to ensure they hold the filling well and bake evenly.
Don’t Overfill: Avoid overstuffing the tortillas to prevent leaks during baking, keeping your taquitos intact and delicious.
Flip for Crispiness: Remember to flip the taquitos halfway through baking; this ensures they achieve an even, crunchy texture all around.
Let Them Rest: Allow the taquitos to rest for a few minutes after baking; this helps maintain their delightful crunch when served.
Storage Tips for Crunchy Oven-Baked Chicken Taquitos
Fridge: Store cooled taquitos in an airtight container for up to 3 days. This keeps them fresh and ready for a quick snacking session during busy days.
Freezer: For longer storage, freeze taquitos in a single layer on a baking sheet, then transfer to a freezer-safe bag. They can last up to 2 months without losing flavor.
Reheating: To enjoy taquitos at their best, reheat from frozen in a preheated 375°F oven on a wire rack until heated through and crispy, about 15-20 minutes.
Make-Ahead: Prepare your Crunchy Oven-Baked Chicken Taquitos ahead of time and freeze, making mealtime a breeze when unexpected guests drop by!
Crunchy Oven-Baked Chicken Taquitos Variations
Feel free to play with this recipe and create your own version of these delicious taquitos—your taste buds will thank you!
-
Dairy-Free: Substitute Monterey Jack with dairy-free cheese for a creamy texture without the dairy guilt.
Enjoy the same rich flavor while keeping it suitable for your dietary needs; no one will be left out! -
Spicy Kick: Add a pinch of chipotle powder to the breadcrumbs for a smoky flair.
This will elevate your Crunchy Oven-Baked Chicken Taquitos with a pleasant heat, perfect for those who crave a bit of spice. -
Vegetarian Delight: Replace the chicken with a hearty black bean and corn mixture for a vegetarian twist.
The beans add protein, while the corn brings sweetness; these taquitos will be satisfying for all! -
Gluten-Free: Use certified gluten-free breadcrumbs or ground cornmeal instead of panko.
This ensures everyone can enjoy these crunchy treats, keeping the same amazing texture you’re aiming for. -
Extra Cheesy: Mix in additional cheeses such as pepper jack or cheddar for an oozing, cheesy filling.
Imagine that melty goodness as you take a bite; it will surely enhance your flavor experience! -
Flavor Boost: Toss in some chopped jalapeños or green chilies for an added layer of flavor and heat.
With every bite, you’ll discover new dimensions of taste, making each taquito feel like a delightful surprise. -
Savory Herbs: Incorporate fresh oregano or thyme into the filling for a fragrant twist on the traditional recipe.
His slight herbaceous note will transform your taquitos into a gourmet treat that will impress any guest. -
Creamy Substitute: Swap sour cream for coconut yogurt in the lime-cilantro crema for a dairy-free dip option.
The subtle sweetness from coconut yogurt pairs beautifully with the zesty lime, making each bite unforgettable!
For more hearty chicken ideas, be sure to check out my delightful Garlic Parmesan Chicken and the savory Sticky Garlic Chicken. Happy cooking!
What to Serve with Crunchy Oven-Baked Chicken Taquitos
Create an unforgettable dining experience by pairing the zesty flavors of these taquitos with delightful accompaniments.
-
Creamy Guacamole:
This classic avocado dip adds a rich and creamy contrast, elevating the entire meal with a burst of fresh flavor. -
Zesty Lime-Cilantro Crema:
Perfect for drizzling, this cool crema perfectly complements the taquito’s crunch while enhancing each bite with zest and freshness. -
Fresh Fruit Salad:
A mix of vibrant fruits brings a touch of sweetness and a refreshing balance to the savory taquitos—perfect after a spicy bite! -
Spicy Pickled Red Onions:
Their tangy and spicy kick adds an exciting crunch and a vibrant pop of color, making your plate visually appealing and delicious. -
Mexican Street Corn Salad:
This creamy, savory dish features charred corn, lime, and cotija cheese; it’s a delightful addition that pairs beautifully with the taquitos. -
Crispy Tortilla Chips with Salsa:
Elevate your appetizer game with crunchy chips and fresh salsa for a vibrant dip that echoes the bold flavors in your taquitos. -
Chilled Hibiscus Iced Tea:
This refreshing drink provides a slightly tart and sweet sip that perfectly complements the richness of the taquitos and keeps everyone cool. -
Citrusy Mimosa:
Bright and bubbly, this delightful brunch drink adds a festive touch to your table, making it an ideal pairing with your delicious taquitos. -
Chocolate Tres Leches Cake:
For dessert, this moist, decadent cake offers a sweet finish to your taquito feast and leaves a lasting impression on your guests.
Crunchy Oven-Baked Chicken Taquitos Recipe FAQs
How do I select the best corn tortillas for taquitos?
Look for small, 6-inch corn tortillas that are pliable and without dark spots or cracks. These will hold up best when rolling and baking, ensuring a satisfying crunch without falling apart. I often choose tortillas that feel fresh and have no more than a few days left before their sell-by date for optimal flavor!
What is the best way to store leftover taquitos?
Once cooled, place your Crunchy Oven-Baked Chicken Taquitos in an airtight container and refrigerate for up to 3 days. This keeps them fresh and delicious for quick reheating. If you want to enjoy them longer, freezing is a great option!
Can I freeze taquitos before baking?
Absolutely! After rolling the taquitos, place them on a baking sheet in a single layer and freeze until solid, about 1-2 hours. Then, transfer them to a freezer-safe bag or container and they can be stored for up to 2 months. When you’re ready to enjoy them, bake directly from frozen, adding a few extra minutes to the cooking time!
What can I do if my taquitos are soggy after baking?
If your Crunchy Oven-Baked Chicken Taquitos turn out soggy, it’s likely due to too much oil or moisture in the filling. To remedy this, try using less oil next time and ensure the filling isn’t overly wet. Additionally, remember to flip them halfway through baking to achieve an even crunch! If they are already baked, reheat them in a hot oven (about 375°F) on a wire rack for additional crispiness.
Are these taquitos suitable for gluten-free diets?
Yes! To make them gluten-free, simply use certified gluten-free corn tortillas and substitute the panko breadcrumbs for gluten-free breadcrumbs or ground cornmeal. This makes the Crunchy Oven-Baked Chicken Taquitos accessible for friends or family who are gluten intolerant while still packing all the flavor!
Crunchy Oven-Baked Chicken Taquitos Your New Favorite Snack
Ingredients
Equipment
Method
- Preheat your oven to 425°F (220°C) and line a baking sheet with parchment paper.
- In a large mixing bowl, combine the cooked, shredded chicken, salsa verde, Monterey Jack cheese, fresh cilantro, and lime zest until well-coated.
- Spoon a generous portion of the filling onto a corn tortilla and roll it tightly, seam-side down on the baking sheet.
- Lightly spray or brush the taquitos with olive oil, then sprinkle with panko breadcrumbs, smoked paprika, and garlic powder.
- Bake for 12-15 minutes until golden brown and crispy.
- Flip each taquito and return to the oven for an additional 5-7 minutes.
- While baking, whisk together sour cream, lime juice, chopped cilantro, and salt for crema.
- Let the taquitos rest for about 3 minutes after baking.
- Serve warm, garnished with extra cilantro and lime wedges, alongside the crema and optional sides.
Leave a Reply