
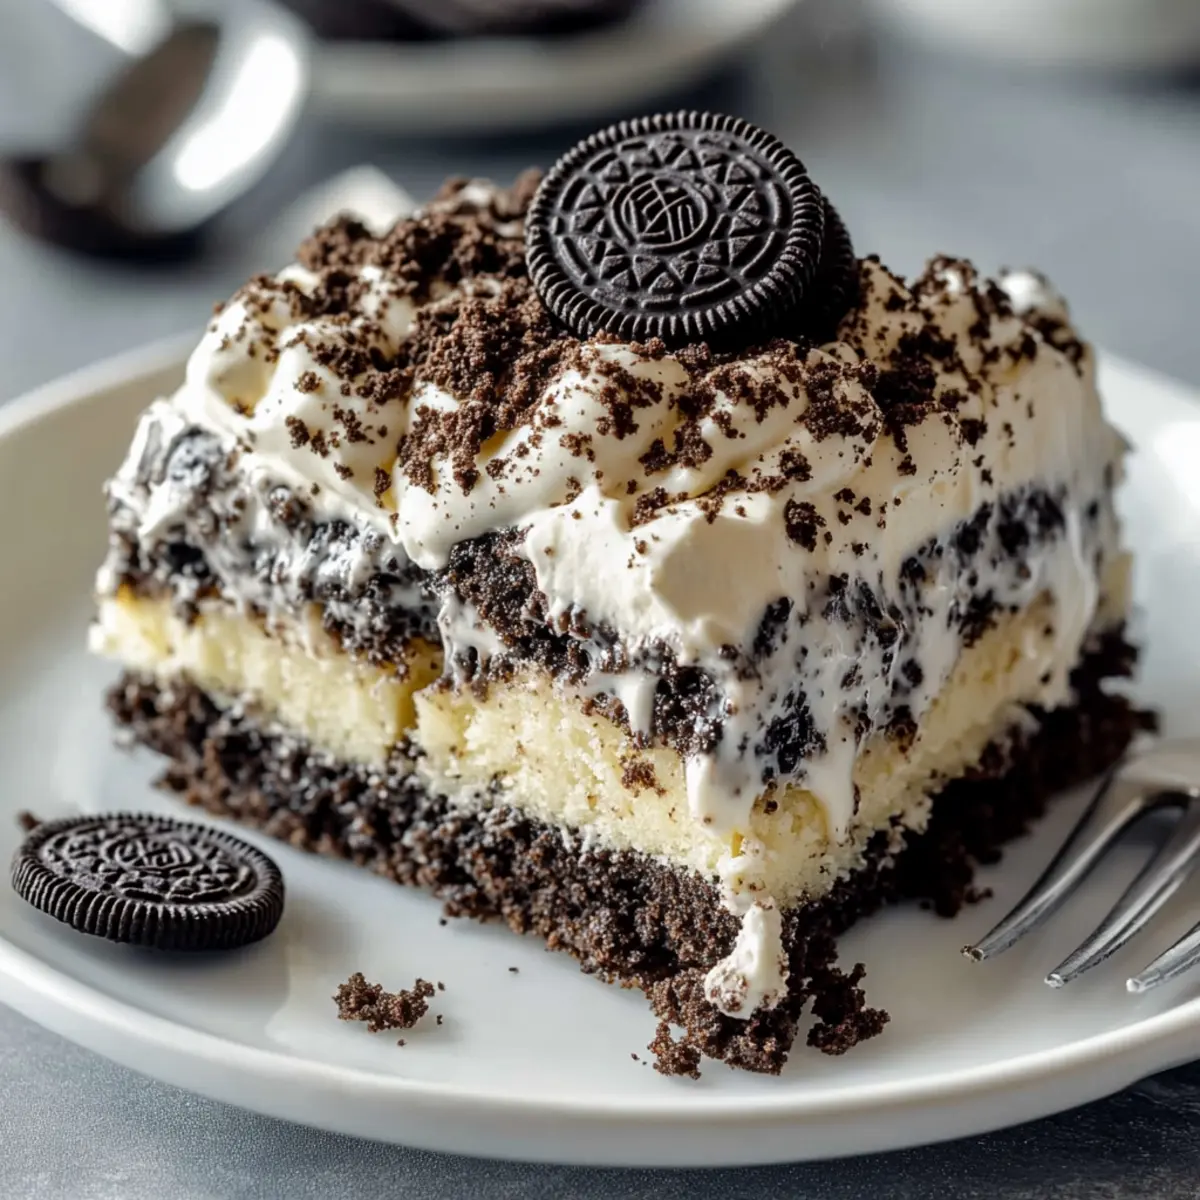
As I stood in my kitchen, the tantalizing aroma of chocolate filled the air, and I couldn’t help but smile. Today, I’m sharing my favorite Oreo Dump Cake Recipe—a dessert that perfectly blends simplicity with indulgence. This easy, 5-ingredient delight is not just a treat; it’s a nostalgic experience for anyone who grew up loving Oreos. Imagine pulling together a rich, creamy dessert that requires little effort but promises to be a showstopper at any gathering. With minimal prep time, you can skip the fast food and impress your friends and family with this comforting cake. Want to know how to create this chocolatey wonder? Let’s dive in!
Why Is This Oreo Dump Cake Special?
Simplicity at Its Best: With only five ingredients, this recipe is perfect for busy days when you crave a sweet treat without all the fuss.
Irresistible Chocolate Goodness: The rich, chocolaty layers of Oreo and pudding create a decadent flavor profile that will satisfy any sweet tooth.
Versatile Dessert: Want to mix things up? Add peanut butter or try different pudding flavors for your own twist.
Crowd-Pleasing Appeal: This cake is sure to wow guests—a major hit at parties, potlucks, or cozy family gatherings.
Quick and Easy: Ready in just over 35 minutes, you can whip up this delightful dish and enjoy more time with loved ones.
For another easy dessert recipe, check out my Peach Cake Brown for a summer twist!
Oreo Dump Cake Ingredients
-
For the Base
-
Oreo Cookies – Adds a rich chocolate flavor and a delightful crunch; use gluten-free Oreos for a gluten-free version.
-
For the Pudding Layer
-
Instant Chocolate Pudding Mix – Provides creaminess and intense chocolatey goodness; swap with vanilla pudding mix for a different twist.
-
Cold Milk – Essential for hydrating the pudding mix to create a rich layer; try almond milk or any dairy alternative for a lactose-free option.
-
For the Cake Layer
-
Chocolate Cake Mix – Forms the main structure and sweetness of the cake; opt for a gluten-free chocolate cake mix for a tailored dessert.
-
Unsalted Butter – Adds moisture and richness to the topping; replace with coconut oil for a dairy-free option.
-
For the Topping
-
Whipped Topping (like Cool Whip) – Adds a light, creamy layer on top; consider using dairy-free whipped topping for a vegan-friendly dessert.
-
Mini Chocolate Chips (optional) – Enhances the chocolate experience with extra flavor and texture; crushed Oreos make a lovely garnish instead.
With these simple ingredients, your Oreo Dump Cake Recipe will be a delectable delight that friends and family will rave about!
Step‑by‑Step Instructions for Oreo Dump Cake Recipe
Step 1: Preheat the Oven
Begin by preheating your oven to 350°F (175°C). While the oven warms up, lightly grease a 9×13-inch baking dish with non-stick spray or butter, ensuring it’s well-coated for easy removal later. This initial step lays the foundation for a perfectly baked Oreo Dump Cake that will be a delight to serve.
Step 2: Prepare the Oreo Base
Evenly spread the chopped Oreo cookies across the bottom of the greased baking dish. Make sure the Oreos form a uniform layer, as this will provide a rich and crunchy base for your cake. Take a moment to admire the chocolatey goodness before moving on to the pudding layer!
Step 3: Whisk the Pudding Mix
In a mixing bowl, whisk together the instant chocolate pudding mix and cold milk for about 2 minutes. You’ll want the mixture to thicken nicely, transforming into a creamy consistency. Once done, pour this luscious pudding layer evenly over the Oreo base, making sure it covers the cookies completely.
Step 4: Add the Cake Mix
Next, sprinkle the dry chocolate cake mix evenly over the pudding layer. This will create a delightful texture contrast when baked. Be sure to spread the cake mix out gently, allowing it to cover the pudding layer without stirring, which helps maintain the separate layers of this delectable Oreo Dump Cake.
Step 5: Drizzle with Butter
Melt the unsalted butter and drizzle it evenly over the top of the cake mix layer. This will ensure that the cake layer turns out moist and flavorful. As the butter seeps into the mix, the top will develop a slight crispness while baking, adding to the overall enjoyment of your Oreo Dump Cake.
Step 6: Bake the Cake
Place your baking dish in the preheated oven and bake for 35 minutes. Keep an eye on it; the top should appear set and slightly crispy when you take it out. The delightful aroma of chocolate will fill your kitchen, tempting you as you wait for the cake to cool for about 10 minutes before serving.
Step 7: Add the Toppings
After cooling slightly, generously top your Oreo Dump Cake with whipped topping, using a spatula to spread it evenly. For an extra chocolatey touch, sprinkle mini chocolate chips over the top, or feel free to crumble more Oreos for a decorative flair. This final touch will elevate the presentation and taste of your cake, making it even more irresistible.
How to Store and Freeze Oreo Dump Cake
Fridge: Store leftovers covered in the refrigerator for up to 4 days. This keeps your delicious Oreo Dump Cake fresh and ready to enjoy anytime!
Freezer: For longer storage, wrap individual portions in plastic wrap and place them in an airtight container. It can stay in the freezer for up to 2 months.
Reheating: When you’re ready to indulge, simply thaw in the refrigerator overnight, then reheat in the microwave for about 30–60 seconds until warm.
Serving: Enjoy it warm or at room temperature with a dollop of whipped topping or a scoop of ice cream for an extra treat!
Expert Tips for Making Oreo Dump Cake
Room Temperature Ingredients: Ensure all ingredients are at room temperature for smoother mixing and better texture in your Oreo Dump Cake.
Monitor Baking Time: Keep an eye on the cake while baking; smaller pans may need less time, while deeper pans could require longer to bake fully.
Embrace the Mess: Don’t worry if the process gets a bit messy; it adds to the fun of making this comforting dessert.
Try Creative Toppings: Experiment with toppings like chocolate syrup or a sprinkle of sea salt to elevate the flavor of your Oreo Dump Cake.
Layering Is Key: Be sure to layer the ingredients carefully to maintain the distinct textures of the cake and pudding layers, enhancing your dessert’s appeal.
Oreo Dump Cake Recipe Variations
Feel free to get creative and tailor this delightful dessert to your taste buds!
-
Nut Butter Layer: Spread a layer of creamy peanut butter on top of the Oreos before adding the pudding—this adds a rich nutty flavor.
-
Minty Freshness: Swap regular Oreos with crushed mint Oreos for a refreshing twist! A hint of mint will brighten up the traditional chocolate experience.
-
Vanilla Pudding Twist: Change the instant chocolate pudding mix for vanilla pudding—it transforms the cake into a fun, light dessert with a delicious crème flavor.
-
Gluten-Free Friendly: Use gluten-free Oreos and a gluten-free chocolate cake mix to ensure everyone at your gathering can enjoy this dessert.
-
Red Velvet Celebration: For a festive flair, replace the chocolate cake mix with red velvet cake mix—perfect for special occasions!
-
Layered Flavors: Layer bottom Oreos with crushed strawberries before pouring on the pudding for a fresh and fruity surprise in every bite.
-
Decadent Chocolate Ganache: Drizzle a warm chocolate ganache over the whipped topping. This indulgent layer creates a luxurious finish to your Oreo Dump Cake.
-
Tropical Inspiration: Add shredded coconut to the whipped topping for a tropical, coconut-chocolate combination that you won’t soon forget!
With so many fun variations, meal prep just got more exciting. If you’re looking for another sweet idea, try my delightful Jack Skellington Oreo pops for a spook-tacular treat!
What to Serve with Oreo Dump Cake
Indulge in a delightful feast by complementing this decadent dessert with sides that enhance its rich, chocolatey goodness.
-
Vanilla Ice Cream: The creamy texture and vanilla notes offer a refreshing contrast to the rich chocolate flavors, making each bite extra special.
-
Fresh Berries: Light and juicy strawberries or raspberries provide a burst of freshness that beautifully balances the sweetness of the Dump Cake.
-
Chocolate Syrup Drizzle: Elevate your dessert with a warm chocolate drizzle, enhancing the cake’s already chocolaty layers and adding an extra indulgent touch.
-
Whipped Cream Clouds: Soft, airy whipped cream not only adds a luxurious creaminess but also elevates the playful presentation of your cake.
-
Coffee: A warm cup of coffee brings out the deep flavors of chocolate, creating a cozy pairing that is perfect for relaxed evenings.
-
Mint Chocolate Cookies: Serve alongside thin mint chocolate cookies to echo the Oreo theme and add a refreshing twist, perfect for the adventurous dessert lover.
-
Homemade Caramel Sauce: A drizzle of buttery caramel adds an element of decadence that pairs wonderfully with the chocolatey layers of the cake.
-
Peanut Butter Cup Pie: For a decadent dessert table, contrast the Oreo flavors with the comforting essence of peanut butter, creating a delightful dessert experience.
Make Ahead Options
These Oreo Dump Cake Recipe is perfect for meal prep enthusiasts looking to save time on busy weeknights! You can prepare the base layer by crushing the Oreo cookies and mixing the pudding up to 24 hours in advance, storing them separately in airtight containers in the refrigerator. This way, the Oreos stay crunchy and the pudding remains fresh. When you’re ready to serve, simply layer the prepped components as outlined, sprinkle the cake mix, and drizzle melted butter on top before baking. You’ll achieve a delightful dessert with minimal effort, ensuring your cake is just as delicious as if prepared on the spot!
Oreo Dump Cake Recipe FAQs
How do I choose the best Oreos for this recipe?
Absolutely! When selecting Oreo cookies, look for ones that are fresh—check for any dark spots or damage on the packaging. Stale Oreos can lead to a less-than-ideal crunch in your cake. If you want to keep it gluten-free, go for gluten-free Oreos, which are widely available now!
What’s the best way to store leftovers?
Very! To keep your Oreo Dump Cake fresh, cover it tightly with plastic wrap or aluminum foil and store it in the refrigerator for up to 4 days. Make sure it’s sealed well to avoid absorbing any odors from the fridge.
Can I freeze Oreo Dump Cake?
Absolutely! If you want to save some for later, wrap individual portions tightly in plastic wrap and place them in an airtight container. This way, it can be frozen for up to 2 months. When ready to enjoy, thaw in the refrigerator overnight and reheat in the microwave for about 30–60 seconds until warm.
What if my cake top isn’t crispy after baking?
No worries! If your Oreo Dump Cake doesn’t come out with that slight crispiness, it may need more time in the oven. Keep baking and check every 5 minutes until it sets properly. Ensure your oven is calibrated correctly, as temperature can vary from one oven to another.
Are there any allergy considerations I should be aware of?
Very much! If making this for friends or family, consider common allergens. The recipe includes dairy and gluten, so you might want to use lactose-free milk, dairy-free whipped topping, or gluten-free Oreos and cake mix for those with dietary restrictions.
Can I prepare the Oreo Dump Cake in advance?
Sure thing! You can prepare your Oreo Dump Cake a day ahead of serving. After baking, simply follow the cooling instructions and then cover and refrigerate. Just remember to allow it to warm up for a few minutes at room temperature before digging in to enjoy that delightful texture!

Oreo Dump Cake Recipe: Easy 5-Ingredient Dessert Delight
Ingredients
Equipment
Method
- Preheat your oven to 350°F (175°C) and grease a 9x13-inch baking dish.
- Spread chopped Oreo cookies evenly across the bottom of the baking dish.
- Whisk together the instant chocolate pudding mix and cold milk for about 2 minutes until thickened. Pour over the Oreo base.
- Sprinkle the dry chocolate cake mix evenly over the pudding layer.
- Melt the unsalted butter and drizzle it over the cake mix.
- Bake for 35 minutes until the top appears set and slightly crispy. Let cool for about 10 minutes.
- Spread whipped topping over the cooled cake and sprinkle with mini chocolate chips or crushed Oreos.
Leave a Reply