
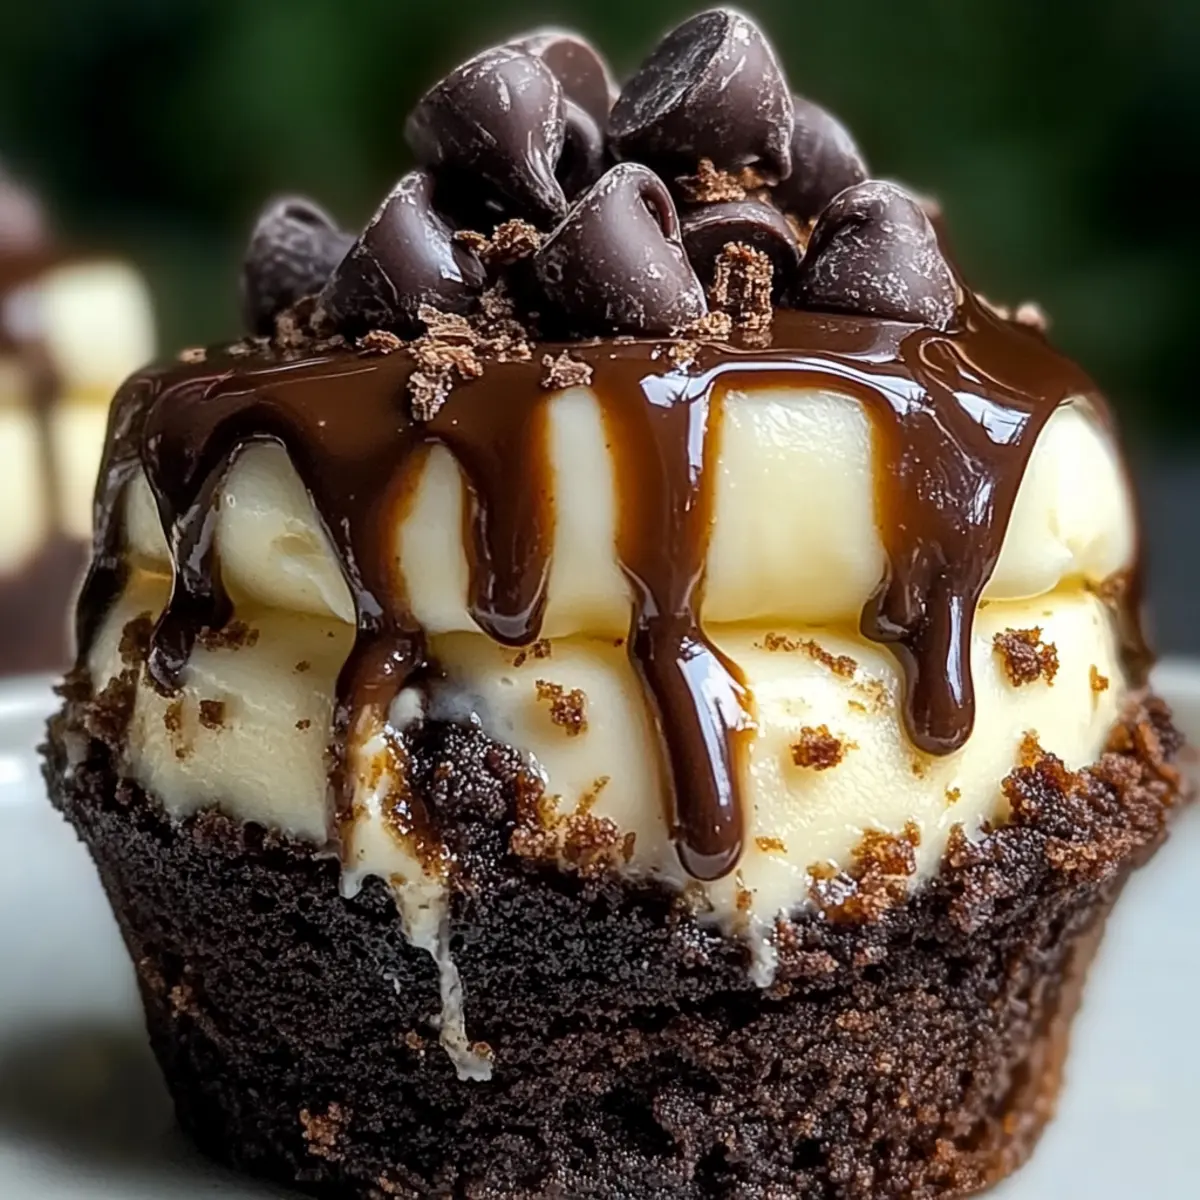
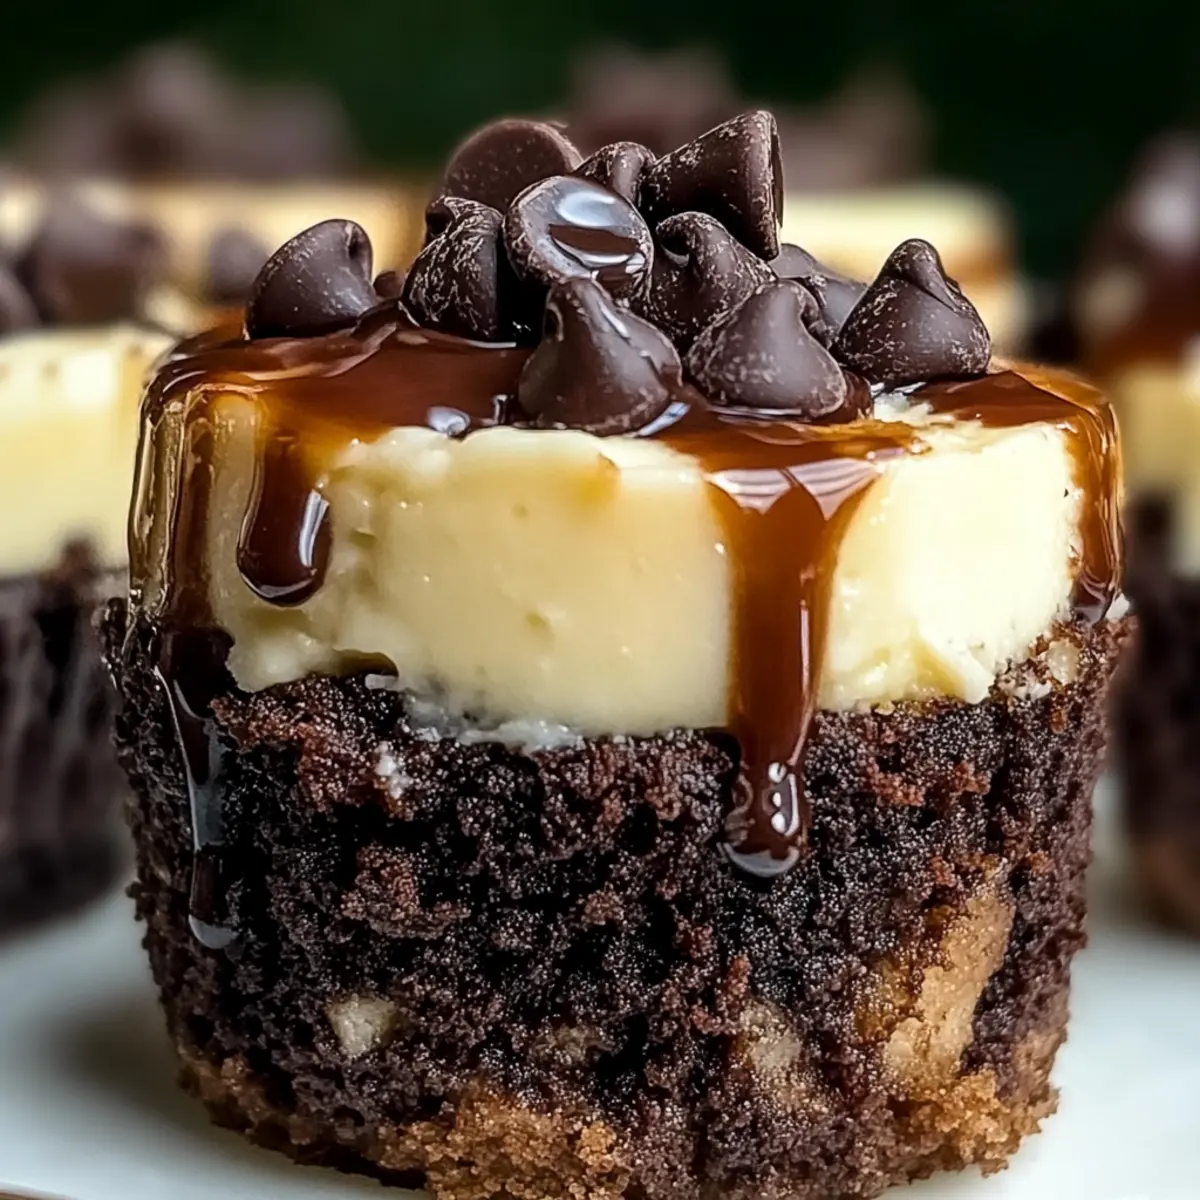
There’s something enchanting about the combination of chocolate and cream cheese that never fails to excite, and when you pack it into individual servings, the magic multiplies! Introducing the Loaded Brownie Cheesecake Cups—your new go-to dessert for any occasion. With a rich brownie base that seamlessly melds with a creamy, dreamy cheesecake topping, these little delights are not only easy to make but will also impress your guests and satisfy your sweet tooth like nothing else. In just a few simple steps, you can whip up a batch that’s sure to spark joy at any gathering or cozy night in. Plus, they’re vegetarian-friendly and great for prepping ahead. Ready to dive into this sweet adventure? Let’s get baking!
Why Are Brownie Cheesecake Cups So Irresistible?
Indulgent Flavor: The rich brownie base pairs wonderfully with the creamy cheesecake, creating a flavor experience that’s truly out of this world.
Perfectly Portion-Controlled: Individual cups make it easy to serve and enjoy without the guilt of overindulging.
Quick and Easy: With simple ingredients and minimal prep time, you can have these delicious treats ready in no time.
Crowd-Pleasing Delight: They’re perfect for parties or family gatherings, guaranteeing you’ll be the hit of the event!
Make-Ahead Magic: Prepare them a day in advance, so you can sit back and relax before your guests arrive. For a twist, try them alongside other delectable treats like Cheesecake Stuffed Baked Apples for a dessert spread that shines.
Loaded Brownie Cheesecake Cup Ingredients
Indulge in making these delightful treats with this simple ingredient list!
-
For the Brownie Base
-
Brownie Mix – Provides the rich chocolate base; any brand works wonderfully!
-
Vegetable Oil – Adds moisture and binds the brownie mix perfectly.
-
Egg – Contributes a soft structure and rich flavor to the brownie.
-
Water – Helps blend all the ingredients smoothly into a delicious batter.
-
For the Cheesecake Layer
-
Cream Cheese – Forms the luscious cheesecake layer; Greek yogurt can be a lighter substitution.
-
Granulated Sugar – Sweetens and balances flavors in your cheesecake filling.
-
Vanilla Extract – Enhances the cheesecake’s flavor profile, making it even more delightful.
-
Sour Cream – Adds creaminess; feel free to omit for a lower-fat version.
-
Mini Chocolate Chips – Optional but adds delightful bursts of chocolate flavor to the cheesecake.
-
For Serving
-
Whipped Cream – A light, airy finish that elevates these cups beautifully.
-
Chocolate Syrup – Drizzle on top for an extra touch of sweetness and richness.
-
Crushed Nuts – Optional for a delicious crunch that complements the soft layers.
These Loaded Brownie Cheesecake Cups are a scrumptious dessert that everyone will love!
Step‑by‑Step Instructions for Loaded Brownie Cheesecake Cup:
Step 1: Preheat and Prepare
Begin by preheating your oven to 350°F (175°C). While the oven warms up, line a muffin tin with colorful cupcake liners to add a fun touch. This step ensures that once your Loaded Brownie Cheesecake Cups are ready to bake, everything will be prepped for a flawless cooking process.
Step 2: Mix Brownie Batter
In a mixing bowl, combine the brownie mix, vegetable oil, egg, and water. Stir vigorously until the mixture is smooth and well-combined, with no dry pockets. This rich, fudgy batter will be the base of your dessert. Pour the batter into the lined muffin tin, filling each liner halfway to allow space for the cheesecake layer.
Step 3: Bake Brownie Base
Place the muffin tin in the preheated oven and bake the brownie bases for 10-12 minutes. You’ll know they’re ready when a toothpick inserted in the center comes out with a few moist crumbs, not wet batter. Once baked, remove from the oven and allow them to cool slightly while you prepare the creamy cheesecake mixture.
Step 4: Prepare Cheesecake Filling
In another bowl, beat the cream cheese until smooth and creamy, ensuring there are no lumps. Gradually mix in the granulated sugar, vanilla extract, and an egg until the mixture is fluffy. Then fold in the sour cream and mini chocolate chips until everything is well combined, creating a deliciously rich filling for your Loaded Brownie Cheesecake Cups.
Step 5: Fill with Cheesecake Mixture
Once the brownie bases have cooled a bit, carefully spoon the cheesecake mixture over each brownie, filling the cups almost to the top. This decadent layer is what makes the Loaded Brownie Cheesecake Cups so irresistible. Make sure each cup is evenly filled to ensure consistent baking results.
Step 6: Bake Cheesecake Layer
Return the muffin tin to the oven and bake for an additional 15-18 minutes. The cheesecake should be set and slightly puffed; a gentle jiggle in the center is okay. Keep an eye on them—overbaking can cause cracks. Once done, remove them from the oven and let cool completely in the pan.
Step 7: Chill Before Serving
After the cups have cooled to room temperature, transfer them to the refrigerator for at least 2 hours. Chilling allows the flavors to meld and the cheesecake layer to fully set, making your Loaded Brownie Cheesecake Cups even more delightful when serving.
Step 8: Serve and Enjoy
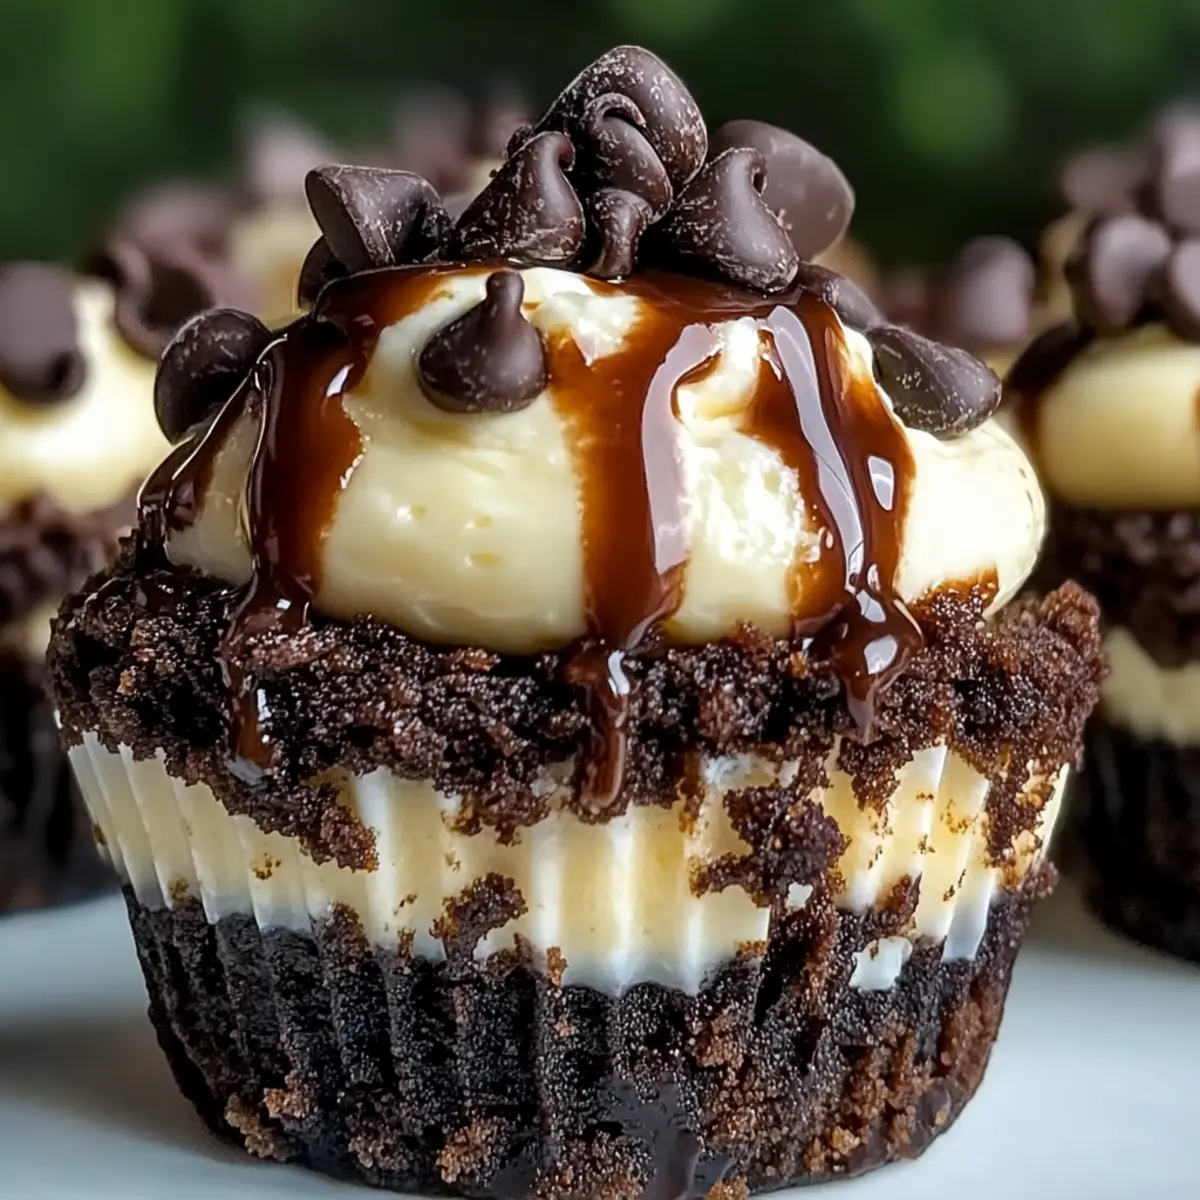
When ready to serve, garnish your Loaded Brownie Cheesecake Cups with whipped cream, a drizzle of chocolate syrup, and crushed nuts, if desired. This adds a beautiful finish and extra texture. Your guests will be thrilled with these irresistibly delicious treats!
What to Serve with Loaded Brownie Cheesecake Cups
Elevate your dessert experience by pairing these indulgent treats with complementary delights that will leave everyone wanting more.
-
Creamy Vanilla Ice Cream: A scoop of vanilla ice cream adds a refreshing contrast, balancing the rich flavors of the brownie and cheesecake layers.
-
Fresh Raspberries: The tartness of fresh raspberries cuts through the sweetness, providing a burst of flavor that brightens the overall experience.
-
Chocolate Dipped Strawberries: For extra chocolatey goodness, serve these decadent cups with chocolate-covered strawberries for a delightful touch.
-
Espresso or Coffee: Pairing with a hot cup of espresso or coffee enhances the chocolate notes, creating a comforting and luxurious finish.
-
Caramel Sauce Drizzle: A warm drizzle of caramel sauce over the cups adds an extra layer of sweetness and richness that’s simply irresistible.
-
Mint Chocolate Chip Cookies: Crumbly mint cookies on the side introduce a refreshing mint flavor that complements the chocolate beautifully while adding a fun texture.
-
Whipped Cream Topping: Elevate the indulgence with additional whipped cream. It lightens the dessert while adding an airy texture.
-
Chocolate Syrup: A drizzle of chocolate syrup not only enhances the appearance but also adds an extra dose of rich chocolate flavor to each bite.
-
Milkshake: For an indulgent treat, serve with a chocolate milkshake. This sweet and creamy pairing is perfect for any chocolate lover’s fantasy.
Try one or a combination of these delightful additions for a delectable dessert experience!
Loaded Brownie Cheesecake Cups Variations
Feel free to get creative with your brownie cheesecake cups and customize them to your taste for an even more delightful experience!
- Greek Yogurt: Substitute cream cheese with Greek yogurt for a lighter and tangy twist without sacrificing creaminess.
- Fruit Swirl: Add a layer of fruit preserves or fresh berries between each layer for a vibrant burst of flavor and color.
- Flavored Extract: Use almond or mint extract instead of vanilla to introduce a unique taste that transforms the entire profile of the cheesecake.
- Nutty Crunch: Fold in crushed nuts to the cheesecake mixture for an extra texture that delights with every bite.
- Vegan Option: Replace the egg with a flax egg, and use dairy-free cream cheese and chocolate chips to achieve a delicious vegan dessert.
- Double Chocolate: Go for richer chocolate flavor by adding cocoa powder to your brownie mix or opting for dark chocolate chips in the cheesecake layer.
- Savory Twist: Incorporate a pinch of sea salt to the chocolate syrup drizzle to create a tempting sweet and salty contrast that elevates the dessert.
For more tempting treats, consider pairing these brownies with Fried Strawberry Cheesecake or serving alongside some delightful Strawberry Crunch Cheesecake. Your dessert table will never be the same!
Make Ahead Options
These Loaded Brownie Cheesecake Cups are perfect for busy home cooks looking to save time! You can prepare the brownie base and the cheesecake filling up to 24 hours in advance to make your dessert prep a breeze. Simply bake the brownie bases, cool them completely, and then prepare the cheesecake filling. Store both components separately in the refrigerator; this prevents excess moisture from affecting the brownie texture. When you’re ready to serve, simply layer the cheesecakes over the brownie bases and bake as directed. With this make-ahead plan, you’ll have delightful treats ready with minimal effort, ensuring that these decadent cups are just as delicious when served!
Expert Tips for Loaded Brownie Cheesecake Cups
-
Cool Carefully: Allow the brownie cups to cool in the muffin tin to prevent cracking in the cheesecake layer. This helps maintain the beautiful presentation.
-
Chill Time: For the best flavor and texture, refrigerate your Loaded Brownie Cheesecake Cups for at least 2 hours before serving; this allows the cheesecake to set fully.
-
Watch for Overbaking: Keep a close eye on the cheesecake layer while baking; it should be set but not overly browned. Overbaking can lead to dryness and cracks.
-
Perfect Portion Control: Use a measuring spoon to fill each cup evenly with cheesecake mixture for consistent baking and serving sizes, ensuring every bite is as delightful as the last.
-
Fun Toppings: Get creative with toppings! Consider crushed cookies or fruit preserves between layers for added flavor and texture. This adds a personal touch to your Loaded Brownie Cheesecake Cups.
How to Store and Freeze Loaded Brownie Cheesecake Cups
Fridge: Store these cups in an airtight container in the refrigerator for up to 3 days. This keeps them fresh while allowing flavors to deepen.
Freezer: For longer storage, wrap each cup tightly in plastic wrap and place them in a freezer-safe container. They can last up to 2 months in the freezer.
Thawing: When ready to enjoy, transfer the Loaded Brownie Cheesecake Cups to the fridge to thaw overnight. This helps maintain their delicious texture.
Reheating: If you prefer them warm, gently microwave for 10-15 seconds. Avoid overheating to keep the cheesecake layer creamy and soft.
Loaded Brownie Cheesecake Cups Recipe FAQs
What type of brownie mix should I use?
Absolutely! You can use any brand of brownie mix that you prefer. Just make sure it’s a classic fudge brownie mix for that rich chocolate flavor that pairs beautifully with the creamy cheesecake layer. If you’re feeling adventurous, you might even try a specialty brownie mix for a unique twist!
How long can I store the Loaded Brownie Cheesecake Cups?
These delicious cups can be stored in an airtight container in the refrigerator for up to 3 days. If you want them to last longer, you can freeze them as well. Keeping them refrigerated allows the flavors to deepen, making them even more delightful!
Can I freeze Loaded Brownie Cheesecake Cups?
Yes, you can! To freeze, wrap each individual cup tightly in plastic wrap and place them in a freezer-safe container. They can be enjoyed for up to 2 months this way. When you’re ready to indulge, simply transfer them to the fridge to thaw overnight. This method helps to maintain their delightful texture.
What should I do if the cheesecake layer cracks?
Don’t worry—this can happen! It’s often due to overbaking or not allowing the cups to cool properly. To minimize cracks, remember to keep an eye on the baking time; the cheesecake should be set but not overly browned. If cracks do occur, you can easily top them with whipped cream or a drizzle of chocolate syrup for a deliciously beautiful presentation.
Are these cups suitable for vegetarians?
Yes! These Loaded Brownie Cheesecake Cups are vegetarian-friendly. Just check that your chosen brownie mix doesn’t contain any animal-derived ingredients. If you have any specific dietary concerns, feel free to ask about alternatives, such as using Greek yogurt instead of cream cheese for a lighter option or ensuring the brownie mix is gluten-free for those with gluten sensitivities.
Can I make these cups ahead of time?
Very! These cups are perfect for make-ahead desserts. You can prepare them a day in advance and keep them in the refrigerator. This not only saves you time but also allows the flavors to meld beautifully. Just make sure they chill for at least 2 hours before serving for the best taste experience!
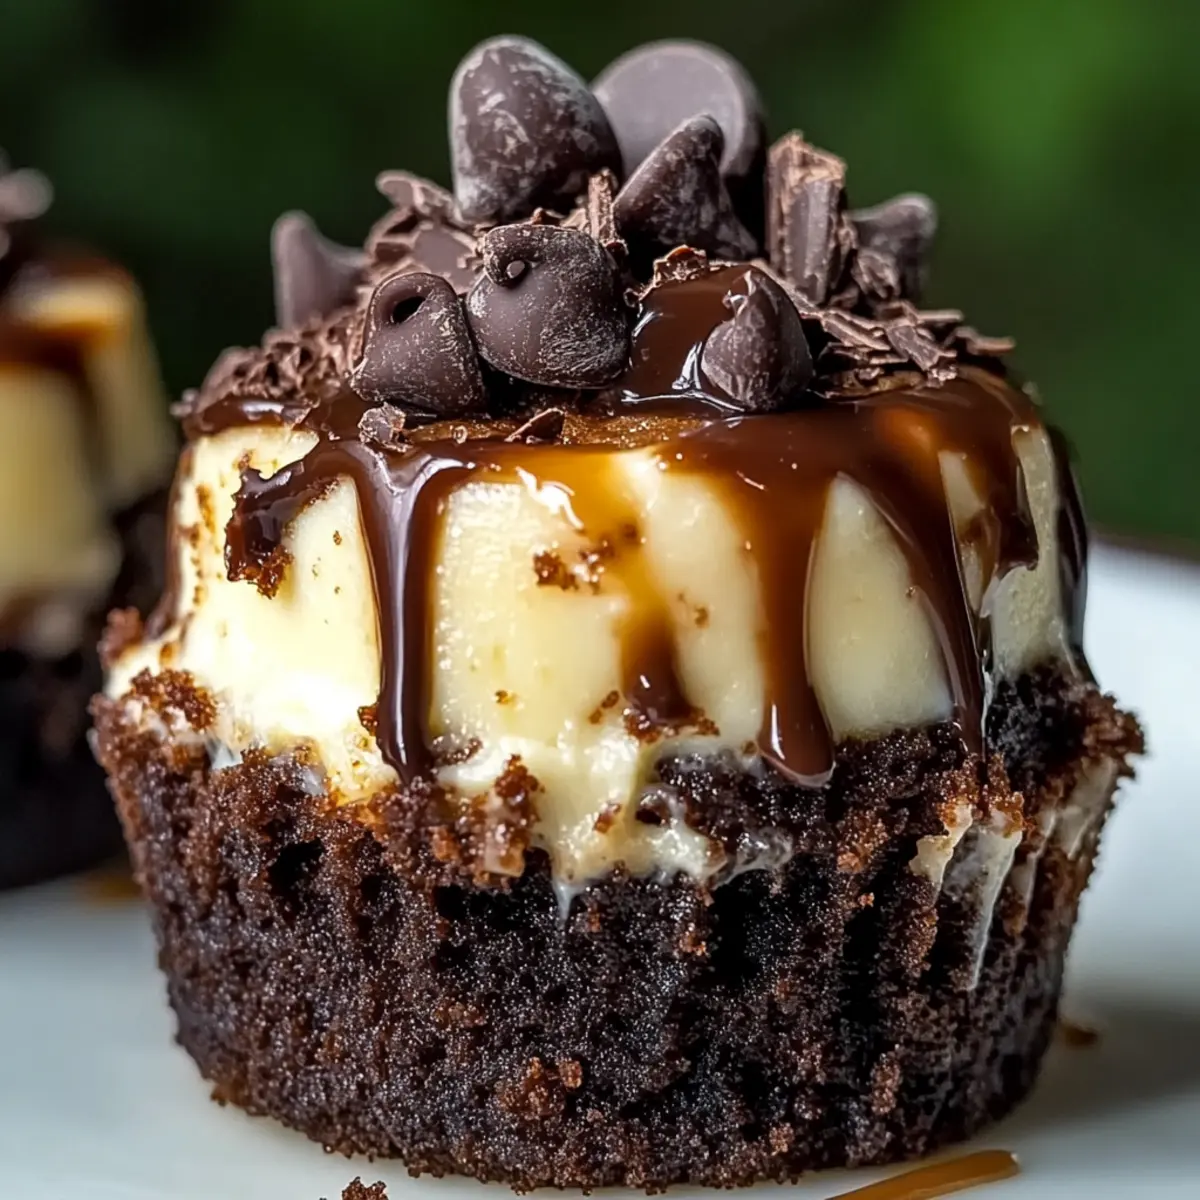
Decadent Loaded Brownie Cheesecake Cups to Satisfy Cravings
Ingredients
Equipment
Method
- Preheat your oven to 350°F (175°C) and line a muffin tin with cupcake liners.
- In a mixing bowl, combine brownie mix, vegetable oil, egg, and water; stir until smooth.
- Pour the brownie batter into the lined muffin tin, filling each liner halfway.
- Bake brownie bases for 10-12 minutes until a toothpick comes out with moist crumbs.
- Allow the brownie bases to cool slightly while preparing the cheesecake mixture.
- In another bowl, beat cream cheese until smooth, then mix in sugar, vanilla, and an egg.
- Fold in sour cream and mini chocolate chips until well combined.
- Spoon the cheesecake mixture over the cooled brownie bases, filling each cup almost to the top.
- Bake for an additional 15-18 minutes until the cheesecake is set with a jiggle in the center.
- Let cool completely in the pan, then chill in the refrigerator for at least 2 hours before serving.
- Garnish with whipped cream, chocolate syrup, and crushed nuts if desired.
Leave a Reply