
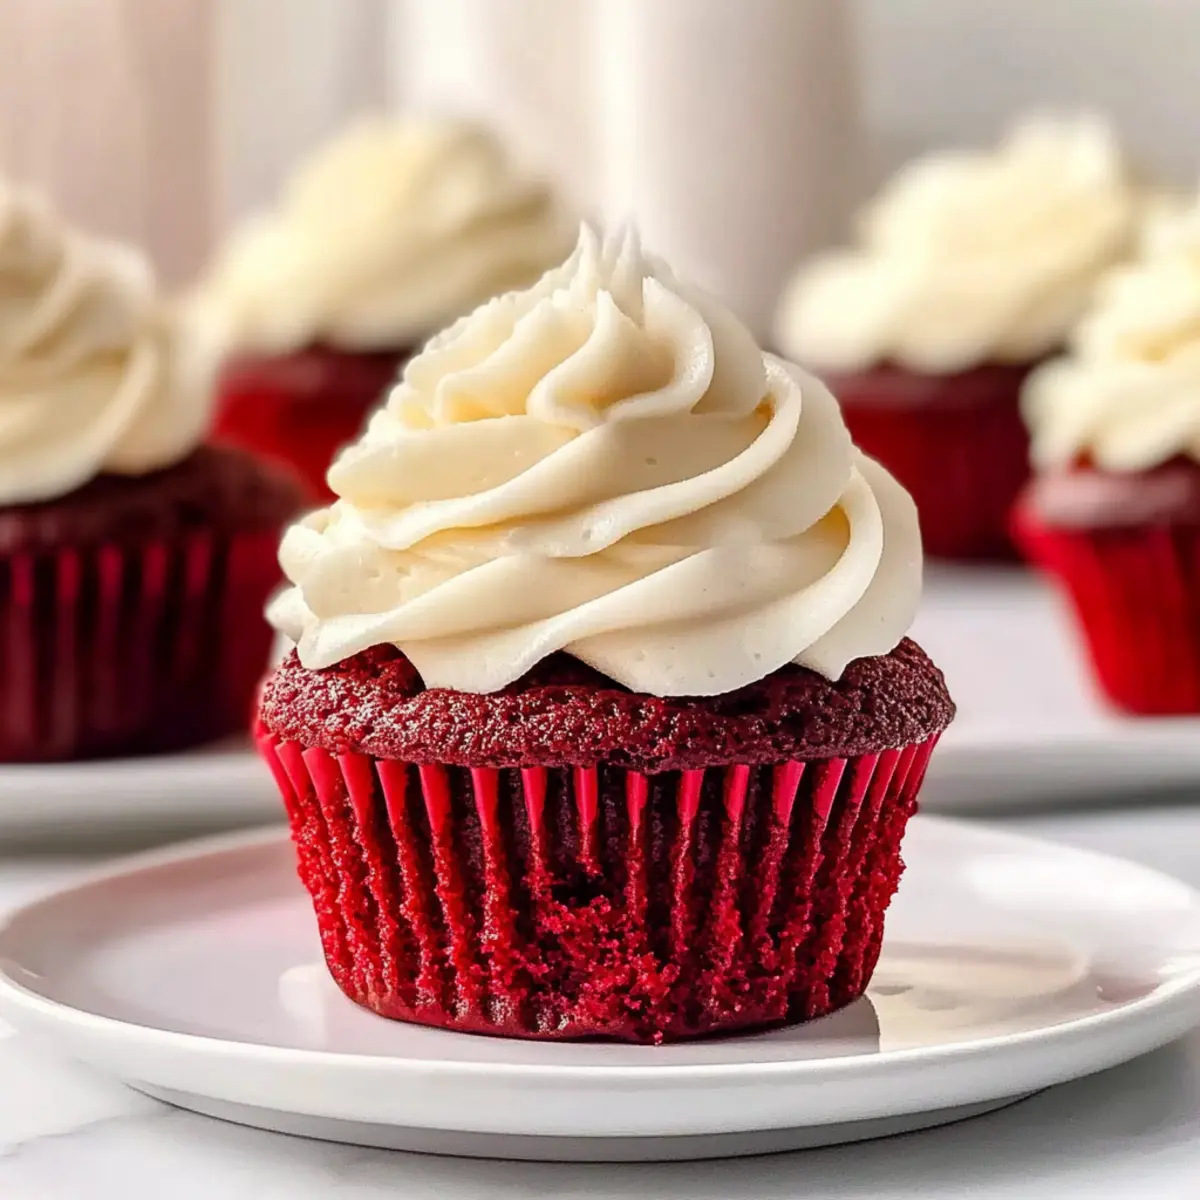
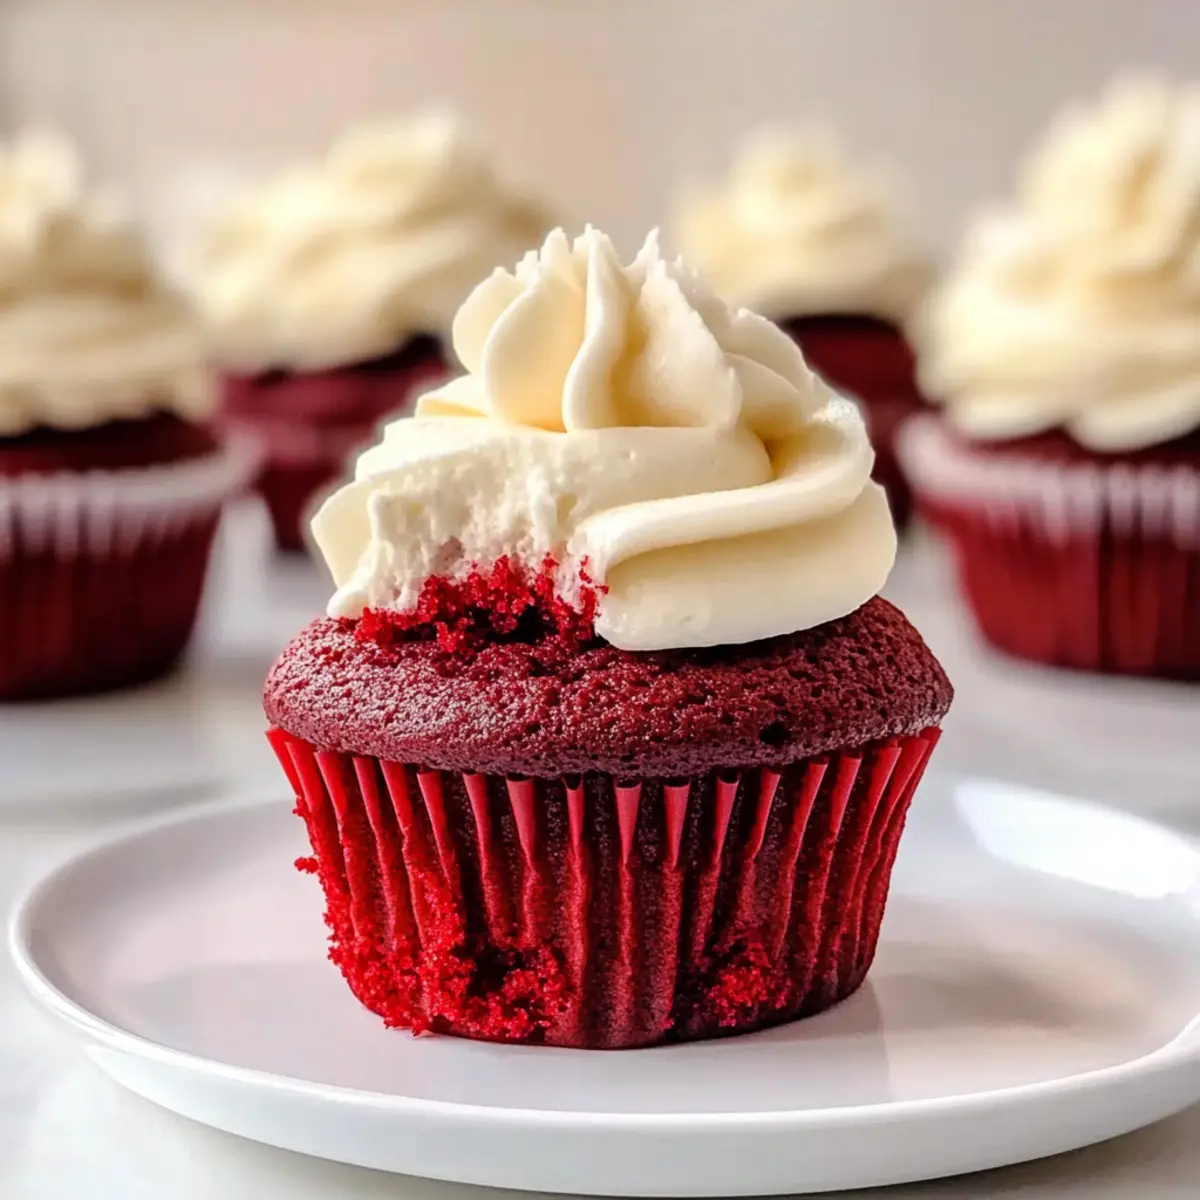
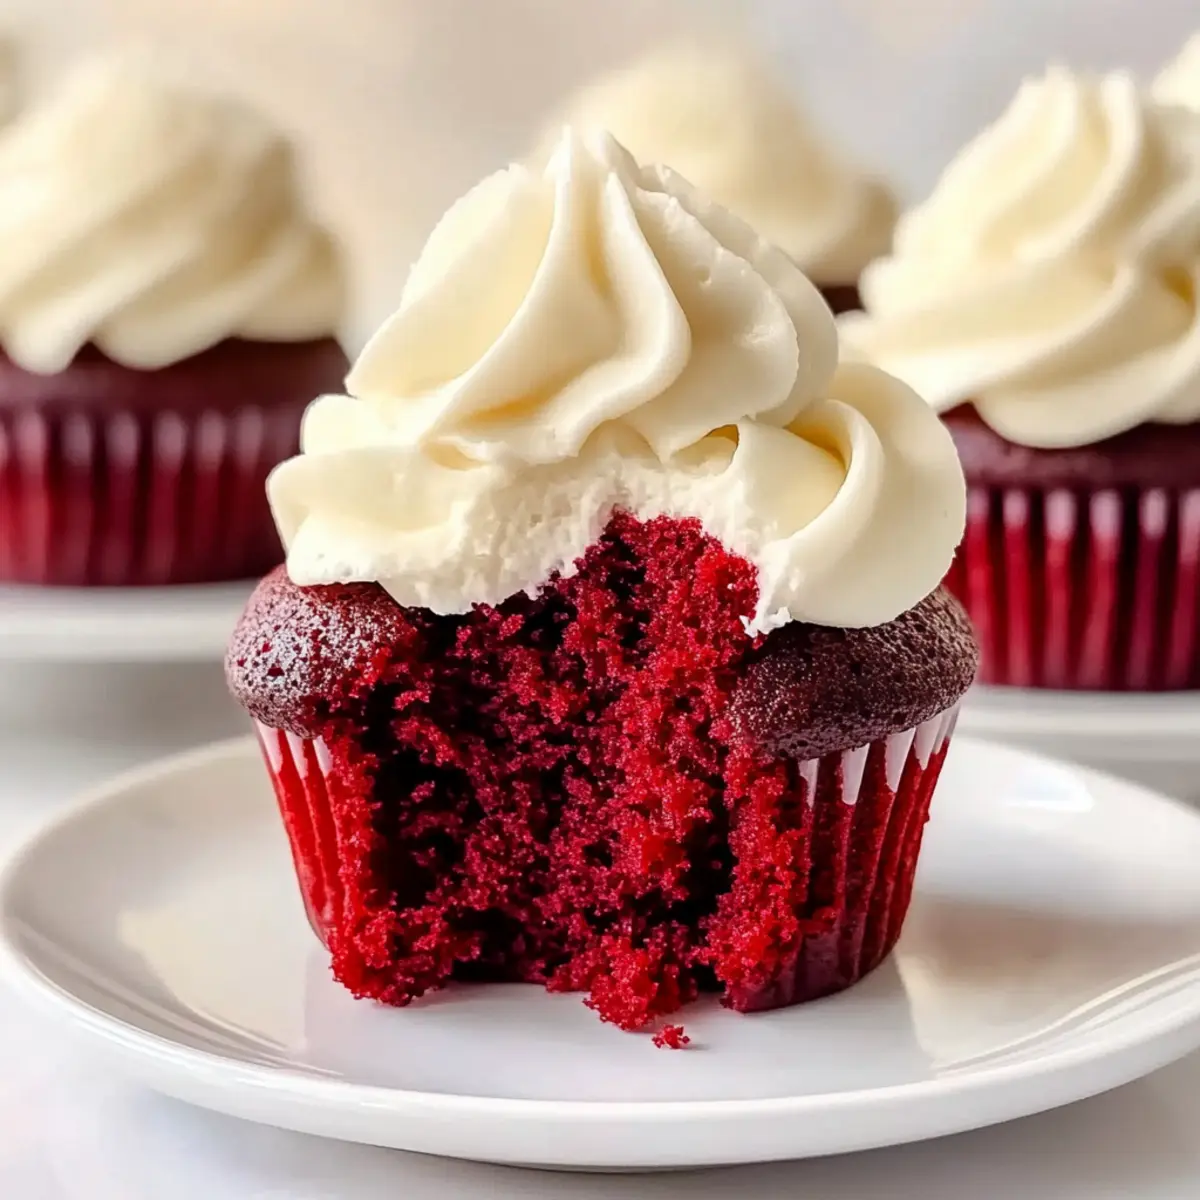
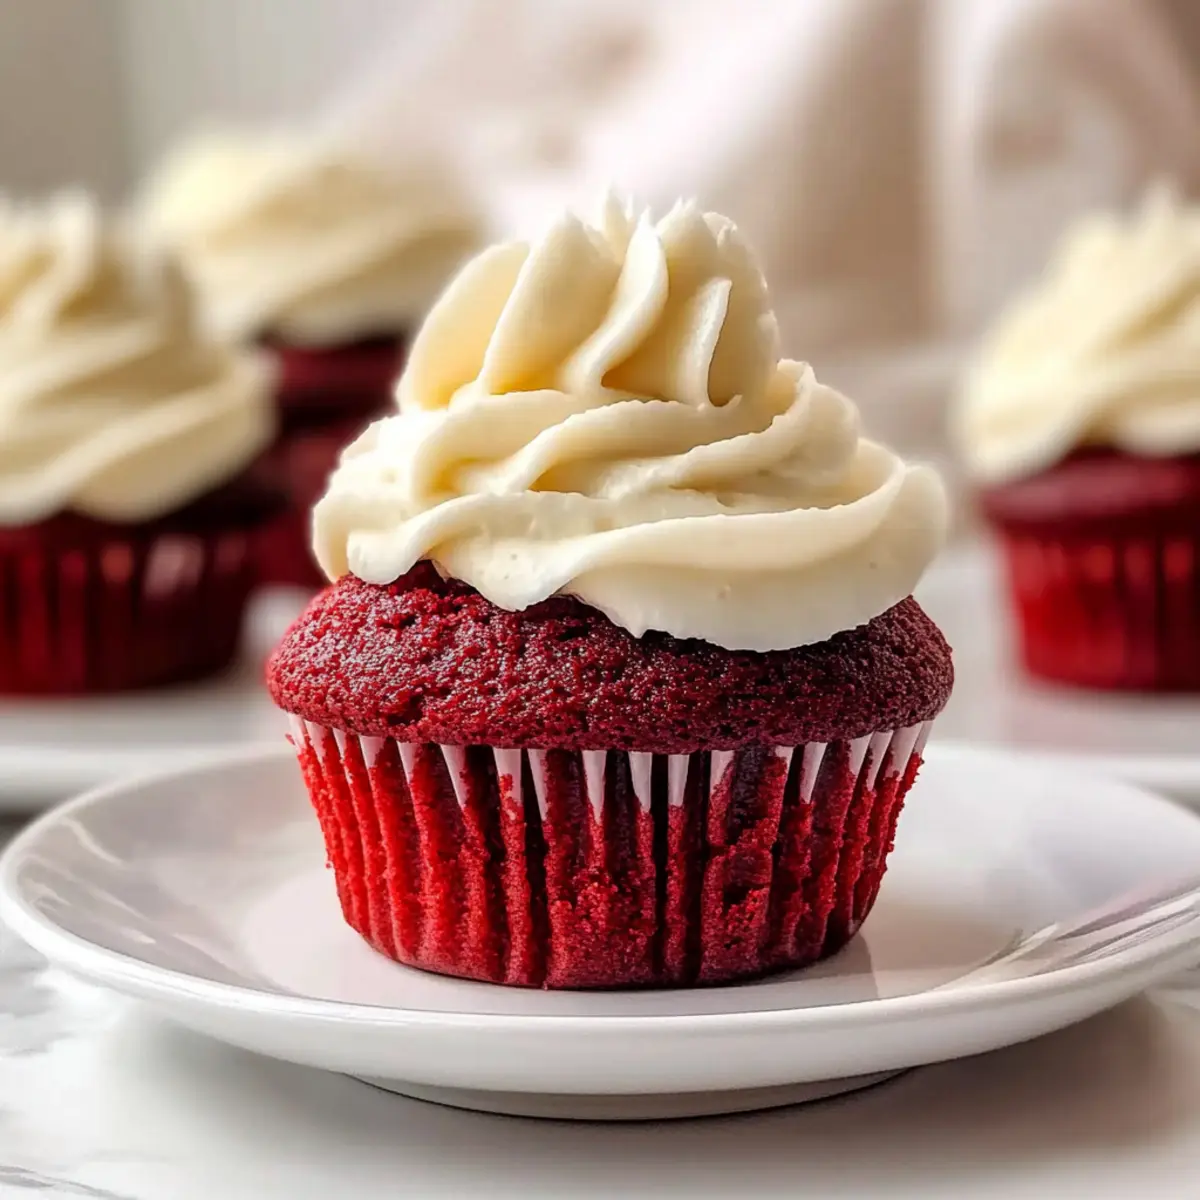
A dazzling swirl of red and white frosting brings memories rushing back of festive gatherings that felt special with every sweet bite. My Moist and Fluffy Red Velvet Cupcakes, crowned with velvety cream cheese frosting, are not just treats; they’re an invitation to create joy in your kitchen. This classic recipe is straightforward, making it perfect even for those just beginning their baking journey. Not only are these cupcakes quick to whip up, but their striking color and divine taste will undoubtedly be the highlight of any celebration! Whether you’re baking for a birthday, holiday, or simply to satisfy a sweet craving, these little delightful bites are sure to impress your family and friends. What’s your favorite occasion to bake something sweet?
Why are Red Velvet Cupcakes a Must-Try?
Irresistible Flavor: These cupcakes combine subtle cocoa notes with a luscious cream cheese frosting that will have everyone coming back for more.
Simplicity in Baking: With straightforward steps, even novice bakers can achieve a bakery-quality treat.
Stunning Presentation: The striking red color makes them visually appealing for any occasion.
Versatile Treats: Perfect for birthdays, holidays, or simply as an afternoon indulgence with your favorite beverage.
Quick and Easy: Bake, frost, and enjoy in no time—ideal for those busy days when you need a sweet treat!
Additionally, don’t forget to check out my Smothered Cheesy Sour for savory bites or the delightful Roasted Red Pepper for your main course!
Red Velvet Cupcake Ingredients
For the Cupcakes
• Cake Flour – Provides structure and lightness; for a fluffier texture, stick with cake flour instead of all-purpose.
• Baking Soda – Acts as a leavening agent; ensure it’s fresh for best rising results.
• Unsweetened Cocoa Powder – Adds a hint of chocolate flavor; avoid sweetened cocoa for authentic taste.
• Salt – Enhances overall flavor, making every bite richer.
• Unsalted Butter – Adds moisture and richness; always use at room temperature for easy blending.
• Granulated White Sugar – Sweetens and helps achieve a tender, delightful texture.
• Large Eggs – Essential for binding the ingredients; use at room temperature for better incorporation.
• Canola Oil – Provides additional moisture; can be swapped with melted coconut oil if desired.
• Liquid Red Food Coloring – Gives the iconic red color; natural alternatives exist but may not be as vibrant.
• Vanilla Extract – Enriches the flavor profile, bringing depth to the cupcakes.
• Buttermilk – Adds moisture and tang; for a substitute, mix milk with vinegar (1 cup milk + 1 tbsp acid).
• Distilled White Vinegar – Reacts with baking soda for improved lift, key to fluffy cupcakes.
For the Frosting
• Cream Cheese – The star of the frosting, providing a beautifully smooth and tangy finish; opt for full-fat for best results.
• Unsalted Butter – Adds richness; ensure it’s at room temperature for easy mixing.
• Vanilla Extract – A touch of sweetness that ties the frosting together.
• Pinch of Salt – Balances the sweetness perfectly, making each bite delightful.
• Confectioners’ Sugar – Sweetens and smoothes the frosting; sifting is crucial to avoid lumps for that perfect creamy texture.
These delectable Red Velvet Cupcakes are not just a treat; they’re a celebration in every bite. Let’s get baking!
Step‑by‑Step Instructions for Red Velvet Cupcakes
Step 1: Prepare the Oven and Pans
Preheat your oven to 350°F (180°C) and prepare your cupcake pans by lining them with cupcake liners. This ensures easy removal once baked. While the oven heats, take a moment to gather your ingredients and let your butter and eggs come to room temperature, improving their mixability in your Red Velvet Cupcakes.
Step 2: Whisk the Dry Ingredients
In a large mixing bowl, whisk together the cake flour, baking soda, unsweetened cocoa powder, and salt until well combined. This step is crucial for ensuring an even distribution of the leavening agents and cocoa, leading to perfectly fluffy cupcakes. Set this mixture aside while you move on to the wet ingredients.
Step 3: Cream Butter and Sugar
In a separate bowl, beat the room temperature unsalted butter and granulated white sugar together with an electric mixer on medium speed for about 2-3 minutes. You want the mixture to become light and fluffy, which helps incorporate air for a tender texture in your Red Velvet Cupcakes. Once fluffy, add the large eggs one at a time, mixing well after each addition.
Step 4: Combine the Wet Ingredients
Next, mix in the vanilla extract, canola oil, and liquid red food coloring into the butter and sugar mixture. Beat on low speed until smooth and combined. The vibrant red color will start to show through, creating that iconic look of Red Velvet Cupcakes as you blend the wet ingredients for a rich flavor foundation.
Step 5: Alternate Adding Dry and Wet Mixtures
With the mixer on low speed, alternate adding the flour mixture and buttermilk to the batter, starting and ending with the flour mixture. Mix just until combined, ensuring no visible flour pockets remain. Overmixing can lead to dense cupcakes, so blend gently for this step to maintain lightness in your Red Velvet Cupcakes.
Step 6: Bake the Cupcakes
Evenly distribute the batter among the prepared cupcake liners, filling each about two-thirds full. Bake in the preheated oven for 18 minutes, or until a toothpick inserted into the center comes out clean. You’ll know they are done when they spring back lightly when touched. After baking, let them cool in the pan for about 5 minutes.
Step 7: Cool and Frost
Once they’ve cooled slightly, gently transfer the Red Velvet Cupcakes to a wire rack to cool completely. This will allow you to frost them without melting the frosting. Meanwhile, prepare the cream cheese frosting by beating together the cream cheese and unsalted butter until smooth and creamy, ensuring the perfect texture for your delicious cupcakes.
Expert Tips for Red Velvet Cupcakes
• Accurate Measurements: Use the spoon and level method to measure flour, preventing dense cupcakes. Proper measurements ensure the success of your Red Velvet Cupcakes.
• Fresh Ingredients: Always check the freshness of your baking soda and powder; stale leavening agents can lead to flat cupcakes.
• Cool Before Frosting: Let your cupcakes cool completely before applying frosting. This prevents melting and gives you that beautiful finish.
• Don’t Overmix: Gently mix your ingredients, particularly in Step 5. Overmixing can lead to tough cupcakes instead of the desired fluffiness.
• Fill Liners Correctly: Fill cupcake liners about two-thirds full. Overfilling can cause the cupcakes to overflow and collapse while baking.
Make Ahead Options
These Red Velvet Cupcakes are perfect for busy home cooks looking to save time without sacrificing flavor! You can bake the cupcakes up to 2 days in advance; just store them in an airtight container at room temperature to ensure they stay moist and delicious. The cream cheese frosting can be made up to a week ahead and stored in the refrigerator—simply bring it to room temperature and whip it briefly to restore its creamy texture before frosting. When you’re ready to serve, just frost the cooled cupcakes and enjoy the same delightful taste as if they were freshly baked! Preparing in advance means you can focus on what truly matters—enjoying time with your loved ones!
How to Store and Freeze Red Velvet Cupcakes
Fridge: Store frosted cupcakes in an airtight container in the refrigerator for up to 3 days to maintain freshness and flavor.
Room Temperature: Unfrosted cupcakes can be kept at room temperature for up to 2 days. Ensure they’re covered to prevent drying out.
Freezer: For longer storage, freeze unfrosted Red Velvet Cupcakes in a single layer on a baking sheet for about 1-2 hours before transferring them to a freezer-safe bag or container. They can be stored for up to 3 months.
Reheating: Allow frozen cupcakes to thaw in the fridge overnight, then bring to room temperature before enjoying. Frosting can be made in advance and stored separately in the fridge for up to 1 week.
What to Serve with Moist and Fluffy Red Velvet Cupcakes?
Baking these delightful red velvet cupcakes is just the beginning; let’s create a full feast for your taste buds!
-
Creamy Mashed Potatoes: These buttery, smooth potatoes create a comforting contrast to the sweet, tangy cupcakes, making for a delightful meal.
-
Fresh Garden Salad: A light, crisp salad balances the richness of the cupcakes, offering a refreshing bite of flavor that sings with every forkful. Toss in some citrus vinaigrette for a zesty kick!
-
Classic Macaroni and Cheese: Velvety and cheesy, this dish is a nostalgic treat that pairs beautifully with the refined sweetness of red velvet cupcakes, creating a playful contrast on your plate.
-
Zesty Lemonade: Bright and refreshing, a glass of homemade lemonade cuts through the sweetness, making your dessert experience even more enjoyable and uplifting.
-
Chocolate Chip Cookies: Who can resist a warm cookie? The soft, gooey centers alongside the cupcakes create a delightful sweet symphony that all ages will love.
-
Fruit Tart: Brightened with seasonal fruits, a fruit tart provides a refreshing, tangy balance to the cupcake’s sweetness, leaving guests feeling light and satisfied.
-
Coffee or Tea: A rich cup of coffee or soothing tea enhances the flavor profile of your red velvet cupcakes, turning an already sweet moment into a cozy experience!
-
Dark Chocolate Truffles: Rich and decadent, these truffles bring a touch of elegance when served alongside cupcakes, creating an indulgent dessert spread that’s sure to impress!
Red Velvet Cupcakes Variations & Substitutions
Feel free to put your own spin on these delightful cupcakes, creating a tailored experience that excites your taste buds!
-
Oil Substitution: Replace canola oil with melted butter or coconut oil for a twist in flavor and texture.
-
Tangy Frosting: Swap half the buttermilk in the recipe with half sour cream for an extra-rich and creamy frosting.
-
Flavor Boost: Enhance the cream cheese frosting with citrus zest, like lemon or orange, for a refreshing pop of flavor.
-
Chocolate Addition: Add mini chocolate chips to the cupcake batter for an extra chocolatey surprise in every bite.
-
Nutty Crunch: Fold in finely chopped walnuts or pecans into the batter for a delightful nutty crunch that pairs beautifully with the frosting.
-
Spicy Kick: Incorporate a pinch of cayenne pepper into your cupcake batter for an unexpected heat that beautifully complements the sweetness.
-
Vegan-Friendly: Substitute the eggs with flax eggs (1 tbsp flaxseed meal + 2.5 tbsp water per egg) and use plant-based cream cheese for a dairy-free version.
-
Fun with Colors: Use natural food coloring alternatives, like beet juice or pomegranate extract, to achieve that stunning red hue while keeping it all-natural.
These customizable options allow you to explore different flavors and textures while making these red velvet cupcakes the showstopper at your next gathering. And if you’re looking for more inspiration, try pairing these cupcakes with my delightful Roasted Red Pepper for a wonderful meal!
Red Velvet Cupcakes Recipe FAQs
How do I choose ripe ingredients for my Red Velvet Cupcakes?
Absolutely! When selecting ingredients, ensure your eggs are fresh and at room temperature for optimal mixing. Opt for cake flour instead of all-purpose for a lighter texture. Also, use unsweetened cocoa powder for accurate flavor—sweetened varieties can result in overly sweet cupcakes. For the butter, choose unsalted and let it come to room temperature to achieve that perfect creaming consistency with sugar.
What’s the best way to store Red Velvet Cupcakes?
Very! To keep your frosted Red Velvet Cupcakes fresh, store them in an airtight container in the refrigerator, where they’ll last up to 3 days. Unfrosted cupcakes can be left at room temperature for up to 2 days, but make sure they are covered to avoid drying out. If you want to save some for later, consider freezing them instead.
How can I freeze Red Velvet Cupcakes properly?
Absolutely! To freeze your unfrosted Red Velvet Cupcakes, first let them cool completely. Then, place them in a single layer on a baking sheet and freeze for about 1-2 hours until firm. Afterward, transfer them to a freezer-safe bag or container. They can be stored for up to 3 months. To enjoy, simply thaw them in the fridge overnight and bring to room temperature before frosting!
What should I do if my cupcakes are too dense?
Very good question! If you find your Red Velvet Cupcakes are too dense, it could be due to overmixing the batter. Make sure to mix until the ingredients are just combined, especially after adding the flour mixture. Additionally, ensure you are using fresh baking soda for proper rising. Lastly, measuring your flour accurately is crucial—use the spoon and level method to prevent packing too much flour into your measuring cup.
Are there any allergies I should consider for my Red Velvet Cupcakes?
Absolutely! If you’re baking for guests with allergies, be aware that Red Velvet Cupcakes contain gluten and dairy. For a gluten-free version, you can use a gluten-free flour blend but may need to adjust some proportions. If someone is lactose intolerant, consider making a cream cheese alternative using vegan cream cheese. Always double-check with your guests for any specific dietary restrictions to keep everyone safe and happy!
How long will my leftovers last?
Very important to note! Leftover frosted Red Velvet Cupcakes can be kept in an airtight container in the refrigerator for up to 3 days. If you have unfrosted ones, they can last for up to 2 days at room temperature. Just ensure they’re well-covered! If you prepare ahead, both the frosting and cupcakes can be frozen as explained above for future indulgences.
Decadent Red Velvet Cupcakes with Creamy Frosting Bliss
Ingredients
Equipment
Method
- Preheat your oven to 350°F (180°C) and prepare your cupcake pans by lining them with cupcake liners.
- In a large mixing bowl, whisk together the cake flour, baking soda, cocoa powder, and salt.
- In a separate bowl, beat the butter and sugar together until light and fluffy, then add eggs one at a time.
- Mix in vanilla extract, canola oil, and red food coloring until smooth.
- Alternate adding the flour mixture and buttermilk to the batter, starting and ending with the flour mixture.
- Evenly distribute the batter among the prepared cupcake liners and bake for 18 minutes.
- Let them cool in the pan for about 5 minutes before transferring to a wire rack.
- Prepare the cream cheese frosting by beating together the cream cheese and butter until smooth and creamy.
Leave a Reply