
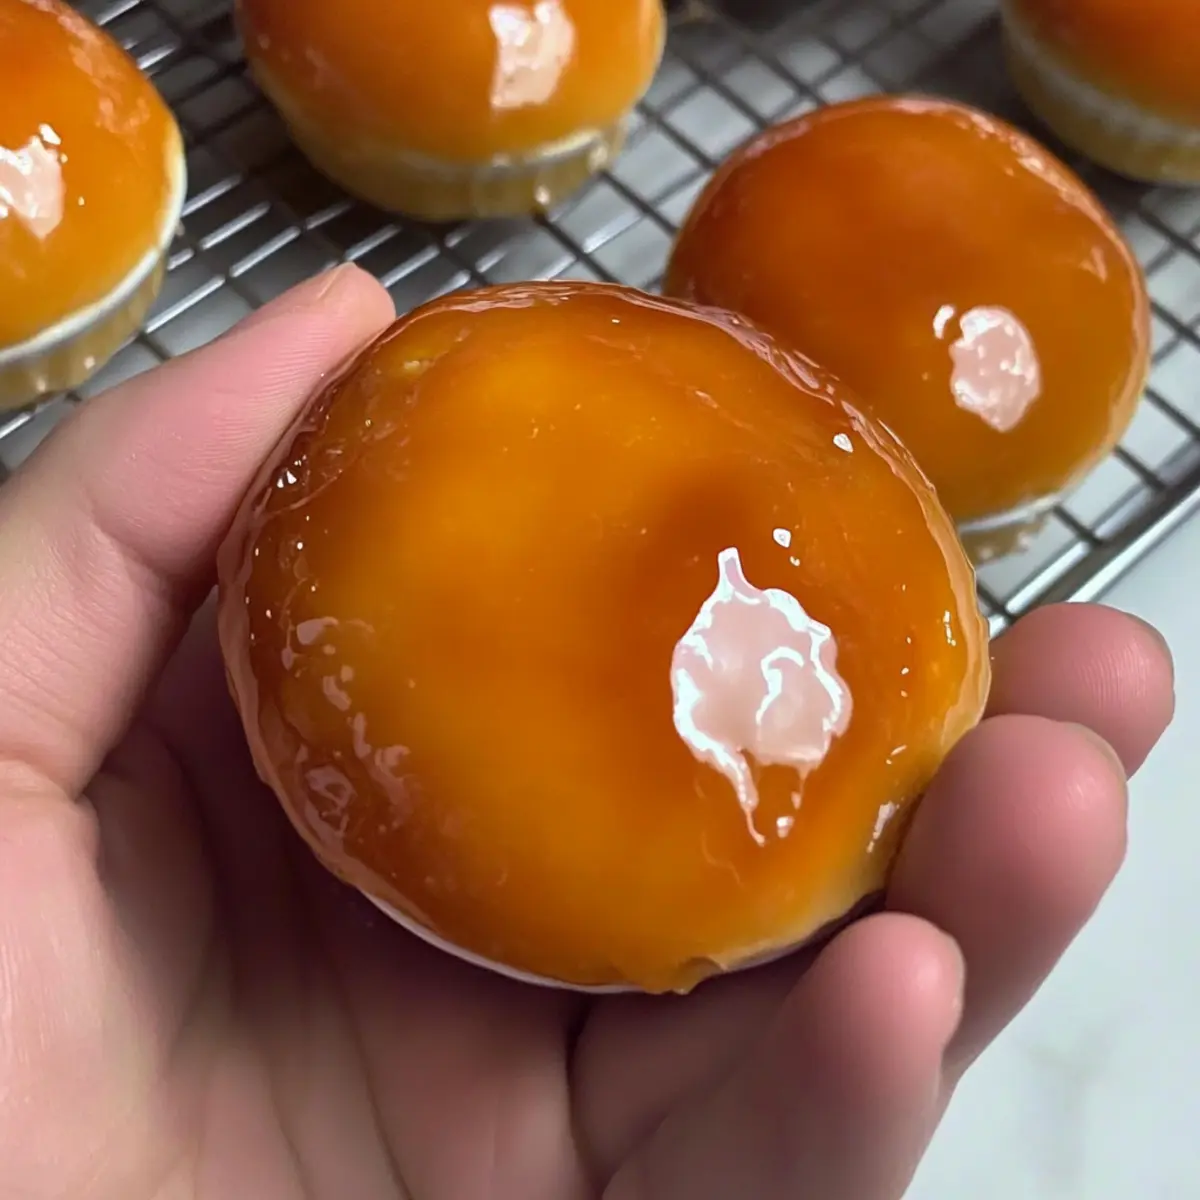
A flick of the wrist, and a burst of golden sugar glass meets your eager spoon—this is the magic of Dreams Creme Brulee. The moment you crack that crisp caramel shell, revealing a silky vanilla cream beneath, you’ll understand why this dessert is the crown jewel of fancy gatherings and cozy dinners alike. Not only does it impress with its exquisite presentation, but it’s also a surprisingly simple recipe that lets you play with flavors while keeping preparation breezy. Whether you’re looking to elevate a special occasion or just craving a little indulgence, this creamy classic is sure to be your new go-to. So, are you ready to make some magic in the kitchen?
Why Choose Dreams Creme Brulee?
Irresistible Elegance: Dreams Creme Brulee combines simplicity with impressive flair, making it a showstopper at any gathering.
Rich, Velvety Cream: The creamy vanilla custard beneath the caramelized topping is pure satisfaction, creating a luxurious tasting experience.
Customizable Delight: Feel free to experiment! Infuse your custard with various flavors like coffee or citrus zest for a unique twist.
Quick to Prepare: With just a few straightforward steps, you’ll have this classic dish ready, perfect for both novice cooks and seasoned chefs.
Crowd-Pleasing Dessert: Ideal for any occasion, from elegant dinner parties to cozy family nights—everyone will love this decadent treat.
Make Ahead Convenience: You can prepare Dreams Creme Brulee up to three days in advance; just caramelize the topping before serving for optimal freshness!
Dreams Creme Brulee Ingredients
To whip up this delightful dessert, you’ll need a few essential ingredients to create that heavenly balance of texture and flavor.
For the Custard
- Heavy Cream – Provides richness and a smooth texture for the custard; substitute with half-and-half for a lighter version.
- Egg Yolks – Essential for structure and creaminess, contributing to the custard’s rich flavor; whole eggs can be used but might alter texture.
- Sugar – Adds sweetness and caramelizes for the topping; brown sugar can deepen the flavor profile.
- Vanilla Extract – Imparts a fragrant aroma and flavor to the custard; for a more intense taste, use vanilla beans.
- Salt – Enhances sweetness and balances flavors; don’t skip it—just a pinch is perfect.
For the Topping
- Granulated Sugar – This is what you’ll sprinkle on top before caramelizing, creating that delightful crackly layer.
Now that you have your ingredients ready, it’s time to transform them into the indulgent Dreams Creme Brulee that your friends and family will adore!
Step‑by‑Step Instructions for Dreams Creme Brulee
Step 1: Prepare the Cream
In a medium saucepan, heat 2 cups of heavy cream over medium heat. Stir occasionally until it reaches a gentle simmer—look for small bubbles forming around the edges, signaling it’s time to remove it from the heat. This step is crucial to developing the rich flavor of your Dreams Creme Brulee.
Step 2: Mix Egg Yolks and Sugar
In a large mixing bowl, whisk together 6 egg yolks and ⅔ cup of granulated sugar. Continue whisking until the mixture turns pale and slightly thickened, about 3-4 minutes. This process helps to create a luscious custard base, essential for the creamy texture of your Dreams Creme Brulee.
Step 3: Temper Eggs
Gradually add the warm cream to the egg mixture, a little at a time, while whisking vigorously. This step, done over 2-3 minutes, prevents the eggs from curdling. Once incorporated, you’ll see a smooth, pale mixture forming that will be the heart of your Dreams Creme Brulee.
Step 4: Add Vanilla and Salt
Stir in 1 teaspoon of vanilla extract and a pinch of salt into your custard mixture. These ingredients add a delightful aroma and enhance the sweetness of your Dreams Creme Brulee. Mix well until fully combined, ensuring the flavors meld beautifully.
Step 5: Strain Mixture
To ensure a silky-smooth custard, pour the mixture through a fine mesh sieve into 6 ramekins. This will catch any cooked egg bits, giving you that perfect texture in your final Dreams Creme Brulee. You should see a creamy, glossy liquid filling each ramekin.
Step 6: Bake in Water Bath
Preheat your oven to 325°F (160°C). Place the filled ramekins in a deep baking dish and carefully fill it with hot water until it reaches halfway up the sides of the ramekins. Bake for 30-35 minutes until the custard is set yet still jiggly in the center—a delightful scene of your Dreams Creme Brulee.
Step 7: Cool
Once baked, remove the ramekins from the water bath and allow them to cool at room temperature for about 30 minutes. Afterward, refrigerate for at least 2 hours or until completely chilled. This cooling step is vital to develop the luscious texture of your Dreams Creme Brulee.
Step 8: Caramelize Topping
Just before serving, sprinkle about a tablespoon of granulated sugar evenly over the top of each custard. Using a kitchen torch, caramelize the sugar until it melts and turns golden brown and crisp, about 30 seconds. This final touch creates the signature crackling layer over your Dreams Creme Brulee, ready to impress!
Dreams Creme Brulee Variations
Feel free to explore these delightful twists on your traditional Dreams Creme Brulee, making it your own and captivating your senses!
-
Chocolate Twist: Add 2 ounces of melted dark chocolate into the cream mixture for a rich and irresistible chocolate flavor. It’s a luscious combination that adds depth and luxuriousness to the classic dessert.
-
Coffee Infusion: Brew a strong cup of coffee and substitute 1/2 cup of cream with this brewed coffee. The coffee flavor creates a beautiful hint of bitterness, perfectly complementing the sweetness of the custard.
-
Citrus Zest: Stir in the zest of an orange or lemon into the cream while heating for a refreshing, zesty kick. This brightens the flavors, creating a delightful contrast with the rich custard underneath.
-
Almond Delight: Substitute vanilla extract with almond extract for a nutty and fragrant twist. A little goes a long way, so use sparingly and enjoy this unique aromatic experience!
-
Minty Fresh: Infuse the cream with a handful of fresh mint leaves, allowing them to steep as the cream heats. This refreshing touch is perfect for a summer dessert that wakes up the palate!
-
Spicy Kick: Add a pinch of cayenne pepper or a few drops of chili oil to your custard for a surprising heat that contrasts beautifully with the sweet caramel. It’s an adventurous variation for those who love a little spice in their life!
-
Caramel Swirl: Before baking, swirl in some homemade or store-bought caramel sauce into the custard. This creates a delightful surprise of sweet pockets as you dive into the creamy goodness.
These variations allow for endless possibilities, so feel free to mix and match as you create your perfect Dreams Creme Brulee! For more exciting twists, consider adding a scoop of fresh whipped cream or serve alongside some fresh berries. Immerse yourself in the delicious creativity!
How to Store and Freeze Dreams Creme Brulee
Fridge: Store your Dreams Creme Brulee in the refrigerator for up to 3 days. Cover with plastic wrap to prevent odors from affecting the custard.
Freezer: While it’s not recommended to freeze the custard, if needed, you can freeze it for up to 1 month. However, be aware the texture may change upon thawing.
Pre-Caramelization Storage: If you’re preparing ahead of time, chill the custard without caramelizing. Caramelize just before serving for that fresh, crispy topping.
Reheating: If stored in the fridge, simply serve chilled. Avoid reheating as it may alter the texture of your Dreams Creme Brulee.
Make Ahead Options
These Dreams Creme Brulee are perfect for busy home cooks looking to save time! You can prepare the creamy custard base up to 3 days in advance; simply follow the full recipe up to the chilling stage. After cooling, cover the ramekins tightly with plastic wrap and refrigerate to preserve their creamy texture. This ensures that the custard remains silky and delicious! When you’re ready to serve, caramelize the sugar topping just before presenting, so it’s fresh and crispy, adding a delightful contrast. With this make-ahead method, you’ll have an impressive dessert ready with minimal effort on the day of your gathering!
Helpful Tricks for Dreams Creme Brulee
Temperature Matters: Ensure the cream is hot but not boiling when mixing with egg yolks to prevent curdling, necessary for perfect Dreams Creme Brulee.
Chunk-Free Custard: Always strain your custard mixture to achieve a smooth texture by removing any cooked egg bits; it makes a world of difference.
Watch the Bake: Keep an eye on the oven until the custards are just set but still have a jiggle in the center; overbaking will lead to a rubbery texture.
Chill Before Caramelizing: Let the custard cool completely and refrigerate for at least two hours; this enhances both texture and flavor before the final caramelization.
Freshly Caramelized: For the best experience, caramelize the sugar topping just before serving; it preserves the delightful crispy layer for your Dreams Creme Brulee.
What to Serve with Dreams Creme Brulee?
Set the stage for a lovely evening with perfect pairings that enhance every spoonful of this elegant dessert.
- Fresh Berries: Juicy strawberries or tart raspberries add a burst of freshness, balancing the rich, creamy custard beautifully.
- Whipped Cream: A dollop of lightly sweetened whipped cream creates a dreamy contrast to the crisp topping, enhancing the dessert’s indulgence.
Experience a delightful interplay of flavors! The creaminess of the custard contrasts with the juicy pop of the berries, creating a delightful harmony on your palate.
-
Coffee or Espresso: A strong cup of coffee pairs perfectly, cutting through the richness and providing a comforting warmth. The bold flavors of coffee accentuate the vanilla tones in the creme brulee, making each bite even more satisfying.
-
Chocolate Ganache Tart: This rich chocolate dessert complements the vanilla flavors while adding depth with its fudgy, indulgent texture. It’s a winning duo for chocolate lovers!
-
Sparkling Wine: A chilled glass of Prosecco or Champagne brings effervescence to the table, offering a light, celebratory touch that elevates any dining experience.
-
Orange Zest Shortbread Cookies: These buttery cookies bring a zesty twist, making for a delightful textural companion alongside the smooth custard.
Choose one or a few of these pairings for your next gathering, and watch your Dreams Creme Brulee shine even brighter!
Dreams Creme Brulee Recipe FAQs
What kind of cream should I use for Dreams Creme Brulee?
Absolutely! Heavy cream is the best option for achieving that rich, velvety texture in your custard. If you’re looking for a lighter alternative, half-and-half can work, but keep in mind it may alter the overall creaminess of your final dessert.
How should I store Dreams Creme Brulee?
You can store your Dreams Creme Brulee in the refrigerator for up to 3 days. Just remember to cover the ramekins with plastic wrap to prevent any fridge odors from mingling with your delicious custard. If you’re making it ahead, avoid adding the caramel topping until just before serving for the freshest crunch!
Can I freeze Dreams Creme Brulee?
While it’s not ideal to freeze Dreams Creme Brulee due to the potential change in texture, you can freeze the custard without the caramel layer for up to 1 month. To do this, prepare the custard as per the recipe, pour it into ramekins, and then cover them tightly with plastic wrap. When you’re ready to enjoy, thaw it overnight in the fridge and caramelize just before serving.
What should I do if my custard curdles?
If your custard curdles while making Dreams Creme Brulee, don’t worry! It generally happens if the cream is too hot when combined with the egg yolks. To salvage it, try pouring the mixture through a fine mesh sieve to catch any bits of cooked egg. The resulting texture may be slightly different, but it can still be salvaged. Next time, ensure the cream is simmering but not boiling to prevent curdling.
Is Dreams Creme Brulee safe for those with egg allergies?
Unfortunately, Dreams Creme Brulee contains egg yolks, so it’s not suitable for anyone with an egg allergy. However, you might explore egg substitutes like silken tofu or commercial egg replacers within other custard recipes if you’d like to experiment with a similar dessert.
Can I prepare Dreams Creme Brulee in advance?
Very much so! You can prepare Dreams Creme Brulee up to 3 days ahead of serving. Simply follow the instructions until the chilling phase, then store them in the fridge without caramelization. When it’s time to serve, caramelize the sugar topping for that freshly crispy layer. This way, you’ll impress your guests with minimal last-minute effort!
Dreams Creme Brulee: A Velvety Delight to Impress Your Guests
Ingredients
Equipment
Method
- In a medium saucepan, heat 2 cups of heavy cream over medium heat until it reaches a gentle simmer.
- In a large mixing bowl, whisk together 6 egg yolks and ⅔ cup of granulated sugar until pale and slightly thickened.
- Gradually add the warm cream to the egg mixture while whisking vigorously to prevent curdling.
- Stir in 1 teaspoon of vanilla extract and a pinch of salt into the custard mixture.
- Pour the mixture through a fine mesh sieve into 6 ramekins to ensure a silky-smooth custard.
- Preheat your oven to 325°F (160°C) and bake the ramekins in a water bath for 30-35 minutes.
- Cool the ramekins at room temperature for about 30 minutes then refrigerate for at least 2 hours.
- Just before serving, sprinkle about a tablespoon of granulated sugar on top of each custard and caramelize with a kitchen torch.
Leave a Reply