
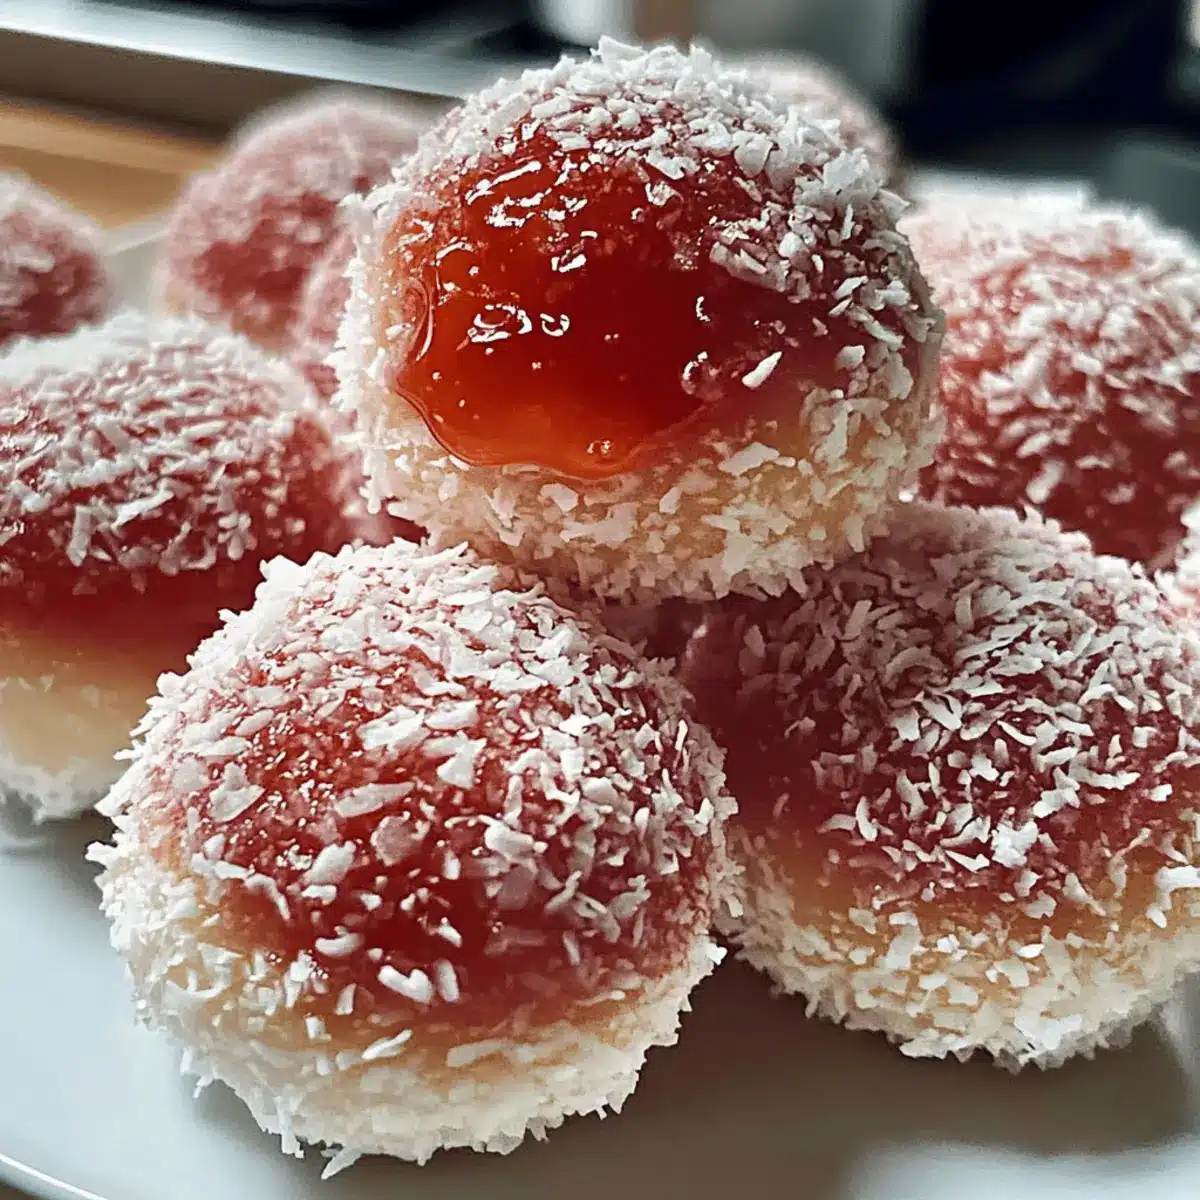
As I sprinkled coconut over the sweet, syrupy bites, the vibrant colors reminded me of joyous celebrations from my childhood. Enter Easy Snowballs—these delightful treats blend a soft, fluffy cake with a crunchy coconut coating, making them an irresistible addition to any gathering. Not only are they quick to whip up, but they’re also a vegetarian-friendly dessert that can be customized for any occasion. Imagine serving these snowy delights at a festive party or cozy afternoon tea; they’ll soon become a favorite among your friends and family. Ready to discover how these charming Snowballs can transform your dessert table with playful flavors and textures? Let’s dive in!
Why are Easy Snowballs a must-try?
Unique Flavors: Easy Snowballs offer a perfect harmony of sweet syrup and toasted coconut, creating a tropical experience in every bite.
Quick Preparation: These are incredibly fast to make—ideal for unexpected guests or a last-minute treat.
Customizable: Feel free to experiment with flavors like almond or lemon zest that suit your taste.
Crowd Pleaser: These charming bites are sure to impress guests at gatherings, becoming the talk of the party!
Versatile Treats: Enjoy them as part of afternoon tea or dessert; they fit in beautifully at any occasion. Try serving them alongside your favorite coffee for the perfect pairing!
Snowballs Ingredients
• Get ready for fluffy coconut bliss!
For the Cake
- Eggs – Provide moisture and structure to the cake; substitute with flax eggs for a vegan alternative.
- Sugar – Adds sweetness and enhances browning during baking; try coconut sugar for a more complex flavor.
- Vanilla Essence – Contributes aromatic flavor; almond extract offers a delightful twist if desired.
- Oil – Keeps the cake moist and tender; melted butter can add more richness to the flavor.
- Cake Flour – Creates a light and fluffy texture; use all-purpose flour if you’re out of cake flour.
- Baking Powder – Helps the cake rise; ensure it’s fresh for the best results.
- Salt – Balances sweetness and enhances overall flavors.
- Milk – Adds moisture; almond milk can be a wonderful dairy-free substitute.
For the Syrup
- Sugar – Similar to cake sugar, it sweetens the syrup; you can reduce sweetness by halving the quantity.
- Water – Assists in dissolving the sugar to create syrup consistency.
- Red Food Color – Adds a festive hue; consider beetroot powder for a natural option.
- Desiccated Coconut – The delightful coating that brings flavor and texture; roll generously for that beautiful finish.
Step‑by‑Step Instructions for Easy Snowballs
Step 1: Preheat and Prepare
Begin by preheating your oven to 180°C (350°F). While it’s heating, grease a 9×13-inch baking pan with some oil or cooking spray to ensure your cake releases easily after baking. This step is crucial for making sure your Easy Snowballs emerge beautifully without sticking to the pan.
Step 2: Mix the Wet Ingredients
In a large mixing bowl, beat together the eggs and sugar using a hand mixer or whisk until the mixture becomes pale and fluffy, taking about 3-4 minutes. Then, add the vanilla essence and oil, mixing until fully combined. This fluffy base will give your cake the light texture desired for your Easy Snowballs.
Step 3: Combine the Dry Ingredients
In a separate bowl, sift together the cake flour, baking powder, and salt. This process aerates the dry ingredients, helping to achieve that light and fluffy cake texture essential for Easy Snowballs. Once sifted, gradually add these dry ingredients into the wet mixture, alternating with the milk, and mix until just combined to avoid overmixing.
Step 4: Bake the Cake
Pour the batter into your greased baking pan, spreading evenly with a spatula. Bake in the preheated oven for 25-30 minutes or until a toothpick inserted into the center comes out clean. Keep an eye on the cake; it should be golden on top while remaining soft in texture, a sign that your Easy Snowballs will be delightfully tender.
Step 5: Make the Syrup
While the cake is baking, prepare the syrup by combining sugar, water, and red food coloring in a saucepan over medium heat. Bring the mixture to a boil, stirring frequently until it thickens slightly, about 5-7 minutes. This syrup will not only flavor but also soak into your cake, ensuring every bite of your Easy Snowballs is wonderfully sweet.
Step 6: Shape the Cake
Once your cake is completely baked, remove it from the oven and allow it to cool in the pan for about 10 minutes. After cooling, cut the cake into squares or use a scoop to shape it into balls. Be sure to let the cake cool fully so it holds together well when shaping for your Easy Snowballs.
Step 7: Coat the Snowballs
Dip each square or ball of cake into the warm syrup, ensuring each piece is generously coated, then roll it in the desiccated coconut until well-covered. The syrup should be warm enough to create a stickiness for the coconut to adhere well, making your Easy Snowballs perfectly sweet and chewy with that crunchy coconut layer.
Step 8: Create Layered Snowballs (Optional)
For a more decadent treat, mix icing sugar with a bit of hot water to create a thick icing. Sandwich two pieces of the cake together with the icing before rolling them in coconut. This creates delicious layered Easy Snowballs that are not only delightful in flavor but visually stunning as well.
Step 9: Serve and Enjoy
Once you’ve coated all your Easy Snowballs, place them on a decorative plate to serve. These delicious treats are perfect for gatherings or a cozy afternoon snack. Enjoy them fresh with coffee or tea, and watch as they become a favorite among friends and family!

Storage Tips for Snowballs
Room Temperature: Store Snowballs in an airtight container at room temperature for up to 2 days to maintain their freshness and delightful texture.
Fridge: If you need to keep them longer, place the container in the fridge, where they will last for up to 1 week, ensuring they remain tasty and moist.
Freezer: For extended storage, freeze uncoated cake balls for up to 3 months. When ready to enjoy, thaw them in the fridge before coating with syrup and coconut.
Reheating: If you prefer a warm treat, gently heat the Snowballs in the microwave for a few seconds; just don’t overdo it to avoid toughening the cake.
Expert Tips for Easy Snowballs
-
Beat Eggs Well: Ensure eggs are beaten until pale and fluffy for that light, airy texture in your Snowballs. This is key to a tender cake.
-
Avoid Overmixing: Mix until just combined to prevent dense results. Overmixing can deflate the batter, leading to less fluffy Snowballs.
-
Warm Syrup: Use warm syrup for dipping; it should coat without drowning. A properly warmed syrup helps the coconut adhere better.
-
Separate Hands: When rolling in coconut, use one hand for the syrup and another for the coconut to keep your hands mess-free and efficient!
-
Airtight Storage: Store any leftover Snowballs in an airtight container at room temperature; this keeps them fresh and delicious for up to two days.
Snowballs Variations & Substitutions
Looking to add a personal touch to your Snowballs? Here are some delightful options to inspire your creativity!
- Dairy-Free: Use almond milk instead of regular milk for a creamy, dairy-free twist.
- Gluten-Free: Swap cake flour with a gluten-free flour blend, ensuring everyone can enjoy these tasty treats.
- Flavor Boost: Try adding lemon zest or almond extract to elevate your Snowballs with refreshing flavors.
- Sugar Alternatives: For fewer calories, consider using a natural sweetener like honey or maple syrup in place of traditional sugar.
- Colorful Options: Experiment with vibrant natural food colorings, like spirulina or beet juice, to create festive, themed Snowballs for special occasions.
- Fruit Infusion: Replace the syrup with a light thinned-out berry jam for a fruity take, adding a fresh burst of flavor.
- Nutty Texture: Fold in chopped nuts like pecans or almonds into the cake batter for an added crunch and richness.
- Layered Delight: Create multi-layer Snowballs by sandwiching two pieces of cake together with a layer of whipped cream or sweet frosting before rolling in coconut.
Feel free to explore these variations, and remember, the joy of home-cooking is all about creativity! If you’re curious about making these little treats with a Coconut Sugar twist or want to know how to create Savory Coconut Treats, check out our expert guide.
What to Serve with Easy Snowballs
Enhance your delightful Snowballs experience with these perfect pairings that deliver a symphony of flavors and textures.
-
Creamy Vanilla Ice Cream: The rich and smooth texture of vanilla ice cream perfectly complements the chewy coconut, creating a delightful contrast. Enjoy a scoop alongside for a dessert that feels like a tropical vacation in every bite.
-
Fresh Berries: Burst with juicy flavor, strawberries, blueberries, or raspberries add a refreshing touch. Their tartness beautifully balances the sweetness of the Snowballs, making the combination a perfect summer treat.
-
Coconut Milk Latte: Pair your Snowballs with a frothy coconut milk latte for a cozy afternoon. The warm, nutty flavor of the latte enhances the coconut notes, making each sip a delightful extension of your dessert experience.
-
Chocolate Dipping Sauce: Drizzle on a warm chocolate sauce for an indulgent twist. The rich, melted chocolate adds a touch of luxury to your Snowballs, turning them into an irresistible treat worthy of special occasions.
-
Lemon Zest for Garnish: A sprinkle of fresh lemon zest over your Snowballs adds a bright note that enhances the overall flavor. This simple touch uplifts the sweetness and adds a refreshing citrus twist, inviting your senses to dive deeper.
-
Coconut Macadamia Cookies: Serve these alongside your Snowballs for a delightful theme. The crunch of the cookies complements the softness of the Snowballs, creating a variation in texture that your guests will love.
-
Sparkling Lemonade: A glass of sparkling lemonade refreshes your palate, offering a zesty counterpoint to the sweet flavors. The bubbles and acidity make for a lively complement during any gathering or festive occasion.
Make Ahead Options
These Easy Snowballs are perfect for busy home cooks looking to save time during the week! You can prepare the cake up to 24 hours in advance. Simply bake and allow it to cool completely, then wrap it tightly in plastic wrap and refrigerate. The syrup can also be made ahead and stored in the fridge for up to 3 days; just reheat it slightly before using to ensure it coats smoothly. When you’re ready to serve, shape the chilled cake into balls or squares, dip them in the warm syrup, roll in coconut, and enjoy delightfully fluffy treats that are just as delicious as when made fresh!

Easy Snowballs Recipe FAQs
How do I choose ripe ingredients for Easy Snowballs?
Absolutely! For the best results, use fresh eggs and high-quality sugar. Check the eggs for cracks and evenness in color—fresh eggs will have a consistent feel and firmness. If you’re substituting for vegan options, make sure your flax eggs are properly prepared by mixing one tablespoon of ground flaxseed with three tablespoons of water and letting it sit for about 5-10 minutes until it thickens.
What is the best way to store Easy Snowballs?
Very! Store your Easy Snowballs in an airtight container at room temperature for up to 2 days to keep them nice and fresh. If you’d like to extend their shelf life, pop them in the fridge where they can last for up to 1 week. Just be sure to keep them sealed tight to avoid drying out.
Can I freeze uncoated Easy Snowballs?
Absolutely! You can freeze the uncoated cake balls for up to 3 months. To do this, arrange the shaped balls on a baking sheet in a single layer and freeze them until solid. Once frozen, transfer them to an airtight container or freezer bag. When you’re ready to enjoy them, let them thaw in the fridge before coating them in syrup and coconut.
What should I do if my Easy Snowballs turn out dense?
Oh no! If your Snowballs are dense, it could be due to overmixing when combining the ingredients. To avoid this, mix until just combined, and make sure your baking powder is fresh before starting. If you’ve overbaked them, be extra vigilant with your toothpick test next time—if it comes out clean, they’re done!
Are Easy Snowballs safe for those with dietary restrictions?
The more the merrier! While the original recipe is vegetarian, it can be adjusted for gluten-free needs by using a gluten-free flour blend. Additionally, if you have allergies to specific ingredients, such as dairy, simply substitute milk with almond milk or another dairy-free alternative. Always be cautious and check all product labels when accommodating dietary needs!
Can I customize the flavor of my Easy Snowballs?
Absolutely! Feel free to experiment with different extracts or zests. For instance, replacing vanilla essence with almond extract will give your Easy Snowballs a unique touch. Adding a bit of lemon zest can also brighten up the flavors beautifully. The sky’s the limit when it comes to customization!

Delicious Snowballs: Coconut Coated Bliss for Sweet Moments
Ingredients
Equipment
Method
- Preheat your oven to 180°C (350°F) and grease a 9x13-inch baking pan.
- In a mixing bowl, beat together eggs and sugar until pale and fluffy.
- Add vanilla essence and oil, mixing until fully combined.
- Sift together cake flour, baking powder, and salt in another bowl.
- Gradually add the dry ingredients to the wet mixture, alternating with milk.
- Pour the batter into the greased pan and bake for 25-30 minutes.
- Prepare the syrup by boiling sugar, water, and food coloring until it thickens.
- Allow the cake to cool for 10 minutes, then cut into squares or shape into balls.
- Dip each piece into warm syrup and roll in desiccated coconut.
- Optional: Sandwich cake pieces with icing for layered Snowballs.
- Serve on a decorative plate and enjoy!
Leave a Reply