
As I stood in my kitchen the other afternoon, the scent of melting chocolate filled the air, instantly whisking me back to my childhood. Those cozy moments spent baking alongside my grandmother inspired this 4-Ingredient Crispy Chocolate Oat Cookies recipe, which not only brings a delightful crunch but also requires just a handful of simple ingredients. These cookies are not only a breeze to whip up, but they’re also a gluten-free delight that satisfies your sweet tooth without a mountain of fuss. Plus, they’re incredibly versatile—you can easily swap in your favorite nut butter or add in some of your go-to mix-ins. What will you choose to create your perfect batch?
Why are these cookies a must-try?
Simplicity at its best: With just four ingredients, you’ll have a batch of cookies ready in no time. Perfect for busy days when you crave something sweet!
Crispy yet chewy: These cookies deliver the ideal balance between a crispy exterior and a deliciously chewy center, making every bite satisfying.
Customizable: Whether you prefer almond butter or peanut butter, the choice is yours! Plus, consider adding in dried fruits or nuts for a unique twist.
Gluten-Free Goodness: Made with gluten-free oats, these cookies fit seamlessly into a gluten-free lifestyle or diet.
Crowd-Pleasing Treat: Whip these up for gatherings or family movie nights—everyone will love the rich chocolate flavor! For a delicious pairing, check out Coconut Shrimp Sweet!
Chocolate Oat Cookie Ingredients
• Enjoy creating your sweet treat with these simple ingredients!
For the Cookie Base
- Oats – They provide essential structure and a satisfying chewiness; be sure to use gluten-free oats for a gluten-free version.
- Chocolate Chips – These add a rich sweetness; feel free to swap with dark or dairy-free chocolate chips for your preference.
- Nut Butter – Acts as a binding agent while enhancing flavor; almond butter works wonderfully, or opt for creamy peanut butter for that classic taste.
- Honey or Maple Syrup – This natural sweetener adds moisture; try agave syrup if you’re looking for a vegan option.
Step‑by‑Step Instructions for 4-Ingredient Crispy Chocolate Oat Cookies
Step 1: Preheat the Oven
Start by preheating your oven to 350°F (175°C). This is important to ensure that your cookies bake evenly and achieve that delightful golden hue. While it’s warming up, line a baking sheet with parchment paper to prevent sticking and to make cleanup a breeze.
Step 2: Mix the Dry Ingredients
In a mixing bowl, combine the gluten-free oats and chocolate chips. Stir them together until they’re evenly distributed. This step is crucial as it ensures every cookie gets that rich chocolate goodness. The oats will provide the base structure for your delicious cookies.
Step 3: Add the Nut Butter
Next, add your choice of nut butter to the bowl. Using a wooden spoon or spatula, mix until the nut butter is fully combined with the oats and chocolate chips, creating a thick, sticky mixture. This binding agent will help your cookies hold their shape while baking, resulting in the perfect texture.
Step 4: Sweeten the Mixture
Pour in the honey or maple syrup and stir until the mixture comes together nicely. It should feel moist and cohesive, holding its shape when squeezed. If the mixture seems too dry, add a little more nut butter or sweetener to achieve the ideal cookie dough consistency.
Step 5: Form the Cookies
Using a tablespoon, scoop out portions of the cookie dough and place them on the prepared baking sheet, leaving space between each scoop. Slightly flatten each mound with your hand to create even cookies that bake uniformly. This step helps create that characteristic crispy edge we all love in these Chocolate Oat Cookies.
Step 6: Bake to Perfection
Bake the cookies in your preheated oven for 10 to 12 minutes. Keep an eye on them; you’ll know they’re ready when the edges are golden brown while the centers remain slightly soft. Avoid overbaking as they will firm up as they cool, turning into perfect chewy bites.
Step 7: Cool and Enjoy
Once out of the oven, let the cookies cool on the baking sheet for a few minutes. This allows them to set properly before transferring to a wire rack to cool completely. Relish in the enticing aroma of your 4-Ingredient Crispy Chocolate Oat Cookies as they transform into a delightful treat, ready to be enjoyed!

Expert Tips for Chocolate Oat Cookies
-
Nut Butter Choice: Use creamy and runny nut butter for best results. Thicker varieties may hinder the dough from holding together, so choose wisely!
-
Monitor Baking Time: Cookies continue to firm up after baking, so avoid overbaking to preserve that chewy texture. Aim for golden edges and soft centers.
-
Add-Ins Galore: Feel free to fold in your favorite mix-ins like nuts or seeds. Just make sure they complement the chocolate flavor for ultimate satisfaction.
-
Storage Tips: Store your cookies in an airtight container at room temperature for up to a week. They can also be frozen for up to three months, so you always have a treat on hand!
-
Variations: Experiment with different nut butters, like cashew or sunflower seed butter, to create your perfect blend of flavors. Each variety brings a unique twist!
Variations & Substitutions for Chocolate Oat Cookies
Feel free to customize these delightful cookies to suit your taste buds with these fun, creative twists!
- Nut Butter Switch: Substitute almond butter for cashew butter for a unique flavor profile. The creamy texture guarantees a delightful crunch!
- Fruit Additions: Toss in dried cranberries or chopped apricots to introduce a touch of sweetness and chewiness, creating a delicious contrast to the chocolate.
- Dairy-Free Option: Use dairy-free chocolate chips to cater to vegan or lactose-intolerant friends; the cookies will still be rich and satisfying!
- Extra Crunch: Fold in chopped nuts like walnuts or pecans for added texture; they will complement the chocolate and oats beautifully!
- Spiced Up: Add a dash of cinnamon or a pinch of cayenne pepper for an unexpected flavor kick; you’ll be surprised at how good they taste!
- Sweet and Salty: Before baking, sprinkle a tiny pinch of sea salt on top for a mouth-watering sweet-savory contrast that elevates each bite.
- Granola Vibe: Mix in some crispy granola for an exciting crunch; it’s a marvelous way to add different textures to your cookies!
- Chocolate Variations: Try swapping chocolate chips for peanut butter chips or white chocolate for a different flavor experience; chocolate lovers will adore the switch!
With just a few simple changes, you can turn each batch into something special every time! And, for a deliciously complementary treat, don’t miss making some Coconut Shrimp Sweet. Happy baking!
Storage Tips for Chocolate Oat Cookies
Room Temperature: Store your cookies in an airtight container for up to 7 days. This keeps them fresh while maintaining their delightful texture.
Freezer: For longer storage, freeze cookies individually in zip-top bags or airtight containers for up to 3 months. This way, you can enjoy a sweet treat anytime!
Reheating: When you’re ready to indulge, simply thaw at room temperature or pop them in the microwave for a few seconds. Enjoy the warm, gooey chocolate goodness of your Chocolate Oat Cookies!
Avoiding Staleness: Make sure the container is tightly sealed to prevent air exposure, keeping your cookies fresh and delicious.
What to Serve with 4-Ingredient Crispy Chocolate Oat Cookies
Indulge in a complete experience with these charming cookies by pairing them with delightful accompaniments that enhance their rich flavors.
-
Almond Milk: Its creamy texture and subtle nutty flavor create a perfect contrast to the rich chocolate cookies, making every bite heavenly.
-
Fresh Berries: Juicy strawberries or tart raspberries bring a burst of freshness that balances the sweetness of the cookies beautifully.
-
Greek Yogurt: Topped with a drizzle of honey, it adds a tangy creaminess that contrasts nicely with the cookies’ chewy texture.
-
Coffee or Espresso: The bitterness of a freshly brewed cup perfectly complements the sweet chocolate, elevating your treat to a delightful dessert experience.
-
Vanilla Ice Cream: A scoop of this cool treat next to warm cookies creates a delightful melt-in-your-mouth sensation, perfect for any dessert lover!
-
Chocolate Sauce Drizzle: Elevate your cookies by drizzling some melted chocolate on top. This not only enhances flavor but also makes them visually stunning.
-
Chia Seed Pudding: This light and nutritious side can add a fun texture, making each bite a surprise of creamy goodness alongside the chocolatey crunch.
-
Caramel Sauce: A drizzle of warm caramel adds a sweet and buttery finish to your chocolate oat cookies, enhancing their indulgent nature.
Explore these pairings to create a delightful spread that turns snack time into a mini-celebration!
Make Ahead Options
These 4-Ingredient Crispy Chocolate Oat Cookies are perfect for meal prep, allowing you to enjoy homemade sweetness with ease! You can prepare the cookie dough up to 24 hours in advance. Simply mix all the ingredients as instructed and form the cookie mounds, then place them on a baking sheet lined with parchment paper. Cover and refrigerate until you’re ready to bake. This method helps maintain their texture and flavor, ensuring they stay just as delicious! When you’re ready to enjoy them, bake directly from the fridge, adding a minute or two to the bake time for the best results. With minimal effort, you can have fresh cookies any day of the week!

Chocolate Oat Cookies Recipe FAQs
How do I choose the right oats for this recipe?
Absolutely! For the best results, always opt for gluten-free oats, especially if you’re catering to a gluten-sensitive audience. Look for oats that are labeled gluten-free to ensure they are processed in a way that avoids cross-contamination. They should be firm yet pliable, and try to avoid any with dark spots as they may indicate staleness.
What’s the best way to store Chocolate Oat Cookies?
Very! To keep your cookies fresh, store them in an airtight container at room temperature for up to one week. This method ensures they maintain their delightful texture and flavor. If you want to keep them longer, freeze them in a zip-top bag with as much air removed as possible for up to 3 months.
Can I freeze these cookies? How do I do it properly?
Absolutely! Freezing is a fantastic way to prolong the life of your cookies. Start by letting them cool completely after baking. Then, place each cookie in a single layer on a baking sheet and freeze for about 1-2 hours. Once solid, transfer them to a freezer-safe bag or container. When you’re ready to enjoy, let them thaw at room temperature or microwave for a few seconds until warm.
What should I do if my cookie dough is too dry?
No problem! If your dough feels crumbly and doesn’t hold together well, it may need a bit more moisture. I recommend adding a tablespoon of nut butter or honey, mixing well until the dough is cohesive. If it still seems dry, adding a splash of milk or a bit more nut butter can often help achieve that perfect consistency.
Are these cookies pet-friendly? Can I share them with my dog?
No, it’s best to avoid sharing these cookies with pets. Nut butters and chocolate, particularly the latter, can be harmful to dogs. If you’re looking for a pet-friendly treat, consider making a separate batch with peanut butter and oat flour that’s safe for them instead!
Can I adjust the sweetness level in this recipe?
Certainly! Feel free to adjust the sweetness by reducing the amount of honey or maple syrup if you prefer a less sweet cookie. Alternatively, if you’re looking for a sweeter experience, try adding an extra tablespoon! Just remember that the sweetness can be complemented with mix-ins like dried fruits or dark chocolate chips for a more balanced flavor.

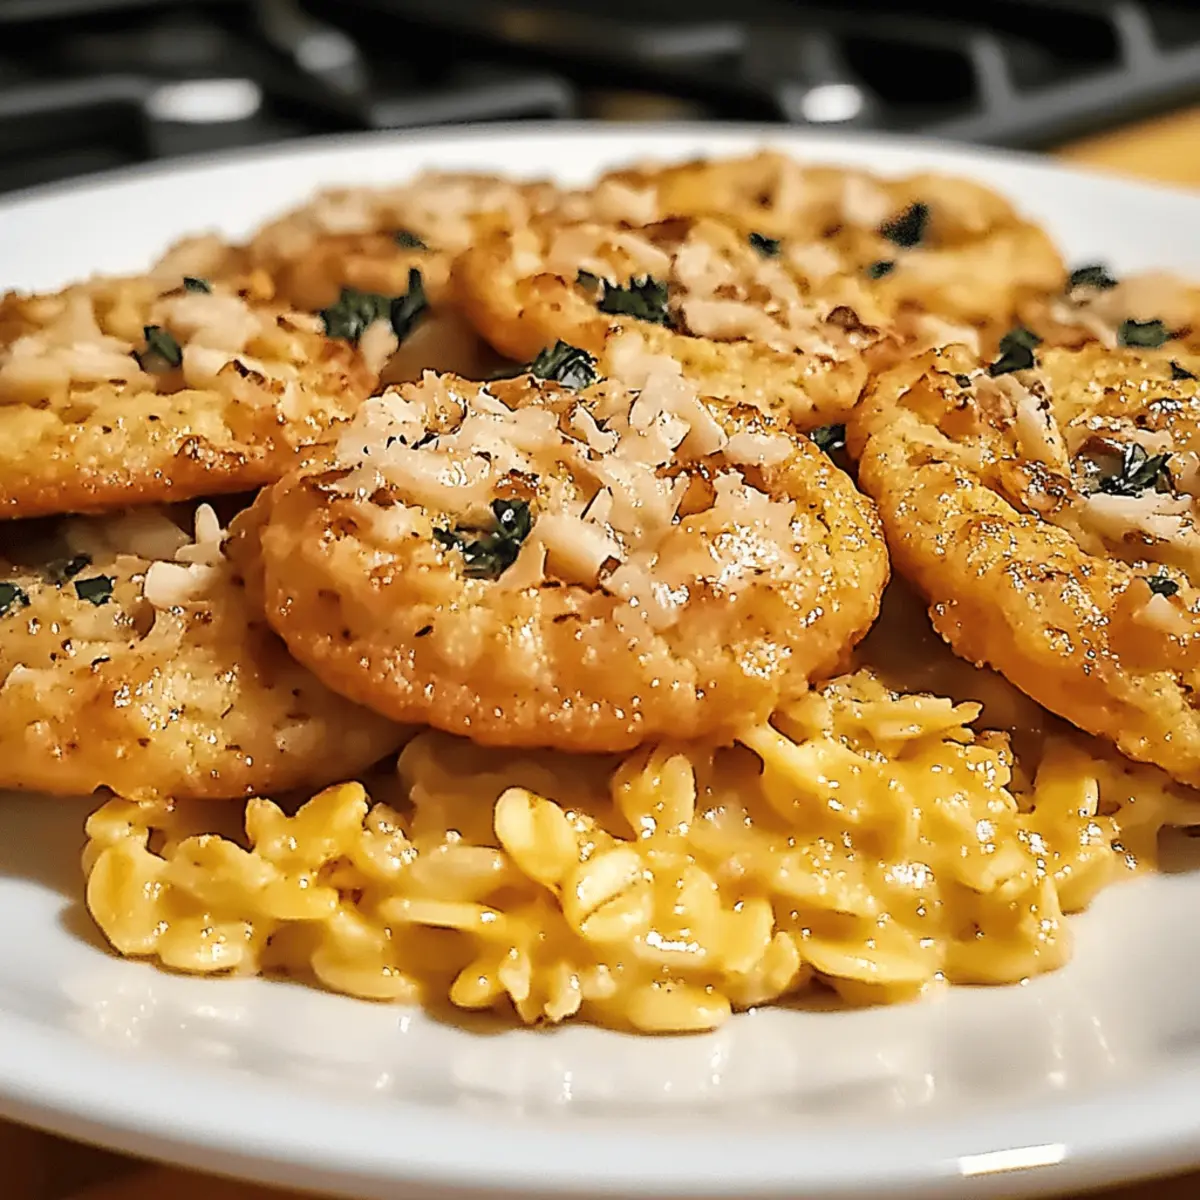
One Pan Parmesan Orzo with Shrimp for Effortless Dinner Bliss
Ingredients
Equipment
Method
- Heat the olive oil in a large skillet over medium heat.
- Add minced garlic and sauté for 1-2 minutes until fragrant.
- Add the uncooked orzo and stir for another minute.
- Pour in the chicken broth, and season with salt and pepper.
- Bring to a simmer and cook for about 10 minutes, stirring occasionally.
- Add the shrimp and cook until pink and cooked through, about 3-5 minutes.
- Stir in the Parmesan cheese and lemon juice before serving.
Leave a Reply