
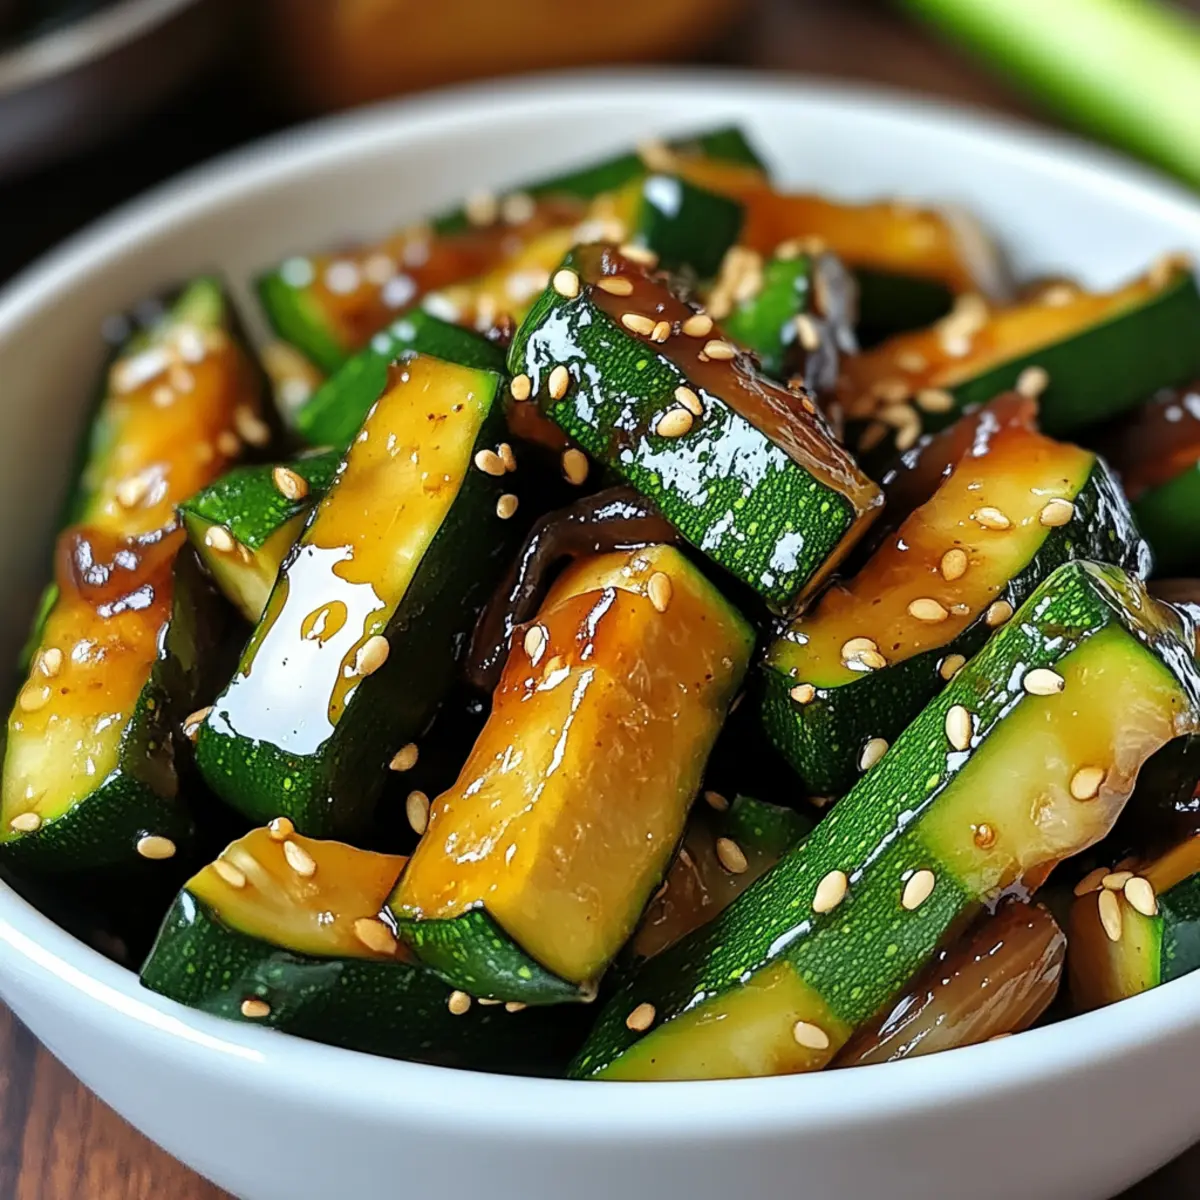
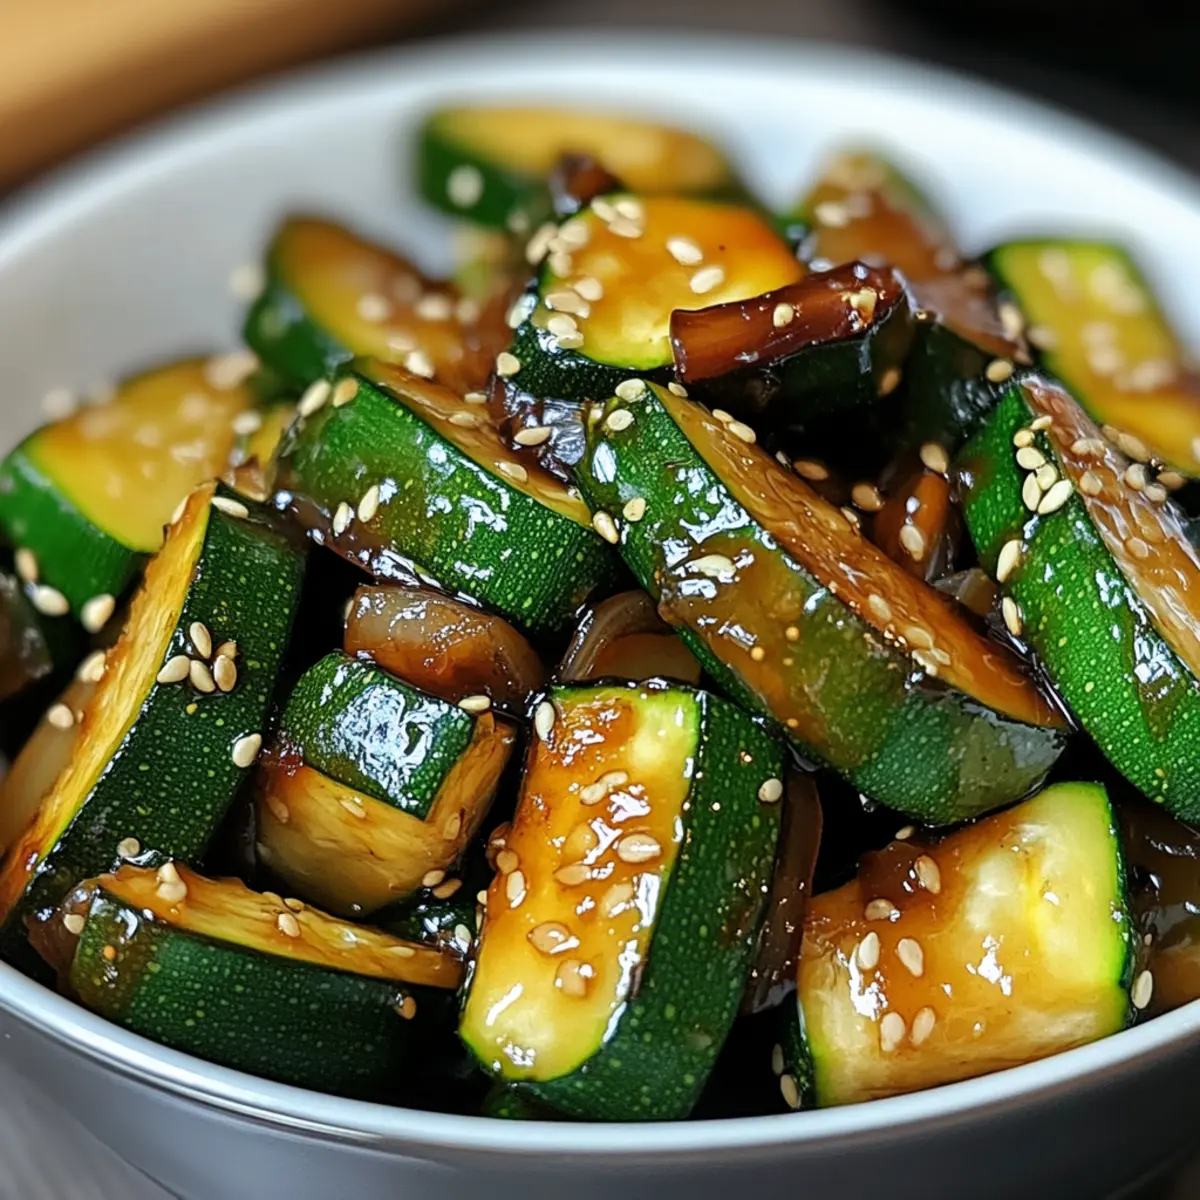
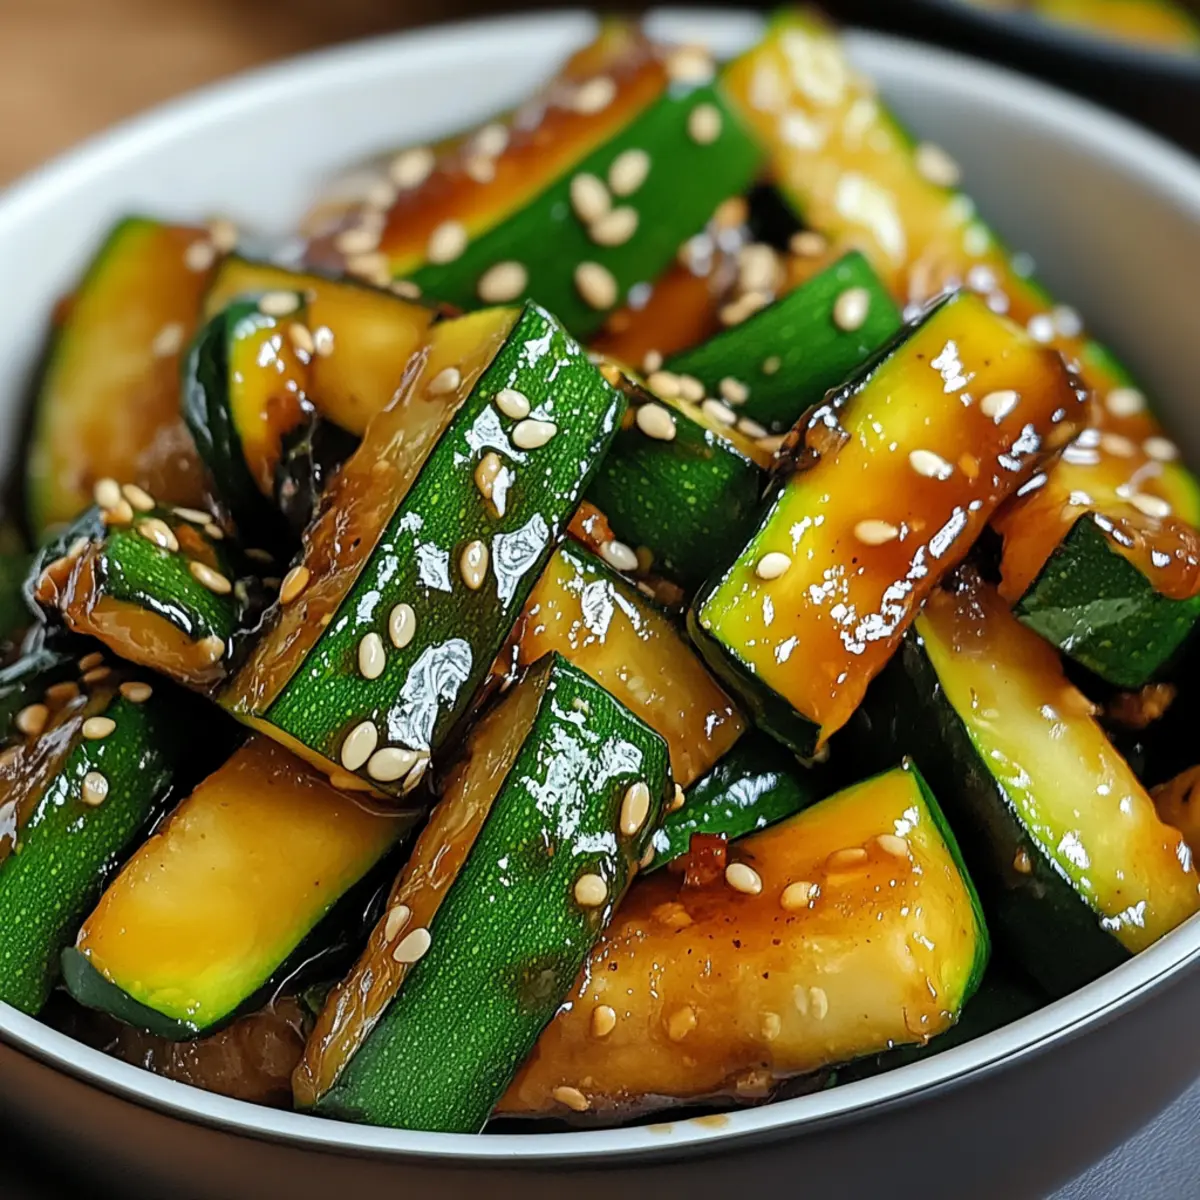
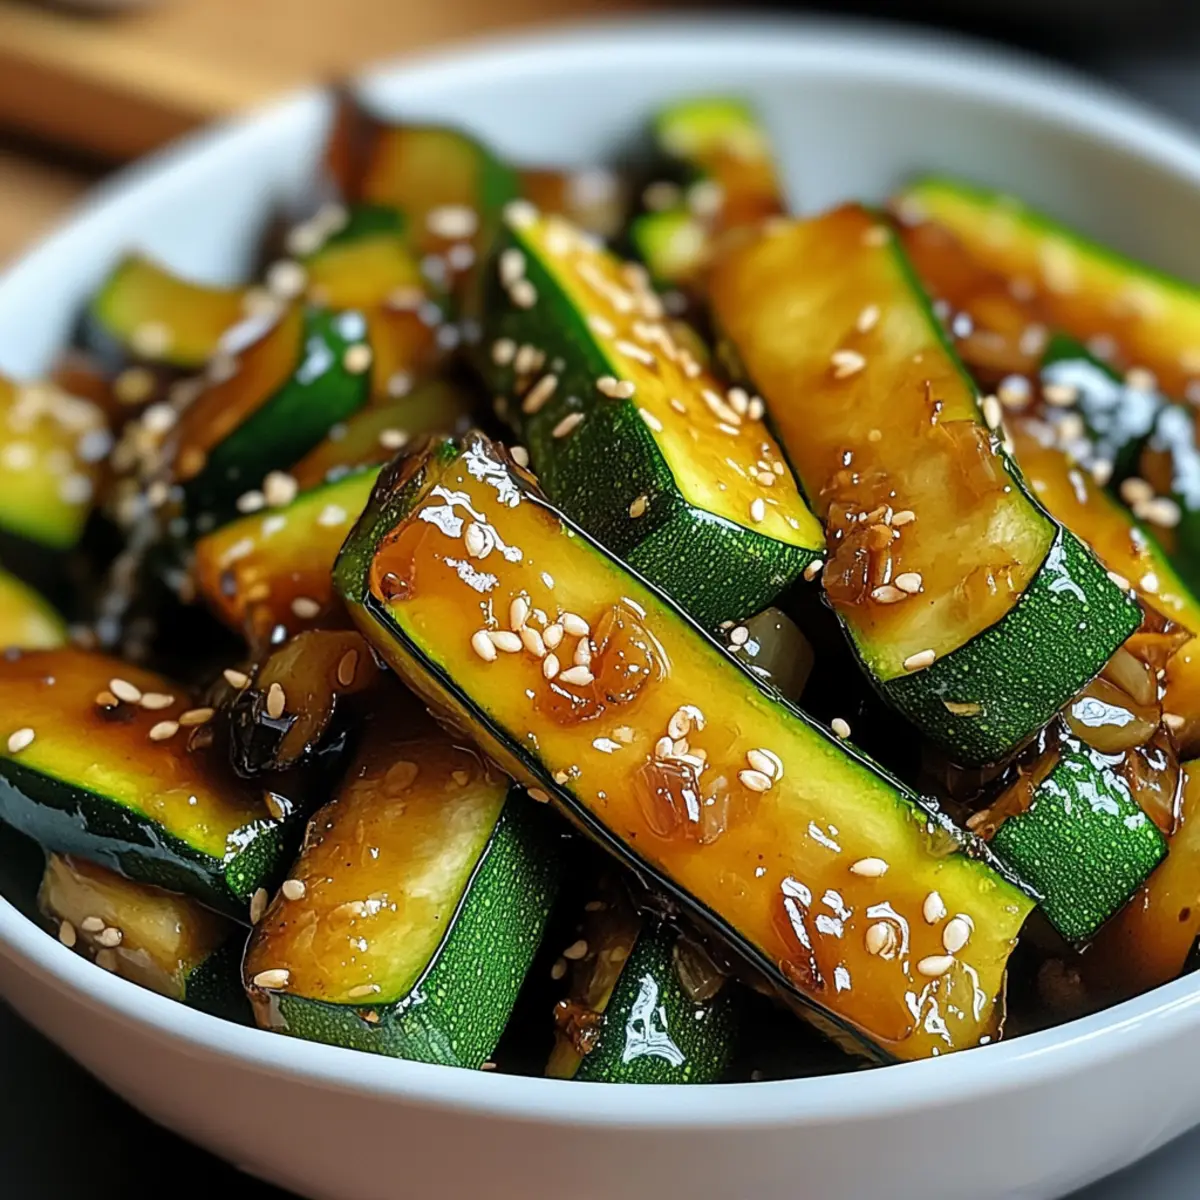
As I sliced the bright green zucchini, I couldn’t help but reminisce about the sizzling hibachi grills that lit up my childhood dinners. With this Quick Hibachi Zucchini recipe, I’m thrilled to bring those vibrant, restaurant-style flavors right into your kitchen. Featuring tender zucchini sticks paired with sweet, caramelized onions and a glossy sesame-soy glaze, this dish comes together in just 20 minutes, making it an ideal side for any busy weeknight meal. Not only is it quick and delicious, but it’s also a fantastic way to incorporate more veggies into your diet, with vegan options for everyone. Whether you’re serving it alongside grilled meats or coconut rice, this delightful dish promises to brighten your dinner table. Are you ready to dive into a world of sizzling flavors and fresh ingredients?
Why is Hibachi Zucchini a Must-Try?
Quick and Easy: This Hibachi Zucchini comes together in just 20 minutes, perfect for those busy weeknights. Flavor-Packed: The combination of garlic, ginger, and soy sauce creates an irresistible glaze that elevates simple veggies into a culinary delight. Versatile Side Dish: It pairs beautifully with grilled meats or as a standalone side, making it ideal for any meal, like alongside Grilled Steak Zucchini. Health-Conscious: With vibrant zucchini and no heavy ingredients, it’s a guilt-free indulgence that can also cater to vegan diets. Crowd-Pleaser: Its colorful presentation and addictive taste are sure to impress family and friends alike!
Hibachi Zucchini Ingredients
For the Zucchini
• Zucchini – Fresh zucchini is the star here, lending a crisp texture; avoid frozen for the best result.
• Sliced Onions – Sweet yellow onions enhance the flavor profile, providing a lovely caramelization.
For the Flavor Base
• Minced Garlic – Fresh garlic gives a robust aromatic quality; use powdered in a pinch, but fresh is preferred.
• Minced Ginger – Adds warmth and depth; fresh ginger offers the best flavor experience.
• Vegetable Oil – A high-heat oil choice like canola or grapeseed helps achieve that perfect sauté.
• Butter (or more oil for vegan) – Richness abounds with butter; opt for margarine for a dairy-free alternative.
For the Glaze
• Soy Sauce (or tamari for gluten-free) – This salty kick provides umami, with tamari being the gluten-free option.
• Salt & Black Pepper – Adjust these to taste for enhanced flavor; seasoning is key.
For Garnish
• Chopped Scallion Greens – Fresh scallions add a pop of color and a mild onion flavor, elevating your dish’s presentation.
• Toasted Sesame Seeds – These provide a delightful crunch and nutty taste, finishing off your Hibachi Zucchini beautifully.
Step‑by‑Step Instructions for Hibachi Zucchini
Step 1: Heat the Pan
Begin by heating a large skillet or wok over medium-high heat. Add 2 tablespoons of vegetable oil and 1 tablespoon of butter to the pan. Wait for about 1–2 minutes until the oil shimmers and a drop of water sizzles when added, indicating the perfect temperature for sautéing.
Step 2: Sauté the Onions
Carefully add the sliced onions to the hot skillet. Sauté them for about 2 minutes, stirring occasionally, until they become soft and translucent. The sweet aroma of the onions will begin to fill your kitchen, making this Hibachi Zucchini recipe even more appetizing.
Step 3: Add Aromatics
Next, introduce the minced garlic and ginger to the pan. Stir them in and cook for about 30 seconds, or until fragrant. Be careful not to let them burn, as this can turn the flavor bitter. The aroma of these aromatics will elevate your dish tremendously!
Step 4: Incorporate the Zucchini
Now, it’s time to add your fresh zucchini sticks into the skillet. Arrange them in a single layer, and let them sauté without stirring for about 2 minutes. Then gently stir and continue cooking for another 2–3 minutes until they are tender-crisp and have developed some golden-brown edges.
Step 5: Add the Sauce
Drizzle in 2 tablespoons of soy sauce (or tamari for gluten-free) along with a teaspoon of sesame oil. Toss everything together to ensure the zucchini is well coated. Cook for an additional minute, allowing the sauce to gloss over the vegetables, making your Hibachi Zucchini shine.
Step 6: Garnish and Serve
Finally, remove the skillet from heat and garnish your Hibachi Zucchini with chopped scallion greens and toasted sesame seeds. Serve the dish hot, either as a delightful side or on its own, and enjoy the vibrant flavors created in just 20 minutes!
Hibachi Zucchini Variations & Substitutions
Feel free to get creative with your Hibachi Zucchini to match your taste preferences or dietary needs!
-
Seasonal Veggies: Try bell peppers, asparagus, or mushrooms for a colorful twist and delightful crunch. Mixing seasonal veggies not only adds variety but also makes your dish even more vibrant and nutritious.
-
Protein Boost: Add grilled shrimp or tofu to transform this side into a satisfying entrée. Both options blend beautifully with the flavors, making your meal heartier and more satisfying.
-
Spicy Kick: Drizzle sriracha mayo on top for a zesty flair that livens up the dish. The creamy heat can turn a simple side into a standout favorite, perfect for spice lovers!
-
Herb Infusion: Incorporate fresh herbs like cilantro or basil for a fragrant touch. Herbs introduce a wonderful freshness that complements the savory notes beautifully, creating a lovely balance of flavors.
-
Coconut Milk: Swap out some of the oil for coconut milk for a richer, tropical flavor profile. This creamy addition adds a unique twist and pairs well with the zingy elements of the dish.
-
Noodle Layer: Serve your Hibachi Zucchini over a bed of cooked noodles for a complete meal. This adds a fun texture and makes the dish even more filling, perfect for pasta enthusiasts!
-
Lime Zest Finisher: A sprinkle of lime zest right before serving can elevate the dish with a burst of citrus freshness. It’s a simple trick that can enhance the overall flavor dramatically, making every bite bright and refreshing.
-
Sesame Substitute: If you’re allergic to sesame, use sunflower seeds for garnish instead. They provide a similar crunch and nutty flavor without the risks, ensuring everyone can enjoy this delightful dish!
Feel free to experiment with these ideas, and remember, the possibilities are endless when it comes to making your Hibachi Zucchini uniquely yours! If you’re looking to make it a meal, pairing it with something hearty like Grilled Steak Zucchini will surely elevate your dining experience.
How to Store and Freeze Hibachi Zucchini
Fridge: Store leftover Hibachi Zucchini in an airtight container for up to 3 days. Reheat gently in a skillet to restore its original texture and flavor.
Freezer: For longer storage, freeze the dish in a freezer-safe container for up to 2 months. Thaw overnight in the fridge before reheating to maintain quality.
Reheating: To reheat, warm the zucchini in a skillet over medium heat. Add a splash of water or extra soy sauce to prevent sticking and keep it moist. Enjoy it fresh, as the flavors are best when served immediately!
What to Serve with Quick Hibachi Zucchini?
Elevate your dining experience with delectable pairings that perfectly complement the vibrant flavors of this dish.
-
Coconut Rice: The creamy sweetness of coconut rice complements the savory, garlicky notes, creating a balanced plate that’s delightful and nutritious.
-
Garlic Fried Rice: This aromatic side, with its buttery texture and starchy goodness, enhances the hibachi experience while adding comfort and heartiness.
-
Grilled Chicken Skewers: The charred and smoky flavors from the grill harmonize beautifully with the zucchini, making for a satisfying main dish that everyone will love.
-
Miso Soup: A warm bowl of miso soup adds umami richness, soothing the palate and enhancing the overall meal experience with its lightness.
-
Asian Slaw: A crunchy, tangy slaw made with cabbage and carrots brings a fresh texture and lightness, perfectly cutting through the richness of the sesame-soy glaze.
-
Sushi Rolls: Pairing hibachi zucchini with a variety of sushi rolls adds a fun and interactive element to your meal, capturing the spirit of a hibachi grill.
-
Chilled Sake: This smooth beverage serves as a delightful contrast to the warm dish, enhancing flavors while creating a relaxed dining atmosphere.
-
Fruit Sorbet: A light and refreshing dessert like fruit sorbet cleanses the palate after the savory zucchini, offering a sweet finish to your meal.
Make Ahead Options
These Hibachi Zucchini are an excellent choice for busy home cooks looking to save time during the week! You can chop the zucchini and onions up to 24 hours in advance—just be sure to store them in an airtight container in the refrigerator to maintain their freshness. The garlic and ginger can also be minced ahead of time for extra convenience. When you’re ready to serve, simply heat a skillet, and follow the sautéing steps as usual. Drizzle in the soy sauce and sesame oil, and you’ll have a delicious, vibrant side dish ready in no time—just as flavorful as it would be if made fresh!
Expert Tips for Hibachi Zucchini
-
Don’t Overcrowd: Avoid overcrowding the pan to prevent steaming; working in batches helps achieve that perfect, tender-crisp texture of zucchini.
-
Use High Heat: Cooking on high heat not only helps with charring but also enhances the flavors, giving your Hibachi Zucchini a delightful richness.
-
Pre-Prep Vegetables: Chop zucchini and onions ahead of time for easy, efficient cooking during busy weeknights. This saves time and keeps the process smooth.
-
Fresh Ingredients Matter: Always opt for fresh garlic and ginger to elevate flavors; they make a significant difference compared to their powdered counterparts.
-
Play with Flavors: A squeeze of lime or a splash of sriracha can brighten your dish right before serving, adding an exciting twist to the well-loved Hibachi Zucchini.
-
Garnish for Appeal: Don’t skip the scallion greens and sesame seeds; they add visual appeal and a lovely crunch that make your dish truly inviting.
Hibachi Zucchini Recipe FAQs
What type of zucchini should I use?
Absolutely! Fresh zucchini is key for achieving the best texture and flavor in your Hibachi Zucchini. Look for firm, shiny green zucchini without any dark spots or blemishes. It’s best to avoid frozen zucchini, as it can become mushy when cooked.
How should I store leftover Hibachi Zucchini?
After serving, store any leftover Hibachi Zucchini in an airtight container in the fridge for up to 3 days. To reheat and maintain the original texture, gently warm it in a skillet over medium heat, adding a splash of water or soy sauce to prevent it from drying out.
Can I freeze Hibachi Zucchini?
Certainly! To freeze your Hibachi Zucchini, allow it to cool completely, then transfer it to a freezer-safe container or sealable bag. It can be frozen for up to 2 months. When ready to enjoy, thaw it overnight in the fridge before reheating in a skillet for the best results.
What if my zucchini turns out soggy?
Very! If your zucchini ends up soggy, it may have been cooked at a lower temperature or overcrowded in the pan. Ensure you cook on high heat and give the zucchini enough space in the pan to sauté rather than steam. If you find it soggy after cooking, you can still enjoy its flavor by serving it over rice to absorb moisture.
Are there any dietary considerations for Hibachi Zucchini?
Absolutely! This recipe is already vegan-friendly when made with vegetable oil and without butter. For gluten-free diets, simply replace regular soy sauce with tamari. Additionally, be cautious if serving to pets; while zucchini is safe for dogs and cats in moderation, it’s always good to check with your vet for specific dietary needs.
Sizzle Up Hibachi Zucchini for a Quick Flavor Boost!
Ingredients
Equipment
Method
- Heat a large skillet or wok over medium-high heat. Add 2 tablespoons of vegetable oil and 1 tablespoon of butter. Wait until the oil shimmers.
- Add the sliced onions to the skillet and sauté for about 2 minutes until soft and translucent.
- Introduce the minced garlic and ginger, stirring for about 30 seconds until fragrant, being careful not to burn them.
- Add the zucchini sticks in a single layer and sauté without stirring for about 2 minutes, then stir and cook for another 2-3 minutes until tender-crisp.
- Drizzle in 2 tablespoons of soy sauce (or tamari) and a teaspoon of sesame oil. Toss to coat and cook for an additional minute.
- Remove from heat and garnish with chopped scallion greens and toasted sesame seeds. Serve hot.
Leave a Reply