
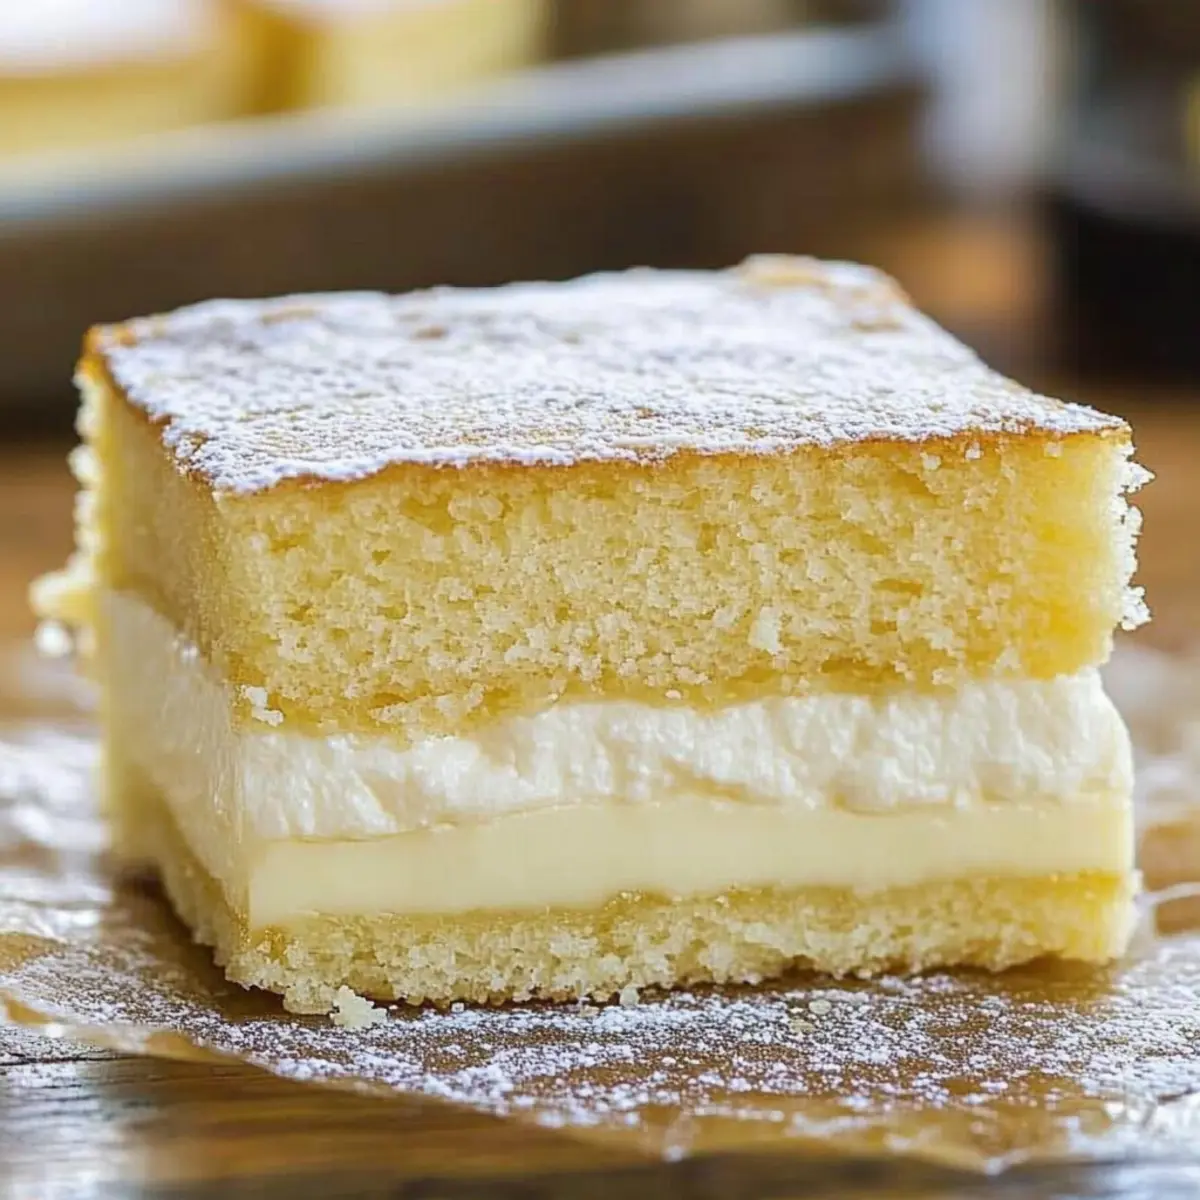
The air was sweet and warm as I slid the Vanilla Magic Custard Cake into the oven, a slice of nostalgia flooding over me. Nothing quite compares to the delightful transformation of simple ingredients into a tri-layer dessert that feels almost magical. With a luscious custardy center tucked between a fluffy top and a gooey base, this cake is sure to bring joy to anyone lucky enough to take a bite. Best of all, the recipe is incredibly easy to follow, allowing you to indulge without spending hours in the kitchen. Whether you’re celebrating a special occasion or just looking for a comforting treat, this Vanilla Magic Custard Cake is a true crowd-pleaser. Have you ever experienced a cake that feels like a warm hug? Let’s dive into this enchanting recipe together!

Why is Vanilla Magic Custard Cake special?
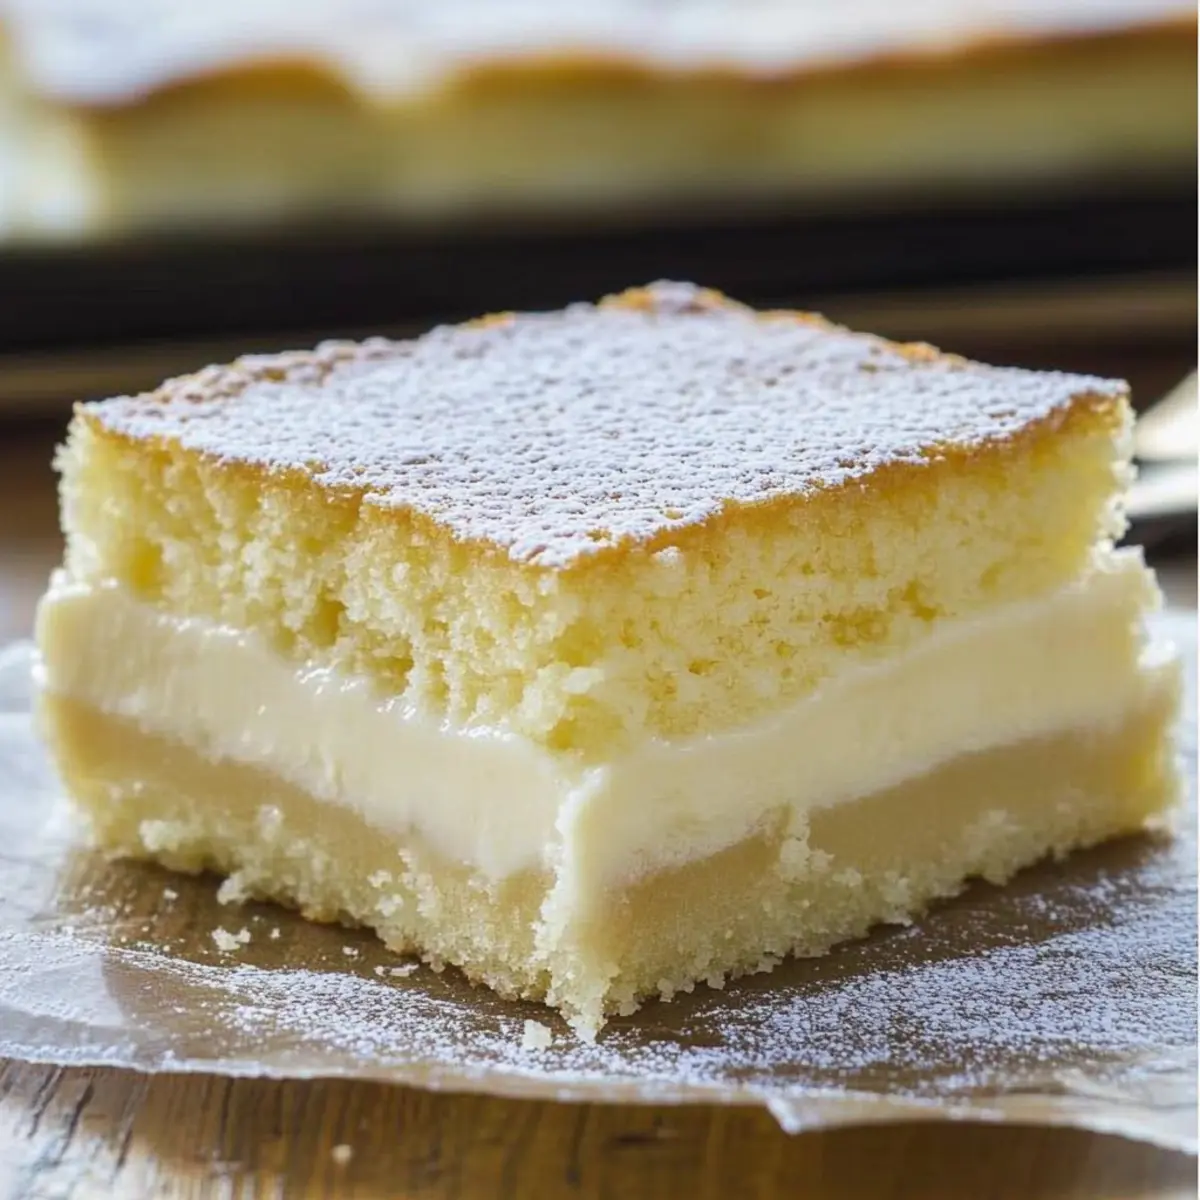
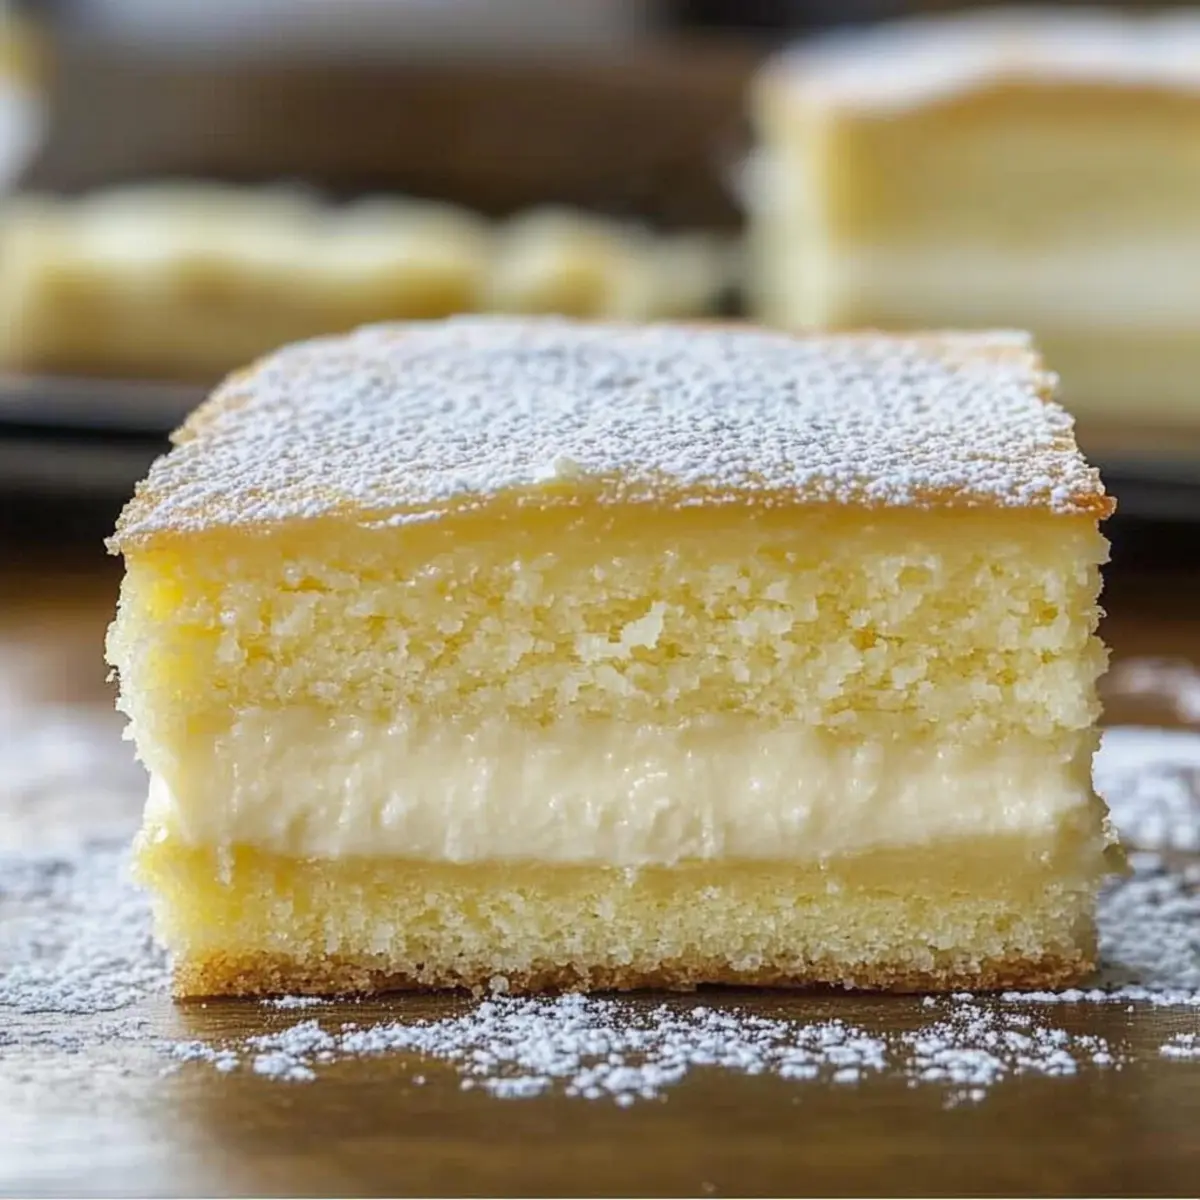
Layers of Delight: Each slice reveals a stunning three-layered masterpiece that captivates both the eyes and the palate.
Effortless Elegance: With simple, readily available ingredients, whipping up this dessert feels like an art form anyone can master!
Versatile Variations: Whether you stick with classic vanilla or opt for a Chocolate Magic Cake, the options are endless.
Crowd-Pleasing Comfort: Its creamy texture and subtle sweetness are guaranteed to delight family and friends, making it perfect for gatherings.
Quick to Bake: Baking doesn’t get easier; pop it in the oven and let the magic happen! Enjoy this slice of bliss alongside fresh berries or with a scoop of whipped cream for an extra treat.
Vanilla Magic Custard Cake Ingredients
For the Custard Cake
- Eggs – Provide structure and richness; make sure to separate yolks and whites for the magical layering effect.
- Granulated Sugar – Sweetens the cake while contributing to its delightful texture; feel free to adjust the amount based on your taste preferences.
- Powdered Sugar – Used in the egg yolk mix for a lighter texture; substitute with granulated sugar if you’re out.
- All-Purpose Flour – Gives the cake structure; be careful with measurements, as too much flour can lead to a denser cake.
- Milk – Creates that light custardy texture; use almond or oat milk for a dairy-free Vanilla Magic Custard Cake.
- Butter – Adds a rich flavor; remember to use unsalted butter to ensure you’re balancing the sweetness correctly.
- Vanilla Extract – Enhances flavor significantly; substitute with vanilla bean paste for an even more intense vanilla experience.
Optional Toppings
- Powdered Sugar – Dust on top for an elegant finish; adds a touch of sweetness without overwhelming the flavors.
- Whipped Cream – Serve with a dollop for a creamy contrast; makes each bite feel extra indulgent.
- Fresh Berries – Add vibrant color and a fruity burst; they pair wonderfully with the rich custard layers.
Step‑by‑Step Instructions for Vanilla Magic Custard Cake
Step 1: Preheat and Prepare
Begin by preheating your oven to 325°F (160°C). Grease an 8×8-inch baking dish with butter or line it with parchment paper, ensuring it’s well-covered to prevent sticking. You’ll want the surface ready for the magic custard cake that’s about to unfold. Set it aside while you prepare the batter.
Step 2: Mix Egg Yolks
In a medium bowl, combine the egg yolks and powdered sugar. Using an electric mixer, beat the mixture on medium speed until it transforms into a pale yellow, creamy consistency, approximately 3–4 minutes. The key here is to aerate the mixture, helping to set the foundation for your Vanilla Magic Custard Cake’s beautiful layers.
Step 3: Incorporate Dry Ingredients
Gradually sift in the all-purpose flour to the egg yolk mixture, mixing just until combined. Follow this with the milk and melted unsalted butter, ensuring you mix smoothly until the batter is fully combined. It will be quite runny, which is just right for our custard cake, so be sure to scrape the sides of the bowl for any lumps.
Step 4: Whip Egg Whites
In a separate clean bowl, beat the egg whites until stiff peaks form; this usually takes about 3-5 minutes. You want a glossy and firm texture that will help give the cake its airy top layer. Take care not to overmix, as you’ll need to gently incorporate these into the batter for the ultimate Vanilla Magic Custard Cake result.
Step 5: Fold in Egg Whites
Gently fold the whipped egg whites into the batter using a spatula, mixing until just combined. It’s important to remain gentle and not deflate the airy bubbles in the whites, as they’ll create that enchanting layered structure. Leave some lumps to maintain texture; this is key for the magical custard cake you’re creating.
Step 6: Pour and Bake
Carefully pour the batter into your prepared baking dish. It will seem quite thin, but that’s perfectly normal! Place it in the preheated oven and bake for 40-45 minutes, until the top is light golden brown and the center is set with a slight jiggle. A golden appearance on top signals that wonderful things are happening below.
Step 7: Cool and Serve
Once baked, carefully remove the dish from the oven and allow your Vanilla Magic Custard Cake to cool completely. For the best texture, refrigerate it for a couple of hours, then slice it into squares to serve. The custard layers will reveal themselves as you cut, boasting a creamy center that pairs beautifully with a dusting of powdered sugar.
Expert Tips for Vanilla Magic Custard Cake
- Perfect Separation: Ensure you separate the egg yolks and whites correctly, as this is crucial for achieving those dreamy layers.
- Gentle Mixing: When folding in the whipped egg whites, do so gently to preserve airiness, which is key for your Vanilla Magic Custard Cake’s texture.
- Baking Watch: Keep an eye on the cake’s bake time; check for doneness around the 30-minute mark to avoid overbaking, which can ruin its magic.
- Cool Down: Let your cake cool completely before slicing. Chilling enhances the layers and provides that creamy custard texture we all adore.
- Flavor Boost: For added flavor depth, consider enhancing with a dash of almond extract alongside the vanilla for a lovely twist!
What to Serve with Vanilla Magic Custard Cake
Indulging in a slice of this velvety treat beckons the perfect companions to enhance your dessert experience.
- Creamy Whipped Cream: A dollop adds a luscious, airy contrast that highlights the cake’s rich custard layers.
- Fresh Berries: Raspberries or strawberries offer a tart pop of flavor, balancing the sweetness beautifully while adding freshness.
- Vanilla Ice Cream: Smooth and creamy, ice cream melts into the warm layers, creating a delightful fusion of textures.
- Chocolate Sauce: A drizzle of rich chocolate elevates the dessert, providing a decadent twist that chocolate lovers will adore.
- Mint Leaves: A sprinkle of fresh mint elevates the presentation while adding a refreshing herbal note that complements the sweet vanilla.
- Lemon Zest: Just a touch of citrus zest brings brightness and zing, cutting through the richness for an overall uplifting bite.
Consider pairing with a light herbal tea or a fruity spritzer to cleanse the palate between bites and complete your dessert experience!
Vanilla Magic Custard Cake Variations
Feel free to let your imagination run wild and adapt this delightful recipe to suit your taste!
-
Chocolate Twist: Replace a portion of the flour with cocoa powder for a rich chocolate flavor. This variation transforms the cake into a decadent delight!
-
Banana Magic Cake: Substitute mashed ripe bananas for half of the sugar for a unique flavor twist. This fruity version adds a delightful moistness to the cake.
-
Dairy-Free Delight: Use almond or oat milk instead of regular milk. Pair it with a light coconut whipped cream for a tropical touch!
-
Citrus Burst: Add lemon or orange zest to the batter for a refreshing citrus note. This brightness cuts through the sweetness beautifully.
-
Nutty Addition: Incorporate finely chopped nuts, like almonds or walnuts, into the batter for an added crunch. The textures melt together in every bite.
-
Spiced Magic: Enhance the flavors with a dash of cinnamon or nutmeg. These warm spices add depth and tantalize your senses.
-
Extra Creamy: Top your slices with a dollop of homemade whipped cream or yogurt for a heavenly, creamy contrast. It’s like a hug in a bowl!
For more scrumptious desserts, consider trying Chocolate Magic Cake or indulge in a slice of the delightful Easy Banana Magic Cake. Each recipe offers a new way to enjoy the magic of baking!
Make Ahead Options
These Vanilla Magic Custard Cake is perfect for meal prep enthusiasts looking to save time! You can prepare the batter up to 24 hours in advance, storing it covered in the refrigerator. The key is to mix the egg whites right before baking to maintain the airy texture. Additionally, if you bake the cake ahead of time, it can be refrigerated for up to 3 days. To serve, simply slice and let it rest at room temperature for a few minutes before enjoying. This make-ahead approach ensures you’ll have a delightful dessert ready for any occasion, just as delicious as when freshly baked!
How to Store and Freeze Vanilla Magic Custard Cake
Refrigeration: Store leftover Vanilla Magic Custard Cake in an airtight container for up to 3 days to maintain its creamy texture. Make sure it’s completely cooled before sealing to avoid condensation.
Freezing: For longer storage, wrap individual slices tightly in plastic wrap, then aluminum foil, and freeze for up to 2 months. Thaw in the fridge overnight before serving.
Room Temperature: If you plan to enjoy the cake within a few hours, it can sit at room temperature for up to 2 hours after serving. Avoid leaving it out longer to preserve its freshness.
Reheating: If desired, gently reheat slices in the microwave for about 10-15 seconds to restore warmth without compromising the layered texture.
Vanilla Magic Custard Cake Recipe FAQs
What should I look for when selecting eggs for the Vanilla Magic Custard Cake?
Absolutely! When selecting eggs, look for fresh, large eggs with no cracks. Check the expiration date on the carton, and if possible, choose eggs that have a bright yellow-orange yolk, which indicates good quality and richness.
How should I store leftover Vanilla Magic Custard Cake?
To keep your delightful cake fresh, store any leftovers in an airtight container in the refrigerator for up to 3 days. Make sure the cake is completely cool before sealing to prevent moisture from condensing inside, which could affect the texture.
Can I freeze Vanilla Magic Custard Cake?
Very! To freeze, first let the cake cool completely. Then, wrap individual slices in plastic wrap followed by aluminum foil to prevent freezer burn. You can freeze it for up to 2 months. Thaw overnight in the refrigerator before serving, and enjoy the magic all over again!
What if my Vanilla Magic Custard Cake doesn’t layer properly?
Don’t worry! If you find the layers aren’t distinguishing as expected, it might be due to overmixing the egg whites or overbaking. To avoid this, mix the egg whites gently, ensuring some lumps remain, and check for doneness around the 30-minute mark. Keeping a close eye on baking will ensure those layers shine through!
Are there any dietary considerations I should think about for Vanilla Magic Custard Cake?
Definitely consider dietary needs! For a dairy-free version, substitute almond or oat milk instead of regular milk. Always check for any allergies relating to eggs or gluten, as this recipe contains both. If you plan to serve it to pets, it’s best not to share, as chocolate can be harmful!
How do I achieve the perfect texture for my Vanilla Magic Custard Cake?
Making sure to follow the steps carefully will help! Start by beating the egg yolks with the powdered sugar until they reach a pale yellow and creamy consistency. Then, fold the whipped egg whites slowly into the batter to maintain airiness. Remember not to overbake; a slight jiggle in the center means it’s perfectly set!
Vanilla Magic Custard Cake: A Simple Slice of Bliss
Ingredients
Equipment
Method
- Preheat your oven to 325°F (160°C) and grease an 8x8-inch baking dish with butter or line it with parchment paper.
- In a medium bowl, combine the egg yolks and powdered sugar, beating on medium speed until pale yellow and creamy, about 3-4 minutes.
- Sift in the all-purpose flour, and mix just until combined. Then add the milk and melted unsalted butter, mixing smoothly.
- In a separate bowl, beat the egg whites until stiff peaks form, about 3-5 minutes.
- Gently fold the whipped egg whites into the batter using a spatula until just combined, leaving some lumps.
- Pour the batter into the prepared baking dish and bake for 40-45 minutes until golden brown on top and the center has a slight jiggle.
- Let the cake cool completely, then refrigerate for a couple of hours before slicing.
Leave a Reply