
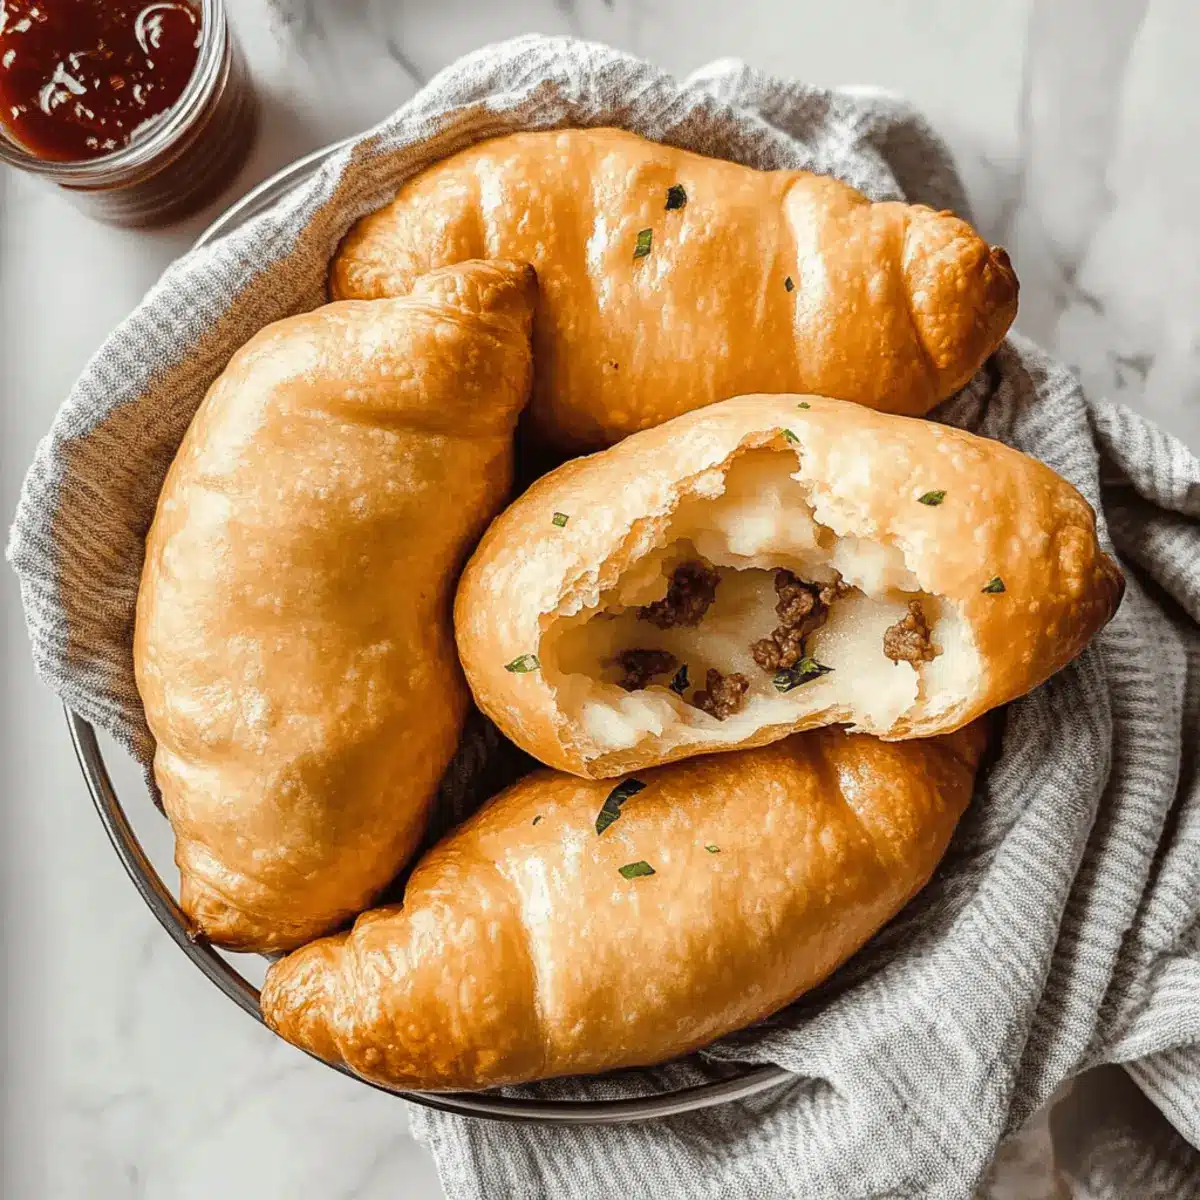
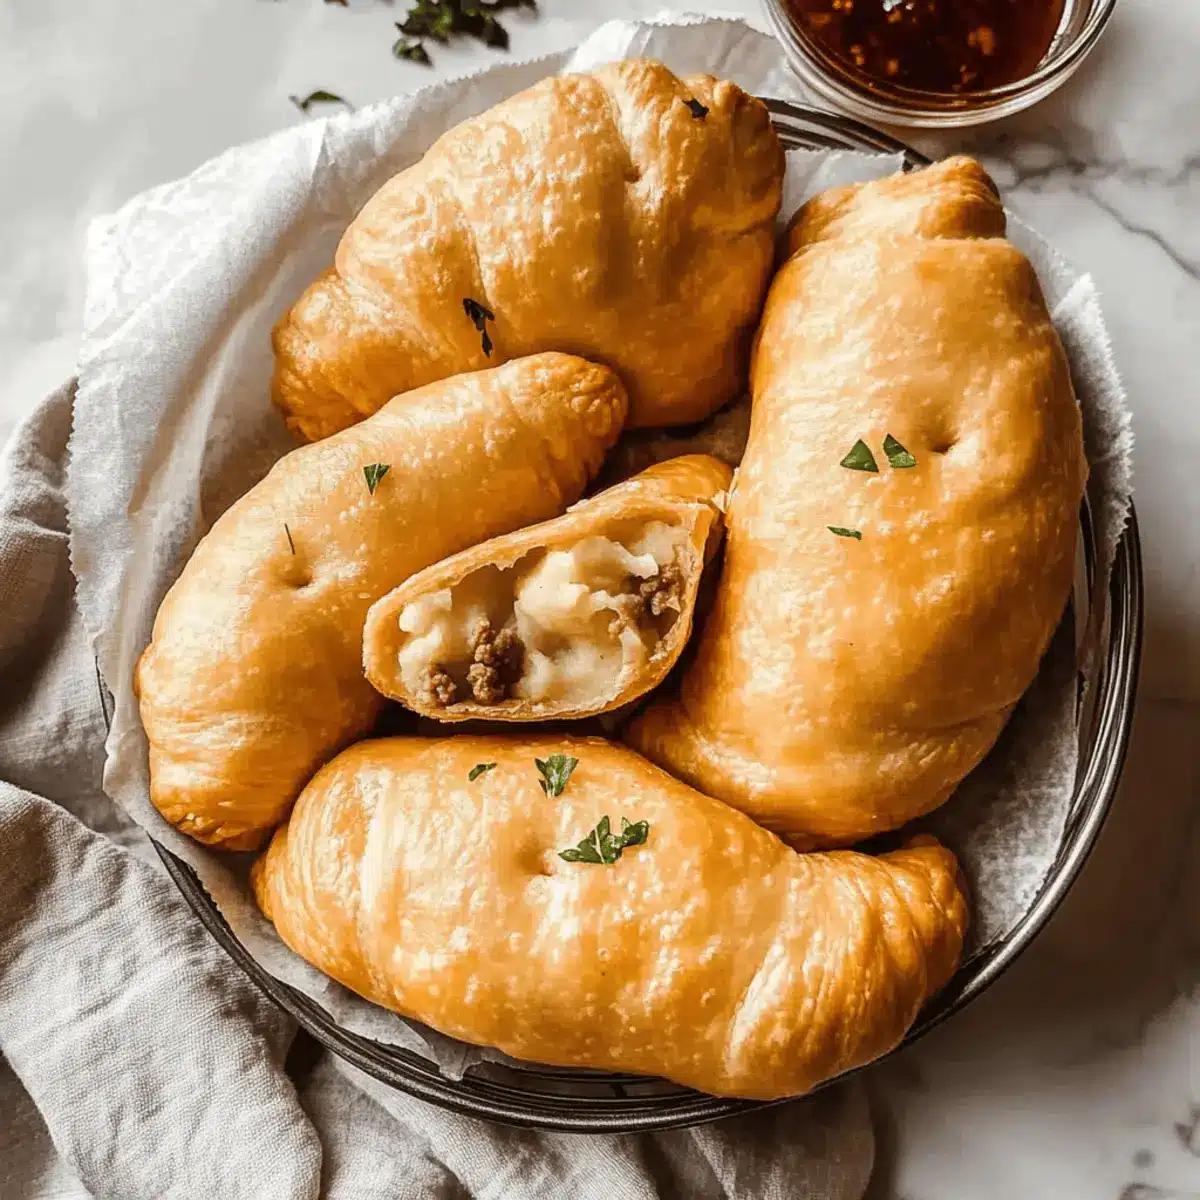
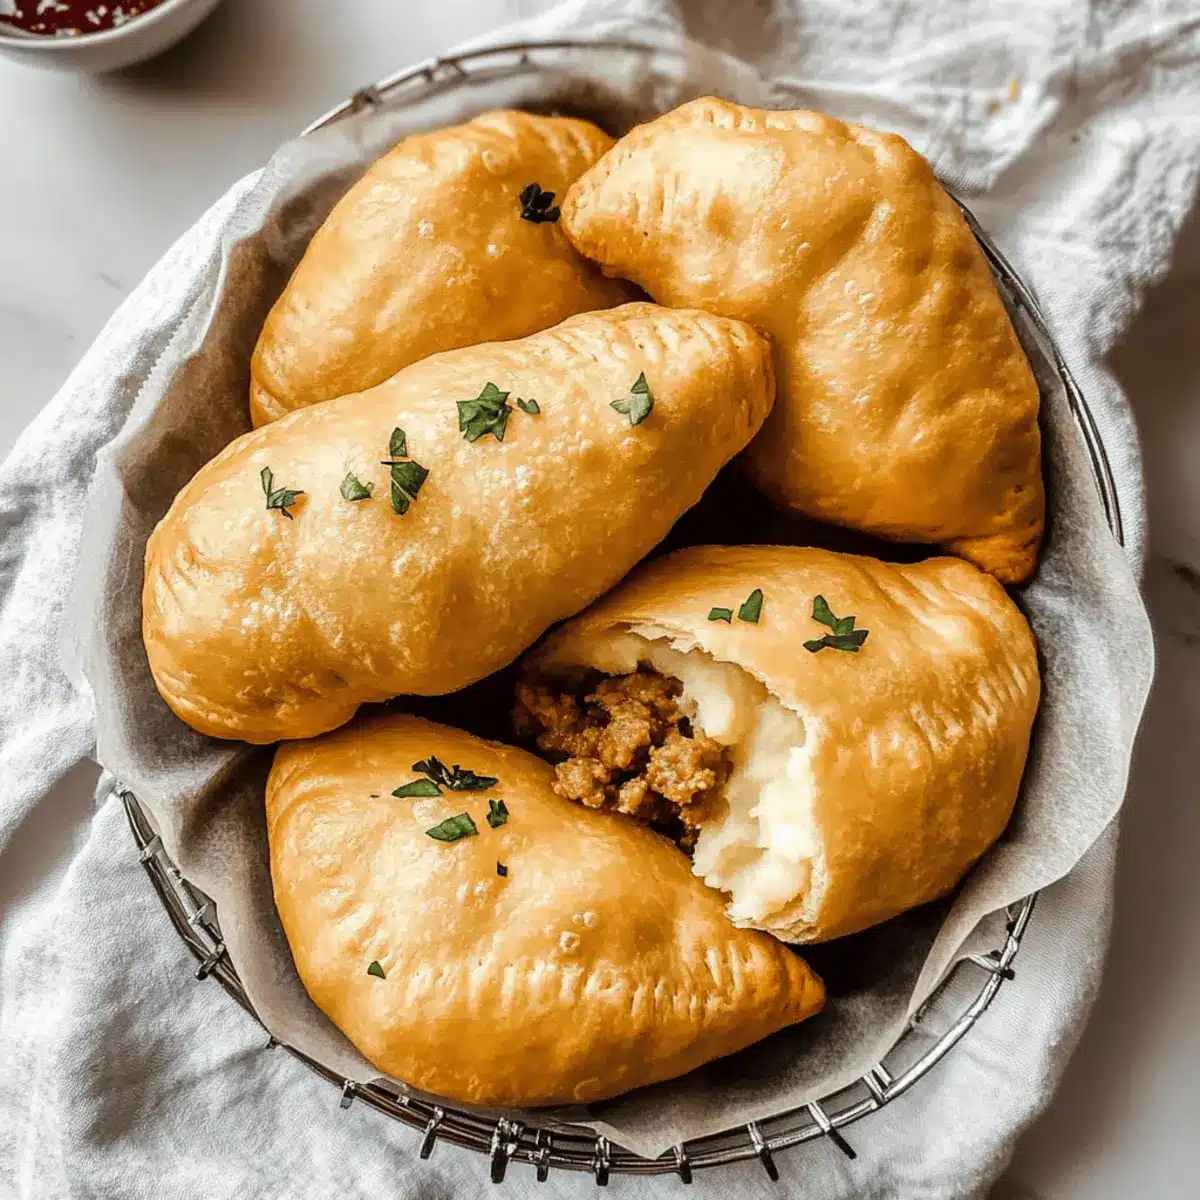
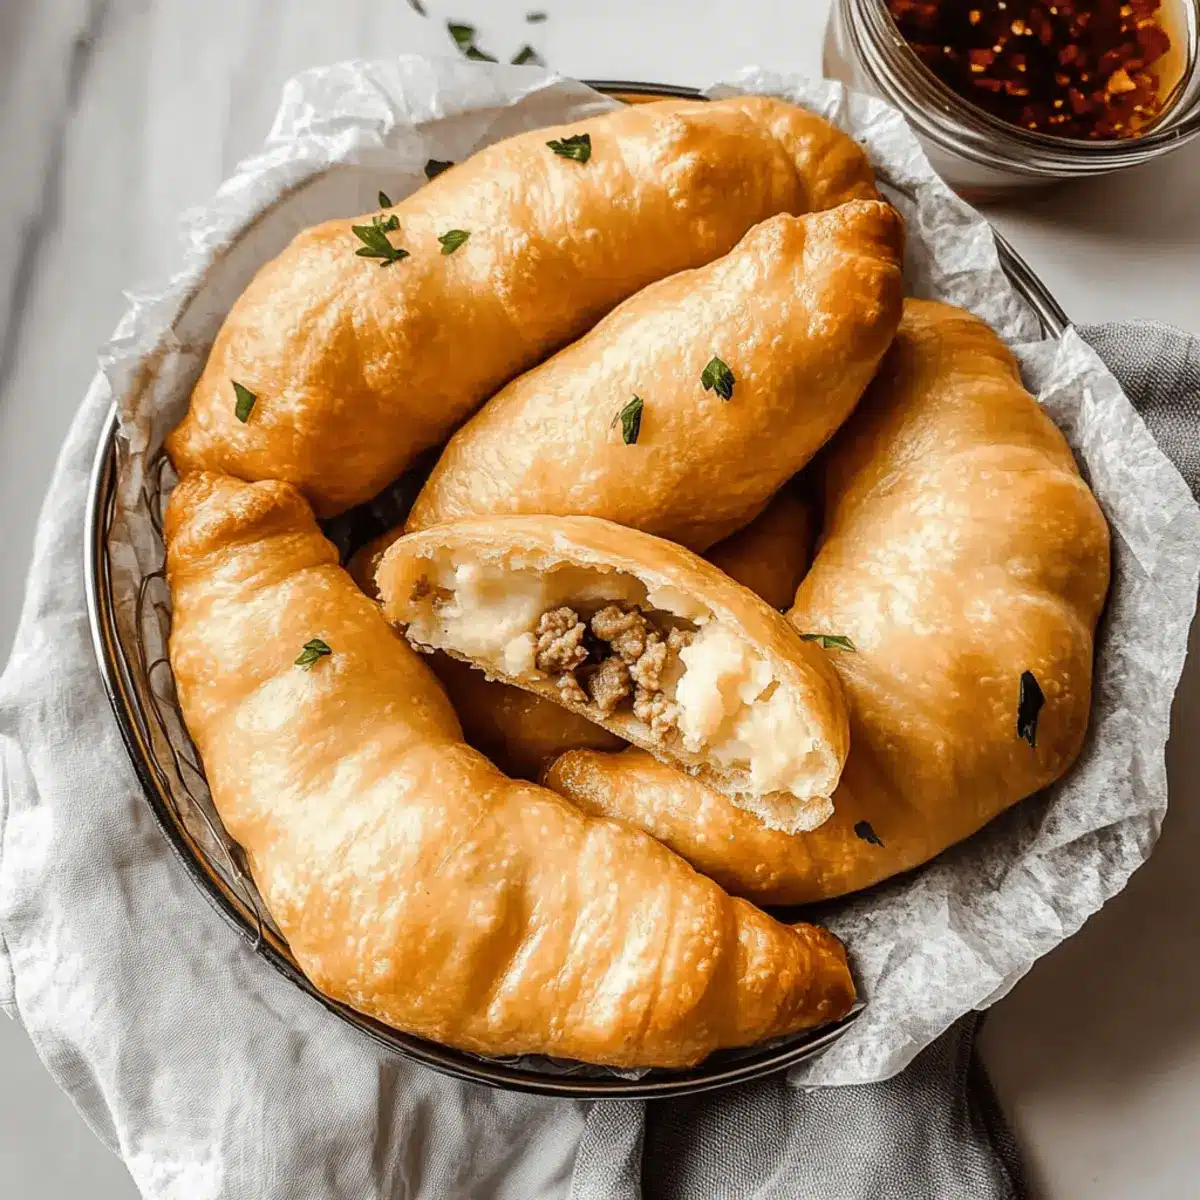
As I stood in my kitchen, the enticing aroma of sautéed onions and seasoned meat began to weave its magic, transporting me to a bustling Russian market. Today, I’m thrilled to share my love for Russian Piroshki with Creamy Potatoes and Savory Meat—a delightful handheld treasure that everyone adores. These fluffy, deep-fried buns are incredibly satisfying and surprisingly easy to make, perfect for any occasion. Imagine whipping them up in just 7 simple steps, creating a comforting dish that promises to please my family and friends. Whether served as a main course or a savory snack, these piroshki are not just meals; they are warm invitations to gather around the table. So, are you ready to indulge in some delightful flavors and create memories with this delicious recipe?
Why are Russian Piroshki so beloved?
Fluffy, Handheld Delight: These piroshki are not only portable but also incredibly fluffy, making them the perfect snack or meal on the go.
Savory Filling: A mix of creamy potatoes and seasoned meat ensures each bite is bursting with comforting flavor, reminiscent of home-cooked goodness.
Quick and Simple: With just 7 easy steps, you can bring these delightful treats to life in your kitchen, making them perfect for busyweekend gatherings.
Versatile Options: Feel free to switch up the filling! Whether you prefer beef, pork, or even a vegetarian option, the choices are endless, ensuring there’s something for everyone.
Cultural Experience: Enjoying these piroshki is like taking a delicious journey through Russian cuisine, offering a taste of tradition that’s cherished by many.
Crowd-Pleasing Favorite: Perfect for family dinners or celebrations, these hearty bites will impress your guests and leave them wanting more, making your gatherings unforgettable.
Russian Piroshki Ingredients
Here’s everything you need to create those delightful Russian Piroshki with Creamy Potatoes and Savory Meat.
For the Dough
- Egg – Provides structure for the dough; using room temperature helps with rising.
- Sugar – Feeds the yeast and enhances both rise and sweetness.
- Salt – Vital for flavor; balance is key in both dough and filling.
- Vegetable Oil – Ensures a soft, tender dough; melted butter or lard are great substitutes.
- Milk – Contributes to a tender crumb; make sure it’s warm for optimal dough rising.
- Instant Yeast – Simplifies the process, as no activation is needed.
- All-Purpose Flour – Gives essential structure; remember to sift before use for best results.
For the Filling
- Potatoes – The heart of the filling that adds creaminess when mashed; warm potatoes yield the best texture.
- Unsalted Butter – Adds richness, perfect for both mashing potatoes and sautéing onion.
- Onion – Provides savory flavor; sweet onions recommended for a milder taste.
- Garlic – Enhances the flavor profile; prefer whole cloves over garlic powder for freshness.
- Ground Meat (Beef, Pork, or Turkey) – Brings heartiness to the filling; mix and match for varied flavors.
- Paprika – Adds a touch of mild spice and lovely color; customize it to your taste.
- Dill – A traditional complement for the filling; feel free to use it or skip it based on your preference.
- Salt and Pepper – Essential seasonings that bring the entire filling to life.
For Frying
- Vegetable Oil (for frying) – Necessary for creating a crispy exterior on the piroshki, making each bite delightful.
Now that you have all the indispensable ingredients ready, let’s dive into making these flavorful treats!
Step‑by‑Step Instructions for Russian Piroshki with Creamy Potatoes and Savory Meat
Step 1: Make Dough
In a large mixing bowl, combine one egg, two tablespoons of sugar, and one teaspoon of salt, ensuring they are well blended. Gently warm one cup of milk and add it along with two tablespoons of vegetable oil. Gradually stir in approximately three and a half cups of all-purpose flour and one packet of instant yeast until a wet dough forms. Knead the dough on a floured surface for about 8-10 minutes, until soft and elastic.
Step 2: Let Dough Rise
Once kneaded, place your dough in a lightly oiled bowl and cover it with a clean kitchen towel or plastic wrap. Set it in a warm area free from drafts for about 60-90 minutes or until it has doubled in size. This is a vital step for your Russian Piroshki, as the rise contributes to that fluffy texture you’re after.
Step 3: Prepare Potatoes
While the dough is rising, bring a pot of salted water to a boil. Carefully add whole potatoes and cook them for about 15-20 minutes, or until a fork easily pierces through. Drain the potatoes and, once cool enough to handle, mash them with two tablespoons of unsalted butter until creamy. Season with salt and pepper to your liking, ensuring the mash is smooth and flavorful.
Step 4: Cook Meat
In a skillet over medium heat, melt another tablespoon of unsalted butter and add one finely chopped onion. Sauté the onion for 4-5 minutes until it softens and becomes translucent. Then, add one pound of your choice of ground meat—beef, pork, or turkey—and season with one teaspoon of paprika, salt, and pepper. Cook until the meat is browned and fully cooked, around 8-10 minutes, and then set aside to cool slightly.
Step 5: Make Filling
Once the meat mixture has cooled, combine it with the creamy mashed potatoes in a large bowl. Stir in freshly chopped dill if desired, adjusting the seasoning with more salt and pepper to taste. This filling melds together beautifully, offering a comforting bite that will make your Russian Piroshki irresistible.
Step 6: Assemble Piroshki
After the dough has risen, punch it down gently and divide it into 12 equal pieces. Shape each piece into an oval about 4-5 inches long. Place a generous scoop of filling in the center of each oval, then carefully pinch the edges together to seal completely, ensuring no filling escapes. Lightly flatten each piroshki with your hand for even cooking.
Step 7: Fry Piroshki
In a large, deep pot, heat vegetable oil to approximately 350°F – 375°F using a thermometer for accuracy. Working in batches, gently lower piroshki into the hot oil, frying them for about 5 minutes on each side or until they achieve a gorgeous golden-brown color. Use a slotted spoon to transfer the fried piroshki to a paper towel-lined plate to drain excess oil, then serve warm and fluffy.
Russian Piroshki: Flavorful Variations
Feel free to explore these delightful twists on your classic Russian piroshki. Each variation offers a unique taste experience that complements any gathering!
-
Lean Meat: Substitute ground turkey or chicken for a lighter filling option without compromising flavor.
-
Vegetarian Delight: Create a meat-free version by filling with sautéed mushrooms, onions, and cabbage. The earthy mushrooms add depth, while cabbage brings a nice crunch.
-
Spicy Kick: Add a pinch of cayenne pepper or a few dashes of hot sauce to the filling for a zesty twist that elevates each bite.
-
Herb Infusion: Mix fresh herbs like thyme or parsley into the filling. These add freshness and vibrant flavor that contrasts beautifully with the creamy potatoes.
-
Cheese Lover’s Dream: Fold in some shredded cheese like cheddar or feta with your filling for an extra layer of richness that will melt your heart.
-
Sweet and Savory: For an unexpected twist, mix some caramelized onions or apples with the potato filling for a sweet contrast that will surprise your palate.
-
Smoky Flavor: Incorporate smoked paprika or even some cooked bacon bits into the meat mixture for a smoky flavor that adds an exciting depth.
-
Savory Veggies: Mix in diced carrots or peas for added nutrition and a burst of color that makes each piroshki not only delicious but visually appealing.
These variations can craft a personalized experience that’s perfect for any occasion! For more tasty ideas, check out our delicious stuffed mushroom recipe for another scrumptious filling option that might inspire your next culinary creation!
Expert Tips for Making Russian Piroshki
-
Dough Consistency: If your dough is too sticky, gradually add small amounts of flour until it becomes soft and elastic; this ensures your Russian piroshki turn out perfect.
-
Filling Flavor: Taste your filling before sealing; adjusting the seasoning ensures each bite is delicious and full of flavor, making your piroshki even more enjoyable.
-
Watch the Frying: Maintain the oil temperature between 350°F – 375°F for uniform frying; overheating may burn the piroshki while undercooking them inside.
-
Sealing Technique: Pinching the edges securely is essential to prevent any filling from leaking out during frying; this keeps your piroshki intact and flavorful.
-
Batch Frying: Don’t overcrowd the pot; frying in small batches allows for even cooking and crispier piroshki, elevating your dish to restaurant quality.
-
Storage Tips: If you have leftovers, store them in an airtight container in the fridge; they stay fresh for 2-3 days and reheat beautifully for later enjoyment.
Make Ahead Options
These Russian Piroshki with Creamy Potatoes and Savory Meat are perfect for meal prep, allowing you to enjoy delicious bites with minimal effort on busy weeknights! You can prepare the dough and let it rise, then refrigerate it for up to 24 hours before using. Additionally, the filling can be made in advance and stored in the refrigerator for up to 3 days. To maintain quality, be sure to cool the filling completely before refrigerating to prevent excess moisture. When ready to serve, simply shape the piroshki as directed, fry them until golden, and dive into the same comforting flavors that your family loves, all while saving precious time!
Storage Tips for Russian Piroshki
Room Temperature: Keep piroshki at room temperature for up to 2-3 hours uncovered; they are best enjoyed fresh to preserve that delightful crispness.
Fridge: Store leftover piroshki in an airtight container in the fridge for up to 3 days. Reheat them gently to maintain their fluffy texture.
Freezer: For longer storage, freeze piroshki in a single layer on a baking sheet, then transfer to an airtight container or freezer bag once solid. They can last for up to 3 months.
Reheating: To reheat, warm piroshki in a skillet over low heat covered, or microwave with a damp paper towel until heated through, ensuring they’re soft and inviting.
What to Serve with Russian Piroshki with Creamy Potatoes and Savory Meat
Imagine a cozy dinner table filled with delightful dishes that complement the rich flavors of fluffy, golden piroshki, tantalizing your taste buds.
- Hearty Borscht: This traditional beet soup, vibrant and full of flavor, brings a refreshing contrast to the savory piroshki, perfect for a satisfying meal.
- Crisp Cabbage Salad: Crisp cabbage tossed with a light vinaigrette adds a crunchy texture, balancing the richness of the piroshki beautifully.
- Sour Cream: A classic accompaniment for piroshki, its creaminess cools the spice while adding a delightful richness that elevates each bite.
- Russian Olivier Salad: This creamy potato salad filled with vegetables and eggs offers a hearty, hearty side, complementing the flavors of the meat filling.
- Pickled Vegetables: Tangy and crunchy, pickled cucumbers or radishes cut through the richness of the fried dough, providing a refreshing bite that tantalizes the palate.
- Herbal Tea: A soothing cup of herbal tea with floral notes enhances the meal experience, providing a calming contrast to the hearty flavors.
- Blackberry Tart: End the meal on a sweet note with a fruity tart, providing just the right amount of sweetness to balance the savory piroshki experience.
- Mint Infused Water: Refreshing and light, a glass of mint-infused water cleanses the palate between bites, making it an invigorating drink choice.
- Grilled Vegetable Medley: Charred vegetables drizzled with olive oil offer a smoky flavor, providing a nice contrast to the creaminess of the piroshki filling.
Russian Piroshki with Creamy Potatoes and Savory Meat Recipe FAQs
How do I choose the right potatoes for the filling?
Absolutely! For your piroshki filling, I recommend using russet or Yukon Gold potatoes. They create a creamy texture when mashed. Look for potatoes that are firm, without any dark spots or significant blemishes. If they feel soft, they might not provide the best flavor or consistency for your filling.
What is the best way to store leftover piroshki?
Very important! Store any leftover piroshki in an airtight container in the fridge for up to 3 days. Ensure they are fully cooled before sealing to keep that delightful fluffiness intact. To reheat, gently warm them on a stovetop covered, or microwave with a damp paper towel until ample heat runs through.
Can piroshki be frozen for later use?
Absolutely! Freezing piroshki is a great way to enjoy them later. Once they’re fully cooked and cooled, arrange them in a single layer on a baking sheet and place in the freezer until solid. After that, transfer them to an airtight container or freezer bag. They can stay good for up to 3 months! To reheat, simply bake in a preheated oven at 350°F for about 15-20 minutes, or until hot throughout.
What should I do if my dough is too sticky?
If your dough is too sticky, don’t worry—it happens! Gradually add small amounts of all-purpose flour while kneading, about a tablespoon at a time. Keep kneading until it reaches a soft but elastic texture. Remember, too much flour can make it dense, so take it slow until you reach the right consistency!
Are there any common allergens in piroshki?
Absolutely! Traditional piroshki, particularly the filling, might include common allergens such as wheat (from the flour), dairy (in the milk and butter), and eggs. If you’re cooking for someone with specific allergies, consider using gluten-free flour, dairy alternatives, and egg replacements. Just ensure the alternatives you choose will still yield a fabulous taste and texture!
How long should I let the dough rise?
Great question! Allow the dough to rise covered in a warm area for about 60-90 minutes, or until it has doubled in size. This step is essential for achieving that lovely fluffy texture in your Russian Piroshki. Patience is key here—it’s worth the wait for that delicious, airy bite!
Delicious Russian Piroshki: Comforting Bites of Joy
Ingredients
Equipment
Method
- In a large mixing bowl, combine the egg, sugar, and salt. Gently warm the milk and add it along with the vegetable oil. Gradually stir in flour and yeast until a wet dough forms. Knead for about 8-10 minutes.
- Place dough in a lightly oiled bowl, cover with a kitchen towel, and let it rise in a warm area for 60-90 minutes.
- While the dough rises, boil salted water, add whole potatoes, and cook for 15-20 minutes until tender. Drain and mash with butter, seasoning with salt and pepper.
- In a skillet, melt remaining butter and sauté chopped onion for 4-5 minutes. Add ground meat and season. Cook until browned, about 8-10 minutes. Let cool.
- Mix mashed potatoes with the meat mixture and adjust seasoning with dill, salt, and pepper.
- Punch down the risen dough and divide it into 12 pieces. Shape into ovals, fill with mixture and seal edges. Flatten slightly.
- Heat oil in a deep pot to 350°F - 375°F. Fry piroshki in batches for about 5 minutes on each side until golden brown. Drain on paper towels.
Leave a Reply