
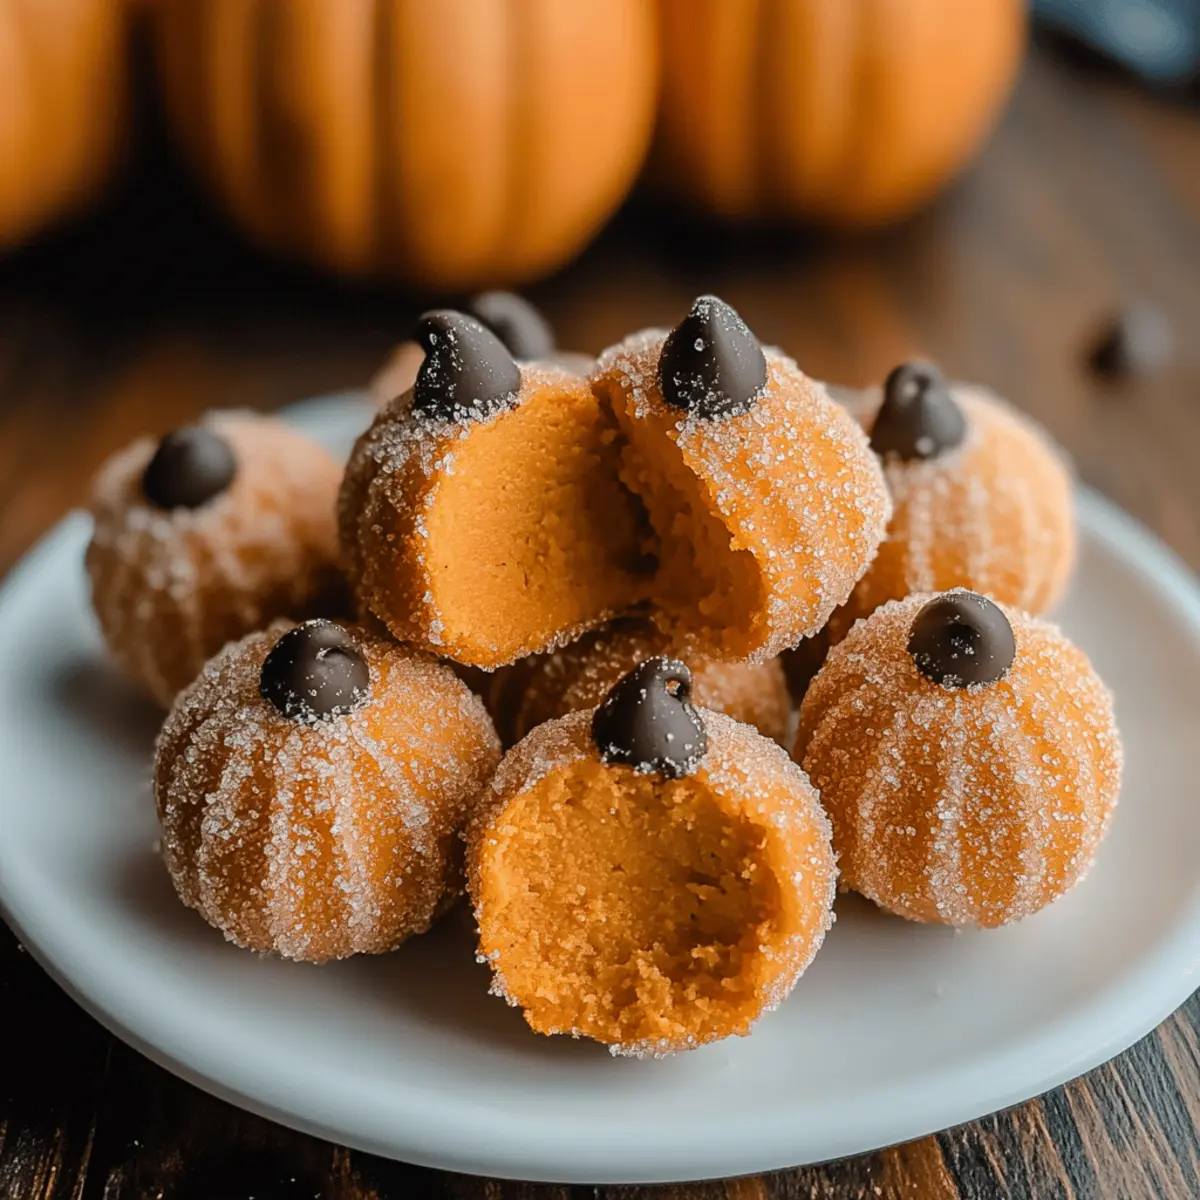
There’s nothing quite like the allure of fall desserts, and these No-Bake Pumpkin Cheesecake Truffles certainly steal the show. Just thinking about their creamy, pumpkin-infused filling wrapped in a sweet, sugary coat gets me excited for the cozy season ahead. What I love most about this recipe is its sheer simplicity—perfect for busy weekends or last-minute gatherings. Plus, these delightful treats are a guaranteed crowd-pleaser, making them an ideal choice for Halloween parties or Thanksgiving feasts. As you dive into this no-bake wonder, I’m sure you’ll discover your own creative decorations and flavor twists! Ready to make your kitchen smell like autumn bliss? Let’s get rolling!
Why Are These Truffles a Must-Try?
Simplicity: These No-Bake Pumpkin Cheesecake Truffles require minimal effort, making them perfect for any skill level, from busy home cooks to seasoned chefs.
Irresistible Flavor: With creamy pumpkin cheesecake and warm spices, each bite bursts with fall flavors that evoke cozy memories.
Versatility: Whether you keep them classic or add your own flair with drizzled chocolate or crushed nuts, customization is easy!
Quick Prep: Gone are complicated recipes; these truffles come together in a snap, allowing you to focus on what matters—enjoying time with loved ones or scoring an extra slice of dessert!
Crowd-Pleaser: Ideal for any gathering, these truffles are sure to impress, just like my Fried Strawberry Cheesecake or Pumpkin Pie Tacos that liven up any season!
Pumpkin Cheesecake Truffles Ingredients
For the Filling
- Butter – 1 tablespoon adds richness and assists in blending ingredients; substitute with coconut oil for a dairy-free option.
- Cream cheese, softened – 4 ounces provides a creamy, tangy base for the filling; use vegan cream cheese for a plant-based version.
- Canned pumpkin puree – ½ cup adds natural sweetness and moisture, giving the truffles their pumpkin flavor; fresh pumpkin can be used if pureed.
- Sweetened condensed milk – 1 (14-ounce) can sweetens and contributes to the creamy texture; try using evaporated milk with additional sugar for a lighter option.
- Pumpkin pie spice – 1½ teaspoons provides warm, aromatic flavors typical of fall desserts; adjust according to taste or substitute with a mix of cinnamon, nutmeg, and ginger.
For the Coating
- Graham cracker crumbs – ½ cup adds texture and sweetness akin to a cheesecake crust; use gluten-free crackers for a gluten-free option.
- White chocolate chips – ⅓ cup enhances sweetness and richness; can be replaced with dark chocolate chips for a deeper flavor.
- Granulated sugar (for rolling) – Use this for coating the truffles, adding sweetness and a festive sparkle.
For Decoration
- Orange food coloring (optional) – Used to tint the filling for a festive look; omit if not desired.
- Chocolate chips (for topping) – Represents the pumpkin’s stem; use mini chocolate chips for a more pronounced effect.
These Pumpkin Cheesecake Truffles are sure to be a hit at your next gathering or cozy night in!
Step‑by‑Step Instructions for Pumpkin Cheesecake Truffles
Step 1: Cook the Filling
In a medium skillet over medium heat, melt 1 tablespoon of butter. Add 4 ounces of softened cream cheese, ½ cup of canned pumpkin puree, 14 ounces of sweetened condensed milk, and 1½ teaspoons of pumpkin pie spice. Stir continuously until the mixture thickens and becomes smooth, about 5-7 minutes.
Step 2: Add Solid Ingredients
Once the filling is well combined and creamy, remove it from heat. Gently fold in ½ cup of graham cracker crumbs and ⅓ cup of white chocolate chips until fully incorporated. If desired, add a few drops of orange food coloring for a festive appearance, mixing until evenly distributed.
Step 3: Cool the Mixture
Transfer the pumpkin cheesecake mixture onto a greased baking sheet, spreading it out evenly. Cover with plastic wrap and refrigerate for at least 2 hours, or preferably overnight, until the mixture is firm enough to hold its shape when rolled into truffles.
Step 4: Shape Truffles
Once chilled, remove the mixture from the refrigerator. Lightly grease your hands with butter to prevent sticking, and scoop out golf ball-sized portions of the filling. Roll them into smooth balls, working quickly so the mixture doesn’t soften too much. Place the truffles on a lined baking sheet.
Step 5: Coat Truffles
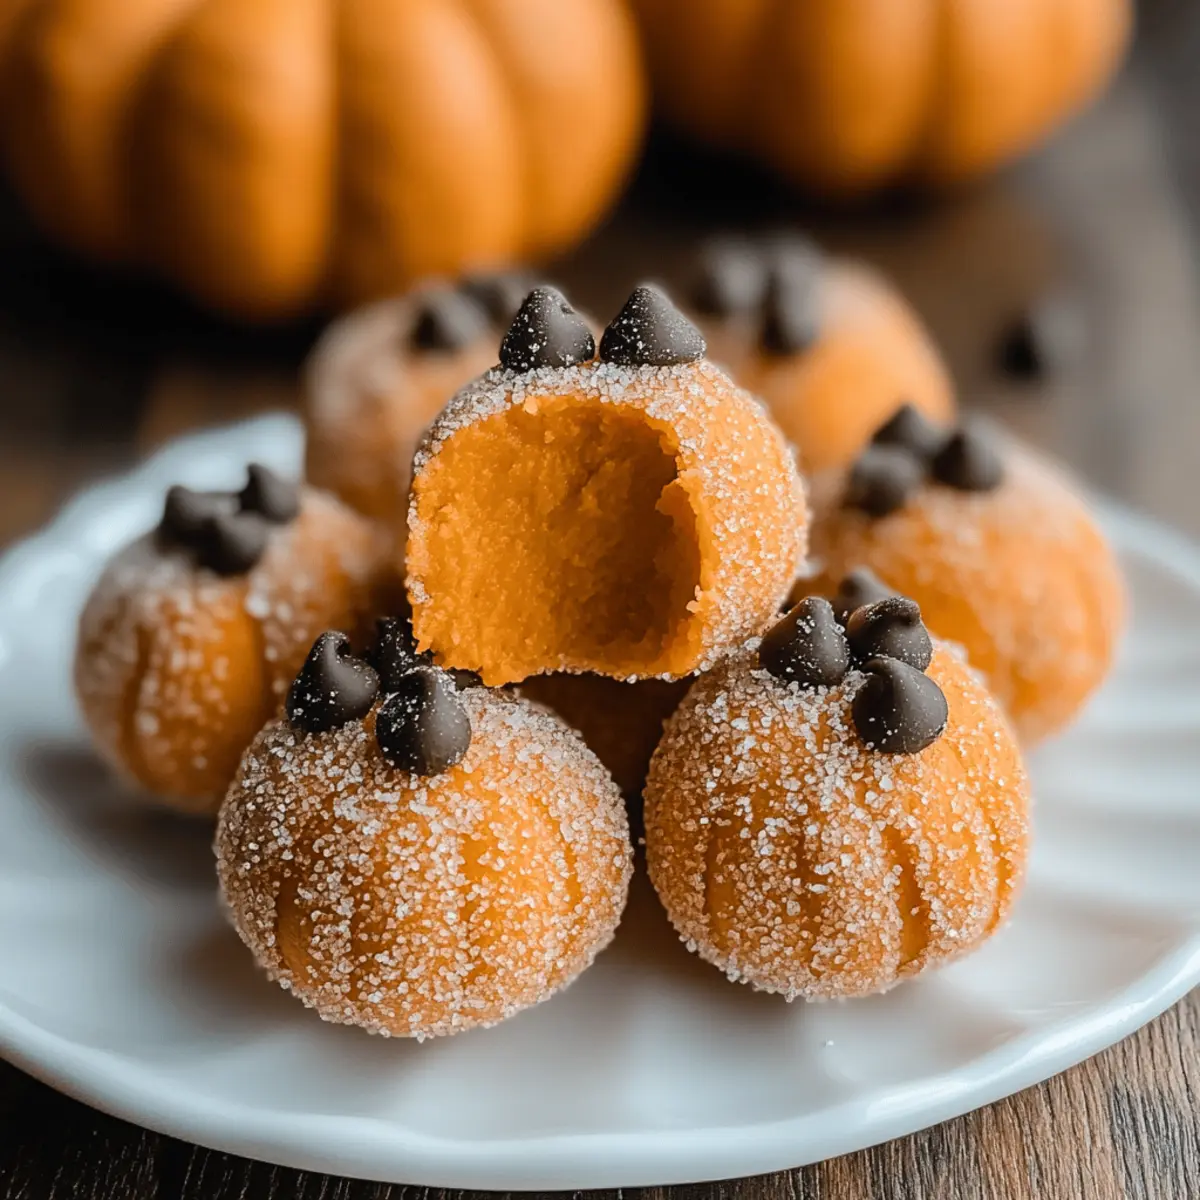
After shaping all the truffles, pour granulated sugar into a shallow bowl. Roll each cheesecake truffle in the sugar to coat them evenly, creating a sparkling outer layer that enhances sweetness and provides a festive touch.
Step 6: Decorate
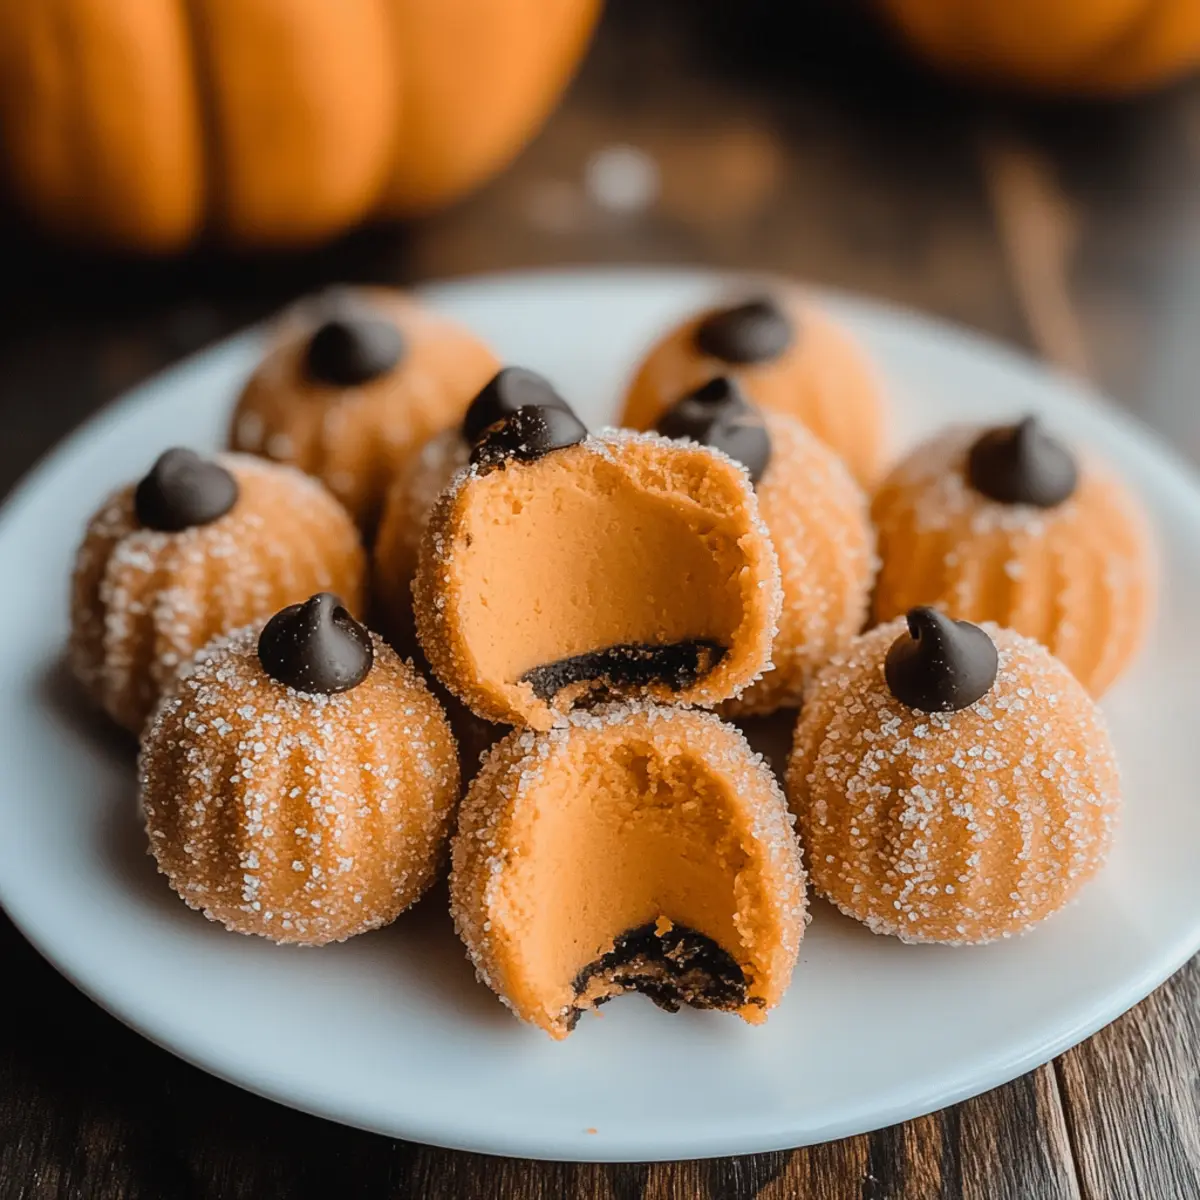
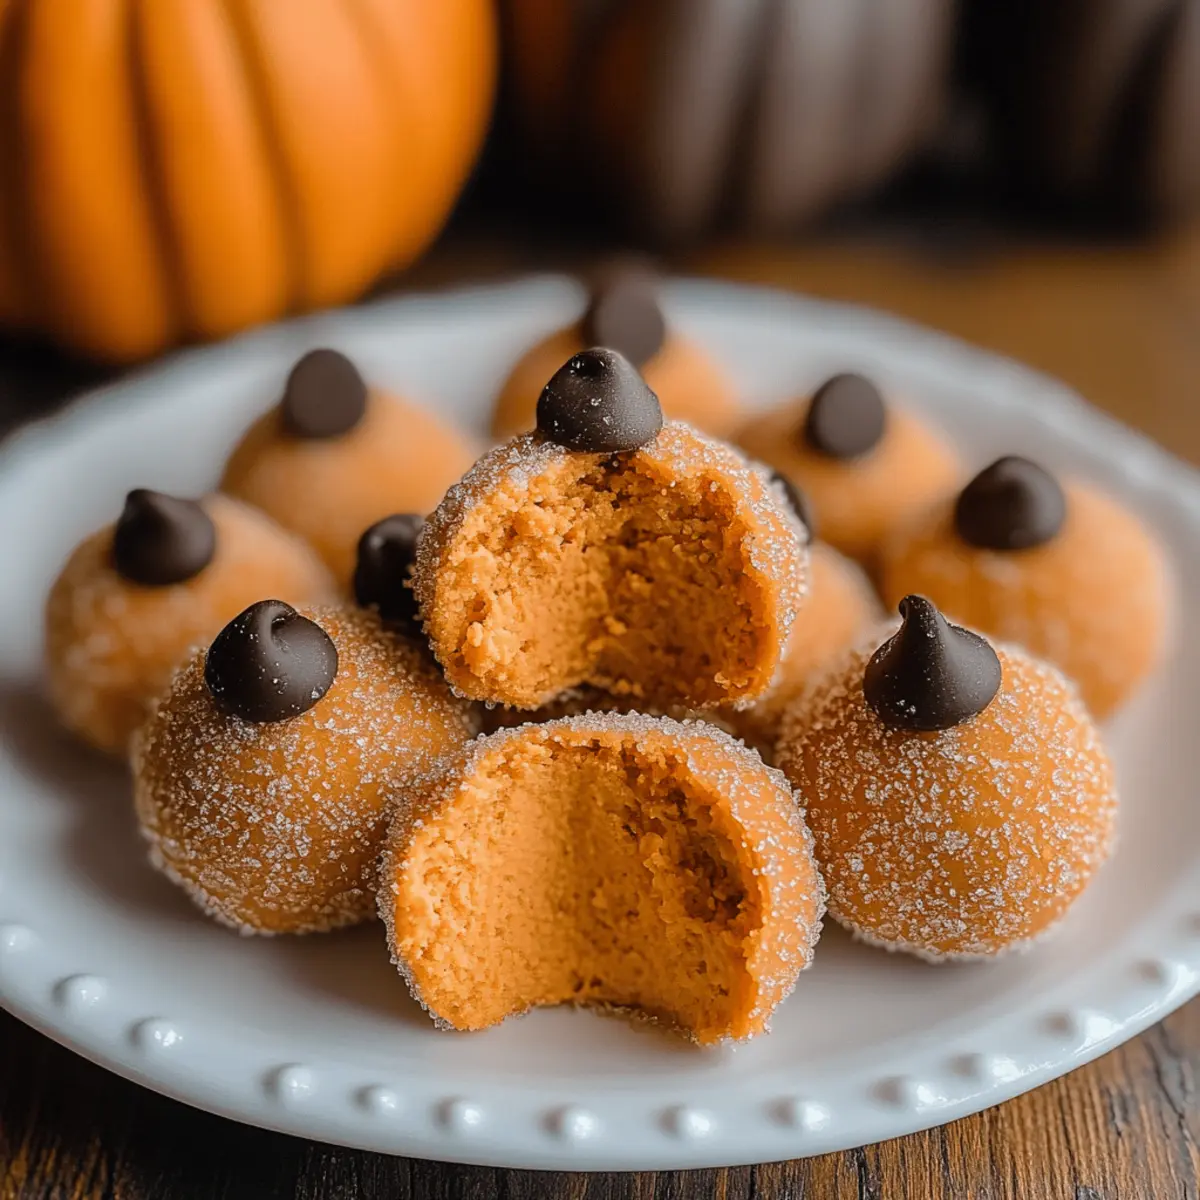
With a toothpick, gently create ridges on each truffle to mimic pumpkin texture. Finish off by placing a mini chocolate chip on top of each truffle to represent the pumpkin’s stem. This simple step adds a delightful finishing touch to your Pumpkin Cheesecake Truffles.
Step 7: Serve/Storing
These delightful Pumpkin Cheesecake Truffles can be served immediately for a fresh treat or stored in an airtight container in the refrigerator. They will stay fresh for up to a week, making them perfect for snacking or sharing at your fall gatherings.
Expert Tips for Pumpkin Cheesecake Truffles
-
Softened Cream Cheese: Ensure the cream cheese is fully softened for easier mixing, creating a smoother filling without lumps.
-
Prevent Sticking: Use butter on your hands while rolling the truffles to prevent them from sticking, making the shaping process more manageable.
-
Chill Properly: Allow the mixture to chill completely before rolling into balls; this helps the truffles hold their shape and makes them easier to handle.
-
Sugar Coating: Roll the truffles generously in granulated sugar to achieve a sparkling, sweet finish. It enhances both beauty and flavor.
-
Creative Decorations: Don’t hesitate to get creative with decorations! Adjust the toppings or colors based on the occasion for your festive Pumpkin Cheesecake Truffles.
Variations & Substitutions for Pumpkin Cheesecake Truffles
Feel free to get creative and add your personal touch to these delightful truffles, making them even more enjoyable!
-
Dairy-Free: Substitute cream cheese with vegan cream cheese and use coconut oil instead of butter for a completely dairy-free treat. This keeps the truffles creamy while catering to dietary needs.
-
Chocolate Lover’s Twist: Drizzle melted dark chocolate over the finished truffles for an indulgent upgrade. The rich chocolate contrast complements the pumpkin beautifully, creating a decadent experience.
-
Nutty Crunch: Mix in finely chopped pecans or walnuts for an added layer of crunch and flavor. The nuts provide a great texture contrast, giving each bite a satisfying crunch that pairs wonderfully with the softness of the truffles.
-
Caramel Surprise: Substitute sweetened condensed milk with caramel sauce for a delightful twist. This adds a gooey richness that elevates the sweetness and flavor complexity—perfect for those who adore caramel!
-
Spicy Kick: Incorporate a dash of cayenne pepper or some finely grated ginger into the filling for a subtle spicy kick. This unexpected heat takes these truffles from delightful to extraordinary, winning over spice lovers.
-
Cinnamon Sugar Coating: Instead of plain sugar, roll the truffles in a mixture of granulated sugar and cinnamon. It gives a warm, spicy vibe; this hints at the beloved flavors of fall baked goods, delighting every taste bud.
-
Pumpkin Pie Flavored: Enhance the pumpkin flavor by adding a splash of vanilla extract along with the pumpkin pie spice. This tweak infuses the filling with a sweet aroma that’s reminiscent of homemade pumpkin pie!
-
Seasonal Garnish: Instead of a chocolate chip, opt for a candy corn piece or an edible flower garnish on top of each truffle. This seasonal touch not only looks festive but also invites a playful spirit to your table.
These variations are just a starting point—don’t hesitate to mix and match to find your perfect combination. And while you’re exploring flavors, don’t forget to check out my recipes for Cheesecake Stuffed Baked Apples or a delicious Pumpkin Spice Gooey Cake to suit the autumn season! Enjoy crafting your ideal pumpkin treat!
What to Serve with No-Bake Pumpkin Cheesecake Truffles
Enhance your festive gathering with complementary flavors and textures that embrace the spirit of autumn.
- Spiced Apple Cider: A warm mug of spiced apple cider echoes the flavors of fall, providing a cozy beverage option for your sweet treats.
- Gingerbread Cookies: These spiced cookies bring a crunchy texture and robust flavor that perfectly pairs with the creamy, velvety truffles.
- Pecans or Walnuts: A sprinkle of chopped nuts adds delightful crunch and a nutty contrast, enriching the overall tasting experience.
- Caramel Sauce: Drizzle caramel over the truffles for a sweet addition that deepens the flavor and creates a luxurious finish.
- Vanilla Ice Cream: Serve truffles alongside a scoop of vanilla ice cream, creating a delightful temperature contrast that enhances each bite.
- Pumpkin Spice Latte: This classic fall drink complements the pumpkin flavor of the truffles while warming you from the inside out.
- Fresh Fruit Platter: Brighten up your dessert table with a colorful array of fresh fruit for a refreshing pop that balances the sweetness of the truffles.
- Chocolate Dipped Pretzels: These salty-sweet snacks offer a fun texture contrast that pairs wonderfully with the smooth, creamy truffles.
- Thanksgiving-style Cheeseboard: Create a festive board with cheeses, meats, and jams to round out your dessert offerings with varying flavor profiles.
How to Store and Freeze Pumpkin Cheesecake Truffles
Fridge: Store your Pumpkin Cheesecake Truffles in an airtight container in the refrigerator for up to 1 week to maintain their freshness and flavor.
Freezer: For longer storage, these truffles can be frozen for up to 2 months. Place them in a single layer on a baking sheet until firm, then transfer to a freezer-safe container or bag.
Thawing: When ready to enjoy, simply transfer the frozen truffles to the fridge for a few hours or overnight to thaw. Avoid microwave thawing to preserve texture.
Serving Suggestion: Serve chilled or at room temperature for a delightful treat—perfect for sharing with friends and family!
Make Ahead Options
These delightful No-Bake Pumpkin Cheesecake Truffles are perfect for meal prep, allowing you to enjoy more time with family and friends during the busy fall season. You can prepare the filling and shape the truffles up to 24 hours in advance. Simply follow the first four steps, then refrigerate the formed truffles in an airtight container. This helps to maintain their freshness and prevents them from drying out. When you’re ready to serve, coat them in sugar and add the final touches of decoration, ensuring they are just as delicious and festive as if made fresh. With this simple prep ahead method, you’ll always have a sweet treat on hand!
Pumpkin Cheesecake Truffles Recipe FAQs
What should I look for when selecting pumpkin puree?
Absolutely! When choosing canned pumpkin puree, look for a product without added sugars or spices, which can make a big difference in taste. The label should simply read “100% pumpkin.” If you opt for fresh pumpkin, ensure it’s ripe and firm, without dark spots or blemishes, and cooked until soft enough to puree smoothly.
How should I store leftover Pumpkin Cheesecake Truffles?
Very! You can store your delightful Pumpkin Cheesecake Truffles in an airtight container in the refrigerator for up to 1 week. To keep them fresh longer, make sure they are well coated with granulated sugar to maintain their sweetness and pleasant texture.
Can I freeze Pumpkin Cheesecake Truffles?
Absolutely! To freeze these truffles, place them in a single layer on a baking sheet until firm, then transfer them to a freezer-safe container or bag. They can be stored for up to 2 months. For the best flavor retention, label your container with the date. When you’re ready to enjoy, simply transfer them back to the fridge to thaw overnight.
What should I do if my truffle mixture is too soft?
Very! If your truffle mixture feels too soft to roll, simply chill it in the refrigerator for 30 minutes to 1 hour to firm up. Once it’s set, it should be much easier to roll into balls. You can also try adding a bit more graham cracker crumbs to the mixture to achieve the desired consistency.
Are there any allergy considerations for this recipe?
Absolutely! This recipe contains dairy and gluten. If you need a dairy-free option, you can substitute with vegan cream cheese and coconut oil. For a gluten-free version, make sure to use gluten-free graham crackers. Always check the labels for allergens, and if you’re serving guests, it’s wise to inform them about the ingredients used.
Can I customize the flavors in Pumpkin Cheesecake Truffles?
Very! One of the best parts about this recipe is its versatility. You can experiment with different flavorings: incorporate almond extract, or add spices like cloves or cardamom for a twist. You might also consider mixing in crushed nuts or different chocolate types for a fun variation. The more, the merrier!
Delicious No-Bake Pumpkin Cheesecake Truffles You’ll Love
Ingredients
Equipment
Method
- In a medium skillet over medium heat, melt 1 tablespoon of butter. Add 4 ounces of softened cream cheese, 1/2 cup of canned pumpkin puree, 1 (14-ounce) can of sweetened condensed milk, and 1 1/2 teaspoons of pumpkin pie spice. Stir continuously until the mixture thickens and becomes smooth, about 5-7 minutes.
- Once the filling is well combined and creamy, remove it from heat. Gently fold in 1/2 cup of graham cracker crumbs and 1/3 cup of white chocolate chips until fully incorporated. If desired, add a few drops of orange food coloring for a festive appearance.
- Transfer the pumpkin cheesecake mixture onto a greased baking sheet, spreading it out evenly. Cover with plastic wrap and refrigerate for at least 2 hours, or preferably overnight, until the mixture is firm enough to hold its shape when rolled into truffles.
- Once chilled, remove the mixture from the refrigerator. Lightly grease your hands with butter to prevent sticking, and scoop out golf ball-sized portions of the filling. Roll them into smooth balls, working quickly so the mixture doesn't soften too much. Place the truffles on a lined baking sheet.
- After shaping all the truffles, pour granulated sugar into a shallow bowl. Roll each cheesecake truffle in the sugar to coat them evenly, creating a sparkling outer layer.
- With a toothpick, gently create ridges on each truffle to mimic pumpkin texture. Finish off by placing a mini chocolate chip on top of each truffle to represent the pumpkin’s stem.
- These delightful Pumpkin Cheesecake Truffles can be served immediately or stored in an airtight container in the refrigerator for up to a week.
Leave a Reply