
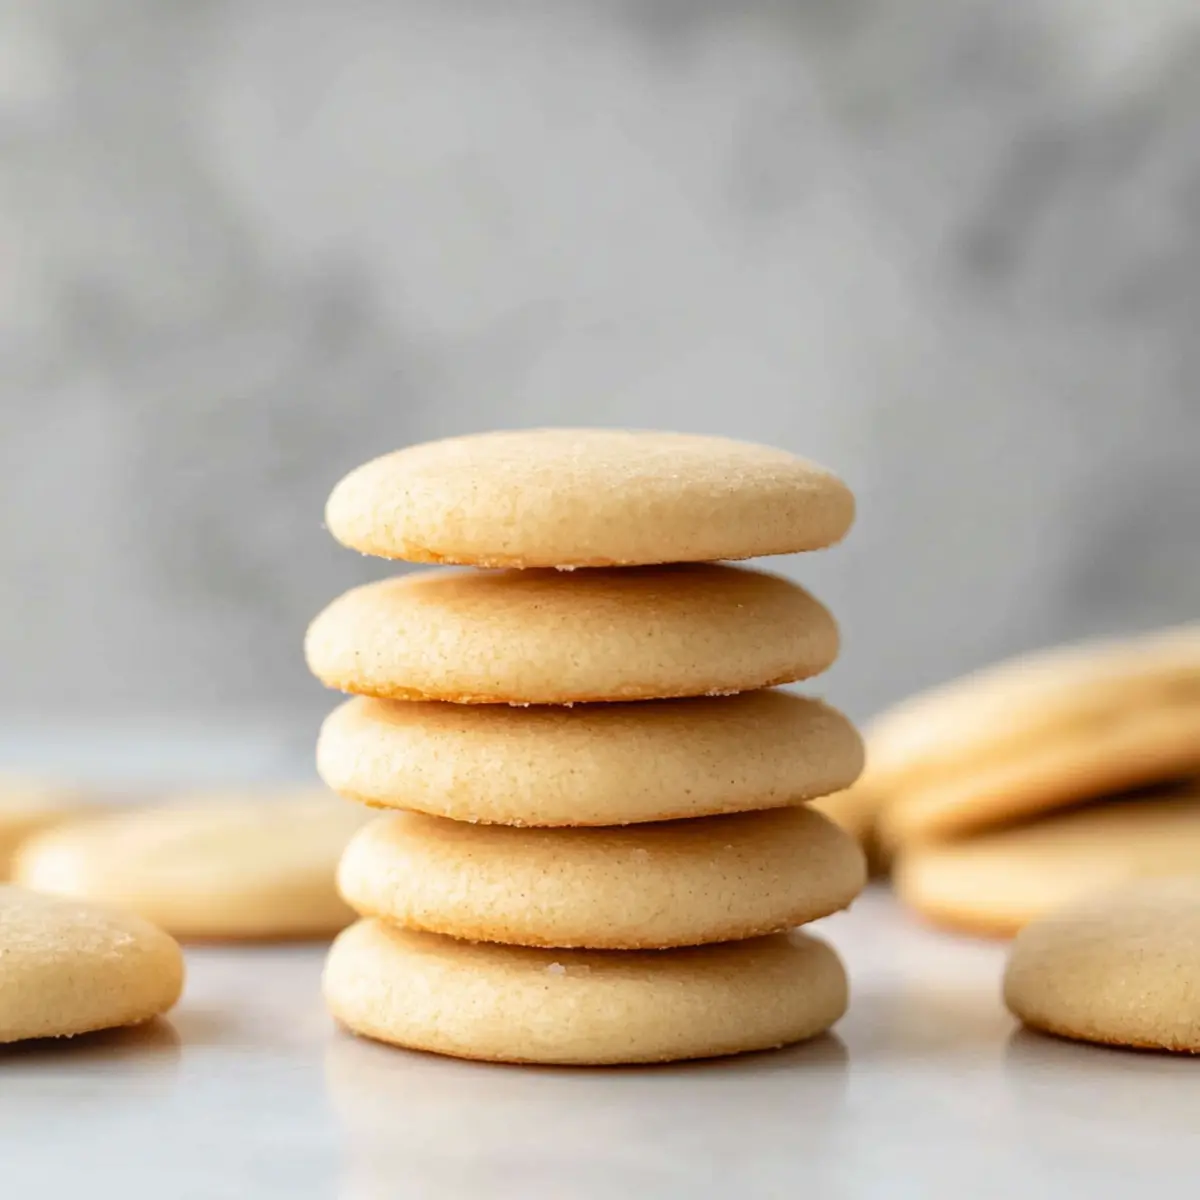
As I stood in my kitchen, the sweet aroma of vanilla wafted through the air, instantly bringing back delightful childhood memories of crisp cookies enjoyed during family gatherings. These homemade Gluten Free Vanilla Wafers are my nod to those nostalgic moments, capturing the classic charm of Nilla Wafers while ensuring everyone can indulge, regardless of dietary needs. Not only are these cookies incredibly light and crispy, but they also serve as a perfect base for delicious desserts or a delightful treat all on their own. Plus, they’re a breeze to whip up, making them ideal for spontaneous cravings or planned gatherings. Curious how to transform simple ingredients into a cookie masterpiece? Let’s dive right in!
Why are homemade Gluten Free Vanilla Wafers special?
Homemade Gluten Free Vanilla Wafers are a game changer for cookie lovers! They offer a light and crispy texture that’s reminiscent of classic Nilla Wafers, but with a fresh, homemade twist. Quick and easy to prepare, these cookies fit perfectly into any baking schedule. Additionally, they can be customized to suit your taste; consider adding chocolate chips or experimenting with almond extract for a unique flavor. Ideal for dunking in your favorite drink or as a versatile dessert topping, these cookies will soon become a family favorite. Discover the joy of baking and make lasting memories with this delicious treat!
Gluten Free Vanilla Wafers Ingredients
For the Dough
- Gluten Free Flour Blend – Provides the structure; I recommend King Arthur Flour Measure for Measure for a perfect cookie texture.
- Baking Powder – Helps the cookies rise, ensuring they have that delightful lightness.
- Baking Soda – Aids in browning, giving your wafers a lovely golden hue.
- Salt – Enhances the rich flavors of the cookies, balancing their sweetness.
- Sugar – Adds sweetness; granulated sugar works best for achieving the perfect crunch.
- Unsalted Butter – Delivers a rich, buttery flavor; use it at room temperature for optimal creaming.
- Egg Whites – Essential for achieving the crisp texture and structure of these delicious wafers.
- Vanilla Extract – Imparts the classic vanilla flavor that makes these Gluten Free Vanilla Wafers irresistible.
- Milk – Adds moisture and helps adjust the dough consistency if needed.
Step‑by‑Step Instructions for Gluten Free Vanilla Wafers
Step 1: Prep the baking sheets
Begin by preheating your oven to 350°F (175°C). While it’s heating, take two baking sheets and line them with parchment paper, ensuring even spacing for your cookies. This will prevent sticking and aid in easy cleanup. Having everything set up will make the process smooth and enjoyable as you prepare your Gluten Free Vanilla Wafers.
Step 2: Mix dry ingredients
In a mixing bowl, whisk together 1 ½ cups of gluten-free flour, 1 teaspoon of baking powder, ½ teaspoon of baking soda, and a pinch of salt. This step is crucial for distributing the leavening agents evenly throughout the flour, which will help your cookies rise beautifully. Set this bowl aside, as you’ll soon combine it with the wet ingredients for your delicious wafers.
Step 3: Cream the butter and sugar
In a separate large bowl, beat together ½ cup of room temperature unsalted butter and 1 cup of granulated sugar using an electric mixer on medium speed. Cream these together until the mixture is light and fluffy, which should take about 2-3 minutes. This process incorporates air, vital for achieving the perfect light texture in your gluten-free vanilla wafers.
Step 4: Incorporate wet ingredients
Once the butter and sugar are fluffy, add 2 egg whites and 2 teaspoons of vanilla extract to the mixture. Mix on low speed until fully combined, about 1 minute. If your batter appears too thick, you can add a tablespoon of milk during this step to achieve a smoother consistency. The wet ingredients will enhance the rich vanilla flavor you’re looking for in your wafers.
Step 5: Combine mixtures
Gradually add the dry ingredients to the creamed butter mixture, mixing on low speed until everything is just combined, about 30 seconds. Be careful not to overmix; the goal is a cohesive dough that maintains the integrity of the gluten-free flour structure. At this moment, you will see the beginnings of your delightful Gluten Free Vanilla Wafers dough.
Step 6: Shape the cookies
Using a piping bag or a spoon, drop tablespoon-sized rounds of dough onto the prepared baking sheets, spacing them a couple of inches apart. If you prefer flatter cookies, gently press down on each mound with the back of a spoon. This will create uniform shapes that bake evenly, resulting in beautifully crisp vanilla wafers that melt in your mouth.
Step 7: Bake
Place the baking sheets in the preheated oven and bake for 15-20 minutes. Keep a close eye on them; the cookies should turn a light golden brown around the edges but remain soft in the center. This perfect balance is key to achieving that crispy texture you love in classic Gluten Free Vanilla Wafers.
Step 8: Cool
Once baked, carefully remove the sheets from the oven and allow the cookies to rest on the sheets for about 5 minutes. Then, transfer the cookies to a wire rack to cool completely. This step is essential for preserving their crispiness, making your homemade treats irresistible for snacking or dessert.
What to Serve with Gluten Free Vanilla Wafers
Delight in creating a memorable meal by pairing these crispy treats with delightful companions that enhance their charm.
- Creamy Chocolate Pudding: Its rich and velvety texture makes for a decadent contrast against the lightness of the wafers.
- Fresh Berries: Juicy strawberries or raspberries add a fresh burst of flavor, brightening each bite and offering a seasonal touch.
- Vanilla Ice Cream: A classic pairing, this combination creates a delightful melting moment that’s simply divine.
- Espresso or Coffee: The robust flavors of coffee beautifully complement the sweetness of the wafers, creating a perfect afternoon pick-me-up.
- Whipped Cream Dip: Light and airy, a whipped cream dip enhances the cookies; try adding a splash of vanilla for a flavorful twist.
- Fruit Salad: A refreshing mix of seasonal fruits will balance the sweetness of the cookies and add a refreshing crunch.
- Chocolate Sauce: Drizzling warm chocolate sauce over the wafers transforms them into an indulgent dessert that’s hard to resist.
- Milk: Simple yet satisfying, dunking these wafers into a glass of cold milk brings back sweet childhood memories.
- Lemon Tart: A zesty lemon tart offers a delightful contrast, its tartness balancing the sweetness of the wafers beautifully.
How to Store and Freeze Gluten Free Vanilla Wafers
Room Temperature: Store cookies in an airtight container at room temperature; they’ll stay fresh for up to 5-7 days. This keeps their delightful crispiness intact.
Freezer: For longer storage, freeze the baked cookies in a single layer on a baking sheet first, then transfer to an airtight container. They’ll last for up to one month, perfect for future cravings.
Reheating: If you want to enjoy them warm, reheat the cookies in a preheated oven at 300°F (150°C) for about 5-7 minutes. This refreshes their original crisp texture.
Avoid Freezer Burn: Ensure the container is tightly sealed to avoid freezer burn and to preserve the rich flavor of your gluten free vanilla wafers.
Gluten Free Vanilla Wafers Variations
Feel free to get creative with these delicious Gluten Free Vanilla Wafers; let your taste buds explore new horizons!
-
Chocolate Chips: Add ½ cup of mini chocolate chips to the dough for an indulgent twist. The melted chocolate pairs perfectly with the crispy texture.
-
Coconut Sugar: Replace granulated sugar with coconut sugar for a lower-glycemic option that adds a rich, caramel-like flavor.
-
Almond Extract: Substitute 1 teaspoon of vanilla extract with almond extract for a unique flavor twist that offers a delightful nutty aroma.
-
Spice It Up: Add a teaspoon of cinnamon or nutmeg to give the wafers a warm, cozy spice that’s perfect for the fall season.
-
Nutty Crunch: Stir in ½ cup of chopped nuts, such as pecans or walnuts, for extra texture. The crunch will make each cookie even more satisfying.
-
Dipped in Chocolate: After baking, dip half of each cookie in melted dark or white chocolate and let them set for a decadent treat that impresses.
-
Lemon Zest: Incorporate the zest of one lemon into the dough for a bright, citrusy note that complements the vanilla beautifully.
-
S’mores Style: Sandwiched with marshmallow fluff and a drizzle of chocolate, your gluten free vanilla wafers can become a delightful take on the classic s’mores.
Each variation brings its own personality to the table! For an even richer experience, consider using these wafers as delightful ice cream sandwich bases for a homemade treat your whole family will adore.
And if you want to explore more ideas, don’t forget to take a glance at our delicious recipes for Chocolate Chip Cookies or Nut-Free Cookies. Happy baking!
Expert Tips for Gluten Free Vanilla Wafers
- Butter Temperature: Use room temperature butter to ensure better incorporation and a fluffy texture in your cookies. Cold butter may not mix well, affecting the overall result.
- Avoid Overmixing: Mix the dough until just combined. Overmixing can lead to dense cookies instead of the light, crispy Gluten Free Vanilla Wafers you desire.
- Cool Completely: Allow the cookies to cool on a wire rack after baking. This crucial step keeps them crisp and ready for immediate enjoyment or storage.
- Storage Method: Store your cookies in an airtight container at room temperature to maintain freshness for up to a week. For longer storage, freeze them for up to one month.
- Adjust dough consistency: If your dough seems too thick, don’t hesitate to add a tablespoon of milk for easier piping and shaping.
Make Ahead Options
These homemade Gluten Free Vanilla Wafers are perfect for meal prep, allowing you to enjoy delicious cookies with minimal effort! You can prepare the dough up to 24 hours in advance; simply mix the ingredients, shape the cookies, and then refrigerate them until you’re ready to bake. To maintain their crispiness, place unbaked cookies on a lined baking sheet in the fridge, covered loosely with plastic wrap. When you’re ready to enjoy your treats, simply preheat your oven and bake them straight from the refrigerator, adding an extra minute or two if needed. This way, you can have fresh, melt-in-your-mouth Gluten Free Vanilla Wafers ready to impress at any time!
Gluten Free Vanilla Wafers Recipe FAQs
How do I choose the right gluten free flour blend for this recipe?
Absolutely! For the best results, I recommend using a high-quality gluten-free flour blend, like King Arthur Flour Measure for Measure. This blend mimics the texture and performance of traditional wheat flour, ensuring that your cookies come out light and crispy. Always check for any added ingredients or binders, as these can affect your cookie’s texture.
How long can I store homemade Gluten Free Vanilla Wafers and how should I do it?
Homemade Gluten Free Vanilla Wafers can be stored in an airtight container at room temperature for up to 5-7 days. This storage method keeps them crisp and delicious. Alternatively, if you want to keep them for an extended period, you can freeze them, as mentioned earlier.
Can I freeze these cookies, and if so, how should I do it properly?
Very! To freeze your Gluten Free Vanilla Wafers, first place the baked cookies in a single layer on a baking sheet, ensuring they aren’t touching each other. Place the baking sheet in the freezer for about 1-2 hours until the cookies are solid. Once frozen, transfer the cookies to an airtight container or freezer bag. They’ll last for up to one month, and when you’re ready to enjoy them, simply thaw at room temperature!
What can I do if my cookie dough is too sticky?
If your cookie dough is too sticky to work with, don’t worry! Simply sprinkle a light dusting of gluten-free flour on your working surface and on your hands while shaping the cookies. If the dough still feels overly wet, you can add an extra tablespoon of gluten-free flour to help achieve the desired consistency. Remember, you want to keep the texture light and not overly dense.
Are these cookies safe for individuals with nut allergies?
Yes, these Gluten Free Vanilla Wafers can be made nut-free! Just be sure to use a gluten-free flour blend that does not contain nuts or traces of nuts. If you’re serving them to someone with an allergy, double-check all your ingredient labels to avoid cross-contamination and ensure a safe and delicious treat.
What can I do if my cookies are not crisping up as expected?
If your cookies aren’t crisping up, it’s most likely due to underbaking or too much moisture in the dough. Make sure to allow them to bake until they’re a lovely light golden brown. If they still seem soft, return them to the oven for a few more minutes. Also, make sure to let them cool completely on a wire rack, as this helps them firm up during cooling. Happy baking!
Crispy Gluten Free Vanilla Wafers That Melt in Your Mouth
Ingredients
Equipment
Method
- Preheat the oven to 350°F (175°C) and line two baking sheets with parchment paper.
- In a mixing bowl, whisk together gluten-free flour, baking powder, baking soda, and salt.
- In a separate bowl, beat together unsalted butter and sugar until light and fluffy, about 2-3 minutes.
- Add egg whites and vanilla extract to the butter and sugar mixture, mixing until combined.
- Gradually add dry ingredients to the wet mixture, mixing until just combined.
- Drop tablespoon-sized rounds of dough onto the prepared baking sheets, spacing them apart.
- Bake for 15-20 minutes until light golden brown around the edges.
- Remove from the oven, let cool on sheets for 5 minutes, then transfer to a wire rack to cool completely.
Leave a Reply