
Amidst the hustle and bustle of daily life, there are moments when we crave something sweet yet simple. That’s when I turn to these No-Bake Chocolate Peanut Butter Bars, an easy dessert that requires no oven and minimal fuss. With a rich, creamy peanut butter base topped with luscious chocolate, this treat not only satisfies your sweet tooth but also keeps things gluten-free, making it perfect for everyone. Plus, they are free from refined sugars, ensuring that you can indulge without the guilt! Whether you’re whipping these up for a family gathering or a cozy night in, these bars are sure to be a hit. Want to learn just how effortless it is to bring this delicious creation to your kitchen? Let’s dive into this delightful recipe!

Why are No-Bake Bars Perfect for You?
Convenient and Quick: These No-Bake Chocolate Peanut Butter Bars come together in just minutes, perfect for those days when you’re short on time but still want a delightful treat.
Decadent Flavor: The harmony of creamy peanut butter and rich chocolate creates an irresistible flavor profile that will have everyone coming back for more.
Versatile Options: Easily swap ingredients like almond butter or sunbutter to suit dietary needs—these bars can cater to all!
Healthier Indulgence: With no refined sugars and gluten-free ingredients, you can indulge guilt-free and feel good about your snack.
Crowd-Pleasing Goodness: Ideal for parties or family gatherings, they’re sure to be a hit! Pair them with a refreshing drink or complement with Pumpkin Spice Gooey for a seasonal twist.
No-Bake Chocolate Peanut Butter Bars Ingredients
• A delightful treat that’s easy to make!
For the Base
- Oats – Provide structure and fiber; gluten-free oats work for strict diets.
- Peanut Butter – Acts as the binding agent and gives that creamy flavor; swap for almond butter if you have nut allergies.
- Maple Syrup – Adds natural sweetness without refined sugars; honey is a great alternative if not strictly vegan.
- Coconut Oil – Enhances creaminess and helps set the bars; you can substitute it with butter or plant-based margarine.
- Cocoa Powder – Delivers a rich chocolate flavor; make sure it’s unsweetened for a balanced taste.
For the Topping
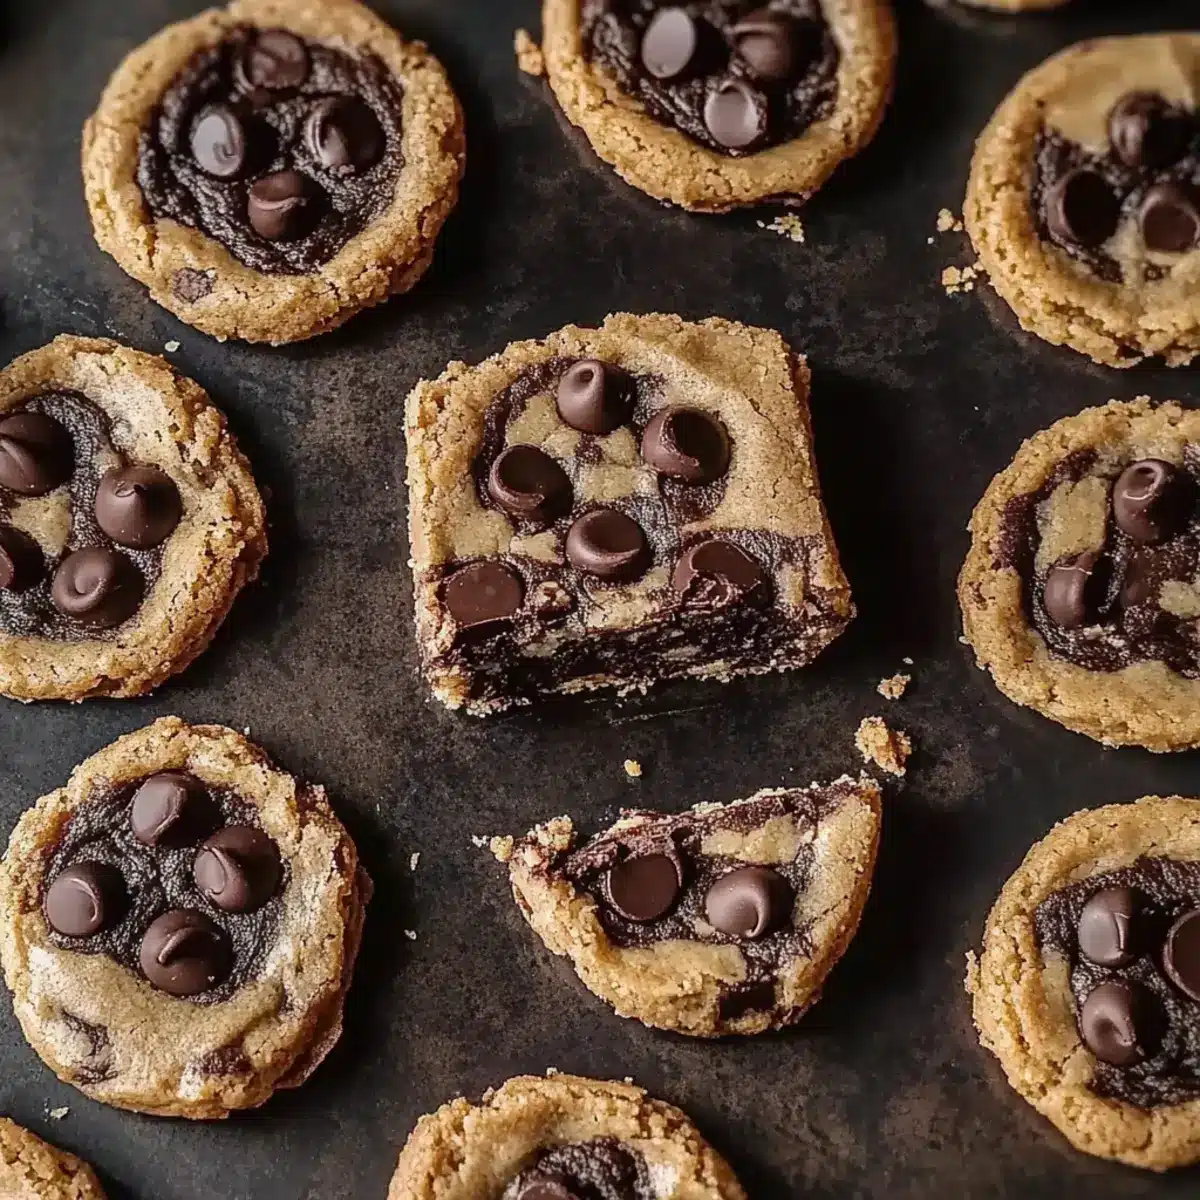
- Dark Chocolate Chips – Creates an indulgent finish on top; use dairy-free chips for a vegan-friendly treat.
Feel free to experiment with these ingredients to suit your taste preferences and dietary needs! These No-Bake Chocolate Peanut Butter Bars are not just easy to make—they’re a decadent bite of happiness that everyone will love!
Step‑by‑Step Instructions for No-Bake Chocolate Peanut Butter Bars
Step 1: Combine the Base Ingredients
In a mixing bowl, combine oats, peanut butter, maple syrup, and coconut oil. Stir thoroughly with a spatula until the mixture is fully blended and cohesive, resembling a thick batter. This should take about 2-3 minutes of mixing. Make sure there are no dry oats visible, as an even mixture is key to your No-Bake Chocolate Peanut Butter Bars.
Step 2: Add Cocoa Powder
Sprinkle cocoa powder over the mixture and mix until the batter is completely uniform in texture, which may take an additional 1-2 minutes. The blend should be thick but manageable, with a rich chocolate hue. Ensure that the cocoa is well incorporated for that decadent flavor in your bars.
Step 3: Press Into the Baking Dish
Line an 8×8-inch baking dish with parchment paper for easy removal. Transfer the mixture into the lined dish and press it down firmly using your hands or the back of a spatula, smoothing out the top. Aim for an even thickness, which will allow for neat cutting later. This process should take about 2-3 minutes.
Step 4: Melt the Chocolate Topping
In a microwave-safe bowl, add dark chocolate chips. Heat in the microwave in 30-second intervals, stirring between each until the chocolate is completely melted and smooth, usually requiring 1-2 minutes. Allow the melted chocolate to cool slightly before pouring to ensure it maintains its texture while spreading over the peanut butter base.
Step 5: Add Chocolate Topping
Carefully pour the melted chocolate over the prepared oat mixture in the baking dish. Use a spatula to spread the chocolate evenly across the surface, reaching all corners. This creates a beautiful glossy finish on your No-Bake Chocolate Peanut Butter Bars, enhancing their decadent appeal.
Step 6: Chill and Set
Place the baking dish in the refrigerator and let the bars set for at least two hours, allowing the chocolate to harden and the flavors to meld. You’ll know they’re ready when the top is firm to the touch and the layers are seamlessly intact—a sign of the deliciousness to come.
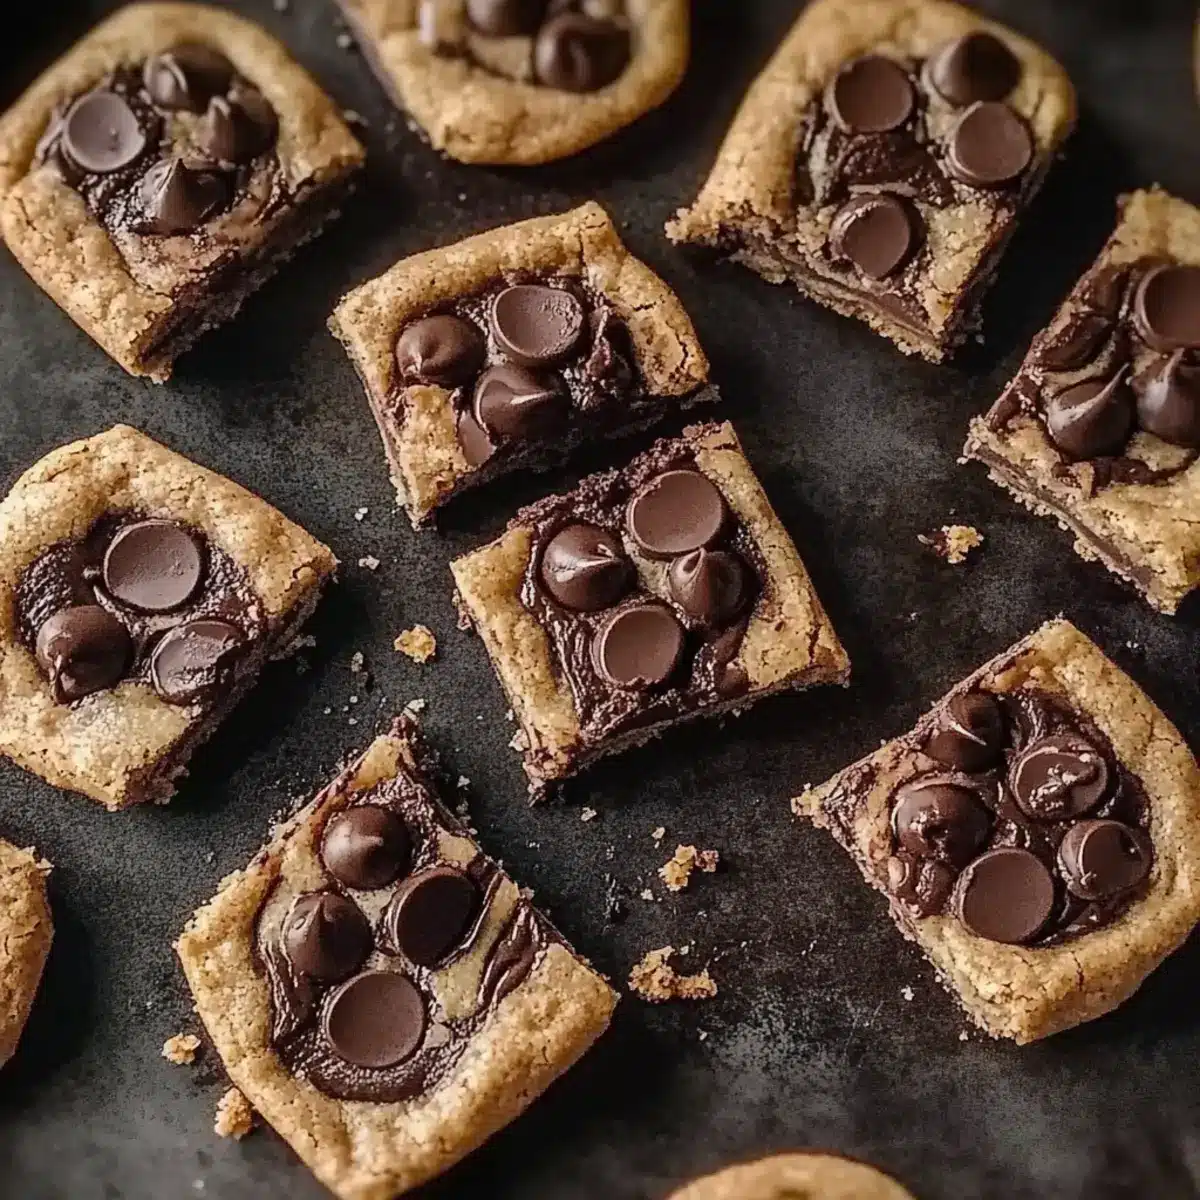
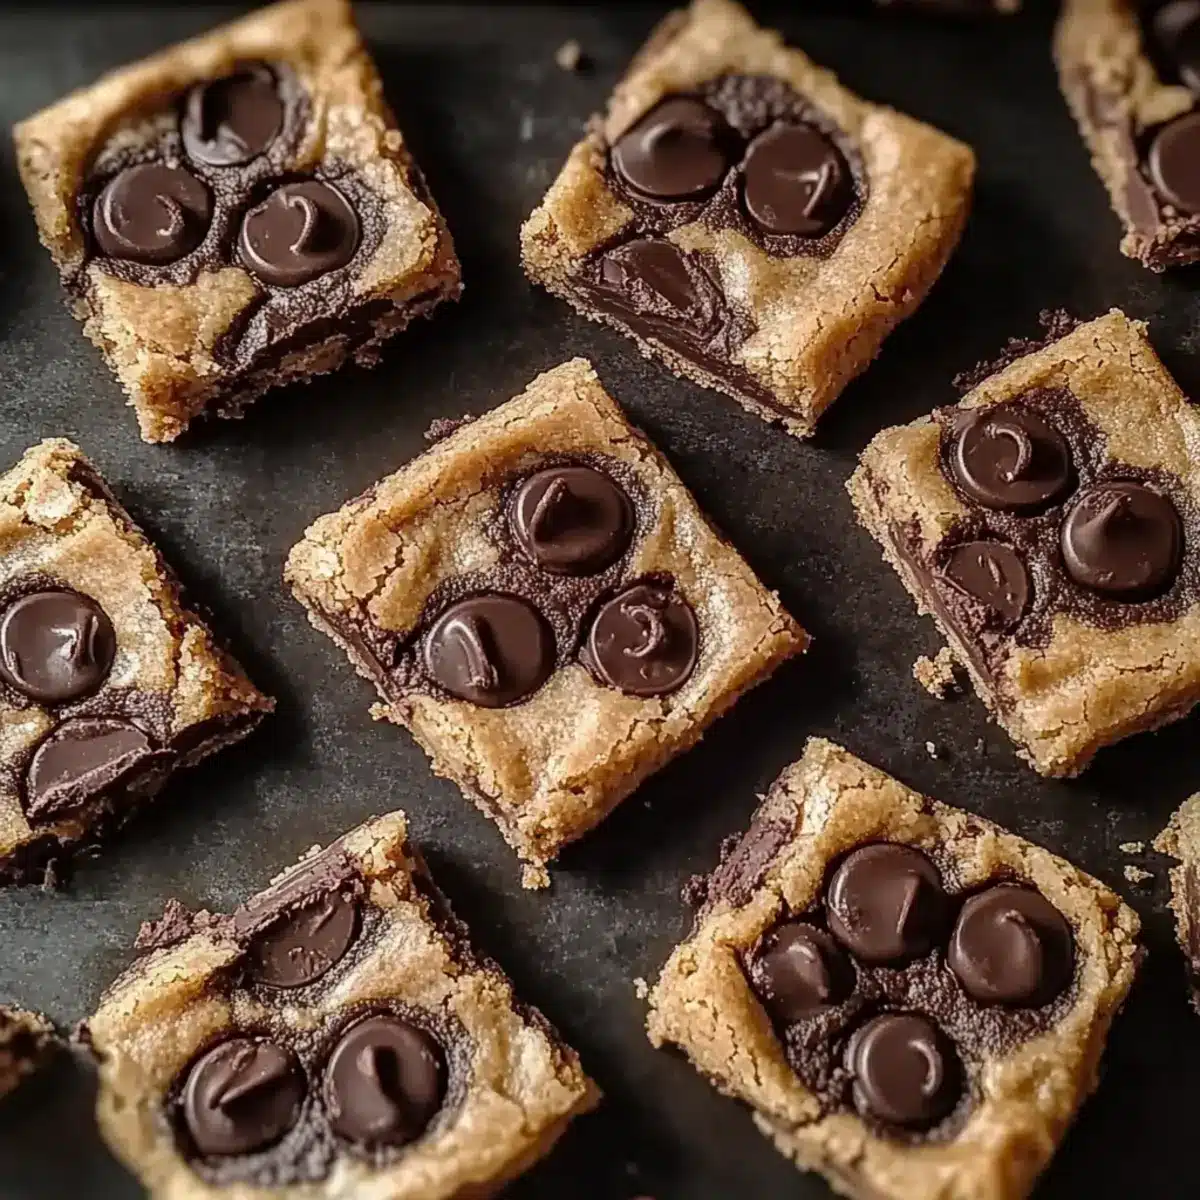
Step 7: Cut and Serve
Once set, remove the bars from the baking dish using the parchment paper, and place on a cutting board. Using a sharp knife, cut into squares or rectangles of your desired size. Serve chilled or at room temperature for a delightful treat with the perfect combination of flavors and textures.
Storage Tips for No-Bake Chocolate Peanut Butter Bars
Fridge: Store your No-Bake Chocolate Peanut Butter Bars in an airtight container in the refrigerator for up to one week, retaining their deliciousness and texture.
Freezer: For longer storage, these bars freeze beautifully! Simply wrap them individually in parchment paper and then place them in a freezer-safe bag or container for up to three months.
Thawing: When ready to enjoy, transfer the bars from the freezer to the fridge for a few hours to soften slightly before serving.
Room Temperature: If you’re serving them right away, keep them at room temperature for about 30 minutes before indulging for the best flavor and texture experience.
What to Serve with No-Bake Chocolate Peanut Butter Bars
These delightful chocolate peanut butter creations are perfect for a sweet treat, but pairing them with the right accompaniments can elevate your experience!
-
Creamy Almond Milk: A glass of chilled almond milk enhances the nutty flavors and provides a refreshing balance to the sweet bars. Its smooth texture mimics the creaminess of the peanut butter, making each bite even more satisfying.
-
Fresh Berries: A side of juicy strawberries or raspberries adds a burst of freshness that cuts through the richness. The tartness of the berries beautifully complements the decadent sweetness of the bars, creating a delightful contrast.
-
Vanilla Ice Cream: Serving a scoop of vanilla ice cream alongside creates a luscious dessert experience. The cold creaminess pairs perfectly with the chewy bars, transforming them into a sundae that’s hard to resist!
-
Coffee or Espresso: A strong cup of coffee or a shot of espresso enhances the flavors of the bars while adding a delightful bitterness that balances the sweetness. The rich coffee notes meld wonderfully with the chocolate and peanut butter for a match made in heaven!
-
Shredded Coconut: Sprinkling toasted shredded coconut over the bars adds a tropical flair and chewy texture. This little addition not only brings a new flavor dimension but also offers a beautiful presentation.
-
Chopped Nuts: For a crunchy contrast, serve the bars with a handful of mixed chopped nuts like almonds or pecans. Their savory goodness complements the sweet and creamy elements of the bars.
-
Dark Chocolate Drizzle: Elevate your bars by drizzling melted dark chocolate on top before serving. This extra layer of chocolatey indulgence makes every bite richer and more decadent, perfect for true chocolate lovers!
-
Herbal Tea: Pairing with a cup of chamomile or mint tea offers a soothing finish. The warm herbal notes create a calming end to your sweet treat experience.
Indulge your senses! Each pairing adds a unique touch that enhances the overall enjoyment of these No-Bake Chocolate Peanut Butter Bars.
Decadent Espresso Chocolate Peanut Butter Bars Variations
Feel free to get creative and personalize your No-Bake Chocolate Peanut Butter Bars with these fun substitutions and twists!
- Nut-Free Delight: Substitute peanut butter with sunbutter to cater to nut allergies, but don’t worry—the flavor will still shine.
- Added Crunch: Stir in some crushed nuts like almonds or walnuts for an extra crunch that complements the creamy base beautifully.
- Flavor Boost: Incorporate a teaspoon of vanilla extract into the base to add another layer of flavor to your bars.
- Protein Power: Mix in a scoop of your favorite protein powder for a nutritional punch that helps keep you fueled throughout the day.
- Sweet Spin: Drizzle some honey or agave syrup over the top before the chocolate sets for a delightful sweetness that’s simply irresistible.
- Chocolate Upgrade: Swap dark chocolate chips for white chocolate or even butterscotch chips to create a new flavor sensation that excites your taste buds.
- Zesty Twist: Add some orange or peppermint extract to the chocolate layer for a refreshing twist that surprises and delights with every bite.
- Fruity Addition: Toss in dried cranberries or cherries to the base for a hint of tartness that balances the sweetness perfectly—just like in my Apple Snickerdoodles!
Use these variations to elevate your No-Bake Chocolate Peanut Butter Bars into wonderfully customized treats that everyone will enjoy!
Expert Tips for No-Bake Chocolate Peanut Butter Bars
Compact the Mixture: Ensure that the oat and peanut butter mixture is tightly packed in the dish for a firmer texture when set.
Cool Before Spreading: Allow the melted dark chocolate to cool slightly before pouring it over the peanut butter base to avoid melting it.
Use Parchment Paper: Line your baking dish with parchment paper for easy removal and cutting of the No-Bake Chocolate Peanut Butter Bars.
Keep Chilling: Allow ample time in the refrigerator for the bars to set completely; at least two hours ensures a delightful experience.
Customize Your Ingredients: Feel free to experiment! Substitute peanut butter with sunbutter or add seeds for a fun twist.
Make Ahead Options
These No-Bake Chocolate Peanut Butter Bars are ideal for busy home cooks looking to save time! You can prepare the base mixture up to 24 hours in advance by combining oats, peanut butter, maple syrup, and coconut oil, then refrigerate it tightly wrapped. The chocolate topping can also be melted and poured on top 2-3 hours before serving, which will still keep your bars irresistibly delicious. For the best texture, store the finished bars in an airtight container in the refrigerator, where they will stay fresh for up to 5 days. Simply cut into servings when ready to enjoy, and treat yourself or guests to a decadent sweet that feels effortlessly homemade!
No-Bake Chocolate Peanut Butter Bars Recipe FAQs
How do I select the right oats for this recipe?
Absolutely! It’s best to use gluten-free oats if you’re adhering to a strict gluten-free diet. Look for oats that are labeled gluten-free to ensure no cross-contamination. If you’re simply cooking for health or taste, regular rolled oats work wonderfully too, providing great texture and fiber.
How should I store the No-Bake Chocolate Peanut Butter Bars?
These delicious bars can be stored in an airtight container in the refrigerator for up to one week. Just make sure they are well wrapped or in a container to prevent them from absorbing any odors. If you’d like to keep them for longer, freezing is a great option!
Can I freeze these bars, and if so, how?
Very! To freeze your No-Bake Chocolate Peanut Butter Bars, first wrap them individually in parchment paper. Then, place them in a freezer-safe bag or container to protect them from freezer burn. They’ll stay fresh for up to three months. When you’re ready to enjoy, simply thaw them in the refrigerator for a few hours before serving.
What should I do if my bars are too crumbly?
If your bars are crumbly and not holding together well, it might be due to not enough binding agent or not compacting the mixture enough in the dish. You can easily fix this! Try melting a bit more peanut butter or coconut oil, mixing it into the batter, and press it down firmly in the baking dish again. Allow it to set and refrigerate for a bit longer.
Are there any dietary considerations I should be aware of?
Definitely! Since these bars contain peanut butter, they aren’t suitable for anyone with nut allergies. If this is a concern, you can substitute peanut butter with sunbutter for a delicious nut-free alternative. Additionally, ensure all chocolate chips used are dairy-free if you’re looking to maintain a vegan recipe.
What if I want to customize the flavor?
The more the merrier! You can easily customize your No-Bake Chocolate Peanut Butter Bars by adding ingredients like seeds, dried fruits, or even a dash of cinnamon for an extra layer of flavor. You could also swap in protein powder for a nutrient boost or try using almond butter in place of peanut butter for a different twist. Enjoy experimenting!
Decadent Espresso Chocolate Chip Cookies: Your New Favorite Treat
Ingredients
Equipment
Method
- Combine the oats, peanut butter, maple syrup, and coconut oil in a mixing bowl and mix thoroughly until fully blended, resembling a thick batter.
- Add the cocoa powder to the mixture and mix until completely uniform in texture.
- Line an 8x8-inch baking dish with parchment paper and transfer the mixture, pressing it down evenly.
- Melt the dark chocolate chips in a microwave-safe bowl in 30-second intervals until fully melted.
- Pour the melted chocolate over the oat mixture and spread evenly across the surface.
- Refrigerate for at least two hours until set and chocolate is hardened.
- Remove from the dish, cut into squares or rectangles, and serve.
Leave a Reply