
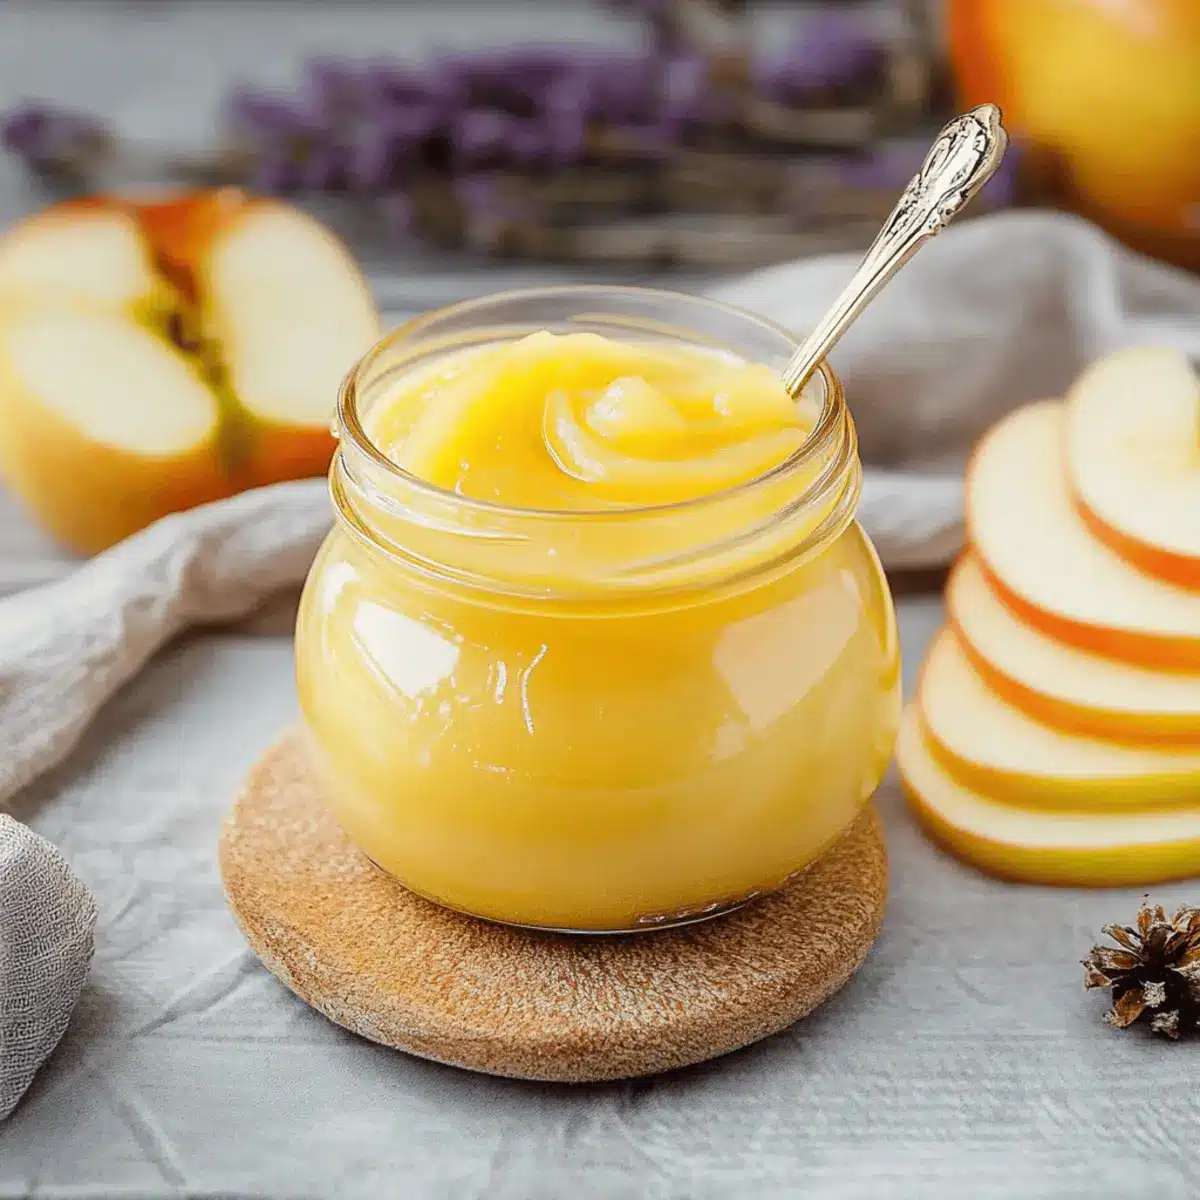
As I peeled back the layers of freshly harvested apples one crisp autumn morning, the aroma of sweetness wafted through my kitchen, enveloping me in a cozy embrace. Today, I’m excited to share my beloved Easy Apple Curd recipe that captures the essence of those ripe, juicy fruits in every bite. This homemade spread is not just a delightful addition to your breakfast table—it’s a low-sugar option that transforms your morning toast into a dreamy experience. With just six simple ingredients, you’ll see how quick and hassle-free it can be to make this creamy, luscious curd. Trust me; once you try it, you’ll never look at store-bought spreads the same way again. Are you curious about the perfect way to elevate your breakfast or desserts with this delightful curd?
Why is Homemade Apple Curd a Must-Try?
Simplicity: You only need six ingredients to create this rich, creamy apple curd that will transform any meal.
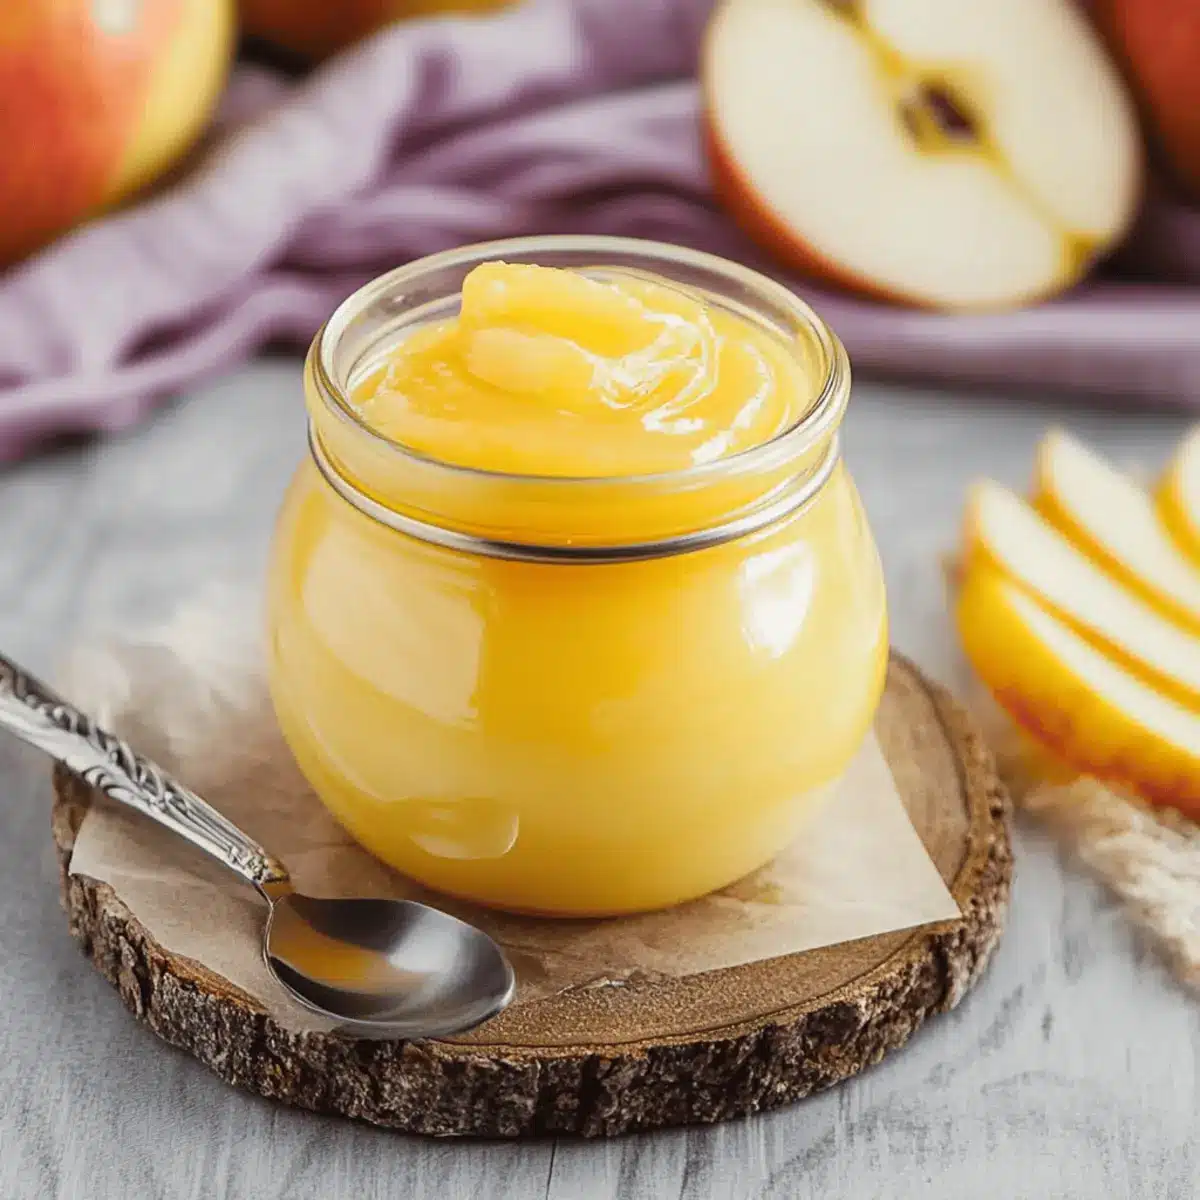
Versatile Use: This spread is perfect for breakfast, desserts, or even as a filling for pastries. Imagine it on warm toast or drizzled over pancakes!
Low-Sugar Option: Adjust the sugar content to your taste, making it a great low-sugar alternative for health-conscious eaters.
Rich Flavor: The delicious blend of sweet apples, creamy butter, and a touch of lemon makes each bite a flavor explosion reminiscent of apple pie.
Time-Saving: With straightforward instructions, this recipe is not just easy to make, but quick, leaving you more time to enjoy your delicious results. For additional sweet ideas, check out my Apple Snickerdoodles Cozy and Apple Biscuits Honey that pair beautifully with this curd!
Apple Curd Ingredients
For the Curd
- Apples – Choose tart varieties like Granny Smith for the best flavor base in your apple curd.
- Water – Used to cook the apples until soft and tender.
- Lemon Juice – Balances sweetness and adds a refreshing acidity to your curd.
- Sugar – Sweetens the curd; feel free to adjust for a low-sugar option that suits your palate.
- Eggs & Egg Yolks – These thicken the curd, giving it that luxurious, creamy texture everyone will love.
- Butter – Adds a velvety richness that takes your apple curd to the next level.
Optional Thickening
- Cornstarch – Use this if you prefer a thicker curd; just create a slurry with water to incorporate.
Step‑by‑Step Instructions for Easy Apple Curd
Step 1: Prepare the Apples
Begin by peeling, coring, and chopping your tart apples into small pieces. In a large saucepan, combine the chopped apples with water and lemon juice. Cover the saucepan and cook over medium heat for 20 minutes, stirring occasionally until the apples are soft and tender, resembling a chunky applesauce.
Step 2: Create Apple Purée
Once the apples have softened, remove them from the heat and allow them to cool slightly. Use a potato masher to mash the apples thoroughly, then transfer the mixture to a fine sieve or cheesecloth. Press down to extract a smooth apple purée, ensuring a luscious texture for your apple curd.
Step 3: Whisk the Eggs
In a separate bowl, crack three eggs and separate two yolks. Whisk together the whole eggs and yolks until well combined. This egg mixture is critical as it will thicken your Easy Apple Curd, giving it that rich custard-like consistency. Set aside while you prepare the next steps.
Step 4: Optional Thickening Method
If you prefer a thicker curd, prepare a cornstarch slurry by whisking cornstarch with a small amount of water until smooth. This optional step will enhance the texture of your apple curd, but you can skip it if you prefer a naturally creamy consistency. Keep this slurry ready for the cooking process.
Step 5: Combine Ingredients
In the saucepan with your strained apple purée, add in the butter and sugar. Stir well to combine, keeping the heat on low. Then, gently incorporate the whisked eggs, stirring constantly to avoid curdling. The mixture should start to thicken as the butter melts and the eggs cook gently.
Step 6: Cook the Curd
Continue to stir the mixture over low heat for 15-20 minutes, allowing it to thicken and coat the back of a spoon. If using the cornstarch slurry, gradually add it during this step while maintaining a gentle stir. Look for a custard-like consistency and a rich, velvety appearance.
Step 7: Strain for Smoothness
To achieve ultimate smoothness in your Easy Apple Curd, strain it once more through a fine sieve into a clean bowl. This ensures any remaining lumps or bits are removed, resulting in a silky texture that’s wonderful as a spread or filling. Allow it to cool at room temperature.
Step 8: Chill and Store
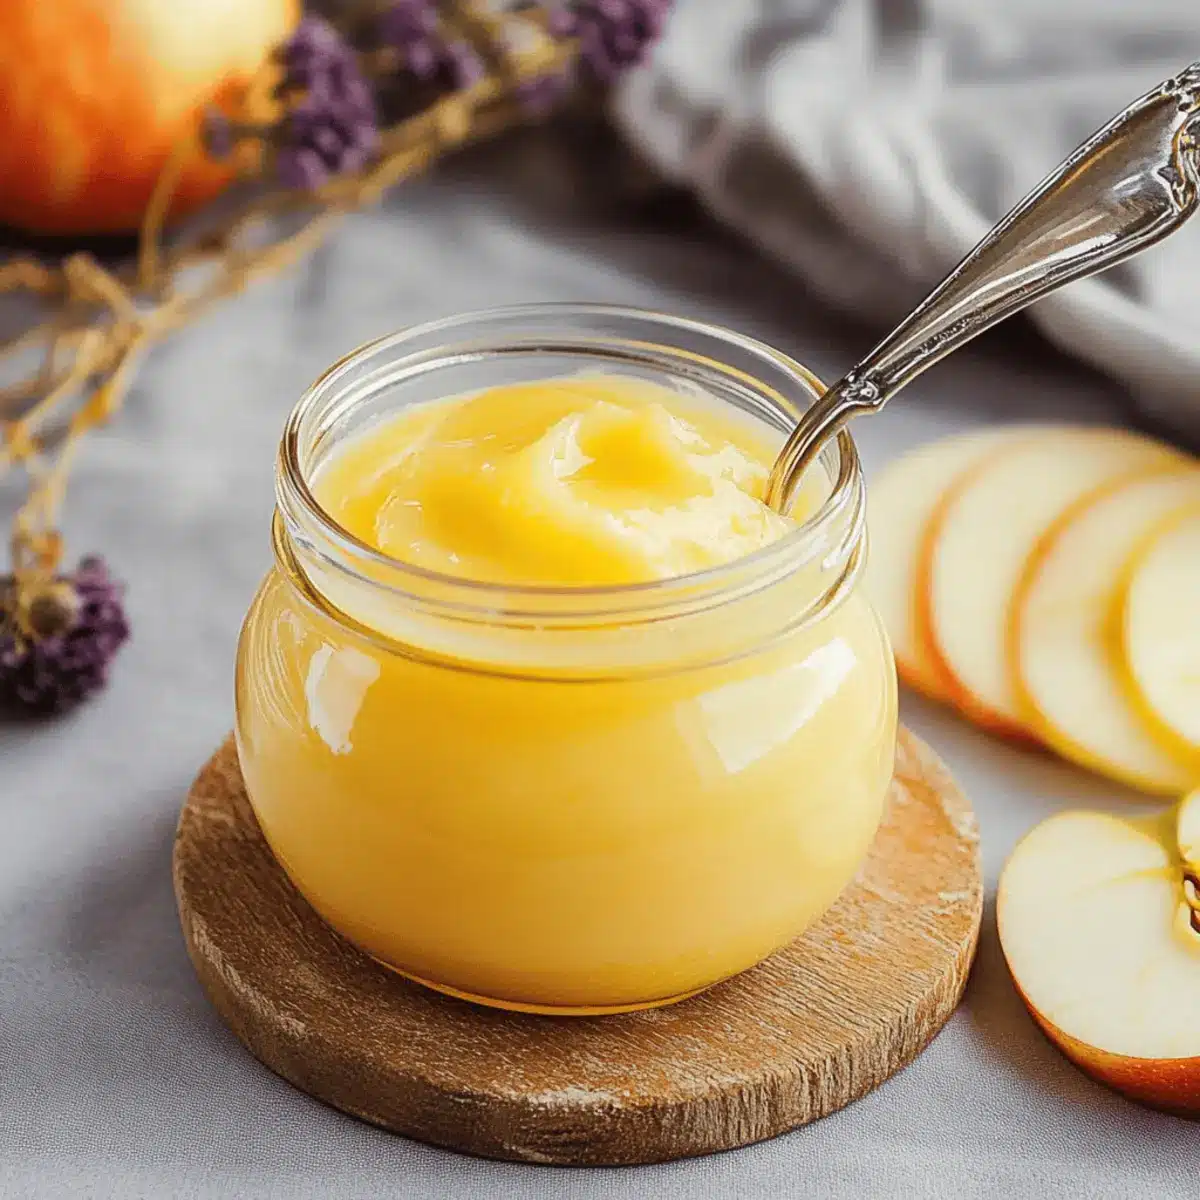
Transfer the cooled apple curd to a sterilized jar and seal with a lid. Refrigerate for at least 2 hours, or until chilled and thickened further. Enjoy this delicious apple curd on toast, pancakes, or use it as a delightful filling for your favorite pastries throughout the fall season!

Make Ahead Options
These Easy Apple Curd make-ahead options are perfect for busy cooks looking to save time during hectic mornings! You can prepare the apple purée up to 24 hours in advance; simply follow steps 1 and 2, then refrigerate the purée in an airtight container to keep it fresh. Additionally, you can whisk the eggs and sugar together ahead of time and store them in the fridge for up to 3 days. When you’re ready to finish making the curd, just combine the prepped ingredients in the saucepan and proceed with the cooking instructions to ensure your apple curd maintains its rich, creamy quality. This streamlined approach means you’ll enjoy homemade apple curd with minimal effort, just as delightful as when made fresh!
Storage Tips for Apple Curd
Refrigerator: Store your homemade apple curd in a sealed jar in the fridge for up to one week, ensuring it’s airtight to maintain freshness.
Freezer: For longer storage, freeze your apple curd in an airtight container for up to three months. Thaw in the fridge overnight before use.
Room Temperature: Avoid leaving the curd out at room temperature for more than two hours to maintain quality and safety.
Reheating: If using it warm, gently reheat the apple curd in a saucepan over low heat, stirring frequently until warmed through.
Helpful Tricks for Apple Curd
-
Fruit Selection: Choose tart apples like Granny Smith for a balanced flavor that enhances the apple curd’s sweetness. Sweet apples may create an overly sugary taste.
-
Egg Caution: Use low heat when cooking the curd to prevent the eggs from curdling; a gentle approach yields a creamy texture and rich flavor.
-
Straining Twice: Straining the curd twice ensures a smooth consistency; skipping this step may result in an undesirable texture filled with lumps.
-
Sugar Adjustment: Start with less sugar than you think you’ll need. You can always add more; this is crucial for creating a tasty low-sugar option without overpowering flavors.
-
Chilling Time: Be patient and allow the curd to chill for at least 2 hours before serving. This resting time is essential for achieving the perfect thickness and taste.
What to Serve with Easy Apple Curd
Indulge in a delightful spread that not only enhances your breakfast but transforms your entire meal experience.
-
Warm Toast: Perfectly crispy toast provides the base for your creamy apple curd, making each bite a comforting experience.
-
Fluffy Pancakes: Drizzle this luscious curd over fluffy pancakes for a sweet twist on a classic breakfast favorite, elevating your morning routine.
-
Yogurt Parfait: Layering apple curd with yogurt and granola creates a delightful texture and flavor contrast, perfect for a refreshing start to the day.
-
Homemade Scones: Spread warm scones with apple curd, and enjoy the buttery goodness that pairs wonderfully with the curd’s sweet notes.
-
Braided Pastry: Use apple curd as a filling for a braided pastry, taking your baking game to the next level with a delicious surprise inside.
-
Spiced Cottage Cheese: Enjoy apple curd as a topping for cottage cheese, providing a creamy, sweet flavor profile that’s perfect for a light meal.
-
Cheesecake Filling: Mix apple curd into your cheesecake batter for a seasonal twist that infuses every slice with delightful autumn flavors.
-
Sparkling Cider: Pair your apple curd-themed dishes with a glass of sparkling cider, making for a festive and refreshing beverage option.
Apple Curd Variations & Substitutions
Feel free to experiment with these tasty twists that can elevate your apple curd game!
- Vanilla Infusion: Add 1 teaspoon of pure vanilla extract during cooking for a warm, aromatic twist.
- Berry Blend: Substitute half the apples with fresh raspberries or blueberries for a vibrant fruit medley.
- Spiced Up: Mix in a pinch of cinnamon or nutmeg for a cozy, spiced flavor reminiscent of the fall season.
- Maple Sweetness: Replace sugar with maple syrup for a naturally sweet, earthy flavor that’s simply irresistible.
- Creamy Dream: For a richer texture, fold in a bit of cream cheese once the curd has cooled slightly.
- Citrus Zest: Add the zest of one orange or lemon to brighten the flavor and complement the apple perfectly.
- Low-Sugar Delight: Use a sugar substitute like erythritol or stevia if you’re looking to reduce sugar without sacrificing taste.
Once you’ve crafted your perfect apple curd, why not use it as a filling for cakes? Check out my delightful Stuffed Baked Apples for a fun dessert idea! Enjoy your culinary journey!
Apple Curd Recipe FAQs
What type of apples should I use for the best flavor?
For the most delightful apple curd, I recommend tart varieties like Granny Smith or Braeburn. These apples provide the perfect balance of sweetness and acidity, enhancing the overall flavor of your curd. Sweet apples may lead to an overly sugary result, so opt for those flavorful tart options!
How long can I store homemade apple curd in the refrigerator?
Your homemade apple curd can be stored in a sealed jar in the fridge for up to one week. Make sure the jar is airtight to keep the freshness intact, allowing you to enjoy your delicious spread at your leisure.
Can I freeze apple curd, and if so, how?
Absolutely! You can freeze your apple curd for up to three months. Just pour it into an airtight container, leaving some space at the top for expansion. When you’re ready to use it, simply thaw it in the refrigerator overnight. This way, you can enjoy your homemade treat even later!
What should I do if my apple curd is too thin?
If you find your apple curd is not thickening as expected, don’t worry! You can prepare a cornstarch slurry by mixing one tablespoon of cornstarch with two tablespoons of water until smooth. Gradually stir this into your curd while cooking over low heat until it reaches your desired thickness. Just ensure you continuously stir to prevent any lumps from forming!
Are there any dietary considerations I should keep in mind with apple curd?
While apple curd is generally safe for most people, those with egg allergies or trying to follow a vegan diet should skip this recipe as it uses both whole eggs and egg yolks. For a vegan alternative, you could explore using popular egg substitutes like aquafaba or commercial egg replacers, but be aware that the texture and flavor may vary. Always check for any allergens in your other ingredients too!
How can I tell when my apple curd is done cooking?
To know when your apple curd is perfectly cooked, look for a smooth, custard-like consistency that coats the back of a spoon. This usually takes about 15-20 minutes of gentle cooking over low heat. Stir continuously to ensure even thickening and to prevent curdling. Trust me, the golden richness will be worth the wait!
Deliciously Creamy Apple Curd for Perfect Fall Mornings
Ingredients
Equipment
Method
- Peel, core, and chop tart apples into small pieces. In a saucepan, combine apples, water, and lemon juice. Cover and cook over medium heat for 20 minutes, stirring occasionally.
- Remove from heat and let cool slightly. Mash the apples thoroughly, then strain through a fine sieve to create a smooth apple purée.
- In a separate bowl, whisk together eggs and two egg yolks until combined. Set aside.
- Prepare a cornstarch slurry, if using, by whisking cornstarch with water until smooth.
- In the saucepan with the apple purée, add butter and sugar. Stir over low heat until melted, then gradually incorporate the whisked eggs.
- Continue to stir on low heat for 15-20 minutes until thickened. If using, add the cornstarch slurry and stir gently.
- Strain the mixture through a fine sieve again and let cool at room temperature.
- Transfer to a sterilized jar and refrigerate for at least 2 hours before serving.
Leave a Reply