
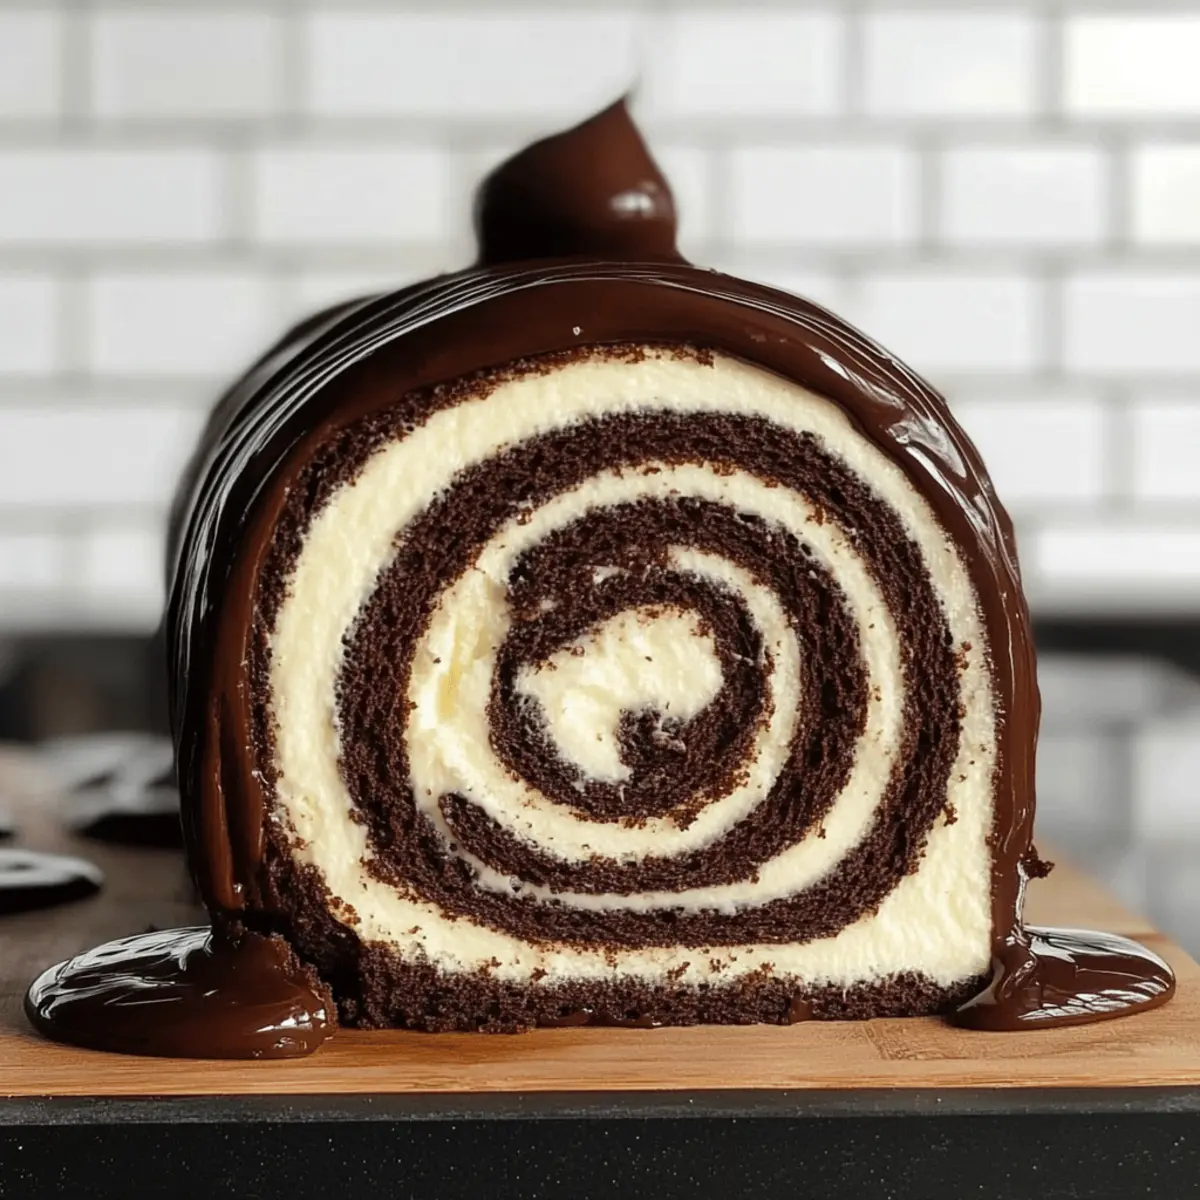
The moment that fluffy chocolate sponge gracefully unfurls, and a creamy filling spills from its embrace, I’m instantly transported to a cozy café buzzing with laughter and sweet delights. This No-Fail Chocolate Swiss Roll is a delightful masterpiece that combines rich indulgence with elegant charm, making it the perfect dessert for any gathering. Not only is this recipe a fantastic way to impress your friends, but it also offers the satisfaction of a homemade treat without the stress of complex techniques. With an easy-to-follow process and a luscious chocolate sauce draped over the top, you’ll find that this classic dessert is achievable for every home baker. Are you ready to roll into deliciousness?

Why is this Swiss Roll Special?
Simplicity at Its Best: This No-Fail Chocolate Swiss Roll takes the fear out of baking, offering a straightforward process perfect for home bakers of all levels.
Decadent Flavor: The combination of rich chocolate sponge and creamy filling creates an indulgent treat that’s hard to resist.
Versatile Delight: You can easily switch up the filling or toppings, like trying a hazelnut cream or fresh fruit preserves to match any occasion.
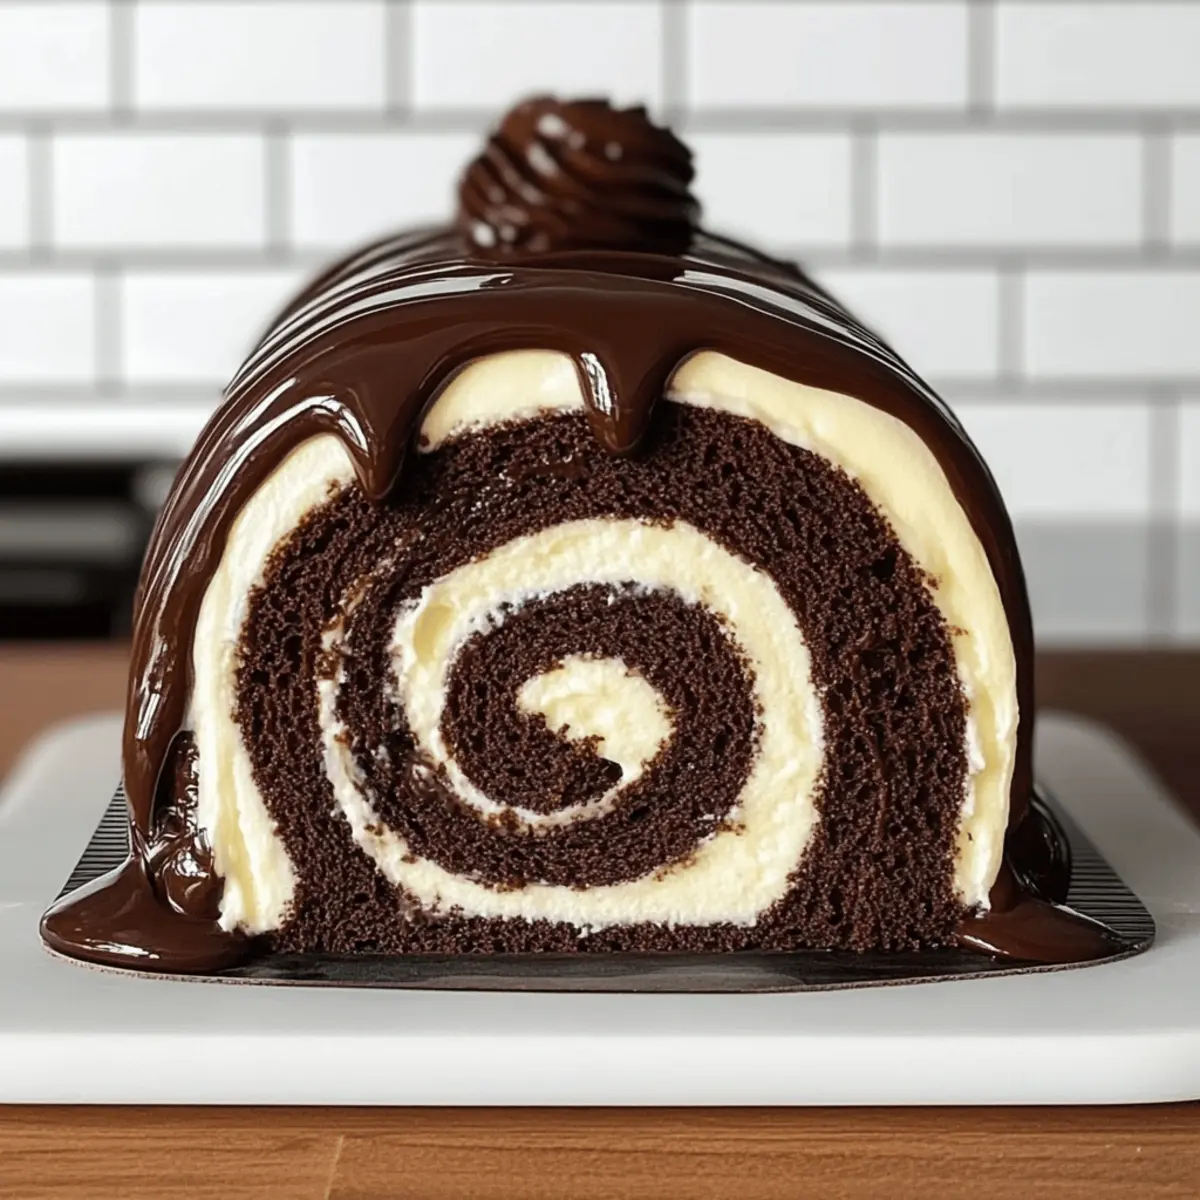
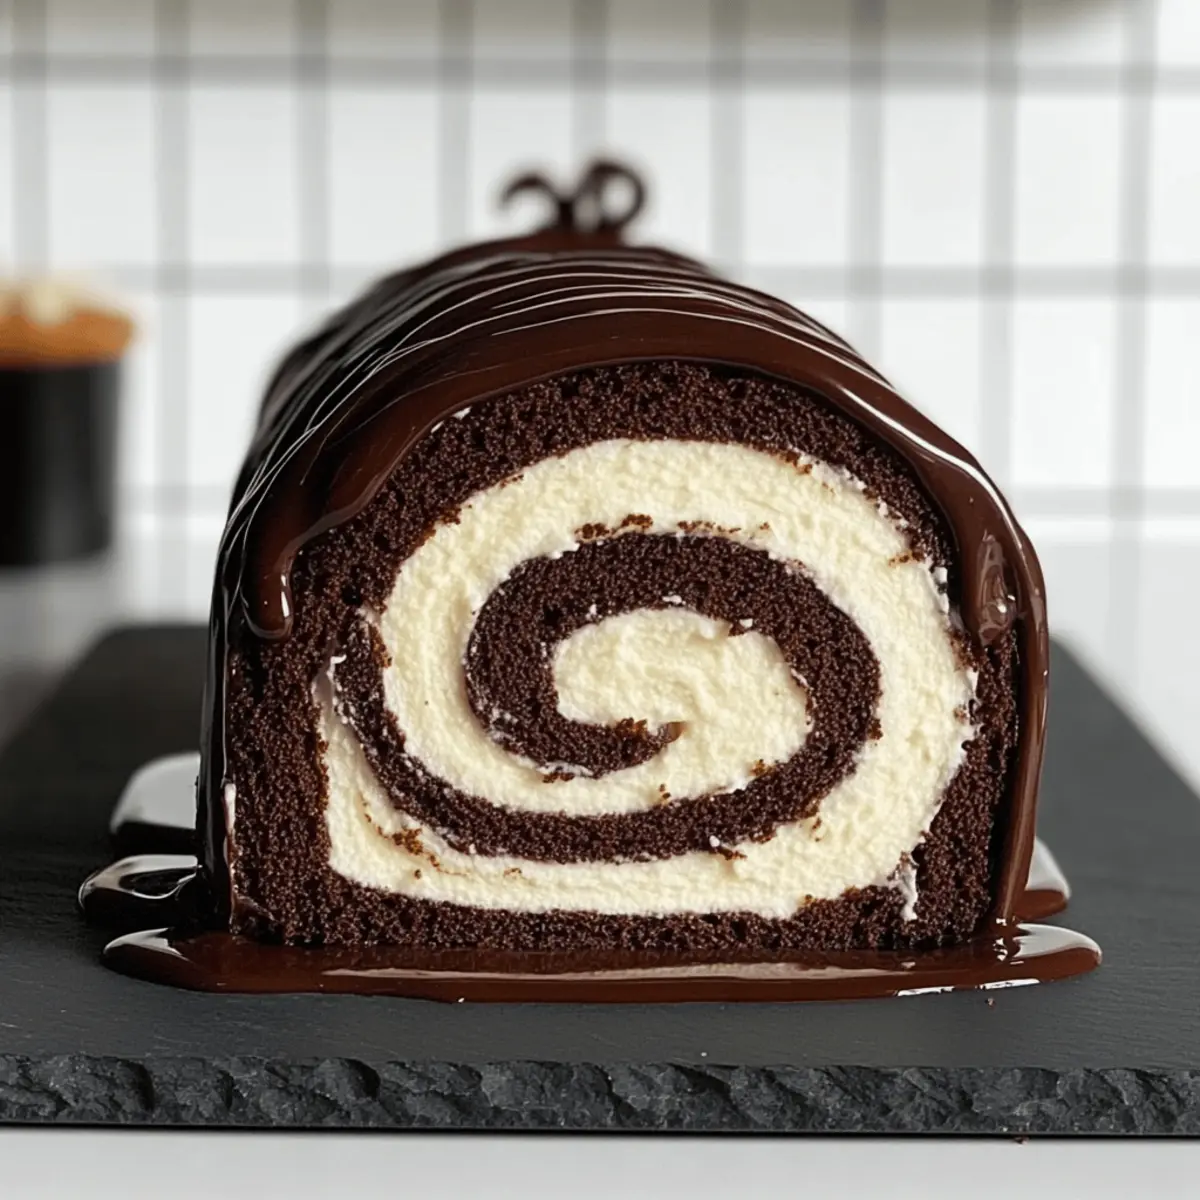
Impressive Presentation: With its elegant swirl and luscious chocolate sauce, this dessert impresses at gatherings and celebrations, making you the star of any kitchen.
Quick and Easy: This recipe comes together in a flash, allowing you to whip up a show-stopping dessert even on busy days. Pair your creation with a cup of coffee or dessert wine, or serve alongside Hawaiian Roll Grilled for a delightful spread.
No-Fail Chocolate Swiss Roll Ingredients
For the Cake
- Dutch-Processed Cocoa Powder – Adds a rich chocolate flavor and deep color; a great choice for this No-Fail Chocolate Swiss Roll.
- All-Purpose Flour – Provides necessary structure; if gluten-free is needed, opt for a suitable flour blend.
- Eggs – Essential for moisture and binding; substitutions like flax eggs can work for vegan versions but may alter texture.
- Caster Sugar – Sweetens and aerates the sponge; using granulated sugar is possible but may slightly affect texture.
- Melted Butter – Introduces richness and moisture; can be replaced with oil for a dairy-free option.
- Vanilla Extract – Enhances overall flavor; while optional, it adds a lovely depth to your cake.
For the Filling
- Heavy Cream – Whipped into a luscious Chantilly cream; can be substituted with non-dairy cream if desired.
- Powdered Sugar – Sweetens and stabilizes the filling; regular granulated sugar works if finely ground.
- Mascarpone Cheese – Adds creaminess and stability; cream cheese can be used as a substitute, but expect a different texture.
For the Chocolate Sauce
- Chocolate – The star ingredient for the sauce; melting it with the right technique allows for a luxurious drizzle.
- Butter – Adds richness to the sauce; can be swapped with a dairy-free alternative if needed.
- Brown Sugar – Offers caramel notes; adjust based on your sweetness preference.
- Cream – Balances the sauce’s consistency and richness; consider a non-dairy version if required.
Step‑by‑Step Instructions for No-Fail Chocolate Swiss Roll
Step 1: Preheat and Prepare
Begin by preheating your oven to 350°F (180°C). While it warms, grab a 10×15 inch jelly roll pan and line it with parchment paper, ensuring the edges are well covered. This preparation is crucial for your No-Fail Chocolate Swiss Roll, allowing for easy release once baked.
Step 2: Sift the Dry Ingredients
In a medium bowl, combine all the dry ingredients: all-purpose flour, Dutch-processed cocoa powder, baking powder, salt, and instant coffee. Sift them together to ensure a smooth and airy mixture. This step not only enhances texture but also helps incorporate air, setting the foundation for your light and fluffy chocolate sponge.
Step 3: Whisk the Egg Yolks
In a large bowl, whisk the egg yolks with half of the caster sugar until the mixture turns pale and thickens, which should take about 3-4 minutes. Once this is achieved, add in the melted butter and vanilla extract, mixing gently until well combined. This combination adds richness and flavor to your No-Fail Chocolate Swiss Roll.
Step 4: Beat the Egg Whites
In a separate clean bowl, whip the egg whites with the remaining sugar until stiff peaks form, which should take around 5-7 minutes using a hand mixer. The peaks should be glossy, signifying that you’ve achieved the right aeration. This step is crucial for giving your Swiss roll its light and airy texture.
Step 5: Combine Mixtures Gently
Now it’s time to gently fold in one-third of the whipped meringue into the yolk mixture using a rubber spatula. This initial incorporation helps lighten the batter. Next, add the remaining meringue and slowly fold in the sifted dry ingredients until just combined, being careful not to deflate the mixture. This is what makes your No-Fail Chocolate Swiss Roll rise beautifully.
Step 6: Spread and Bake
Pour the batter into your prepared jelly roll pan, using an offset spatula to spread it evenly. Bake in the preheated oven for approximately 12-15 minutes, or until the cake springs back when lightly pressed. Keep an eye on it—overbaking can lead to a dry sponge, which is not ideal for rolling.
Step 7: Cool and Roll the Cake
Once baked, immediately invert the cake onto a cocoa-dusted clean kitchen towel, removing the parchment paper. While it’s still warm, start rolling the cake tightly with the towel from one short end, allowing it to cool completely in this shape. This technique prevents cracking and sets the desired shape of your No-Fail Chocolate Swiss Roll.
Step 8: Prepare the Filling
In a mixing bowl, whip heavy cream with powdered sugar and vanilla extract until soft peaks form, which should take about 3-4 minutes. Once this is achieved, gently mix in the mascarpone cheese until you achieve a thick and creamy consistency. This luscious filling will bring your Swiss roll to life!
Step 9: Assemble the Swiss Roll
Unroll the cooled cake carefully, removing the towel. Spread the creamy filling evenly over the sponge, leaving a small margin around the edges. Starting from one end, roll the sponge tightly back up. Once assembled, wrap the roll in plastic wrap and chill for at least 30 minutes to set.
Step 10: Create the Chocolate Sauce
To make the chocolate sauce, melt chocolate, butter, brown sugar, and cream in a small saucepan over low heat, stirring constantly until smooth. Allow the mixture to cool slightly until it thickens but still remains pourable. This decadent sauce draped over your Swiss roll adds the perfect finishing touch to your No-Fail Chocolate Swiss Roll.
Step 11: Serve and Enjoy
Once chilled and set, slice the Swiss roll into portions and drizzle the chocolate sauce generously over each piece. Serve immediately for the best experience, garnishing with fresh fruit or a light dusting of cocoa powder for an elegant presentation. Your guests will be in awe of this delightful homemade treat!
How to Store and Freeze No-Fail Chocolate Swiss Roll
Fridge: Wrap the Swiss roll tightly in plastic wrap and store in the refrigerator for up to 3 days; this will keep it fresh and moist.
Freezer: For longer storage, wrap the Swiss roll in plastic wrap and aluminum foil, then freeze for up to 2 months; ensure the wrapping is airtight to prevent freezer burn.
Reheating: To thaw, simply place the wrapped Swiss roll in the refrigerator overnight before serving. You can also warm individual slices in the microwave for about 10-15 seconds for a cozy treat.
Serving Tip: For the best flavor and texture, enjoy your No-Fail Chocolate Swiss Roll at room temperature, garnished with fresh fruit or whipped cream if desired.
What to Serve with No-Fail Chocolate Swiss Roll
Indulging in a slice of this luscious chocolate Swiss roll invites thoughts of delightful pairings that elevate your dessert experience.
-
Fresh Berries: The brightness of strawberries or raspberries cuts through the richness of the chocolate, adding a burst of freshness. Their tartness beautifully complements the sweet filling.
-
Vanilla Ice Cream: A scoop of creamy vanilla ice cream transforms each bite, offering a delightful cold contrast against the warm chocolate sauce and soft sponge.
-
Espresso: A shot of robust espresso enhances the chocolate flavors, creating a comforting finish that’s perfect for coffee lovers. The rich bitterness balances out the dessert beautifully.
-
Whipped Cream: A dollop of lightly sweetened whipped cream adds a fluffy texture, elevating the indulgence. It’s a classic accompaniment that never disappoints, lending a luxurious feel to each slice.
-
Chocolate-Covered Strawberries: For a touch of elegance, serve chocolate-covered strawberries alongside. They echo the flavors of the Swiss roll while adding a visually stunning and delicious element.
-
Mint Tea: A warm cup of mint tea refreshes the palate after such a rich dessert, offering a soothing and aromatic experience. The mint can cleanse the senses, making each bite of cake feel brand new.
Expert Tips for No-Fail Chocolate Swiss Roll
-
Roll While Warm: Always roll the cake while it’s still warm. This prevents cracking and helps maintain its shape as it cools.
-
Gentle Folding: When incorporating the meringue into the batter, be gentle. Overmixing can deflate the air and lead to a denser sponge.
-
Watch Your Time: Keep an eye on the baking time. Overbaking the No-Fail Chocolate Swiss Roll will dry it out, making it more challenging to roll.
-
Chill Equipment: Make sure all equipment for whipping cream is as cold as possible. This helps achieve a fluffy and stable filling.
-
Experiment with Flavors: Don’t hesitate to play with flavors! Swap out the filling for fruit preserves or flavored extracts for a unique twist on your Swiss roll.
-
Use a Toothpick Test: To check for doneness, insert a toothpick in the center of the cake. If it comes out clean or with a few moist crumbs, it’s ready to come out of the oven.
Make Ahead Options
These No-Fail Chocolate Swiss Rolls are perfect for meal prep enthusiasts! You can bake the chocolate sponge up to 24 hours in advance, allowing you to focus on other tasks. After cooling, wrap the rolled sponge tightly in plastic wrap and refrigerate it to maintain its moist, airy texture. You can also prepare the filling (heavy cream, powdered sugar, and mascarpone cheese) up to 3 days in advance; just store it in an airtight container in the refrigerator. When you’re ready to enjoy your Swiss roll, simply unroll the cake, spread the chilled filling, roll it back up, and drizzle with the freshly made chocolate sauce right before serving for the best taste and presentation. Enjoy a splendid dessert with minimal last-minute effort!
No-Fail Chocolate Swiss Roll Variations
Feel free to play around and personalize your Swiss roll experience with these delightful options!
-
Fruit Filling: Swap chocolate filling for your favorite fruit preserves like raspberry or strawberry for a refreshing twist. The bright flavors contrast beautifully with the rich chocolate sponge.
-
Nutty Twist: Consider using hazelnut or almond cream in place of the mascarpone for a nutty infusion. This adds a delightful crunch and depth of flavor that will impress anyone who takes a slice.
-
Dairy-Free Delight: Replace heavy cream and mascarpone with coconut cream and dairy-free cream cheese for a luscious vegan alternative. This will keep your Swiss roll indulgent while accommodating dairy-free friends.
-
Flavored Extracts: Mimic gourmet flair by adding flavored extracts like almond or orange zest to the sponge or filling. Little tweaks like this infuse your Swiss roll with unique fragrances that entice the senses.
-
Spiced Chocolate: Stir in a pinch of cinnamon or cayenne pepper to the batter for a warm, spicy kick. It’s a fantastic way to elevate the classic chocolate flavor, creating a cozy, irresistible dessert.
-
Chocolate Ganache: For an extra luxurious finish, top your roll with homemade chocolate ganache instead of simple chocolate sauce. Melt together chocolate and cream for a glossy glaze that will have everyone drooling.
-
Matcha Version: If you’re feeling adventurous, you can make a matcha sponge instead. Pair it with white chocolate cream for a unique combination that’s as stunning as it is tasty.
-
Reduced Sugar: Make a lighter version by cutting the sugar in half in both the sponge and filling. This is perfect for health-conscious dessert lovers who still crave a touch of sweetness.
These variations will surely bring your No-Fail Chocolate Swiss Roll to the next level! For an elegant pairing, consider serving it alongside your favorite dessert wine or a delightful dish like Spinach Ricotta Rolls for a well-rounded meal. Enjoy experimenting!
No-Fail Chocolate Swiss Roll Recipe FAQs
What type of cocoa powder should I use for the best flavor?
Absolutely, I recommend using Dutch-processed cocoa powder for a rich chocolate flavor and deep color. If you only have natural cocoa powder on hand, it can be used as a substitute, but remember to reduce the sugar slightly, as natural cocoa tends to have a more acidic profile.
How do I store the Swiss roll to keep it fresh?
To keep your No-Fail Chocolate Swiss Roll fresh, wrap it tightly in plastic wrap and store it in the refrigerator for up to 3 days. This will help maintain its moisture and flavor. For longer storage, it also freezes well—just wrap it in plastic wrap followed by aluminum foil and stash it in the freezer for up to 2 months.
Can I freeze the No-Fail Chocolate Swiss Roll? How?
Yes, you can definitely freeze the Swiss roll! First, allow it to cool completely, then wrap it tightly in plastic wrap. Next, add a layer of aluminum foil to prevent freezer burn. When you’re ready to enjoy, simply move it to the refrigerator to thaw overnight. For individual slices, just microwave them for 10-15 seconds to warm.
What should I do if my sponge cake cracks while rolling?
If your Swiss roll cracks while rolling, don’t worry! This can happen if the cake cools too much before rolling. To prevent this, always roll the cake while it’s warm, ensuring it remains pliable. If it does crack, simply coat the cracks with the chocolate sauce for a delicious disguise!
Is this recipe suitable for people with dietary restrictions?
Absolutely! For a gluten-free version, you can use a gluten-free flour blend in place of all-purpose flour. If you need it dairy-free, substitute melted butter with vegetable oil, and use a non-dairy cream alternative for the filling. For vegan options, flax eggs can replace the eggs, although it might slightly change the texture.
What is the best way to achieve perfect meringue for the Swiss roll?
Achieving perfect meringue requires that your bowls and beaters are completely clean—any fat will prevent the egg whites from whipping up properly. Whip the egg whites until stiff peaks form, which generally takes about 5-7 minutes on high speed. The mixture should be glossy and hold its shape—this aeration will help give your cake a light and fluffy texture.
No-Fail Chocolate Swiss Roll: Indulgence Made Easy
Ingredients
Equipment
Method
- Preheat your oven to 350°F (180°C) and line a 10x15 inch jelly roll pan with parchment paper.
- In a medium bowl, sift together all-purpose flour, Dutch-processed cocoa powder, baking powder, salt, and instant coffee.
- Whisk the egg yolks with half of the caster sugar until pale and thick, then mix in melted butter and vanilla extract.
- In a separate bowl, whip the egg whites with the remaining sugar until stiff peaks form.
- Gently fold in one-third of the whipped meringue into the yolk mixture, then add the remaining meringue and sifted dry ingredients, folding carefully.
- Spread the batter evenly in the prepared pan and bake for 12-15 minutes.
- Invert the baked cake onto a cocoa-dusted kitchen towel and roll it tightly while still warm.
- Whip the heavy cream with powdered sugar until soft peaks form, then mix in mascarpone cheese until creamy.
- Unroll the cooled cake, spread the filling, and roll it back up tightly. Chill for 30 minutes.
- Melt chocolate, butter, brown sugar, and cream over low heat to make the chocolate sauce.
- Slice the Swiss roll, drizzle with chocolate sauce, and serve immediately.
Leave a Reply