
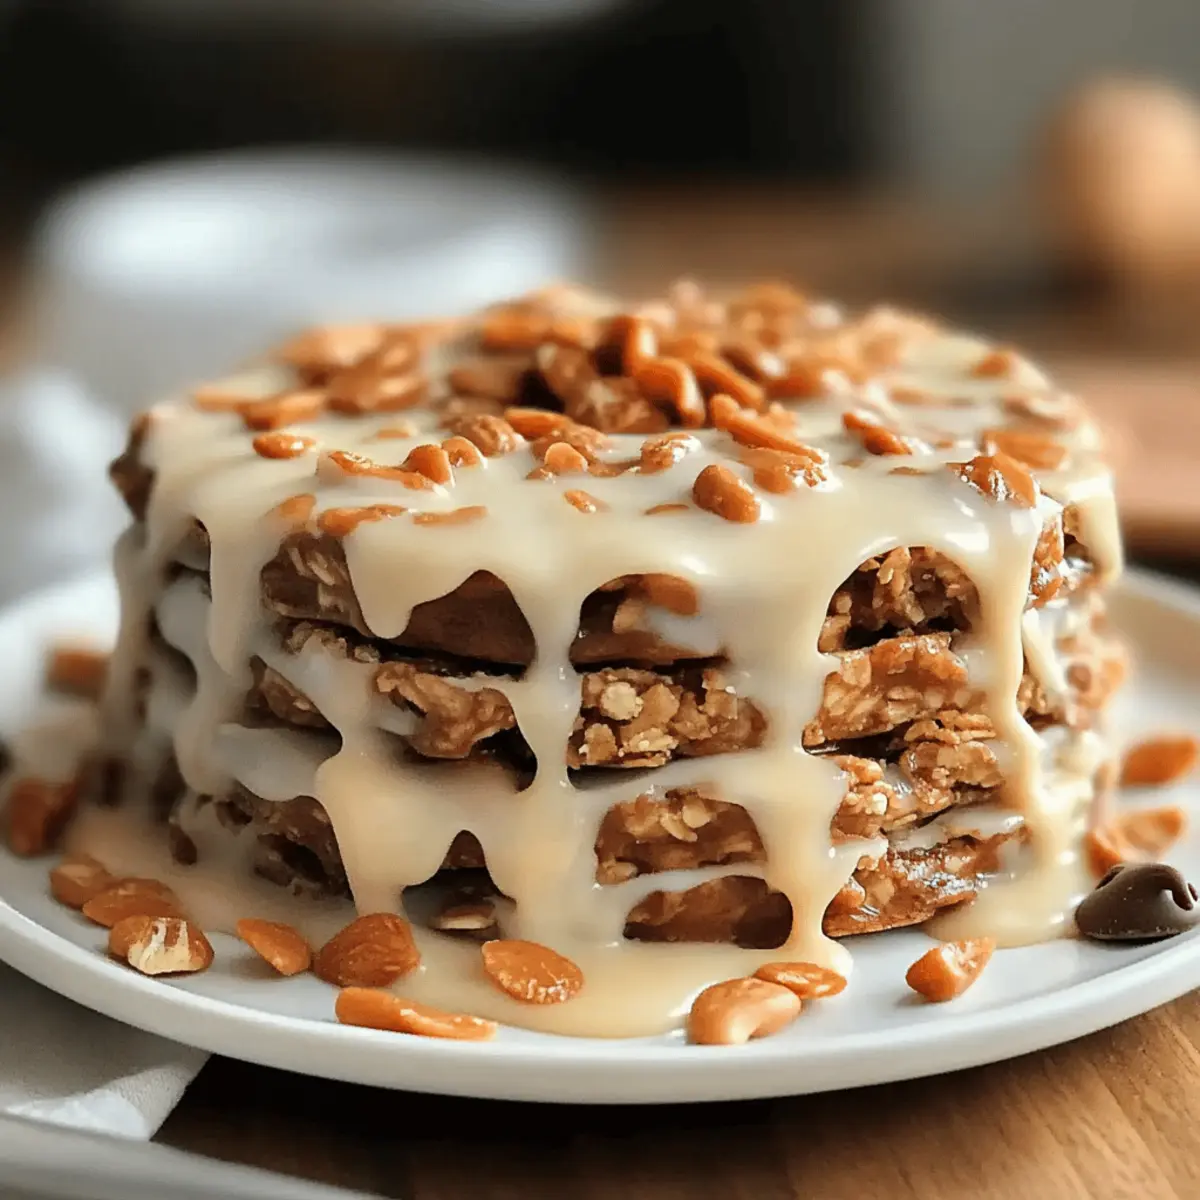
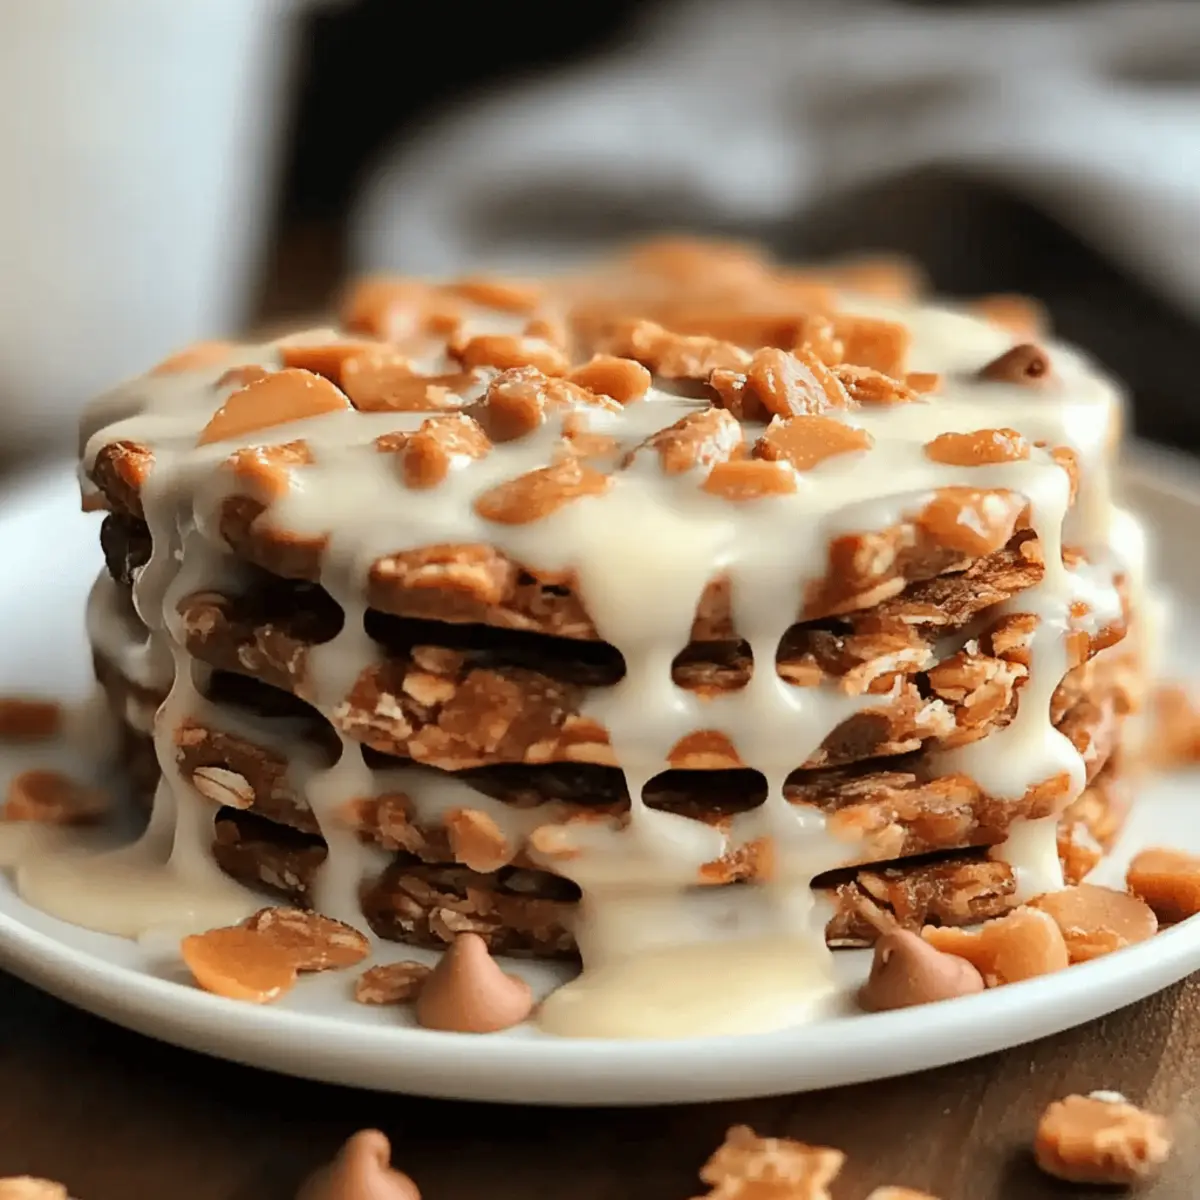
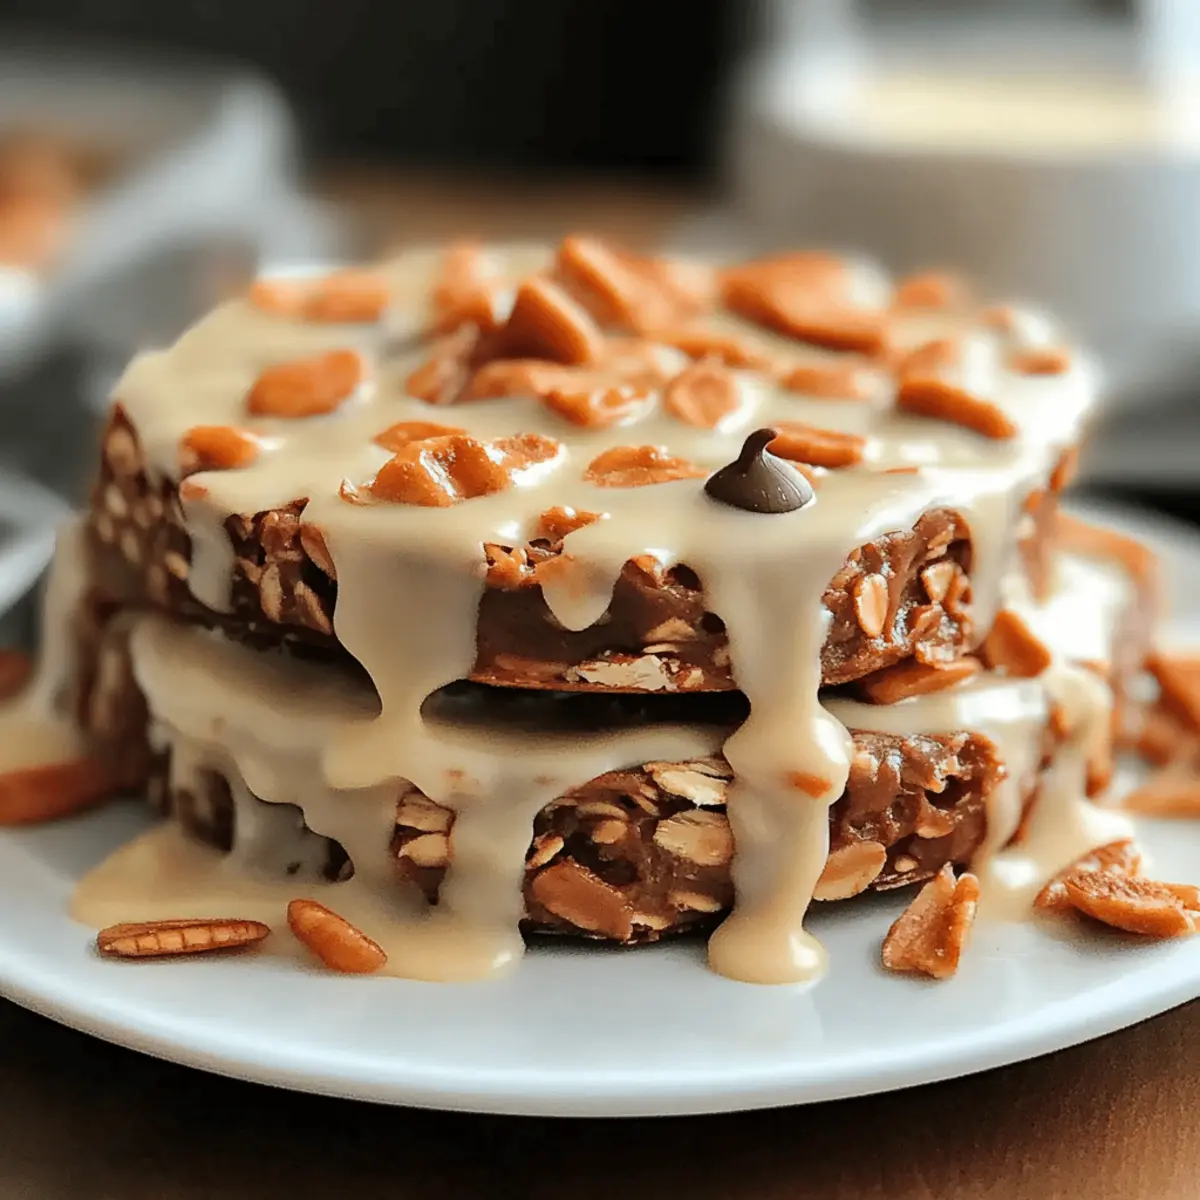
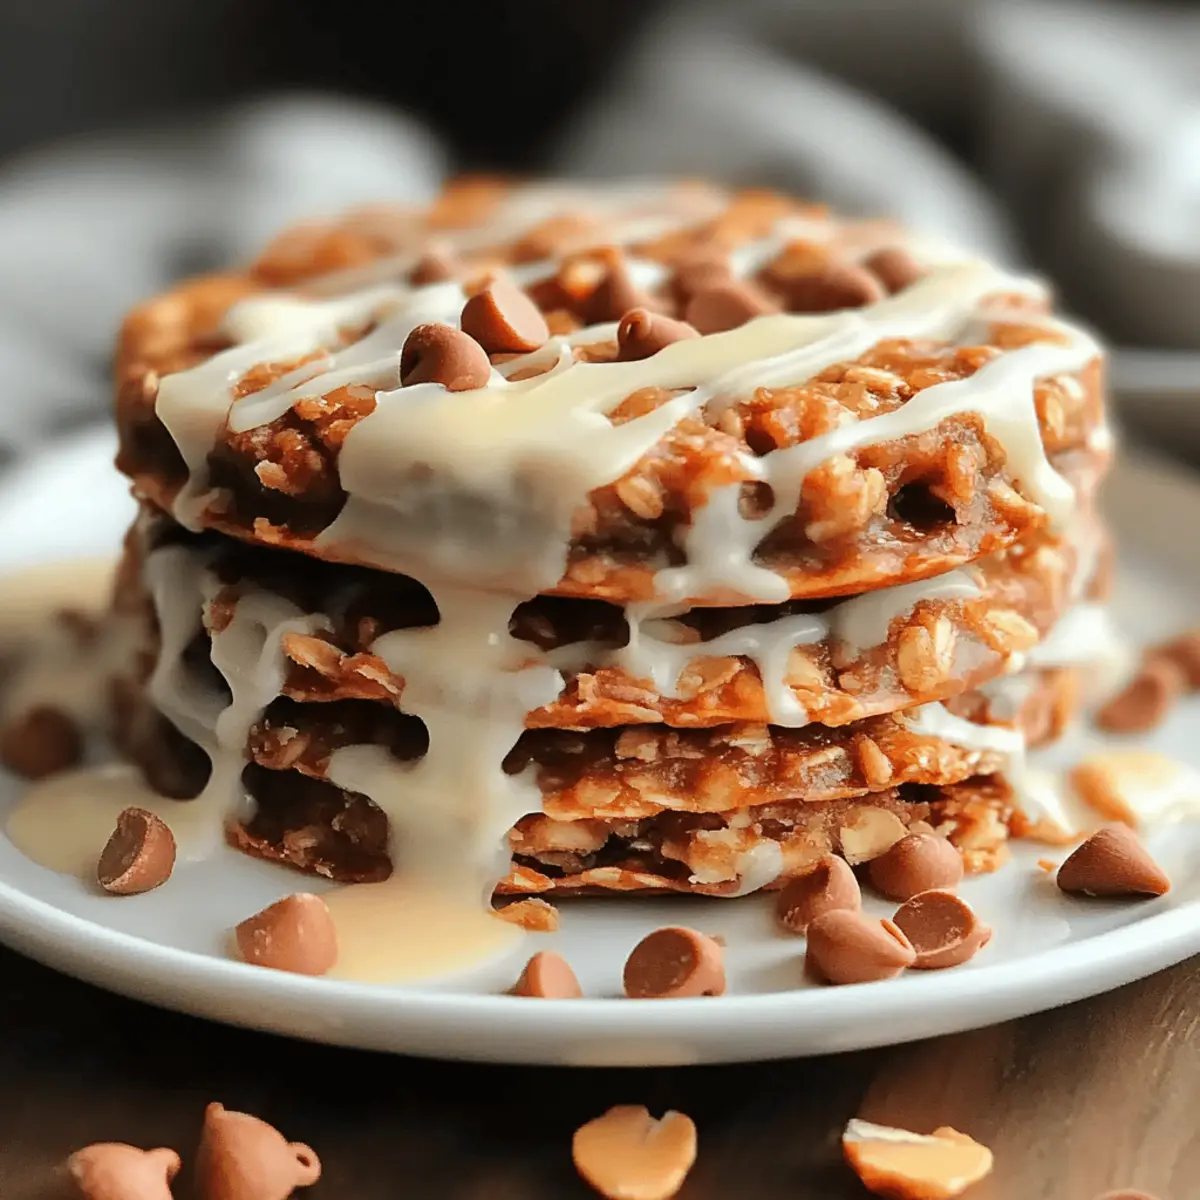
As I rummaged through my pantry one rainy afternoon, I stumbled upon a forgotten stash of oats and a jar of creamy peanut butter, and suddenly, inspiration struck. These No-Bake Chocolate Peanut Butter Oat Bars are the delightful result—a perfect blend of convenience and health. With just a handful of wholesome ingredients, you can whip up these simple yet satisfying snacks in no time. The best part? They’re not only gluten-free and filled with healthy fats, but they also serve as a versatile treat, allowing you to customize with various nut butters and fun add-ins like seeds or dried fruits. Whether you’re in need of a quick pick-me-up or a guilt-free way to satisfy your sweet tooth, these bars have got you covered. What’s your favorite way to get creative with snacks?
Why are these oat bars a must-try?
Convenient and quick to make, these No-Bake Chocolate Peanut Butter Oat Bars come together in just a few simple steps. Nutritious and wholesome, they offer a perfect balance of flavors and textures while being gluten-free and rich in healthy fats. Customizable, you can easily swap in your favorite nut butters or add-ins like seeds or dried fruits for an extra boost. Kid-approved and perfect for any occasion, these bars are a great way to satisfy cravings without the guilt! If you love easy snacks, you might also enjoy my Peach Cake Brown recipe for a sweet treat!
No-Bake Chocolate Peanut Butter Oat Bars Ingredients
• Crafted with wholesome goodness, these bars are simple yet delicious!
For the Base
- Rolled Oats – Essential for chewiness and structure; quick oats can be used but may alter texture.
- Natural Peanut Butter – Creamy and rich, providing healthy fats; substitute with almond or cashew butter for nut allergies.
- Maple Syrup – Sweetens while keeping the bars moist; agave syrup offers a great vegan alternative.
For the Flavor
- Cocoa Powder – Intensifies the chocolate flavor; use unsweetened for a less sweet result.
- Chocolate Chips – Adds delightful chocolatey bites; dark chocolate chips can enhance richness.
- Salt – Balances and enhances flavors; a pinch is all you need.
Bonus Add-ins (optional)
- Flax Seeds – Boosts nutritional value; an excellent source of omega-3 fatty acids.
- Chia Seeds – Adds fiber and crunch; perfect for a health kick.
- Dried Fruits – Raisins or cranberries introduce a sweet and tangy twist to your bars.
With these easy-to-find ingredients, you’ll be on your way to creating irresistible No-Bake Chocolate Peanut Butter Oat Bars that are not only delicious but also a healthy choice for snacking!
Step‑by‑Step Instructions for No-Bake Chocolate Peanut Butter Oat Bars
Step 1: Mix Dry Ingredients
In a large mixing bowl, combine 2 cups of rolled oats, 1/2 cup of cocoa powder, and a pinch of salt. Stir the dry ingredients together with a wooden spoon until evenly mixed, ensuring there are no clumps. This mixture serves as the hearty base of your No-Bake Chocolate Peanut Butter Oat Bars, providing both texture and flavor.
Step 2: Combine Wet Ingredients
In a separate bowl, mix together 1 cup of natural peanut butter and 1/2 cup of maple syrup. Use a whisk or spatula to blend these two until you achieve a creamy and smooth consistency, about 1-2 minutes. This will create a rich, flavorful binding agent for your bars that complements the dry ingredients beautifully.
Step 3: Combine Mixtures
Pour the wet peanut butter and maple syrup mixture into the bowl with the dry ingredients. Using a rubber spatula, carefully fold the mixtures together until all the oats are thoroughly coated and everything is well combined. You should have a thick, sticky mixture that holds its shape, which is essential for shaping your No-Bake Chocolate Peanut Butter Oat Bars.
Step 4: Add Chocolate Chips
Gently fold in 1/2 cup of chocolate chips into the combined mixture until evenly distributed. The chocolate chips will melt slightly from the warmth of the mixture, creating delightful pockets of chocolate within each bar. This step adds an extra layer of indulgence to your No-Bake Chocolate Peanut Butter Oat Bars, making them irresistible.
Step 5: Press Mixture
Line an 8×8-inch baking dish with parchment paper for easy removal. Transfer the mixture into the dish and use the back of the spatula or your hands to press it down firmly and evenly, creating a compact layer. Ensure it’s well-packed; this helps the bars hold together after chilling, so you have beautiful, sliceable No-Bake Chocolate Peanut Butter Oat Bars.
Step 6: Chill
Cover the baking dish with plastic wrap and refrigerate for at least 1 hour or until the mixture is firm to the touch. Chilling allows the flavors to meld together and helps the bars set properly. This step is crucial for achieving the perfect texture—chewy, yet easy to slice.
Step 7: Slice
Once chilled, remove the dish from the refrigerator and lift the bars out using the parchment paper. Place them on a cutting board and slice into desired portions, making squares or rectangles as you prefer. Store any leftover No-Bake Chocolate Peanut Butter Oat Bars in an airtight container in the refrigerator, where they’ll stay fresh for up to two weeks.
No-Bake Chocolate Peanut Butter Oat Bars Variations
Ready to get creative with your No-Bake Chocolate Peanut Butter Oat Bars? Here are some delightful twists that will tantalize your taste buds!
- Nut Butter Swap: Replace peanut butter with almond or cashew butter for a different flavor profile. Each nut brings its unique richness!
- Seed Boost: Add a couple of tablespoons of flax seeds or chia seeds for extra fiber and omega-3 fatty acids. They’ll boost nutrition without compromising taste!
- Fruity Fun: Incorporate dried cranberries or raisins for a sweet and tangy kick. These add-ins bring a chewiness that complements the chocolate perfectly.
- Spicy Hint: Mix in a pinch of cinnamon or a dash of cayenne pepper for an unexpected warm spice. This unique touch can elevate these bars to a new level of delight.
- Chocolate Lovers: Swap semi-sweet chocolate chips for dark chocolate chips, providing a richer chocolate experience. The deeper flavor enhances the entire bar!
- Coconut Flakes: Stir in unsweetened shredded coconut for added texture and a hint of tropics. It brings a lovely chewiness and subtle sweetness!
- Nutty Crunch: Toss in a handful of chopped nuts like walnuts or pecans for a satisfying crunch. They add an excellent layer of nuttiness that contrasts perfectly with the creamy texture.
- Granola Style: Mix in your favorite granola for an incredible crunch and variety of flavors. It’s a fantastic way to make each bite even more satisfying!
These variations not only make your snack experience more exciting but also allow you to cater to your family and guests’ preferences. If you’re up for more delicious treats, you might also love my Honey Pepper Cheese recipe for a savory option or try the sweet and fruity Strawberry Crunch Cheesecake for dessert!
Expert Tips for No-Bake Chocolate Peanut Butter Oat Bars
-
Press Firmly: Ensuring you press the mixture firmly into the baking dish is key; this will help the bars hold together when sliced.
-
Chill Enough: Give your bars enough time to chill—at least 1 hour. If not, they may crumble when you cut into them.
-
Customize Wisely: Feel free to swap peanut butter with almond or cashew butter based on your preferences or allergies. Each option brings a unique flavor!
-
Watch the Sweetness: Use unsweetened cocoa powder for a richer chocolate taste without added sweetness. Adjust based on your liking!
-
Mix-In Magic: Adding seeds or dried fruits can elevate the nutritional value and taste of your bars. Get creative!
What to Serve with No-Bake Chocolate Peanut Butter Oat Bars?
Crafting the perfect snack experience with these delectable bars opens up a world of delicious possibilities for your taste buds!
- Fresh Fruit Salad: A mix of seasonal fruits adds a refreshing brightness that contrasts beautifully with the rich chocolate. Think juicy berries, apples, and citrus! Serve chilled for a delightful combo.
- Creamy Yogurt Parfait: Layered yogurt with granola and your favorite fruits creates a wholesome breakfast or snack idea that complements the chewy bars nicely, adding creaminess and a touch of tang.
- Nutty Trail Mix: A crunchy blend of nuts and seeds brings an extra element of texture and heartiness. This crunchy companion can balance the chewiness of the bars for an energizing boost.
- Almond Milk Smoothie: A smoothie made with almond milk, banana, and spinach creates a nutrient-packed drink to enjoy alongside the bars. It’s refreshing and filling!
- Iced Coffee or Tea: A cold brew or iced tea infused with a hint of vanilla or caramel offers a comforting sip to enjoy with your snack, making for a delightful afternoon treat.
- Chocolate-Dipped Strawberries: The combination of fresh strawberries and chocolate is pure bliss. The added sweetness enhances the chocolate flavor in the bars while providing a fruity contrast!
- Dried Fruits: Raisins or apricots can add a sweet, chewy texture that complements the bars. These pairings become a satisfying dessert or snack that wraps up your treat experience beautifully.
- Dark Chocolate Bark: Homemade or store-bought dark chocolate bark is an indulgent match, further embracing the chocolate theme while providing a crunchy texture.
Enjoying these pairings can transform your No-Bake Chocolate Peanut Butter Oat Bars into the centerpiece of a healthful and delightful snack spread!
Make Ahead Options
These No-Bake Chocolate Peanut Butter Oat Bars are a fantastic option for busy home cooks looking to save time! You can prepare the mixture up to 24 hours in advance. Simply follow the recipe through Step 5 (pressing the mixture into the baking dish), then cover it tightly and refrigerate. This not only allows the flavors to meld beautifully but also ensures the bars hold their shape after chilling. When you’re ready to enjoy, simply chill for an additional hour (if needed), slice into bars, and they’re ready to serve. Rest assured, they’ll taste just as delicious, making your snack game effortlessly convenient and satisfying!
How to Store and Freeze No-Bake Chocolate Peanut Butter Oat Bars
Fridge: Store the bars in an airtight container for up to 2 weeks. Keep them well-sealed to maintain freshness and prevent them from drying out.
Freezer: For longer storage, freeze the bars in an airtight container or wrapped individually. They can last up to 3 months in the freezer, making it easy to enjoy them anytime.
Thawing: To enjoy frozen bars, simply remove them from the freezer and let them thaw in the fridge overnight or at room temperature for about 30 minutes.
Reheating: There’s no need to reheat these no-bake bars; enjoy them cold for a refreshing snack anytime!
No-Bake Chocolate Peanut Butter Oat Bars Recipe FAQs
How do I select ripe ingredients for the No-Bake Chocolate Peanut Butter Oat Bars?
Absolutely! For this recipe, focus on choosing natural peanut butter that has no added sugars or oils. Look for one that separates, as it typically indicates better quality. The maple syrup should be pure, with no additives; the richer the syrup, the more flavorful your bars will become. As for the oats, stick with rolled oats for the best texture; they should be fresh, and if you notice any off smells or a strange color, it’s time to toss them!
How should I store the No-Bake Chocolate Peanut Butter Oat Bars, and how long do they last?
Very! Store the bars in an airtight container in the refrigerator for up to 2 weeks. This ensures they stay fresh and chewy, perfect for grabbing on the go. For longer storage, you can freeze them, ensuring they are individually wrapped or placed in a freezer-safe container to prevent freezer burn. They can last up to 3 months in the freezer, so you’ll have tasty treats ready whenever you crave a snack!
Can I freeze No-Bake Chocolate Peanut Butter Oat Bars, and if so, how do I do it properly?
Definitely! Freezing these bars is a fantastic way to extend their shelf life. Here’s how you can do it:
- Wrap each bar tightly in plastic wrap or aluminum foil to protect them from freezer burn.
- Place the wrapped bars in a freezer-safe container or a zip-top freezer bag; make sure to remove excess air before sealing.
- Label the container or bag with the date. You can freeze them for up to 3 months.
Whenever you’re ready to enjoy, simply thaw them overnight in the refrigerator or at room temperature for about 30 minutes.
What should I do if my bars crumble apart when I cut them?
Oh no! If your bars crumble, it might be due to not pressing the mixture firmly enough into the baking dish or not chilling them long enough. Next time, make sure to really pack down the mixture in the dish using a rubber spatula or your hands, ensuring it’s evenly pressed. Also, allow at least 1 hour of chilling; if they’re still soft after that, consider letting them set in the fridge longer—patience is key to achieving that ideal chewy texture!
Are No-Bake Chocolate Peanut Butter Oat Bars suitable for anyone with allergies?
Yes and no! These bars can be easily modified for various dietary needs. To adapt them for nut allergies, simply substitute with sunflower seed butter or a seed blend butter. When considering vegan options, use agave syrup in place of honey and ensure your chocolate chips are dairy-free. As always, double-check labels to ensure there are no hidden allergens in your ingredients, especially if sharing with others. Enjoy experimenting with flavors and textures while keeping everyone safe!
Fluffy Carrot Cake Pancakes with Cream Cheese Drizzle Bliss
Ingredients
Equipment
Method
- In a large mixing bowl, combine rolled oats, cocoa powder, and a pinch of salt. Stir with a wooden spoon until evenly mixed.
- In a separate bowl, mix together natural peanut butter and maple syrup until creamy and smooth.
- Pour the wet mixture into the dry ingredients and fold together until all oats are coated.
- Gently fold in chocolate chips until evenly distributed.
- Line a baking dish with parchment paper and press the mixture down firmly and evenly.
- Cover with plastic wrap and refrigerate for at least 1 hour or until firm.
- Remove from the refrigerator, lift out using the parchment paper, and slice into desired portions.
Leave a Reply