
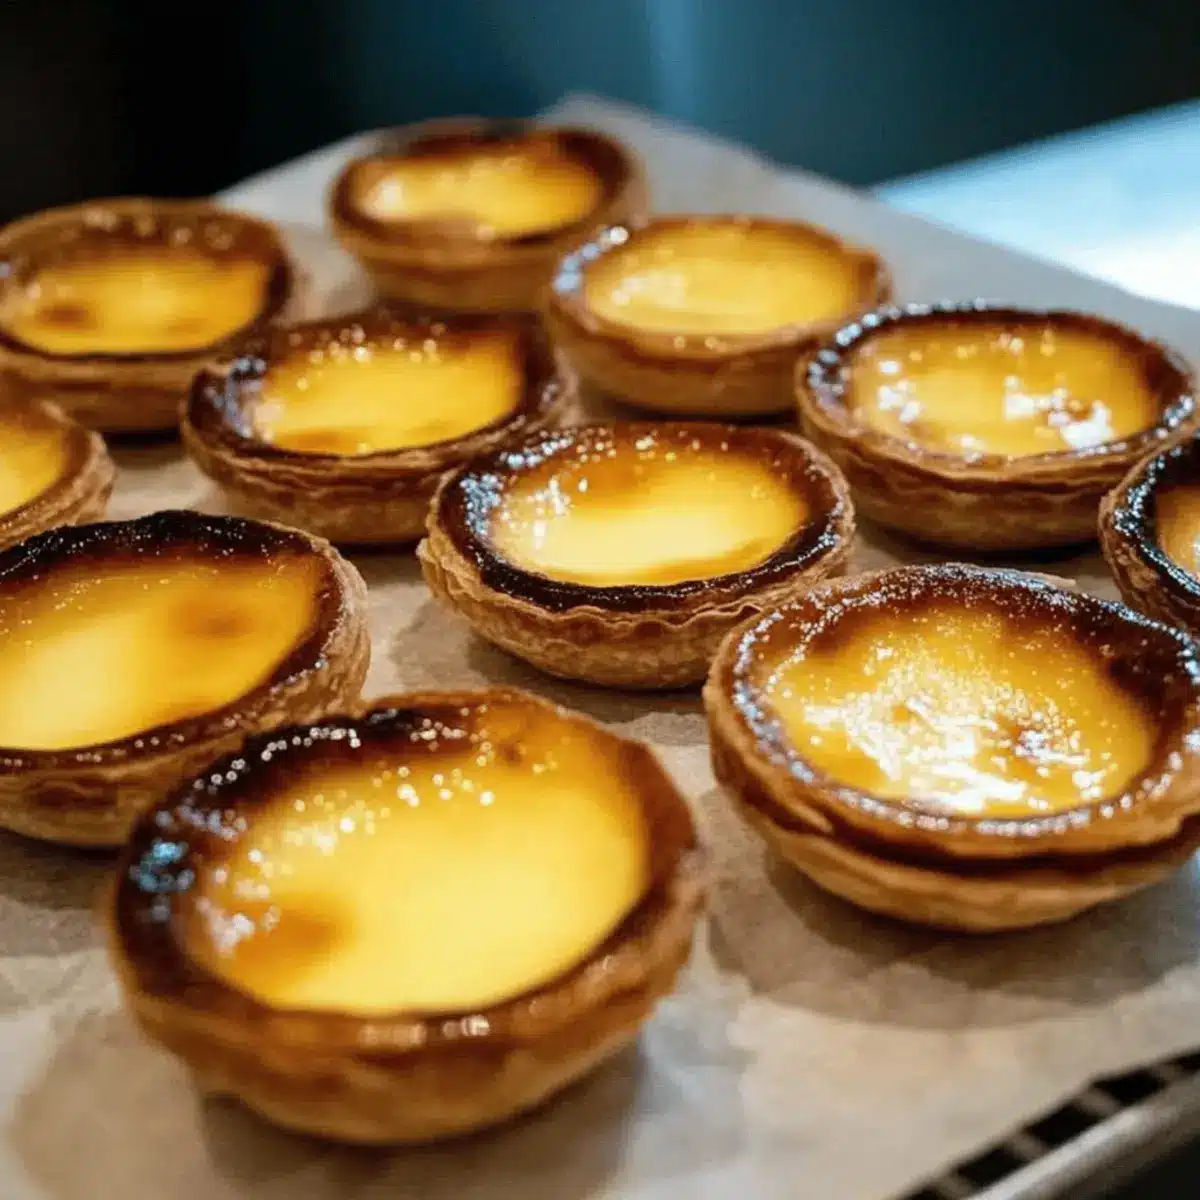
The moment I took my first bite of a pastéis de nata, I was transported to the sun-drenched streets of Lisbon. This beloved Portuguese custard tart, with its wonderfully flaky pastry and rich, creamy filling, holds a special place in my heart and my kitchen. The beauty of this recipe lies not just in its indulgent flavors but also in its simplicity—perfect for anyone ready to ditch fast food in favor of delightful homemade treats. Crafted with just a handful of ingredients, these authentic pastéis de nata are surprisingly quick to prepare and destined to impress a crowd. So, are you ready to channel your inner Portuguese baker and create these irresistible tarts?
Why are Pastéis de Nata so special?
Irresistible Flavor: Each bite reveals a balance of sweet custard and flaky pastry that captures the essence of Portuguese bakeries.
Quick Preparation: With a simple process, you’ll be enjoying these treats in under an hour, making them perfect for impromptu gatherings or a delightful dessert after dinner.
Versatile Serving: Enjoy them warm with a sprinkle of cinnamon, or pair them with coffee for a traditional experience—either way, they’re sure to please.
Cultural Charm: Bringing a taste of Lisbon to your home lets you savor a piece of Portuguese history while sharing delightful moments with family and friends.
Ready to make your very own pastéis de nata? Let’s transform your kitchen into a bustling bakery with this easy recipe!
Pastéis de Nata Ingredients
Dive into the delightful world of these Portuguese custard tarts with these essential ingredients!
For the Pastry Dough
- Puff Pastry – This flaky base can be store-bought or homemade, saving you time while delivering fabulous results.
For the Custard Filling
- Egg Yolks – These are fundamental for achieving that luscious, rich custard texture that defines pastéis de nata.
- Sugar – Use granulated sugar to sweeten the custard; the right balance is key to enhance the overall flavor.
- Milk – Whole milk is preferred to create a creamy and rich custard base that’s irresistibly smooth.
- Vanilla Extract – A splash of this enhances the custard’s flavor beautifully; consider fresh vanilla beans for an extra touch of luxury.
- Cinnamon – While optional, this spice adds a warm depth to your custard and is a traditional note in many recipes.
Enjoy preparing these authentic pastéis de nata and let their deliciousness shine in your home!
Step‑by‑Step Instructions for Pastéis de Nata
Step 1: Prep Oven and Muffin Tin
Begin by preheating your oven to 475°F (245°C) to ensure a crisp texture for your pastéis de nata. While waiting, generously grease a muffin tin with butter, making sure to coat each cavity well to prevent sticking later on.
Step 2: Roll and Shape Pastry
Next, take your puff pastry and roll it out thinly on a lightly floured surface—aim for about 1/8 inch thickness. Using a round cutter, cut out circles that are slightly larger than the muffin tin cavities, and gently press each circle into the tin to form your pastry shells.
Step 3: Make Custard Filling
In a medium saucepan, combine whole milk, granulated sugar, and a stick of cinnamon. Warm the mixture over low heat until it’s steaming but not boiling. In a separate bowl, whisk together the egg yolks, then slowly stir in the warm milk mixture to temper the eggs, ensuring a smooth custard.
Step 4: Fill Shells
Carefully pour the custard mixture into each pastry shell, filling them just to the brim to achieve that signature custard dome. Take your time to avoid spills; each shell should be evenly filled for consistent baking results in your delicious pastéis de nata.
Step 5: Bake
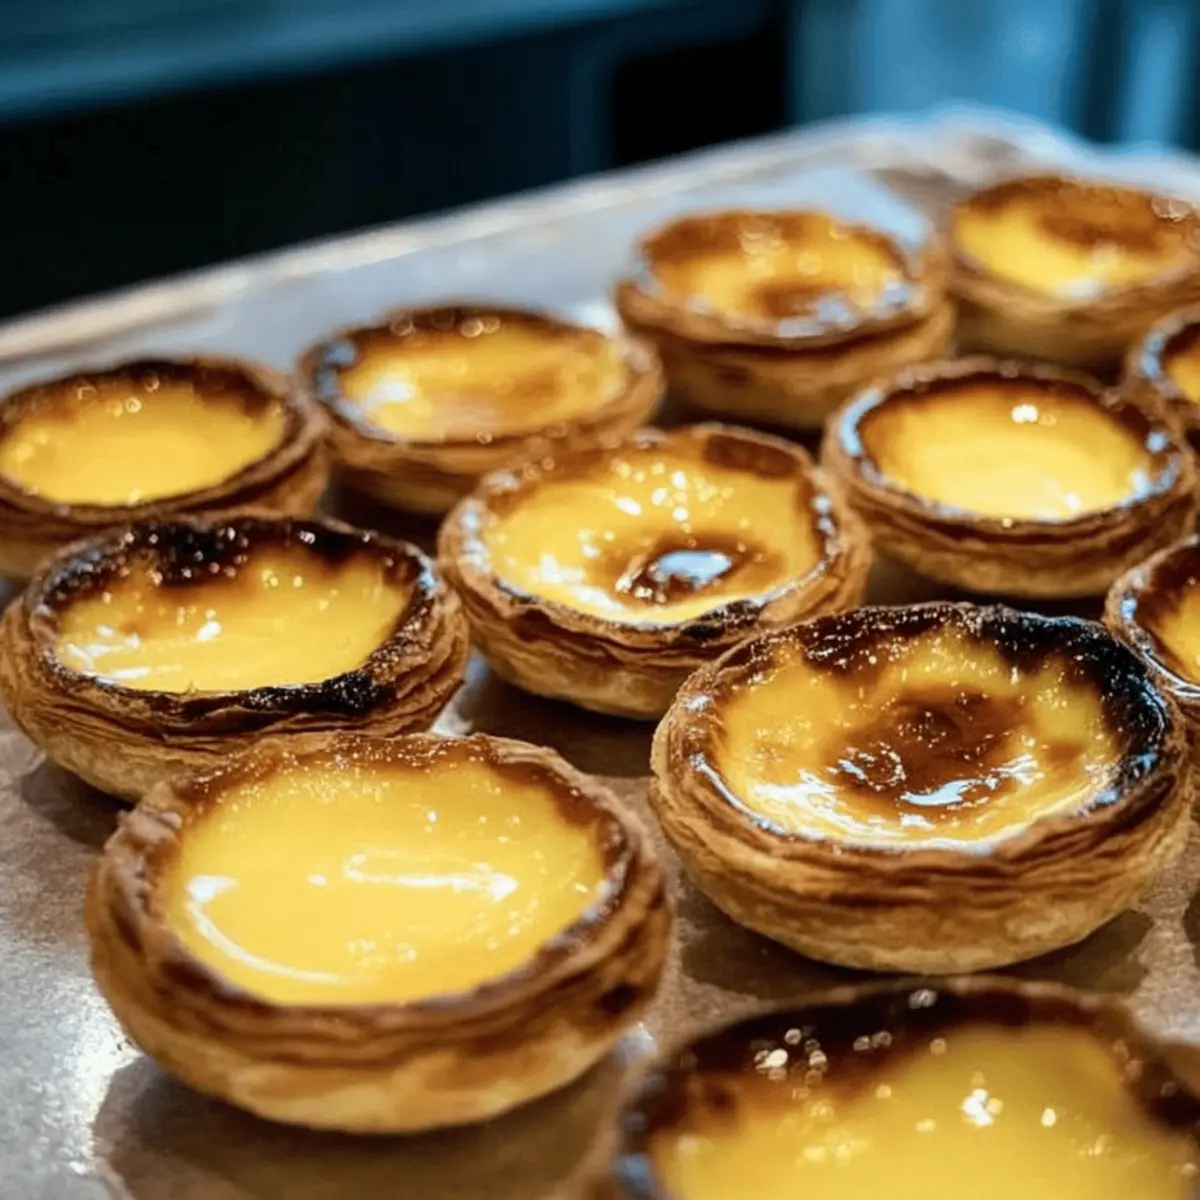
Place the muffin tin in the preheated oven and bake for 15 to 20 minutes. You’ll know they’re ready when the custard is set, and the tops are beautifully caramelized and slightly charred, giving that iconic pastéis de nata appearance.
Step 6: Cool
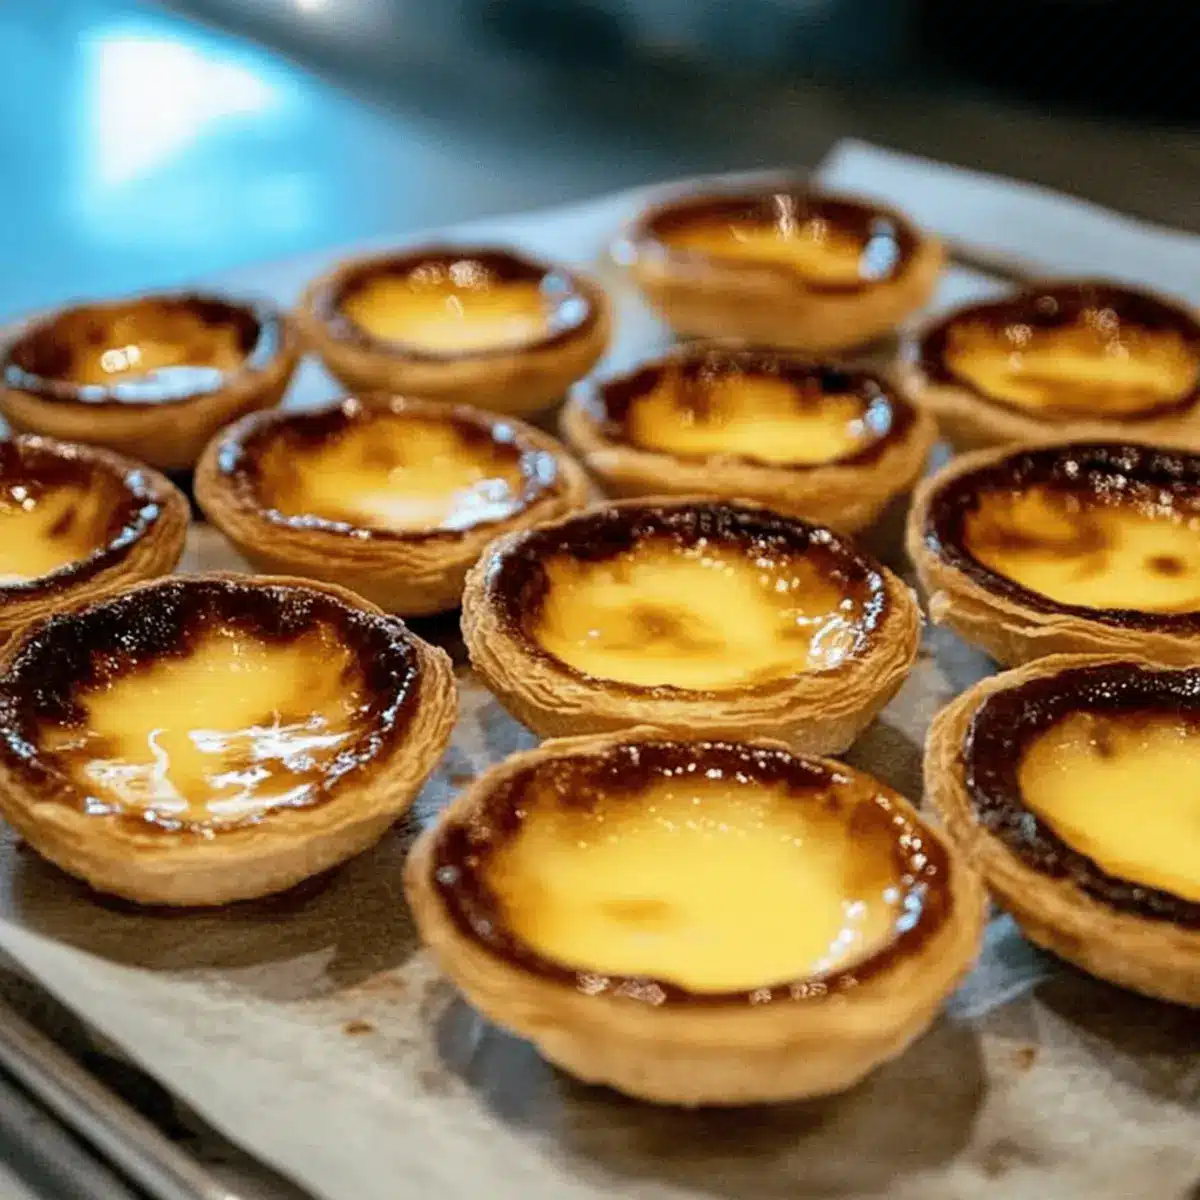
Once baked, remove the muffin tin from the oven and allow your pastéis de nata to cool slightly for about 5 minutes. Then, gently remove each tart from the tin, letting them cool further on a wire rack. These pastries are best enjoyed warm or at room temperature, allowing the flavors to shine.
Storage Tips for Pastéis de Nata
Fridge: Store your pastéis de nata in an airtight container in the refrigerator for up to 3 days to maintain freshness.
Freezer: For longer storage, you can freeze the unbaked custard tarts. Wrap them tightly and freeze for up to 2 months. Bake directly from frozen, adding a few extra minutes to the baking time.
Reheating: To enjoy your pastéis de nata at their best, reheat them in a preheated oven at 350°F (175°C) for about 10 minutes to restore the crispiness of the pastry shell before serving.
Serving Fresh: These custard tarts are always best enjoyed fresh, so consider making smaller batches if possible. Enjoy the delightful experience of homemade pastéis de nata!
Tips for the Best Pastéis de Nata
-
Roll Thinly: Ensure your puff pastry is rolled out as thin as possible; a thicker pastry can lead to a chewy texture instead of a light and flaky one.
-
Watch the Oven: Keep an eye on the baking time; pastéis de nata can go from perfectly caramelized to overcooked quickly.
-
Chill Before Rolling: If you’re making homemade puff pastry, be sure to chill it well before rolling to achieve that desired crispiness in the final product.
-
Use Quality Ingredients: Opt for high-quality vanilla extract and fresh, whole milk; these ingredients deeply enhance the custard flavor.
-
Temperature Matters: Allow the baked tarts to cool slightly before removing them from the muffin tin to avoid breaking. Your pastéis de nata will be better for it!
Make Ahead Options
These Pastéis de Nata are absolutely perfect for meal prep! You can prepare the pastry shells up to 24 hours in advance by rolling out the puff pastry, cutting it into circles, and placing them in the greased muffin tin before refrigerating. The custard filling can be made ahead of time as well; simply whisk together the ingredients and refrigerate it for up to 3 days. When you’re ready to serve, pour the chilled custard into the pastry shells and bake them at 475°F (245°C) until the tops are golden and slightly charred. This not only saves you valuable time on busy days but also ensures you enjoy delicious, freshly baked Pastéis de Nata whenever cravings strike!
Pastéis de Nata Variations & Substitutions
Feel free to get creative with your pastéis de nata and customize them to your taste buds’ delight!
-
Egg Lightening: Substitute some egg yolks with whole eggs for a lighter, airier custard. This slight change can enhance the texture while still delivering that creamy goodness.
-
Citrus Zest: Infuse your milk with zest from lemon or orange to add a refreshing citrus note, balancing the sweetness of the custard beautifully. The result is a zesty twist that dances on your palate.
-
Nutmeg Touch: For a unique flavor profile, swap cinnamon for nutmeg. This spicy alternative brings warmth and depth, creating a delightful spin on the traditional taste.
-
Sweetener Alternatives: Replace granulated sugar with coconut sugar or honey for a different kind of sweetness. These alternatives offer a richer flavor while still achieving that classic custard taste.
-
Gluten-Free Option: Use gluten-free puff pastry if you’re aiming to make gluten-free pastéis de nata. The texture may vary slightly, but the results can still be delicious and satisfying.
-
Chocolate Variation: For chocolate lovers, mix a bit of cocoa powder into the custard mixture. This decadent twist transforms your tarts into a chocolate dream that’s sure to impress.
-
Spicy Kick: Add a pinch of cayenne or chili powder for a surprising heat element that contrasts beautifully with the sweet and creamy custard. A little spice can amp up the excitement!
-
Dairy-Free Delight: Use almond or oat milk instead of whole milk to create a dairy-free version. This swap adds a nutty undertone without compromising the creaminess of the custard.
These variations are just a starting point! I encourage you to get creative and adapt the pastéis de nata to suit your tastes. And if you’re looking for more delightful ideas, you might enjoy exploring other traditional desserts like pastel de feijão or pudim flan. Happy baking!
What to Serve with Pastéis de Nata
Imagine the joy of creating a delightful meal, where sweet and savory pairs perfectly together to ignite your senses.
- Espresso: The bold flavors of a well-brewed espresso perfectly complement the sweetness of pastéis de nata, enhancing your overall dessert experience.
- Fresh Berries: A medley of fresh strawberries or raspberries adds a burst of tanginess, beautifully balancing the rich custard’s smoothness.
- Whipped Cream: Light and airy whipped cream makes a lovely accompaniment, providing a creamy texture that contrasts beautifully with the flaky tart.
- Cinnamon Sprinkles: A light dusting of cinnamon on top enhances the warmth and richness of pastéis de nata, drawing in those comforting, cozy vibes.
- Chocolate Sauce: Drizzling with chocolate adds a decadent touch, creating a delicious fusion of flavors that will leave a lasting impression.
- Port Wine: For a truly authentic Portuguese experience, serve these tarts with a glass of chilled port wine, perfectly echoing their sweet richness.
- Fruit Sorbet: A scoop of lemon or passion fruit sorbet refreshes the palate, offering a fruity contrast to the creamy custard.
- Almond Biscotti: This crunchy treat provides a satisfying, nutty crunch that pairs wonderfully with the smooth custard texture.
- Cheese Platter: A selection of soft cheeses can create an unusual yet delightful pairing, bringing depth and a savory contrast to the dessert’s sweetness.

Pastéis de Nata Recipe FAQs
How do I choose the best puff pastry for pastéis de nata?
Absolutely! When selecting puff pastry, look for high-quality, all-butter options as they provide the best flavor and flakiness. If you choose to go homemade, make sure to chill your pastry very well before rolling it out to achieve that ideal crispy texture.
What is the best way to store leftover pastéis de nata?
To keep your pastéis de nata fresh, store them in an airtight container in the refrigerator for up to 3 days. They are best enjoyed right after baking, but if you need to save some, be sure to reheat them in a 350°F (175°C) oven for about 10 minutes to regain that delightful crispiness!
Can I freeze pastéis de nata?
Absolutely! To freeze, prepare your pastéis de nata as directed, but do not bake them. Instead, wrap the filled pastry shells tightly in plastic wrap and place them in an airtight freezer bag. They can be frozen for up to 2 months. When you’re ready to bake, simply place them directly in the preheated oven, adding a few extra minutes to the baking time.
What should I do if my custard filling doesn’t set properly?
Very! If your custard isn’t setting, it may be due to undercooking or not incorporating the egg yolks fully. To troubleshoot this, ensure you are baking long enough in a hot oven (about 15-20 minutes) until the tops are caramelized. For a smooth consistency, always temper the egg yolks by adding a little warm milk to them gradually before combining them with the rest.
Are pastéis de nata suitable for those with egg allergies?
Unfortunately, traditional pastéis de nata are primarily made with eggs, which contribute to the custard’s rich texture. If you’re looking for an egg-free alternative, you might consider experimenting with custard powder combined with plant-based milk, but it might differ from the classic flavor and texture of pastéis de nata.
How can I enhance the flavor of my custard filling?
The more, the merrier! For an extra flavor boost, consider infusing the milk with lemon or orange zest to add a citrusy twist. You can also incorporate a touch of nutmeg or cardamom for a unique spin on the traditional recipe. Just remember, balance is key, so a little goes a long way!
Irresistible Pastéis de Nata: Master the Creamy Delight
Ingredients
Equipment
Method
- Preheat your oven to 475°F (245°C) and grease a muffin tin with butter.
- Roll out the puff pastry thinly, cut circles, and press into the muffin tin.
- Combine whole milk, sugar, and cinnamon in a saucepan and warm until steaming.
- Whisk egg yolks in a bowl and slowly stir in the warm milk mixture.
- Pour custard mixture into pastry shells, filling them just to the brim.
- Bake for 15 to 20 minutes until custard is set and tops are caramelized.
- Allow to cool slightly before removing from the tin and cooling on a wire rack.
Leave a Reply