
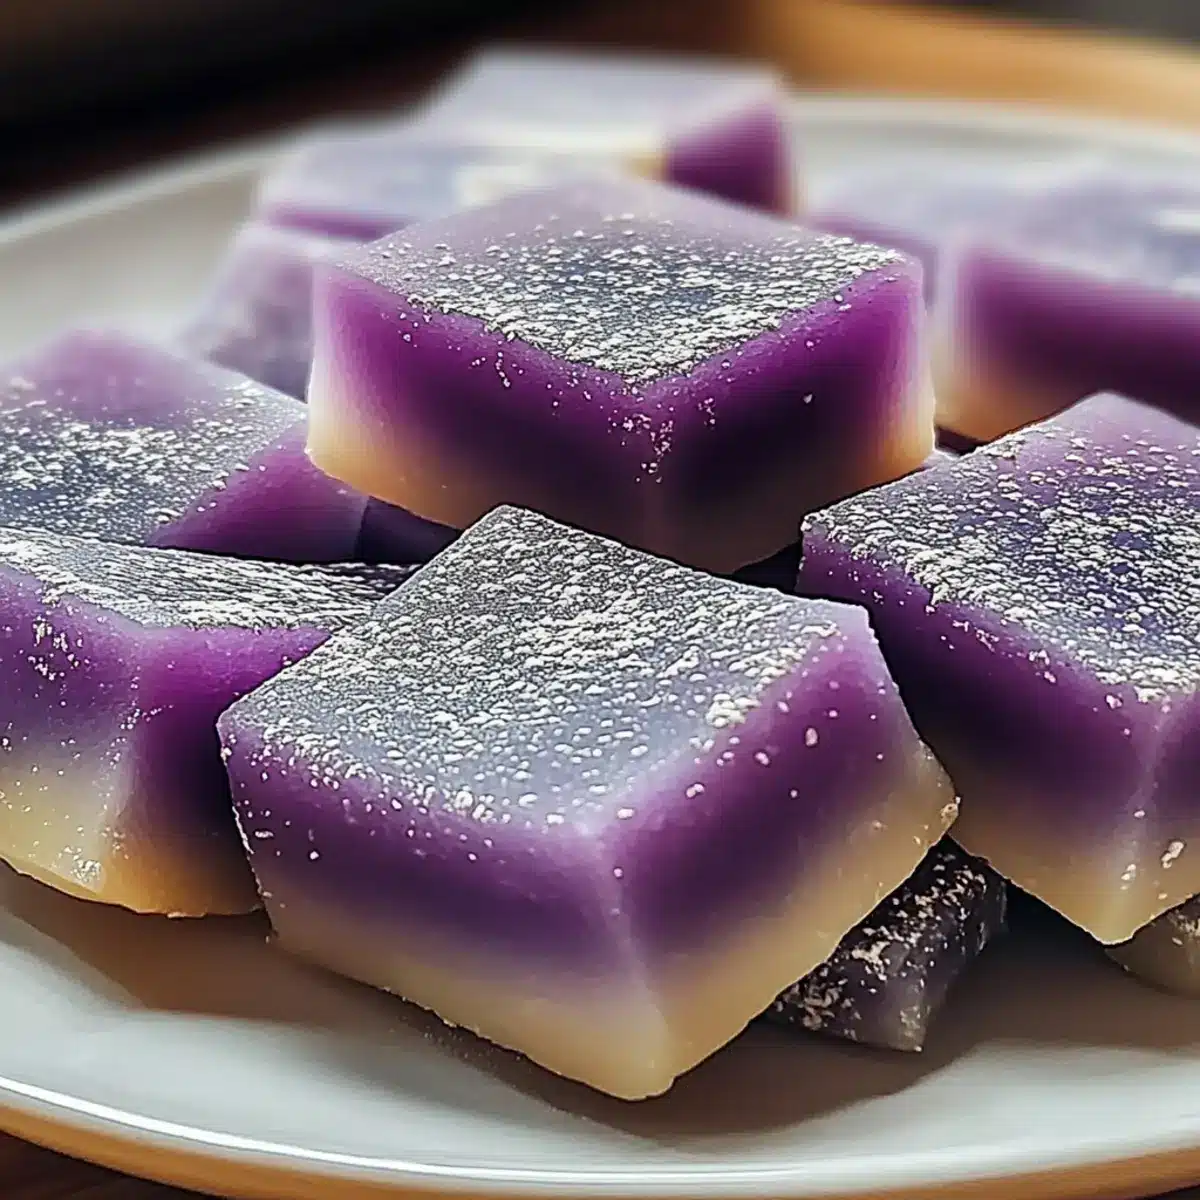
As I stepped into the kitchen, the subtle scent of coconut and sweet vanilla filled the air, instantly transporting me to the tropical shores of Hawaii. Today, I’m excited to share my take on Hawaiian Butter Mochi with Ube—a gluten-free dessert that not only captures the vibrant flavors of coconut but also infuses the delightful essence of ube, the beloved purple yam. This comforting treat strikes the perfect balance between chewy and tender, making it a must-have for family gatherings or cozy evenings at home. Plus, with its easy customization options, you can make it your own—perhaps adding some chocolate or a sprinkle of nuts! Are you ready to dive into this culinary adventure and create some magical memories with every bite?
Why is Hawaiian Butter Mochi with Ube special?
Unique Flavor Combination: Experience the delightful fusion of coconut and ube, two beloved ingredients that create a taste sensation unlike any other. Easily Customizable: Feel free to switch things up by adding chocolate or nuts for a personal twist. Gluten-Free Goodness: This recipe is perfect for those avoiding gluten without sacrificing flavor or texture. Perfect for Gatherings: Whether you’re hosting a party or enjoying a quiet night in, this dessert brings everyone together and adds a tropical flair. For more delightful treats, try my Bites Garlic Butter or my delicious Biscuits Honey Butter for an unforgettable spread!
Hawaiian Butter Mochi with Ube Ingredients
• Dive into the tropical flavors with this delicious blend!
For the Base
- Sweet Rice Flour (Mochiko Flour) – Provides the essential chewy texture of mochi and can’t be substituted without altering the final product.
- Granulated Sugar – Adds sweetness and balances the flavors; consider alternative sweeteners with caution as they might affect texture.
- Full-Fat Coconut Milk – Contributes to a rich, creamy taste; can be replaced with whole milk or almond milk for a lighter option but will change the flavor.
- Eggs – Provides structure and moisture; no substitutions are recommended for the best results.
- Unsalted Butter (melted) – Adds richness and enhances the overall flavor; can be swapped with coconut oil for a dairy-free version.
- Ube Extract – Delivers the distinctive flavor and lavishing color of ube; if unavailable, purple food coloring mixed with vanilla extract can be used as an alternative.
With these ingredients, you’ll be on your way to creating a delightful batch of Hawaiian Butter Mochi with Ube that’s bound to impress!
Step‑by‑Step Instructions for Hawaiian Butter Mochi with Ube
Step 1: Preheat and Prepare Bakeware
Begin your Hawaiian Butter Mochi with Ube by preheating your oven to 350°F (175°C). While the oven warms, grease an 8×8-inch baking dish with butter or cooking spray. This step is crucial as it prevents the mochi from sticking, ensuring a perfectly cooked dessert that’s easy to slice and serve later.
Step 2: Mix Dry Ingredients
In a large mixing bowl, whisk together the sweet rice flour and granulated sugar until they are fully combined and free of lumps. This combination sets the foundation for the chewy texture of your Hawaiian Butter Mochi with Ube. Make sure the mixture appears well-blended, which will help create a smooth batter in the following steps.
Step 3: Combine Wet Ingredients
In another bowl, mix the melted unsalted butter, full-fat coconut milk, eggs, and ube extract until the mixture is smooth and uniform in color. This rich blend of flavors will infuse your mochi with a delightful tropical essence. As you whisk, look for a silky consistency that indicates a successful blend of ingredients.
Step 4: Combine Mixtures
Pour the wet mixture into the bowl of dry ingredients, then gently stir until just combined. Aim for a slightly lumpy batter—overmixing can lead to a dense, less chewy texture. At this stage, the vibrant purple hue from the ube extract should be beautifully evident in your batter.
Step 5: Bake the Mochi
Carefully pour the batter into the prepared baking dish, ensuring it’s evenly spread across the bottom. Place the dish in the preheated oven and bake for 45-50 minutes. Look for a golden-brown top, and use a toothpick to check for doneness; it should come out clean when the mochi is fully cooked.
Step 6: Cool and Serve
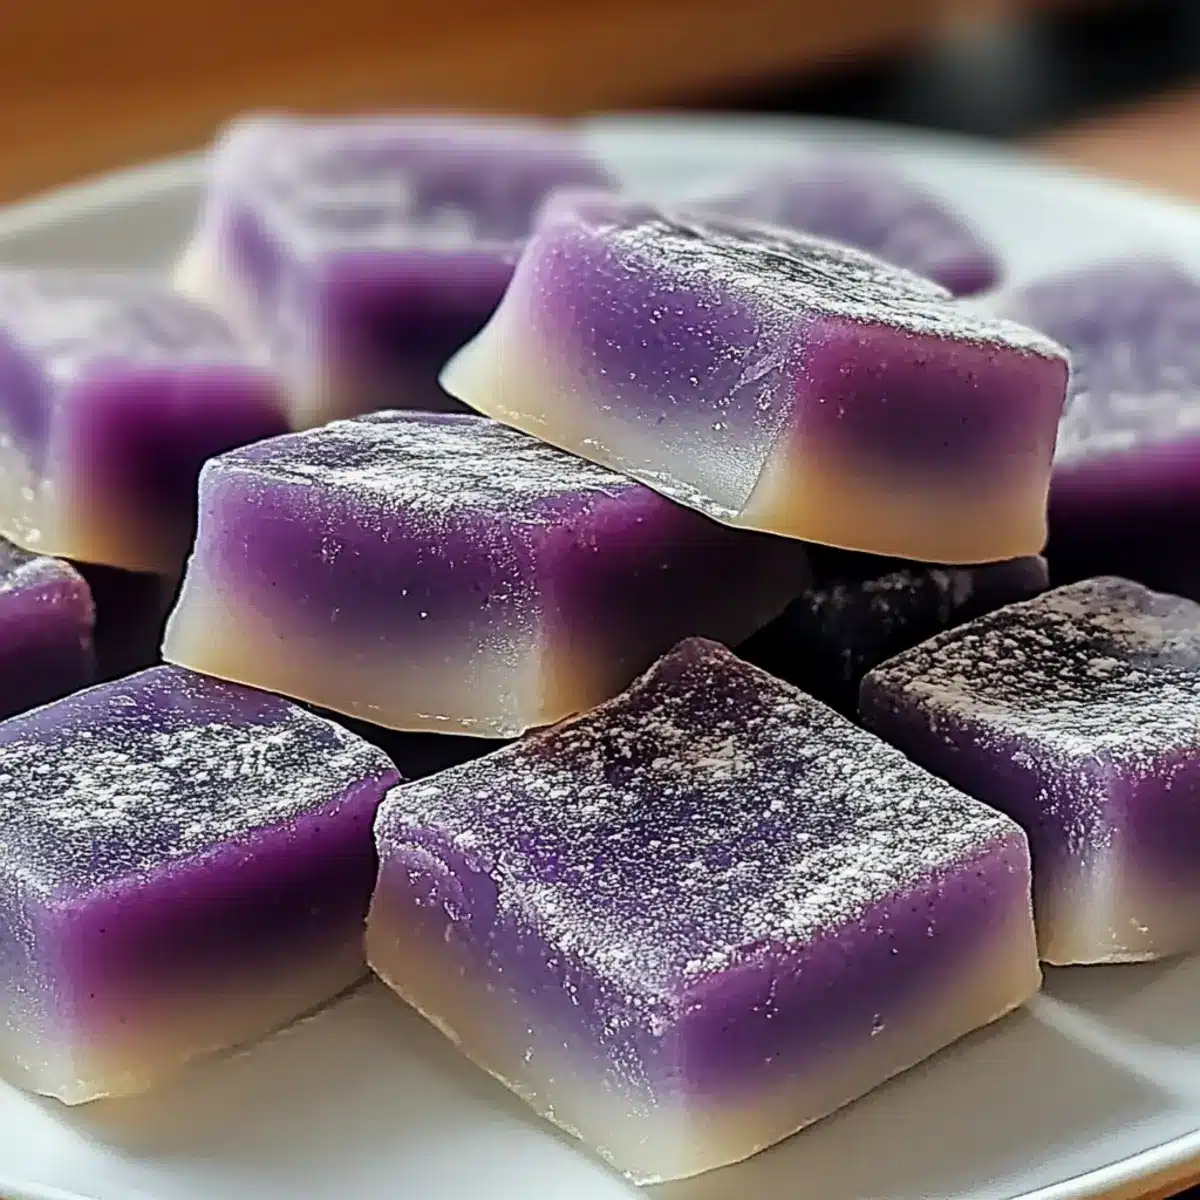
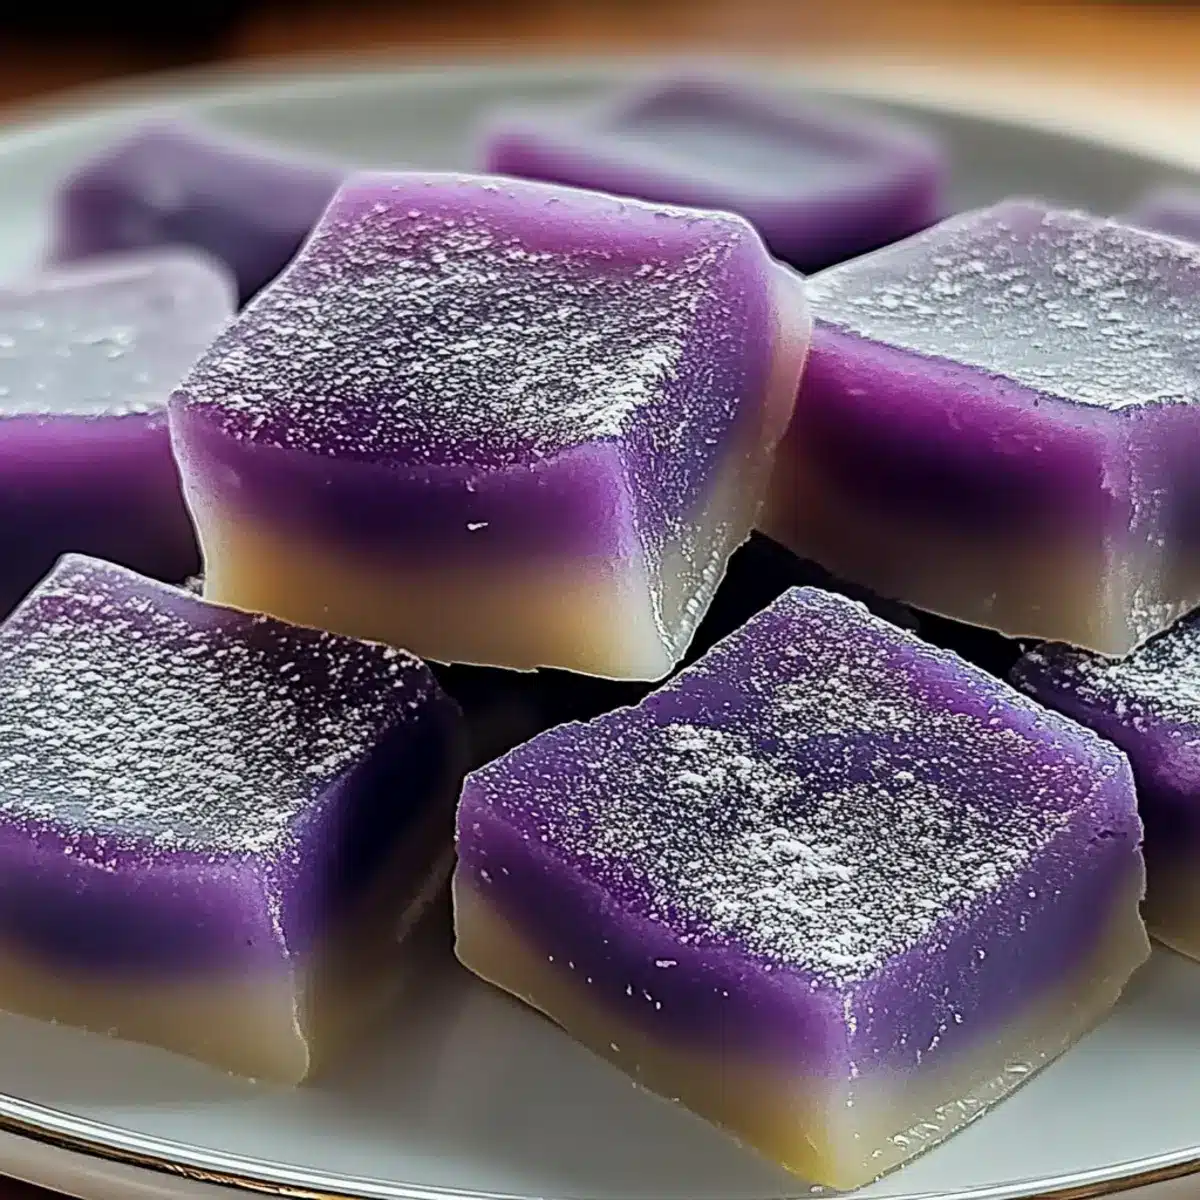
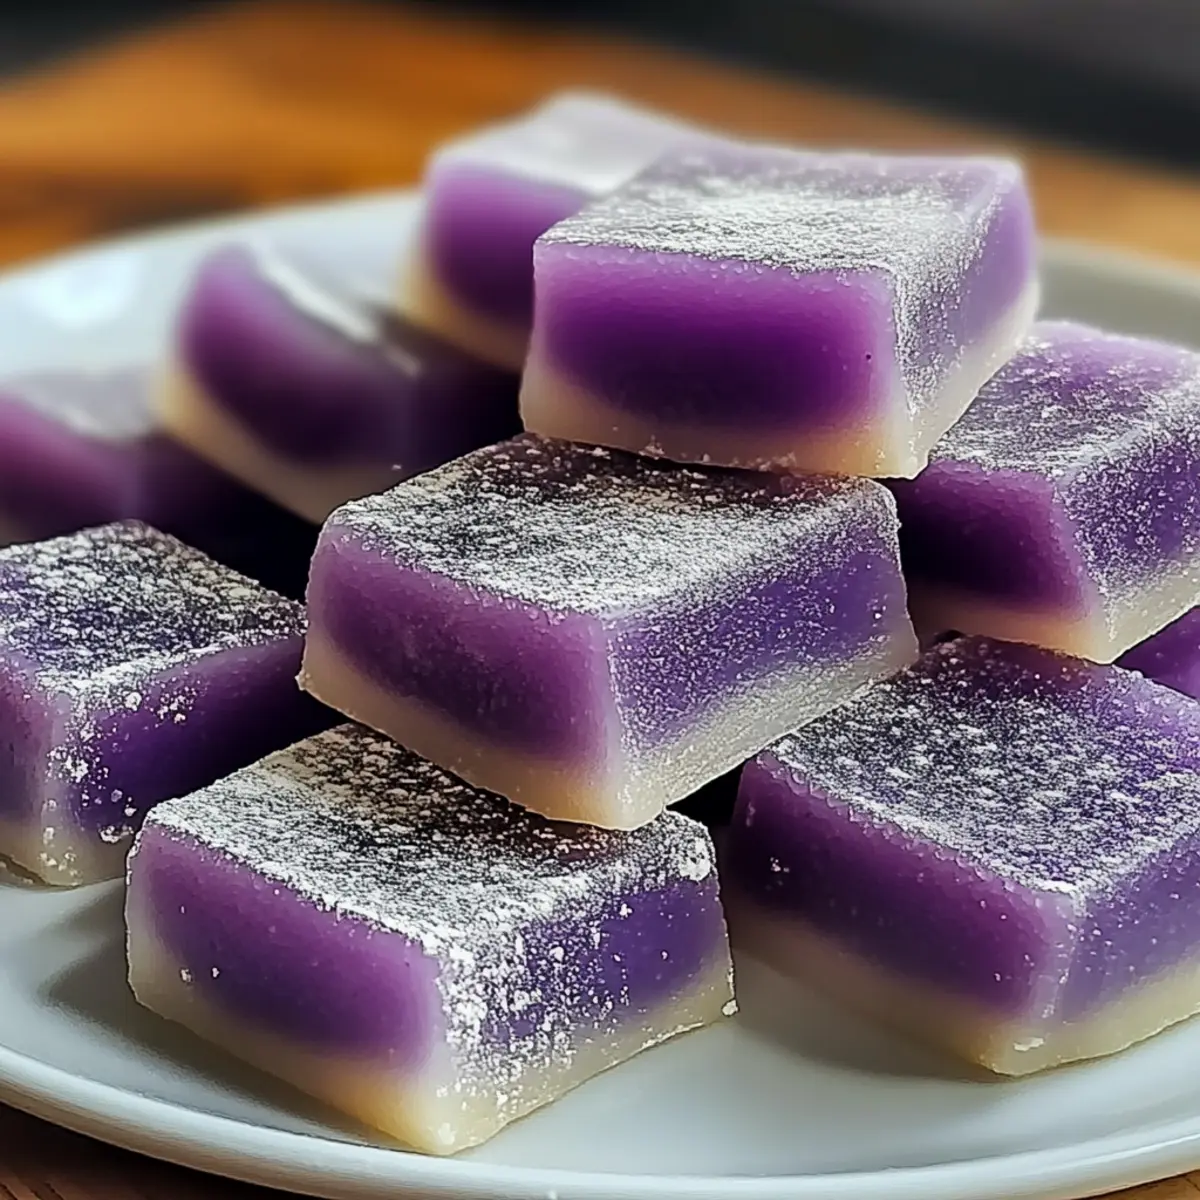
Once baked, remove the Hawaiian Butter Mochi with Ube from the oven and let it cool completely in the baking dish to room temperature. This cooling period is essential for achieving the right texture and makes slicing easier. After cooling, cut the mochi into squares or larger pieces for serving, and enjoy the enchanting flavors!
Expert Tips for Hawaiian Butter Mochi with Ube
- Mix Carefully: Ensure you gently combine wet and dry ingredients without overmixing; a few lumps are normal and help maintain the mochi’s desirable chewy texture.
- Watch the Clock: Keep an eye on your baking time; overbaking can result in a dried-out mochi, altering its soft and tender consistency.
- Cool Before Slicing: Allow the Hawaiian Butter Mochi with Ube to cool completely before cutting, as this helps create cleaner edges and preserves its delightful chewiness.
- Experiment with Flavors: Don’t hesitate to tailor the recipe! Try adding ingredients like chocolate, nuts, or substituting ube for matcha for a fun twist on this classic treat.
- Storage Solutions: To keep the mochi fresh, store it in an airtight container at room temperature for up to three days, or refrigerate for up to five days.
How to Store and Freeze Hawaiian Butter Mochi with Ube
Room Temperature: Store leftover Hawaiian Butter Mochi with Ube in an airtight container at room temperature for up to 3 days to maintain its chewy texture.
Fridge: If you prefer to keep it longer, refrigerate the mochi in an airtight container for up to 5 days, ensuring it stays fresh and delicious.
Freezer: For long-term storage, freeze individual pieces wrapped tightly in plastic wrap and then placed in a freezer bag. They can last up to 2 months in the freezer.
Reheating: To enjoy, simply thaw at room temperature for a few hours or heat in the microwave for 10-15 seconds, allowing the mochi to regain its delightful softness.
Hawaiian Butter Mochi with Ube Variations
Feel free to explore these delightful twists and substitutions to make your Hawaiian Butter Mochi with Ube uniquely yours!
-
Chocolate Twist: Replace ube extract with melted chocolate for a decadent variation that will satisfy any chocolate lover.
-
Nutty Delight: Add chopped nuts, like macadamia or walnuts, to the batter for a delightful crunch and flavor contrast.
-
Coconut Flakes: Incorporate sweetened shredded coconut into the mixture for a tropical vibe that enhances the coconut experience.
-
Matcha Magic: Swap the ube extract for matcha powder to create a beautiful green version with a subtly earthy flavor.
-
Fruit Infusion: Add fresh diced mango or pineapple pieces to the batter for a fruity explosion that pairs perfectly with the mochi’s chewy texture.
-
Dairy-Free Switch: Use coconut cream instead of full-fat coconut milk and coconut oil in place of melted butter for a fully dairy-free option.
-
Spiced Ube: Mix in a pinch of cinnamon or cardamom to the batter for a warm, spiced twist that elevates the flavor profile.
-
Serving Suggestion: Pair each square with a scoop of vanilla ice cream or a drizzle of chocolate sauce for an indulgent dessert experience. After tasting, don’t forget to seek out my delicious Chicken Buttered Noodles as a delightful main course to complement your tropical treat!
Make Ahead Options
These Hawaiian Butter Mochi with Ube are perfect for busy home cooks looking to save time in the kitchen! You can prep the batter up to 24 hours in advance—simply combine the wet and dry ingredients, then cover and refrigerate. For best results, bake the mochi as soon as you’re ready to serve. Alternatively, once baked, the mochi can be stored in an airtight container at room temperature for up to three days or in the refrigerator for up to five days. To maintain its chewy texture, let it cool completely before slicing. When ready to enjoy, serve it as is or gently warm it up in the microwave for a few seconds—just as delicious and perfect for satisfying your sweet cravings!
What to Serve with Hawaiian Butter Mochi with Ube
Transform your dessert experience with delicious pairings that enhance every magical bite of this tropical delight.
- Tropical Fruit Salad: A vibrant mix of pineapple, mango, and kiwi adds refreshing sweetness that balances the rich mochi.
- Coconut Sorbet: This light, creamy dessert echoes the coconut notes in your mochi while adding a chilled element that’s simply irresistible.
- Flavored Iced Tea: A lightly sweetened hibiscus or passion fruit iced tea offers a bold fruity contrast to the soft texture and flavor of the mochi.
- Pineapple Upside-Down Cake: The caramelized sweetness of pineapple cake complements the chewy mochi, creating a nostalgic tropical dessert duo.
- Macadamia Nut Cookies: These buttery, crumbly cookies perfectly contrast the mochi’s chewy nature, adding a crunchy texture to your dessert table.
- Whipped Cream: A dollop of whipped cream on the side introduces a light, airy element that pairs beautifully with the dense mochi.
- Chocolate Ganache Drizzle: Add a rich, velvety layer of ganache on top of your pieces for a decadent, chocolatey twist to each sweet bite.
- Milk or Non-Dairy Alternatives: It’s hard to resist a glass of cold milk—regular or almond—to wash down this sweet treat.
- Coconut Pudding: A smooth coconut pudding creates a dreamy texture contrast, enhancing the coconut flavor in the mochi.
- Mango Sticky Rice: To keep with the tropical theme, serve alongside this classic dessert that’s sweet and satisfying.
Embrace these pairings for an unforgettable finish to your Hawaiian Butter Mochi with Ube!
Hawaiian Butter Mochi with Ube Recipe FAQs
What type of sweet rice flour is best for this recipe?
Absolutely! Look for Mochiko Flour, specifically designed for making mochi, which provides that essential chewy texture. This ingredient is crucial, so avoid substitutes to maintain the integrity of the dessert.
How should I store leftover Hawaiian Butter Mochi with Ube?
I recommend storing any leftover mochi in an airtight container at room temperature for up to 3 days to keep its delightful chewiness. If you’d like to extend its freshness, you can refrigerate it, and it should last up to 5 days.
Can I freeze Hawaiian Butter Mochi with Ube?
Yes, you can freeze it! Individually wrap each piece in plastic wrap and place them in a freezer bag. This delicious treat will stay good for up to 3 months. When ready to enjoy, simply thaw at room temperature for a few hours!
What if my batter seems too thick or too runny?
If your batter appears too thick, it might be due to overmixing the dry ingredients or not measuring the wet ingredients properly. Aim for a slightly lumpy batter for that perfect texture. On the other hand, if it’s too runny, try adding a bit more sweet rice flour to achieve the desired consistency.
Are there any dietary considerations for Hawaiian Butter Mochi with Ube?
Definitely! This recipe is gluten-free, perfect for those who need to avoid gluten while still enjoying a sweet treat. For those with dairy allergies, you can substitute unsalted butter with coconut oil, making it dairy-free as well! Just ensure that all your other ingredients are also suitable for your dietary needs.
How do I know when my Hawaiian Butter Mochi with Ube is done baking?
Great question! Bake the mochi for about 45-50 minutes, looking for a golden-brown top. To check doneness, insert a toothpick in the center; it should come out clean when ready. It’s important to monitor baking time closely to avoid overbaking, which can change its delightful texture.
Delicious Hawaiian Butter Mochi with Ube for Sweet Moments
Ingredients
Equipment
Method
- Preheat your oven to 350°F (175°C) and grease an 8×8-inch baking dish.
- In a large mixing bowl, whisk together the sweet rice flour and granulated sugar until well combined.
- In another bowl, mix the melted unsalted butter, full-fat coconut milk, eggs, and ube extract until smooth.
- Pour the wet mixture into the dry ingredients and stir gently until just combined.
- Pour the batter into the prepared baking dish and bake for 45-50 minutes until golden brown.
- Let it cool completely in the baking dish before slicing into squares to serve.
Leave a Reply