
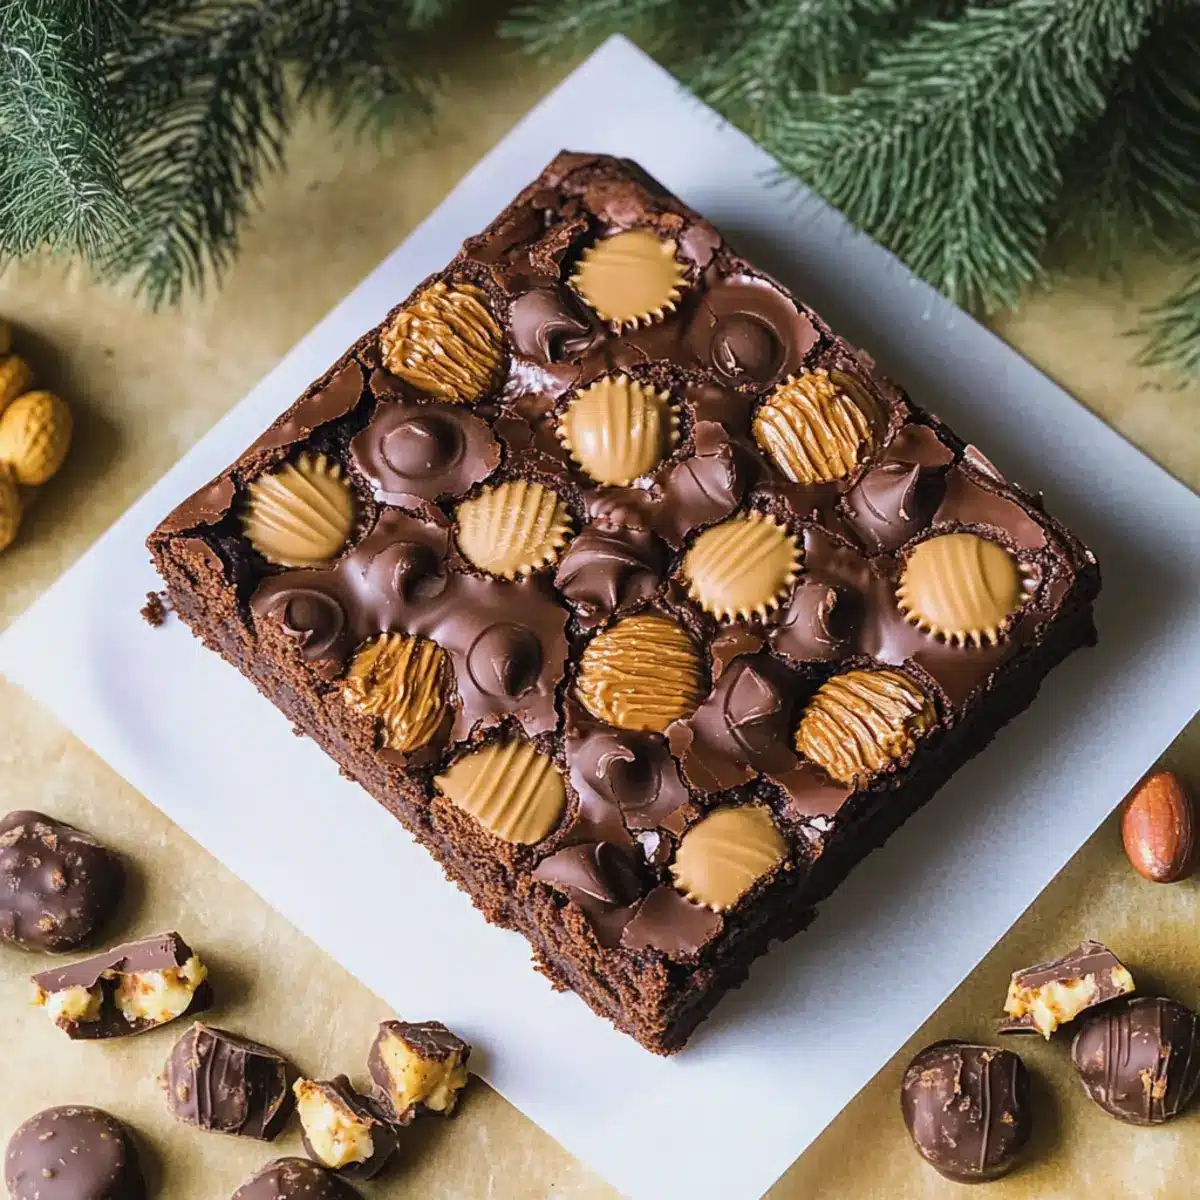
As I stirred the rich chocolate batter, the sweet scent of melting butter and cocoa filled my kitchen, transporting me back to holiday desserts shared with loved ones. Today, I’m excited to share my recipe for Peanut Butter Cup Brownies, a fudgy dream that’s sure to impress anyone who takes a bite. Overflowing with Reese’s peanut butter cups and mini chocolate chips, these brownies are not only a crowd-pleaser but also a quick and simple treat to whip up – perfect for those busy holiday gatherings. Whether you’re looking for the ideal dessert for a festive dinner or simply craving something sweet, these brownies promise to deliver creamy chocolate bliss in every bite. Ready to dive into this indulgent recipe and treat yourself? Let’s get started!
Why are these brownies a must-bake?
Irresistibly Decadent: The rich combination of chocolate and peanut butter makes these brownies truly unforgettable, perfect for satisfying your sweet cravings.
Fudgy Texture: You’ll fall in love with the gooey center that’s reminiscent of a lava cake, offering that melt-in-your-mouth experience.
Quick & Easy: With straightforward instructions, you’ll have these delightful treats whipped up in no time, making them ideal for last-minute gatherings.
Impressive Presentation: Adorned with Nutter Butter reindeer cookies, these brownies not only taste fantastic but also look festive on your holiday table.
Crowd-Pleaser: Perfect for any occasion, be it a family dinner or a get-together with friends, everyone will be reaching for seconds! For an extra layer of flavor, consider pairing with a scoop of ice cream or serve alongside Bites Garlic Butter. Enjoy!
Peanut Butter Cup Brownies Ingredients
• Here’s everything you need to make these indulgent treats!
For the Brownie Batter
- Semi-sweet chocolate chips – Offers a rich chocolate flavor; substitute with dark chocolate for a more intense taste.
- Unsalted butter – Adds moisture and richness; you can use salted butter if desired, just adjust the salt in the recipe.
- Eggs (room temperature) – Helps bind all ingredients together; always use room temperature eggs for better mixing.
- Vanilla extract – Enhances the flavor profile; opt for pure vanilla extract for the best results.
- White granulated sugar – Sweetens the brownies; feel free to swap it with brown sugar for added depth.
- All-purpose flour – Provides structure to the brownies; gluten-free flour can be a suitable substitute for a gluten-free version.
- Dutch process cocoa powder – Deepens the chocolate flavor; unsweetened cocoa can work as a good alternative.
- Salt – Balances the sweetness and enhances flavors; essential for a well-rounded taste.
For the Delicious Mix-ins
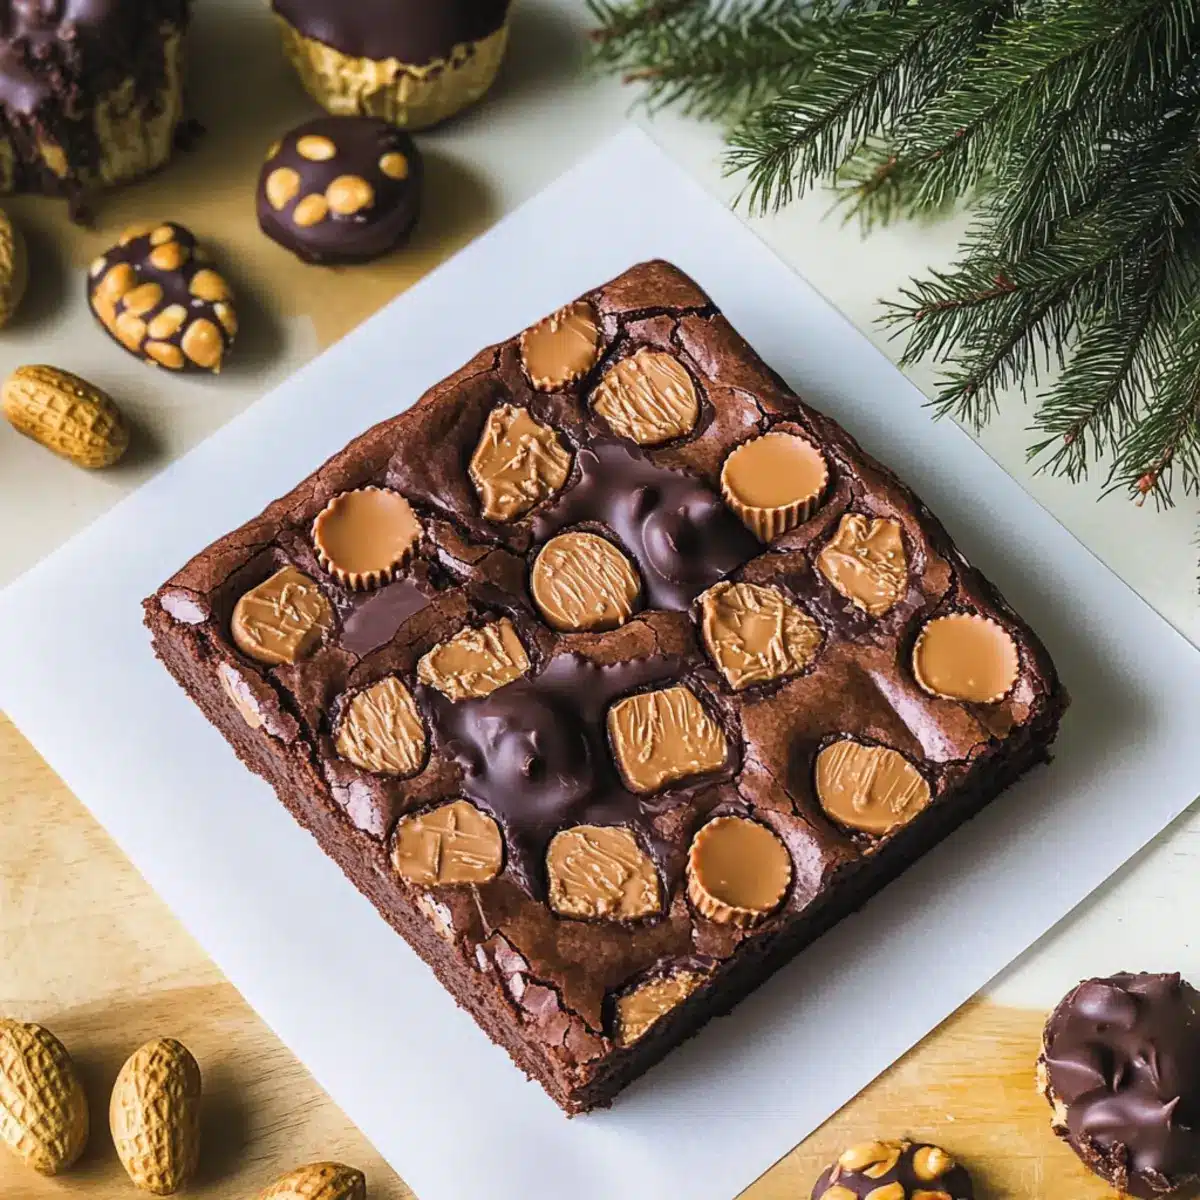
- Reese’s peanut butter cups (miniature) – Adds creamy peanut butter pockets; you can use regular peanut butter cups if that’s what you have on hand.
- Mini chocolate chips – Provides additional chocolate flavor and texture; choose milk or dark chocolate chips based on your preference.
For Decoration
- Nutter Butter cookies – Fun decor for a festive touch; you can replace these with any favorite cookie if desired.
- Miniature pretzels – Create adorable reindeer antlers; chocolate-covered pretzels add a sweet twist to the decoration.
- Candy eyes – Fun elements to help bring the reindeer to life; these are available at baking supply stores.
- Red round candies (mini M&M’s) – Perfect for the reindeer nose; any red candy can work as a substitute.
Step‑by‑Step Instructions for Peanut Butter Cup Brownies
Step 1: Prepare Baking Pan
Preheat your oven to 325°F (163°C). While it heats, grab an 8×8 baking pan and spray it with non-stick spray. To ensure easy removal later, line two sides of the pan with parchment paper, allowing excess to hang over the edges. This will help you lift out the brownies effortlessly once they’re baked.
Step 2: Melt Butter and Chocolate
In a large heatproof bowl set over a saucepan of simmering water (double boiler), combine semi-sweet chocolate chips and unsalted butter. Stir gently until the mixture is completely melted and smooth, about 5-7 minutes. Once melted, remove from heat and let it cool for 5 minutes before moving to the next step to avoid cooking the eggs later.
Step 3: Mix Dry Ingredients
While the chocolate mixture cools, take a medium bowl and sift together the all-purpose flour, Dutch process cocoa powder, and salt. This process aerates the ingredients, ensuring an even distribution in your rich and fudgy peanut butter cup brownies. Set this bowl aside and prepare for the next exciting blend!
Step 4: Beat Eggs
In a large mixing bowl, use a mixer fitted with a whisk attachment to beat the room temperature eggs, sugar, and vanilla extract together. Whip everything on medium speed for about 5 minutes, until the mixture turns pale, thick, and slightly frothy. This step is crucial for creating that beautiful crackly top on your brownies.
Step 5: Combine Mixtures
Gently stir the cooled chocolate mixture into the whipped egg mixture using a spatula, being careful not to deflate the whipped eggs. Once combined, slowly and carefully fold the sifted dry ingredients into this wet mixture, ensuring not to overmix. You want your peanut butter cup brownies to stay fudgy and delicious!
Step 6: Add Fillings
After the batter is smooth and well combined, fold in the chopped Reese’s peanut butter cups and mini chocolate chips. These mix-ins will create delicious pockets of creamy peanut butter and extra chocolatey flavor throughout the brownies. Make sure they are evenly distributed for the ultimate treat!
Step 7: Bake the Brownies
Pour the brownie batter into your prepared baking pan, using a spatula to spread it evenly. Bake in the preheated oven for 40-45 minutes. The edges should look set while a toothpick inserted into the center will come out with a few moist crumbs. This indicates a perfect fudgy texture.
Step 8: Cool and Top
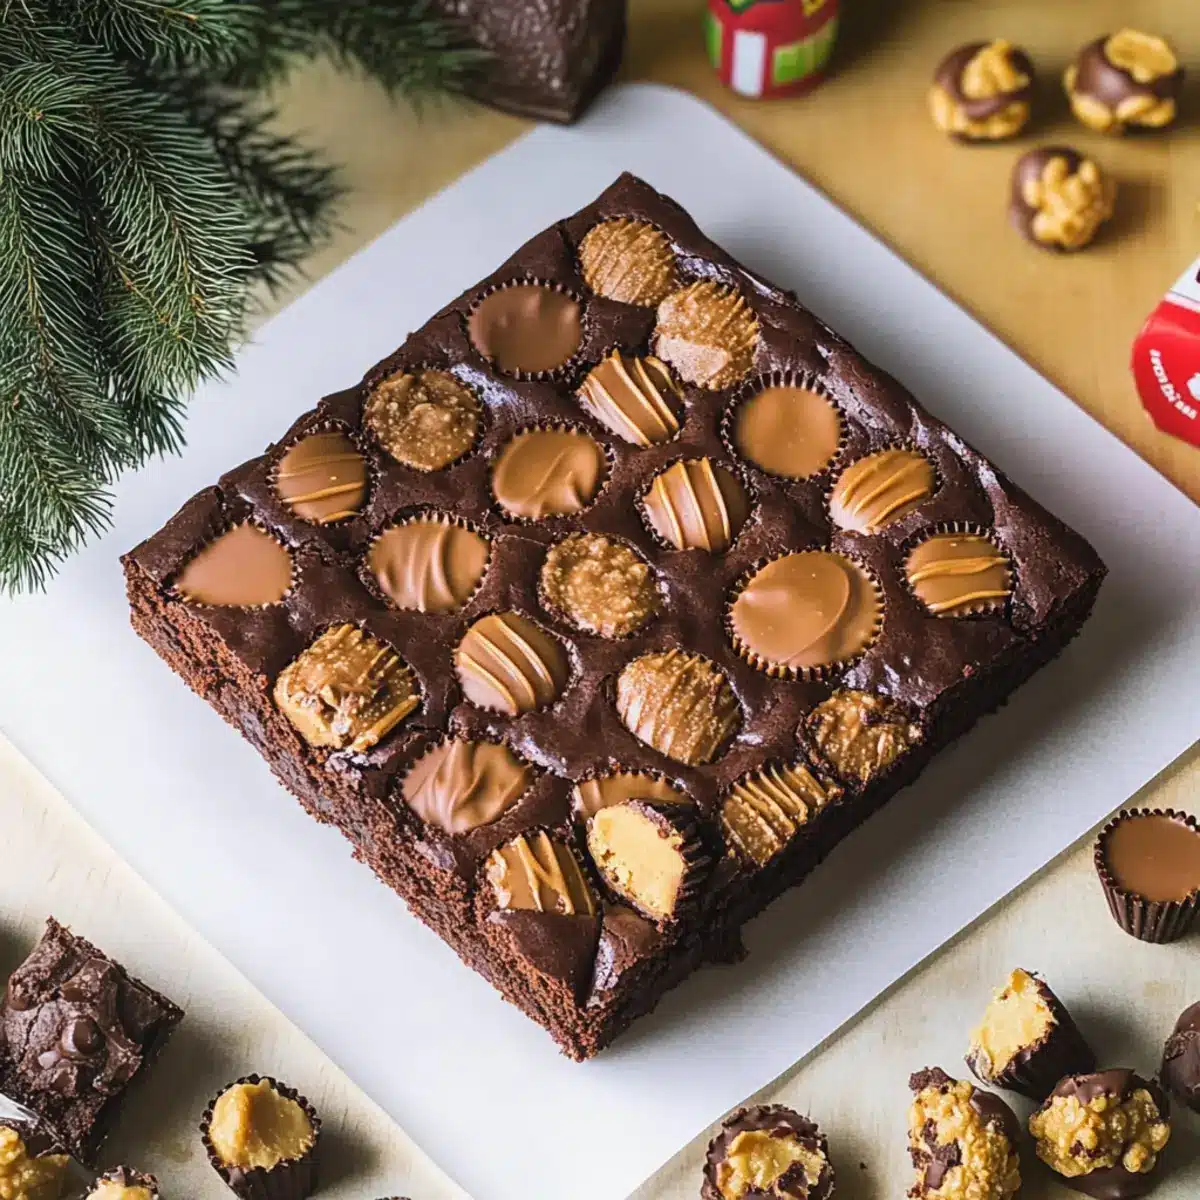
Once baked, let the brownies cool in the pan for about 10 minutes. While they’re still warm, scatter additional peanut butter cups on top, allowing them to melt slightly. Afterward, transfer to a wire rack or let cool completely in the pan before slicing into squares; this ensures clean edges when serving.
Step 9: Decorate Cookies
For a decorative touch, take your Nutter Butter cookies and stick miniature pretzels onto the top as antlers. Then, attach candy eyes and place a red round candy for the nose. These delightful reindeer cookies can be placed on each sliced brownie, adding a fun and festive aesthetic to your stunning peanut butter cup brownies!

How to Store and Freeze Peanut Butter Cup Brownies
Room Temperature: Store brownies in an airtight container at room temperature for up to 5 days to maintain their richness and fudginess.
Fridge: If you want to keep them fresh for a longer time, you can refrigerate the brownies for up to 7 days, but be aware they might become a bit denser.
Freezer: For longer storage, freeze the brownies for up to 30 days. Wrap them tightly in plastic wrap and place them in a freezer-safe bag to prevent freezer burn.
Reheating: Thaw frozen brownies at room temperature for about an hour before serving. You can warm them slightly in the microwave for 10-15 seconds to revive their gooey texture.
Make Ahead Options
These Rich & Fudgy Peanut Butter Cup Brownies are perfect for meal prep enthusiasts! You can prepare the brownie batter up to 24 hours in advance by mixing all the ingredients and storing it in an airtight container in the refrigerator. This helps to maintain their fudgy texture. If you prefer, you can also bake the brownies and store them in an airtight container at room temperature for up to 3 days. Just remember to top them with additional peanut butter cups while they’re still warm for maximum deliciousness. To enjoy, simply slice and serve, and you’ll have a decadent treat ready for any occasion with minimal last-minute effort!
Peanut Butter Cup Brownies Variations
Feel free to get creative and make these delightful brownies your own with these tasty variations!
- Caramel Surprise: Add chunks of caramel-filled chocolate for a sweet, gooey surprise in every bite.
- Nutty Crunch: Toss in chopped pecans or walnuts for added texture and a nutty flavor paired beautifully with chocolate.
- Peanut Butter Swirl: Reserve some creamy peanut butter and swirl it into the brownie batter before baking for added richness. It’s like a creamy hug in every bite!
- Minty Delight: Incorporate peppermint extract and crushed peppermint candies, giving your brownies a refreshing holiday twist that will amaze your guests.
- Dairy-Free Option: Swap out butter with coconut oil and use dairy-free chocolate chips to create a deliciously rich treat that everyone can enjoy.
- Spicy Kick: Add a pinch of cayenne pepper or cinnamon to the batter for a subtle kick that uniquely complements the chocolate and peanut butter.
- Zesty Citrus: Stir in a teaspoon of orange or lemon zest to brighten up the flavors—a lovely surprise in every fudgy bite.
- Fruity Additions: Fold in a handful of raspberries or chopped strawberries for a fruity contrast against that creamy chocolate base.
These variations will not only boost the flavor but also keep the excitement alive even with a traditional recipe! And as you refine your skills, why not check out my One Pot Tortellini for another delightful cooking adventure?
Expert Tips for Peanut Butter Cup Brownies
- Whip Eggs Well: Make sure to beat the eggs and sugar until they’re pale and thick; this creates that sought-after crackly top.
- Avoid Overmixing: Gently fold in dry ingredients after mixing in the chocolate; overmixing can lead to denser, less fudgy brownies.
- Check Baking Time: Start testing for doneness a few minutes early; toothpick should come out with a few moist crumbs for the perfect fudgy texture.
- Cool Properly: Allow brownies to cool completely in the pan before slicing; this prevents messy cuts and helps maintain their fudgy consistency.
- Decorating Fun: Feel free to get creative with your toppings; the Nutter Butter cookies and pretzel antlers add a whimsical touch to the delightful peanut butter cup brownies.
What to Serve with Rich & Fudgy Peanut Butter Cup Brownies
Treat your loved ones to a full, indulgent experience by complementing these brownies with delightful sides and desserts.
- Vanilla Ice Cream: The creamy richness of vanilla ice cream balances the dense chocolate and peanut butter flavors beautifully.
- Whipped Cream: Fluffy and light, homemade whipped cream adds a delightful contrast to the brownies’ fudgy texture.
- Fresh Berries: Juicy raspberries or strawberries provide a refreshing tartness that cuts through the sweetness of the brownies.
- Chocolate Sauce: Drizzling warm chocolate sauce over the brownies enhances their chocolatey goodness, making each bite even more decadent.
- Milk or Hot Chocolate: A tall glass of cold milk or a steaming cup of hot chocolate pairs perfectly for a nostalgic treat.
- Coffee or Espresso: The bitterness of coffee elevates the rich flavors, creating an indulgent dessert experience that’s truly memorable.
- Peanut Butter Sauce: For true peanut butter lovers, a drizzle of warm peanut butter sauce adds an irresistible layer of flavor.
- Nutter Butter Cookies: Serving extra Nutter Butter cookies on the side creates a delightful crunch that complements the soft brownies.
- Caramel Sauce: Sweet and buttery, caramel sauce drizzled over the brownies adds another layer of sweet indulgence.
- Chocolate Chip Cookies: Keeping the chocolate theme, pairing with fresh chocolate chip cookies will make for a blissful dessert moment.
Peanut Butter Cup Brownies Recipe FAQs
What kind of chocolate chips should I use?
Absolutely! I recommend using semi-sweet chocolate chips for a rich chocolate flavor, but if you prefer a more intense taste, dark chocolate chips work beautifully as a substitute.
How should I store my peanut butter cup brownies?
Store your brownies in an airtight container at room temperature for up to 5 days. If you want them to last longer, transferring them to the fridge will extend their freshness to about a week, but keep in mind they may become slightly denser.
Can I freeze these brownies?
Yes, you can freeze your peanut butter cup brownies! First, wrap them tightly in plastic wrap and place them in a freezer-safe bag or container. They can last in the freezer for up to 30 days. When you’re ready to enjoy, just thaw them at room temperature for about an hour.
What if my brownies come out too dense?
Very! If your brownies are denser than expected, it may mean you overmixed the batter once you combined the wet and dry ingredients. Be gentle when folding; you want to maintain air in the mixture for that wonderfully fudgy texture.
Are there any allergens to consider with this recipe?
Definitely! The primary allergens in these peanut butter cup brownies include gluten from the flour and nuts from the peanut butter cups. If you’re making them for others, always double-check for allergies and consider using gluten-free flour to accommodate dietary needs.
How can I enhance the flavor of my brownies?
Want to elevate your brownies? Try adding a pinch of espresso powder to the dry ingredients to enhance the chocolate flavor or swirl in some extra peanut butter into the batter before baking for a creamy surprise!
Irresistibly Gooey Peanut Butter Cup Brownies You’ll Love
Ingredients
Equipment
Method
- Preheat your oven to 325°F (163°C). Spray an 8x8 baking pan with non-stick spray and line with parchment paper.
- In a large heatproof bowl over simmering water, melt chocolate chips and butter until smooth. Let cool.
- In a medium bowl, sift together flour, cocoa powder, and salt.
- In another bowl, beat eggs, sugar, and vanilla extract until pale and thick.
- Gently stir the cooled chocolate mixture into the whipped egg mixture. Fold in dry ingredients gently.
- Fold in chopped Reese's cups and mini chocolate chips until evenly distributed.
- Spread the batter evenly in the pan and bake for 40-45 minutes until edges are set.
- Cool in the pan for 10 minutes, then transfer to a wire rack. Scatter more peanut butter cups on top.
- Decorate with Nutter Butter cookies, pretzel antlers, candy eyes, and red candies.
Leave a Reply