
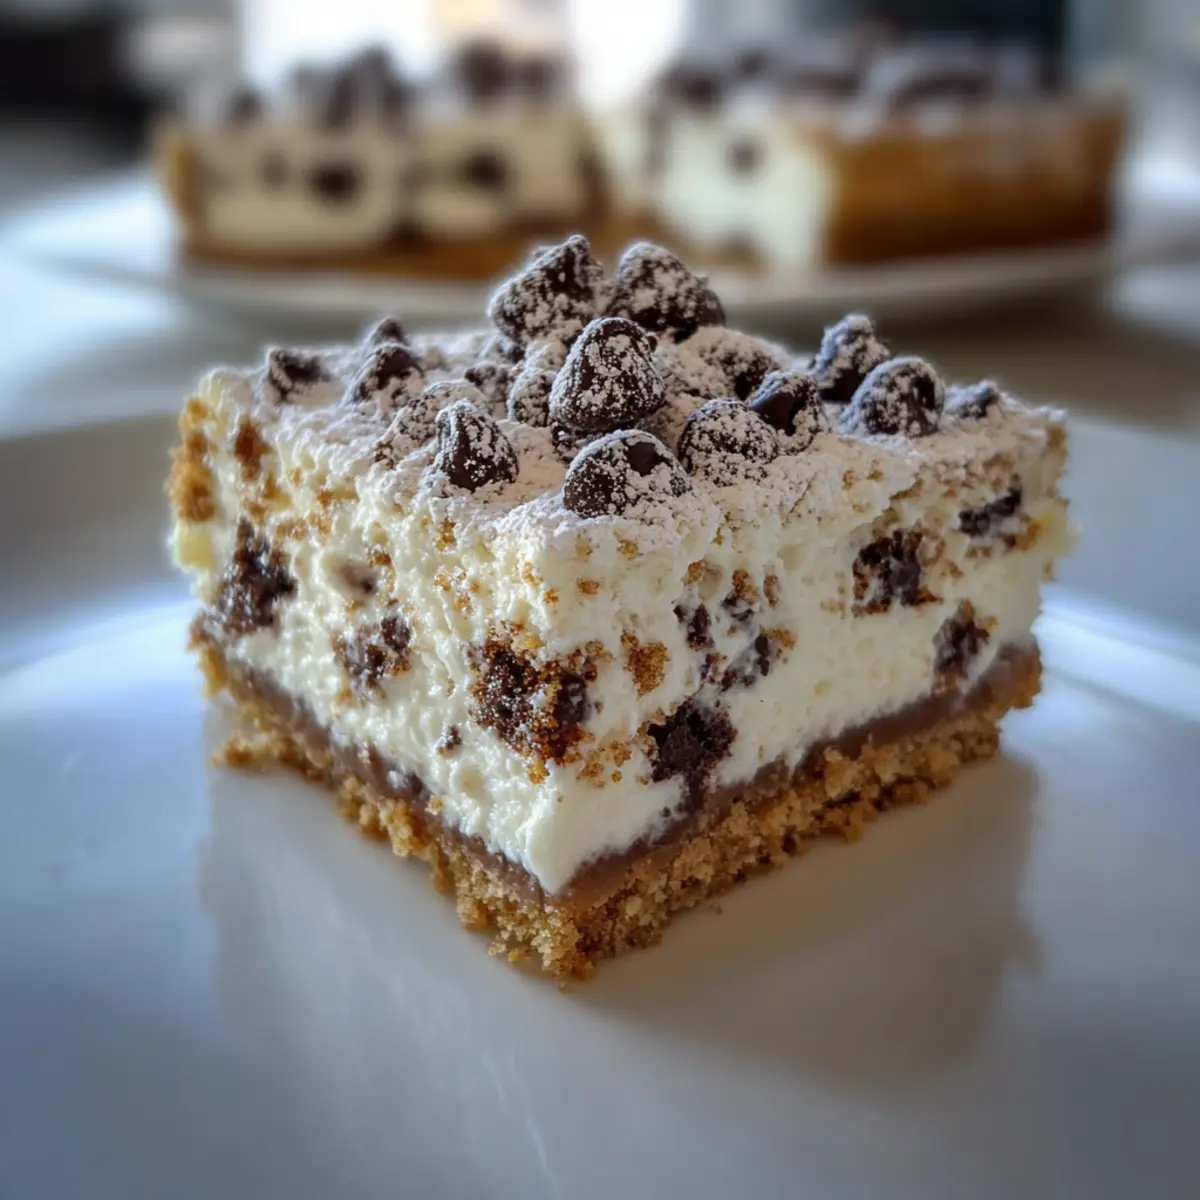
The sweet aroma of cream cheese mingling with chocolate chips swirls through my kitchen, pulling me back to joyful family gatherings filled with laughter and indulgence. Today, I’m excited to share my quick and easy recipe for Cannoli Cheesecake Bars—a dessert that marries the classic flavors of Italian cannoli with a rich, creamy cheesecake base. These bars come together in just 15 minutes of prep time, making them perfect for surprising guests or as a delightful treat for yourself. With their no-bake charm, they require minimal fuss and are blissfully adaptable for gluten-free and dairy-free diets. Who wouldn’t want to sink their fork into a slice of something that’s both deliciously nostalgic and effortlessly simple? Are you ready to create a dessert that will have everyone asking for seconds?
Why are these Cannoli Cheesecake Bars a must-try?
Quick Preparation: In just 15 minutes, you can whip up a dessert that feels gourmet and indulgent. Each bite offers a taste of Italy without the fuss of traditional cannoli making.
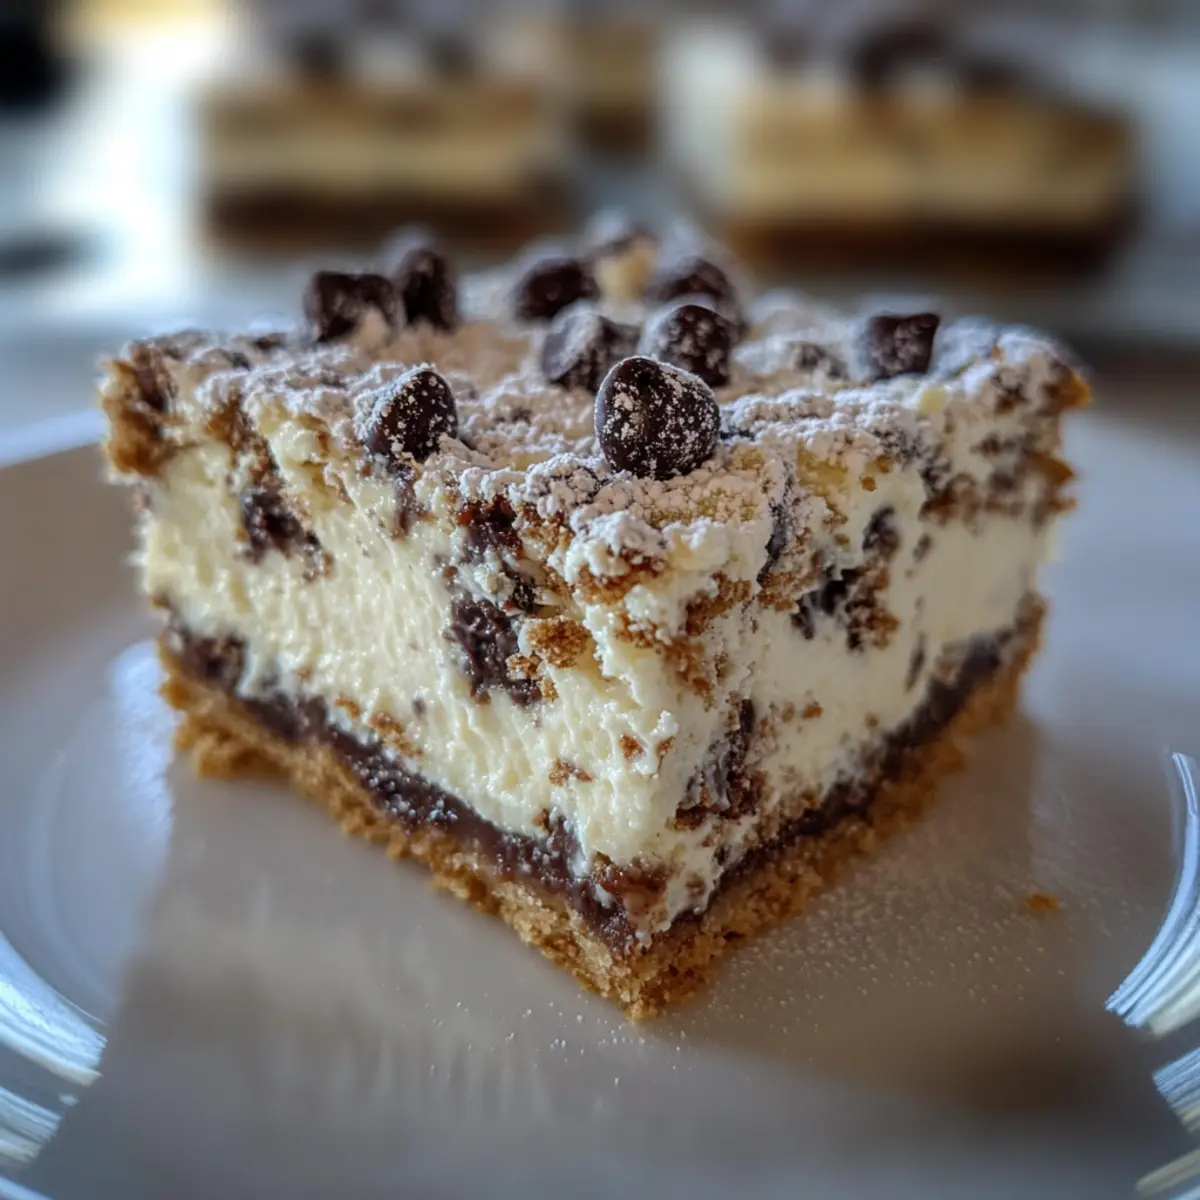
Creamy Delight: With a harmonious blend of ricotta and cream cheese, the texture is silky smooth, making it a delicious crowd-pleaser at gatherings.
Customizable and Versatile: With options for gluten-free or dairy-free substitutions, everyone can enjoy these bars. Want an extra zing? Try adding some orange zest for a delightful twist!
No-Bake Convenience: Skip the oven hassle and enjoy the ease of a no-bake dessert that chills to perfection. Ideal for those last-minute cravings or surprise guests!
Satisfying Sweetness: Infused with chocolate chips, these bars are not just eye-catching; they also bring a burst of flavor that leaves you wanting more. Serve them alongside my delightful Cheesecake Stuffed Baked Apples for a dessert duo that impresses!
Cannoli Cheesecake Bars Ingredients
• Get ready to whip up a delightful treat!
For the Filling
- Full-fat cream cheese – Provides a rich, creamy texture; make sure it’s at room temperature for smooth mixing.
- Granulated sugar – Adds sweetness and balance to the filling; substitute with a sugar alternative for a lower-calorie option if desired.
- Ricotta cheese – Essential for the cannoli flavor and texture; use full-fat for the best results to avoid consistency issues.
- Eggs – Acts as a binding agent; ensure they are room temperature to prevent lumps in the filling.
- Vanilla extract – Enhances flavor depth; always opt for pure extract for the most robust taste.
- Mini chocolate chips – Provide bursts of chocolate flavor; regular chocolate chips can be used but might sink to the bottom.
For the Crust
- Graham cracker crumbs – Creates the foundation of the crust; for gluten-free versions, replace with almond flour mixed with sugar.
- Unsalted butter – Binds the crust together; use melted butter for easy mixing.
For the Finishing Touch
- Powdered sugar – For dusting before serving, it adds an elegant finish; add just before serving to avoid melting into the bars.
These Cannoli Cheesecake Bars promise to be a hit at your next gathering, combining traditional flavors with modern simplicity!
Step‑by‑Step Instructions for Cannoli Cheesecake Bars
Step 1: Preheat the Oven
Begin by preheating your oven to 325°F (163°C). This temperature creates the perfect environment for your Cannoli Cheesecake Bars to bake evenly. While the oven heats, gather your ingredients and have a 9×9-inch baking pan lined with parchment paper ready for the crust.
Step 2: Prepare the Crust
In a mixing bowl, combine graham cracker crumbs, sugar, and melted butter until the mixture resembles wet sand. You want it to be slightly damp and clump together. Once ready, press this mixture firmly into the bottom of your lined baking pan, making sure to pat it down evenly and slightly up the sides for a sturdy base.
Step 3: Mix the Filling
In a separate large mixing bowl, beat the room-temperature cream cheese and granulated sugar with an electric mixer until smooth and creamy, which should take about 2 minutes. Add the eggs, one at a time, allowing each to fully incorporate before adding the next. Finally, mix in the vanilla extract until just combined, enhancing the flavor of your Cannoli Cheesecake Bars.
Step 4: Incorporate Ricotta and Chocolate Chips
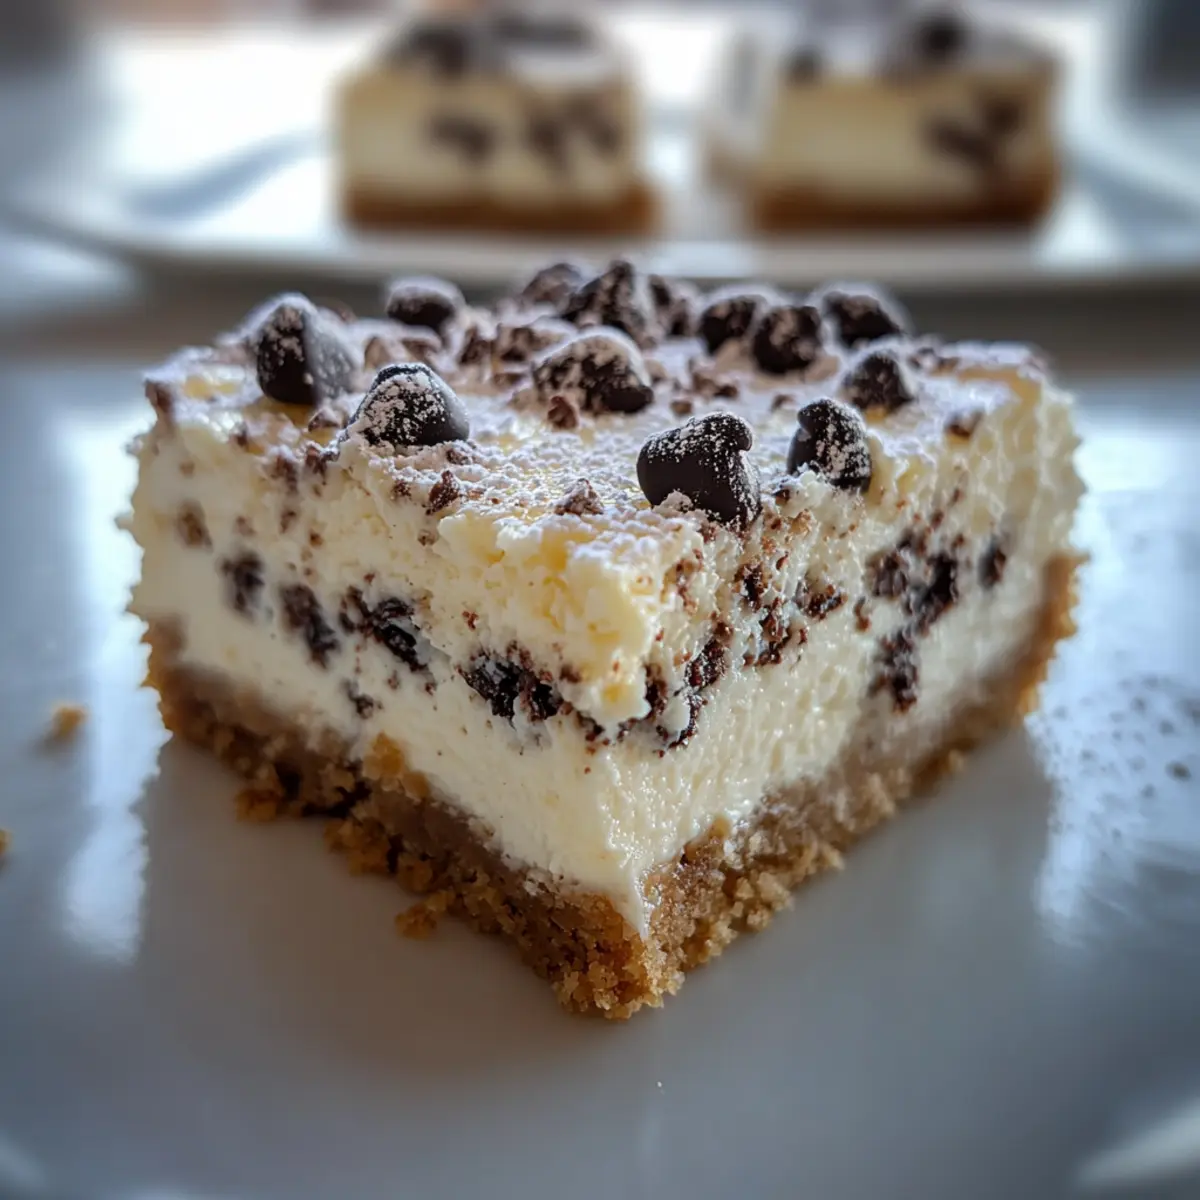
Gently fold in the ricotta cheese and mini chocolate chips into the creamy filling. Use a spatula for this step to maintain the airy texture you’ve created. This careful folding will ensure that the filling remains light and fluffy, critical for achieving the perfect density in your cheesecake bars.
Step 5: Combine Filling and Crust
Pour the creamy filling over your prepared graham cracker crust in the baking pan. Gently spread it into an even layer with a spatula, smoothing the top for an appealing finish. This layer of filling is what transforms your crust into delightful Cannoli Cheesecake Bars, rich with flavor and texture.
Step 6: Bake the Bars
Place the baking pan in your preheated oven and bake for 40-45 minutes. The edges should be set with a slight jiggle in the center, which indicates a creamy filling. Keep an eye on them towards the end to ensure they do not overbake, which could lead to cracking.
Step 7: Cool to Room Temperature
Once baked, remove the Cannoli Cheesecake Bars from the oven and leave them to cool at room temperature for about 1 hour. This gradual cooling helps prevent cracks from forming on the surface. Afterward, transfer them to the refrigerator for at least 4 hours, or preferably overnight, to allow the flavors to meld beautifully.
Step 8: Serve with a Touch of Sugar
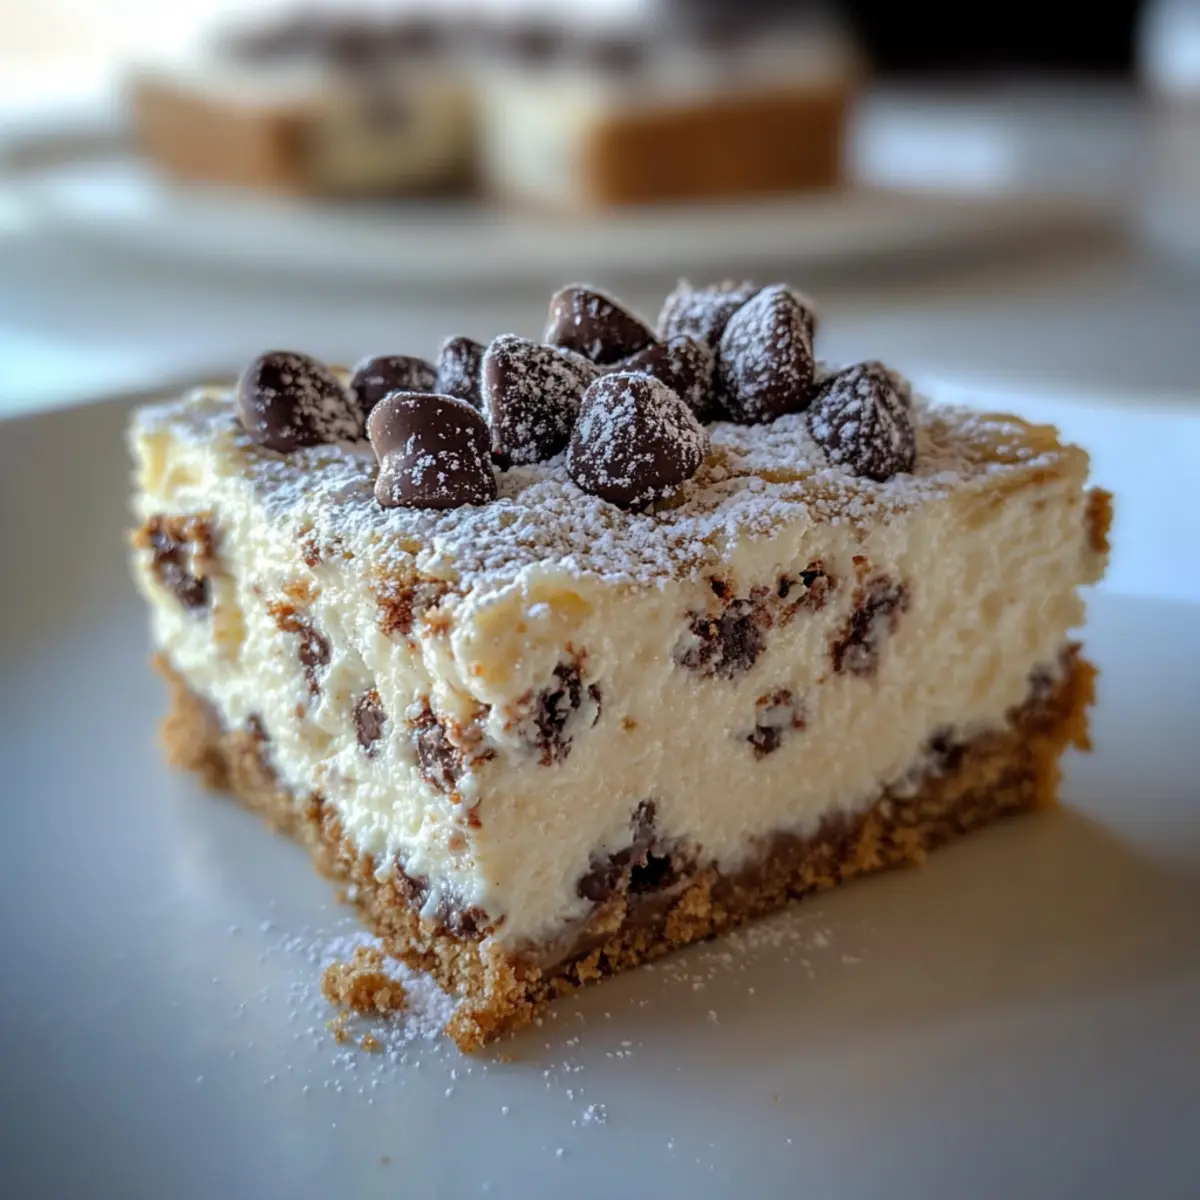
Before serving, dust the top of your chilled Cannoli Cheesecake Bars with powdered sugar for a beautiful finish. Use a fine mesh sieve to ensure an even distribution. Cut into squares, serve chilled, and watch as they’re devoured for their deliciously creamy texture and delightful flavor!
Storage Tips for Cannoli Cheesecake Bars
Fridge: Store leftover Cannoli Cheesecake Bars in an airtight container in the fridge for up to 5 days. This keeps them fresh and preserves their delicious creaminess.
Freezer: You can freeze these cheesecake bars for up to 2 months. Wrap each piece tightly with plastic wrap and place them in a freezer-safe container. Thaw in the fridge before serving.
Preparing to Serve: When ready to enjoy, dust with powdered sugar just before serving to add an elegant touch. This keeps the presentation fresh and delightful!
Reheating: For optimal taste, serve chilled straight from the fridge. Avoid reheating, as it may alter the creamy texture you desire.
Expert Tips for Cannoli Cheesecake Bars
-
Room Temperature Ingredients: Ensure all ingredients are at room temperature before mixing. This helps achieve a smooth, lump-free filling in your Cannoli Cheesecake Bars.
-
Prevent Cracking: To avoid cracks, cool the bars slowly by leaving the oven door ajar after baking. This gentle cooling process helps maintain that beautiful surface.
-
Chill for Flavor: Refrigerate the Cannoli Cheesecake Bars overnight for optimal flavor development. This also allows for cleaner cuts when slicing.
-
Firm Up the Filling: If the filling seems too runny, refrigerate the mixture for a short time before baking. This helps to create a firmer, creamier texture.
-
Adjust Sweetness: Customize the sweetness by using a sugar alternative if desired. Just remember that adjustments might change the bar’s final consistency.
Make Ahead Options
These Cannoli Cheesecake Bars are perfect for busy home cooks looking to save time while enjoying a delicious dessert! You can prepare the crust and filling up to 24 hours in advance. Simply create the graham cracker crust and mix the filling, then cover and refrigerate them separately. To maintain quality, ensure the filling is tightly sealed to prevent it from absorbing any odors from the fridge. When you’re ready to enjoy your Cannoli Cheesecake Bars, simply assemble them by pouring the filling over the crust and baking as directed. Allow them to cool and chill for at least 4 hours (overnight is best) before dusting with powdered sugar and serving. The result? A delightful, stress-free treat that’s just as scrumptious as if you’d made it all at once!
Cannoli Cheesecake Bars Variations
Feel free to get creative and personalize your Cannoli Cheesecake Bars to fit your taste or dietary needs!
-
Gluten-Free Crust: Substitute graham cracker crumbs with almond flour mixed with sugar for a gluten-free version that still tastes amazing. This twist keeps the flavors rich and satisfying without sacrificing texture.
-
Dairy-Free Delight: Use vegan cream cheese and coconut yogurt instead of regular dairy products. This option makes your dessert friendly for dairy-sensitive guests while maintaining a deliciously creamy finish.
-
Citrus Zest: Add a tablespoon of lemon or orange zest to the filling for a zesty kick that brightens the flavor profile. This little extra can create a wonderful, refreshing surprise in every bite.
-
Chocolate Overload: Swap mini chocolate chips with chopped dark chocolate or even white chocolate chunks for a more decadent experience. The richer flavor adds an indulgent twist that chocolate lovers will adore.
-
Cinnamon Sugar Crust: Mix in a teaspoon of cinnamon with your graham cracker crumbs for a warm, aromatic crust. This slight spice elevates the overall taste, making your dessert even more comforting.
-
Nutty Crust Option: Replace graham cracker crumbs with finely crushed nuts, like hazelnuts or walnuts, for a nutty crunch that complements the creamy filling beautifully. The added texture enhances every slice.
-
Fruity Additions: Fold in diced strawberries or raspberries into your filling for a fruity flair! This not only introduces vibrant color but also a fresh and tantalizing flavor contrast that pairs perfectly with the creamy base.
For more delicious variations, consider experimenting with recipes like Strawberry Crunch Cheesecake or Fried Strawberry Cheesecake Sandwiches. Each variation will bring its own special charm to your table!
What to Serve with Cannoli Cheesecake Bars
Imagine a table filled with delightful pairings that elevate your cannoli cheesecake experience and leave your guests raving about each bite.
-
Fresh Berries: The vibrant acidity of strawberries or raspberries cuts through the rich cheesecake, adding a refreshing burst of flavor.
-
Pistachio Topping: Chopped pistachios sprinkled on top create a beautiful contrast and complement the creamy texture with a satisfying crunch. Their nutty flavor enhances the dessert’s richness.
-
Espresso or Coffee: A warm cup of espresso serves as the perfect companion, balancing the sweetness of the bars while adding a delightful depth to your dessert experience.
-
Chocolate Ganache: Drizzling silky chocolate ganache over the bars amplifies the chocolate experience, creating a luxurious treat that’s truly irresistible.
-
Whipped Cream: A dollop of freshly whipped cream adds lightness and makes for a lovely visual, bringing a cloud-like texture that pairs perfectly with the bars.
-
Lemon Sorbet: A scoop of tangy lemon sorbet introduces a refreshing contrast, cleansing the palate and enhancing the dessert’s flavor in a unique way.
-
Mint Tea: A light mint tea served alongside provides a refreshing palate cleanser, lending a subtle coolness that pairs well with the sweet richness.
-
Sliced Almonds: Toasted slivers add delightful crunch and an extra layer of texture, further enhancing the overall dining experience.
-
Fruity Dessert Wine: A sweet dessert wine or Moscato enhances the flavors, making each bite of the cheesecake a moment to savor.
Let these pairings inspire your next gathering and create a memorable dessert experience around your decadent Cannoli Cheesecake Bars!
Cannoli Cheesecake Bars Recipe FAQs
What kind of ricotta cheese should I use?
I highly recommend using full-fat ricotta cheese for these Cannoli Cheesecake Bars. This variety ensures a rich, creamy texture that’s essential for mimicking the classic cannoli flavor. Light ricotta can lead to a less desirable consistency, so go for the creamy goodness!
How should I store leftover Cannoli Cheesecake Bars?
You can store any leftover Cannoli Cheesecake Bars in an airtight container in the fridge for up to 5 days. Ensure they are well-sealed to maintain their delicious creaminess. If you’re looking to keep them longer, you can freeze them!
Can I freeze these cheesecake bars? How?
Absolutely! To freeze Cannoli Cheesecake Bars, wrap each piece tightly with plastic wrap, ensuring there are no air pockets. Then, place them in a freezer-safe container. They will keep well for up to 2 months. When you’re ready to enjoy, simply thaw them in the fridge overnight for the best texture.
What should I do if my filling is too runny?
If you find your filling too runny, don’t worry! Simply ensure all your ingredients are room temperature before mixing to avoid lumps. You can also refrigerate the mixture briefly before baking, which helps it firm up a bit. A quick chill can make a big difference!
Are there any dietary considerations for making these bars?
Yes! For gluten-free accommodations, substitute graham cracker crumbs with almond flour mixed with sugar. If you’re looking for a dairy-free option, use dairy-free cream cheese and ricotta alternatives. Just be aware that substitutions might slightly alter the texture, but I often find these choices still yield yummy results!
How can I tell when the cheesecake bars are fully baked?
The best indicator is to look for set edges coupled with a slight jiggle in the center. Bake the bars for 40-45 minutes; they should be golden on the outside and still a little wobbly in the core. Letting them cool slowly also prevents cracks on the surface!
Decadent Cannoli Cheesecake Bars Ready in Just 15 Minutes
Ingredients
Equipment
Method
- Preheat the oven to 325°F (163°C). Gather ingredients and line a 9x9-inch baking pan with parchment paper.
- In a mixing bowl, combine graham cracker crumbs, sugar, and melted butter until it resembles wet sand. Firmly press into the bottom of the lined baking pan.
- In a separate bowl, beat the cream cheese and granulated sugar until smooth, about 2 minutes. Add eggs one at a time, mixing thoroughly, then add vanilla.
- Gently fold in ricotta cheese and mini chocolate chips using a spatula.
- Pour the filling over the crust in the baking pan. Spread evenly with a spatula.
- Bake for 40-45 minutes until edges are set and center has a slight jiggle.
- Cool at room temperature for about 1 hour, then refrigerate for at least 4 hours or overnight.
- Before serving, dust with powdered sugar and cut into squares.
Leave a Reply